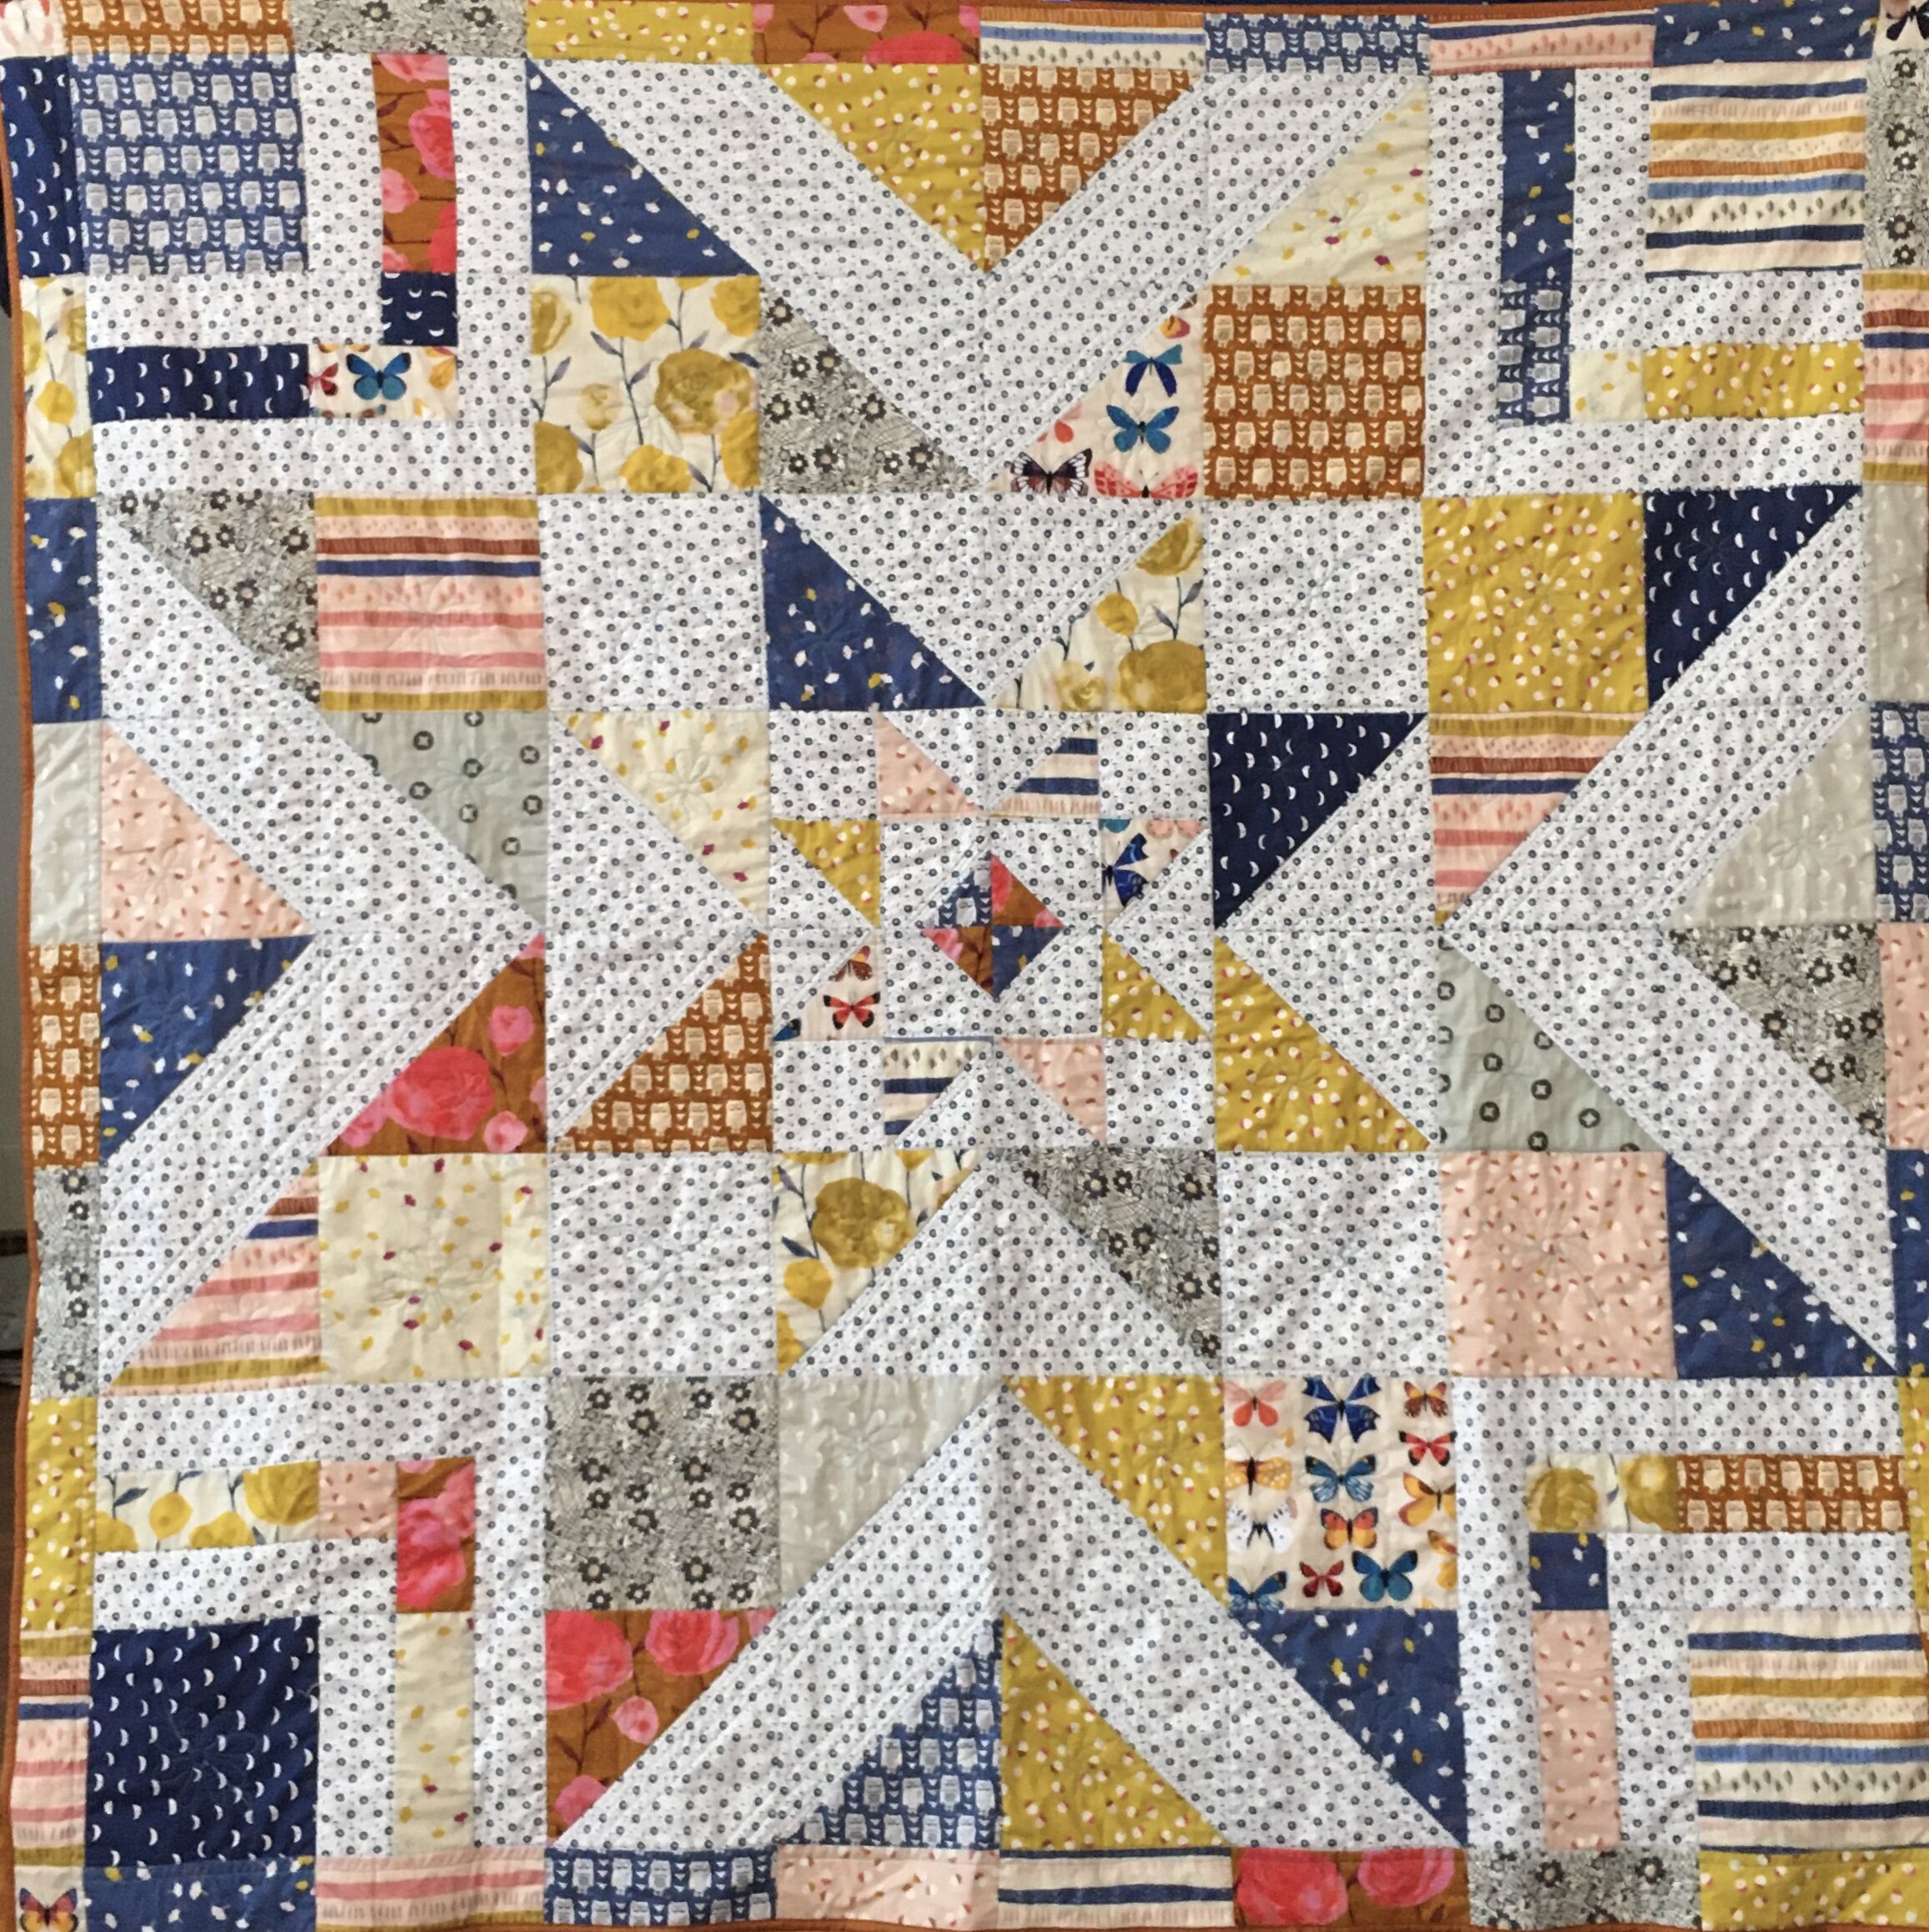
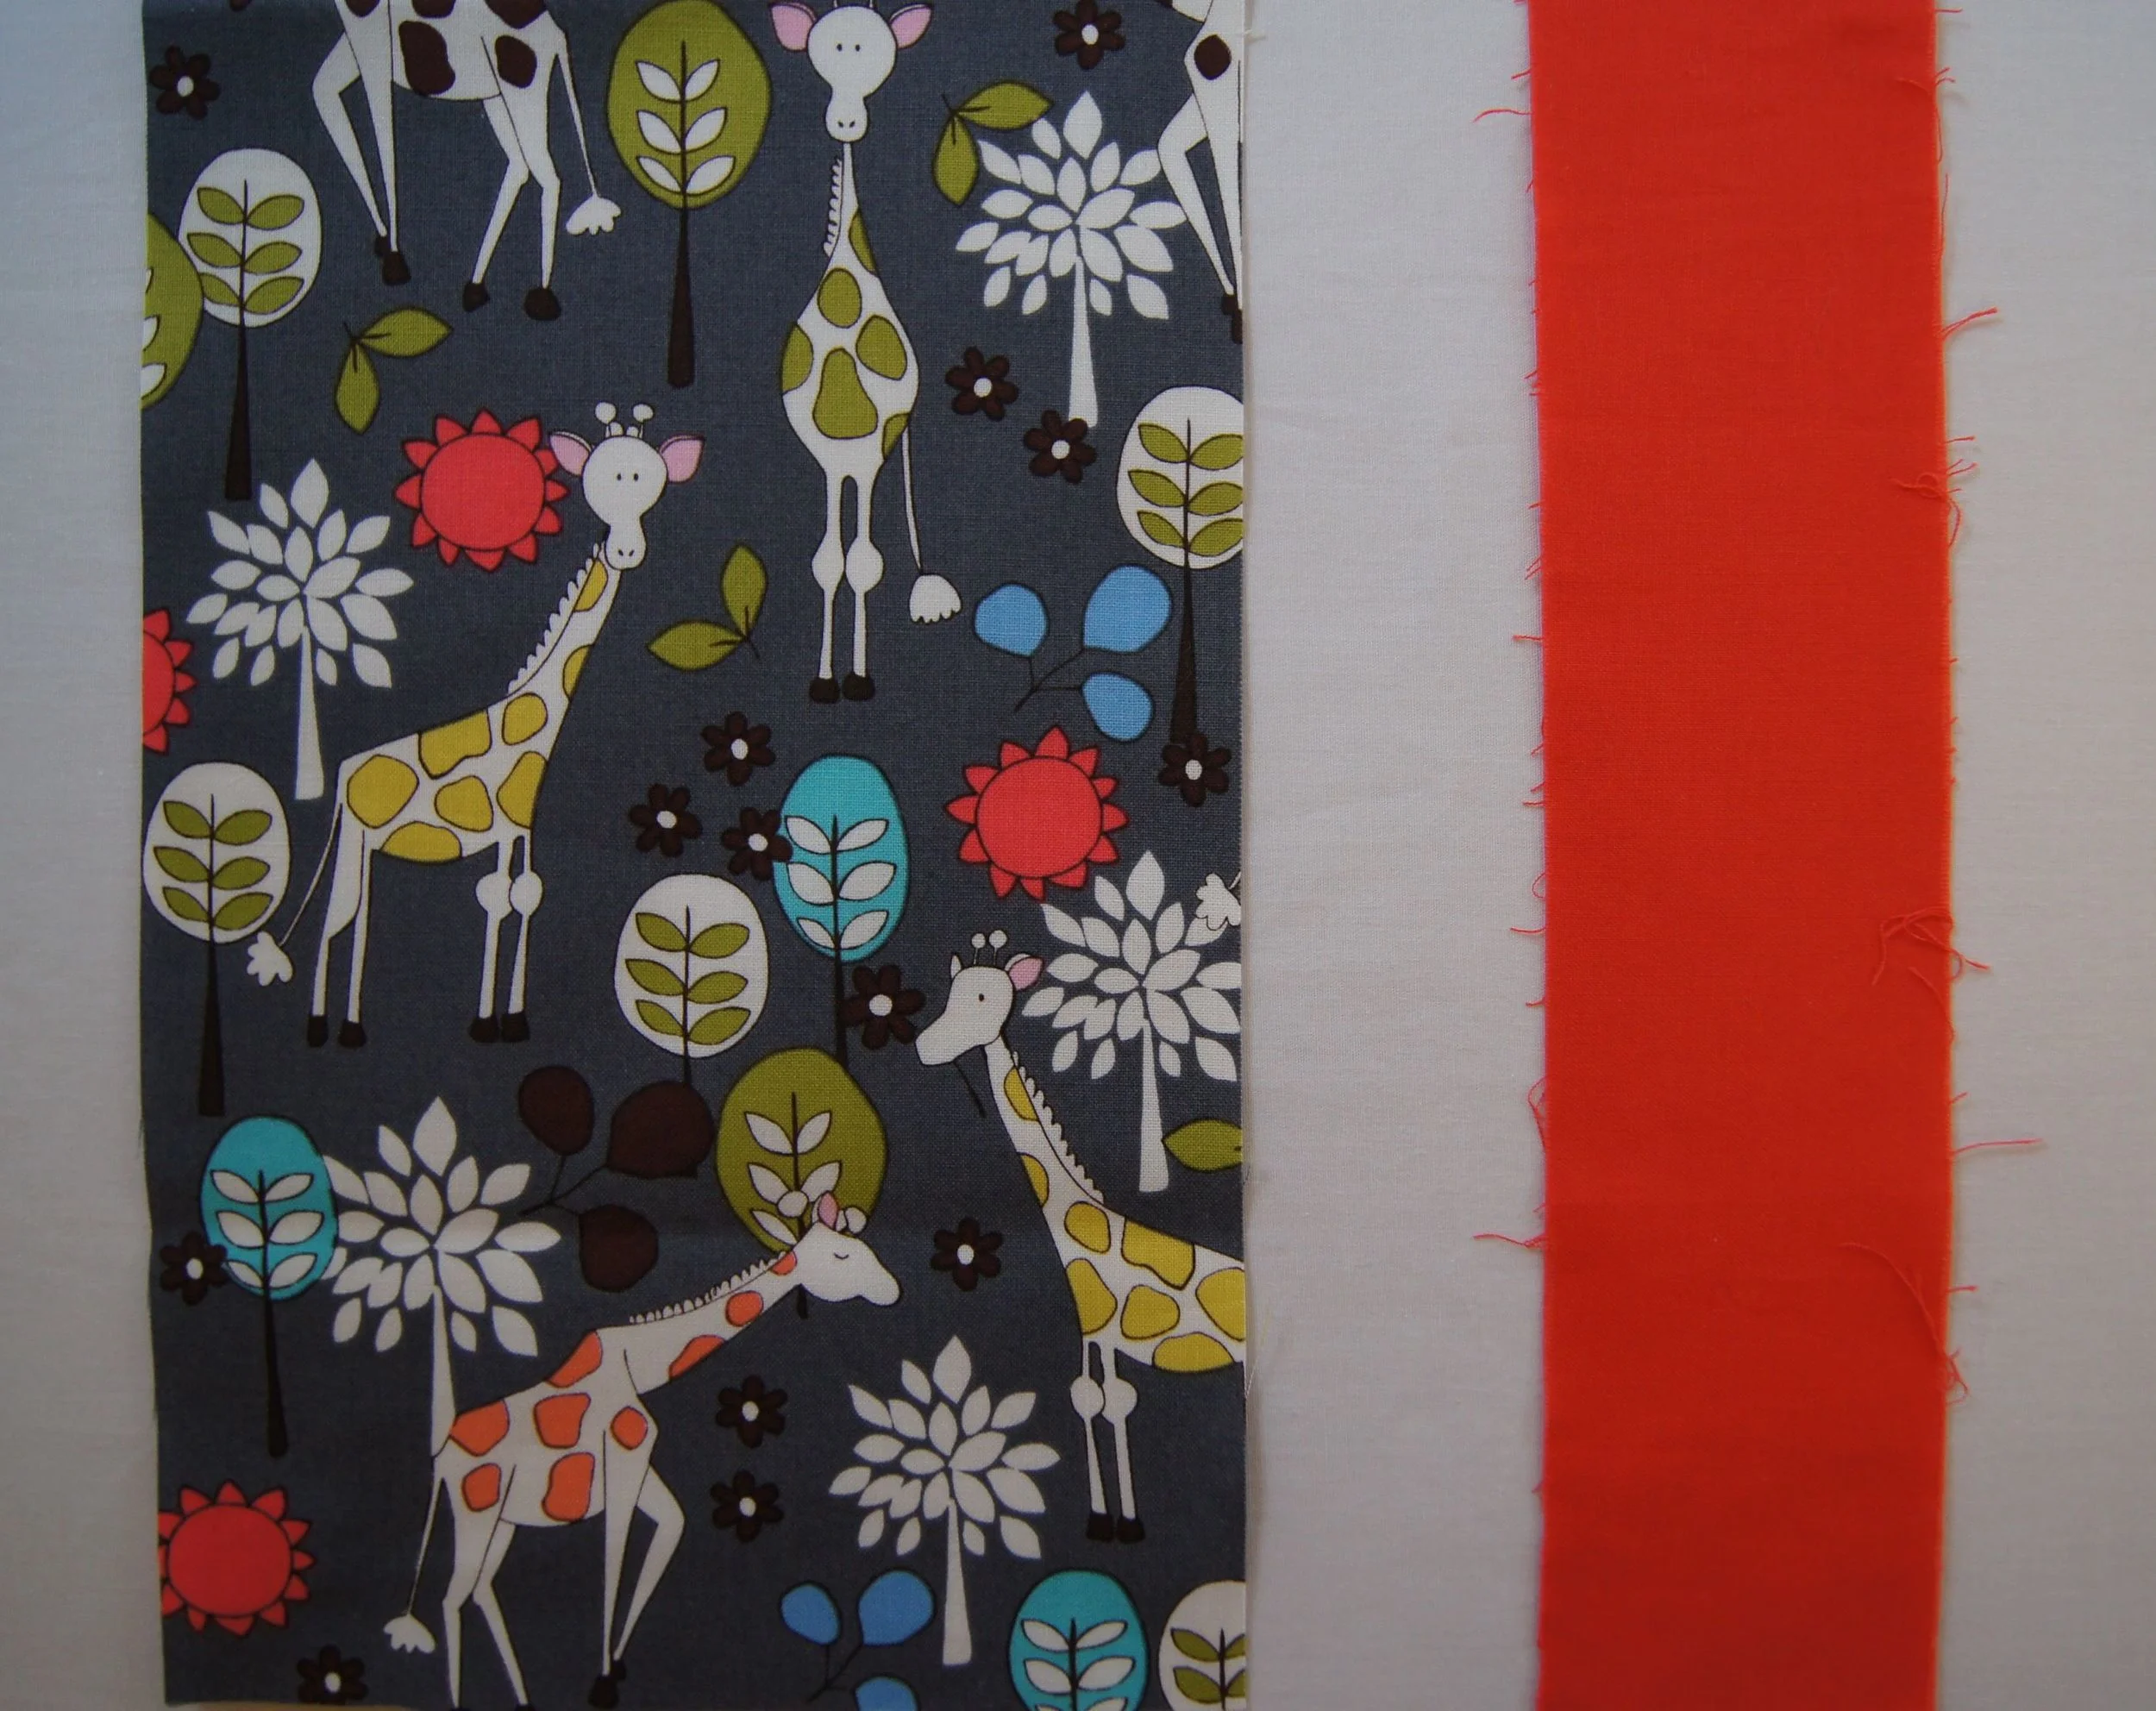
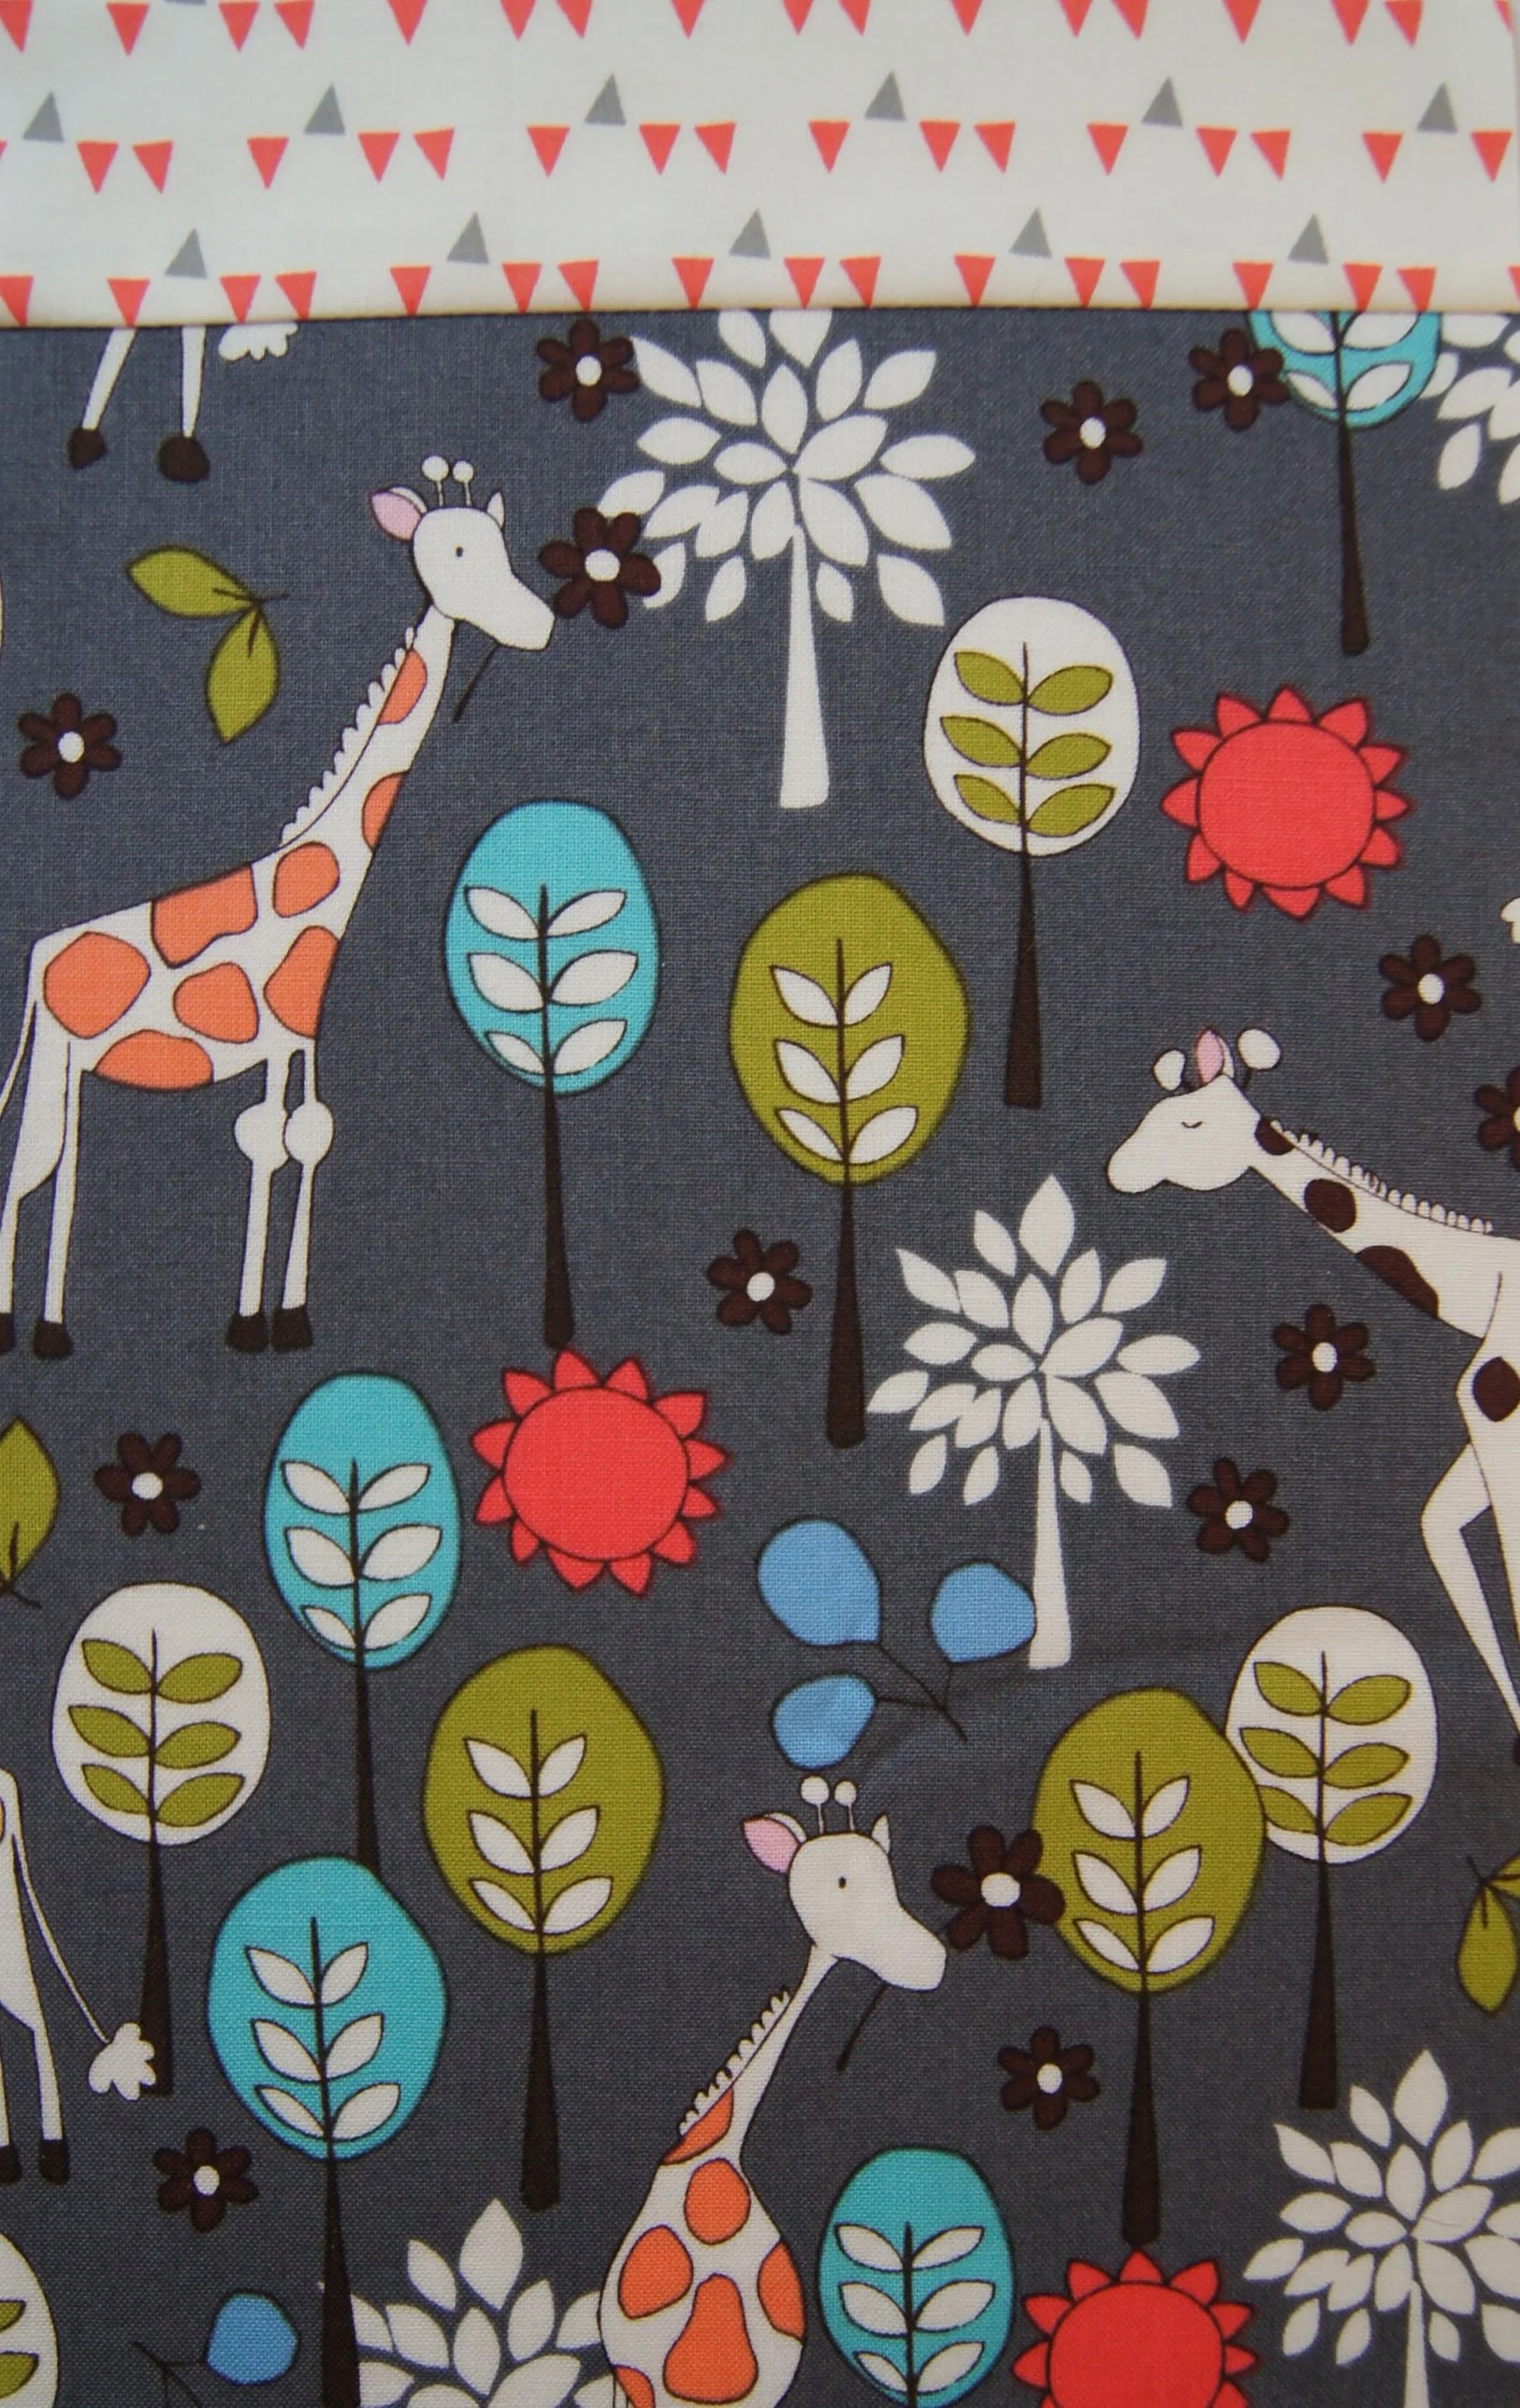
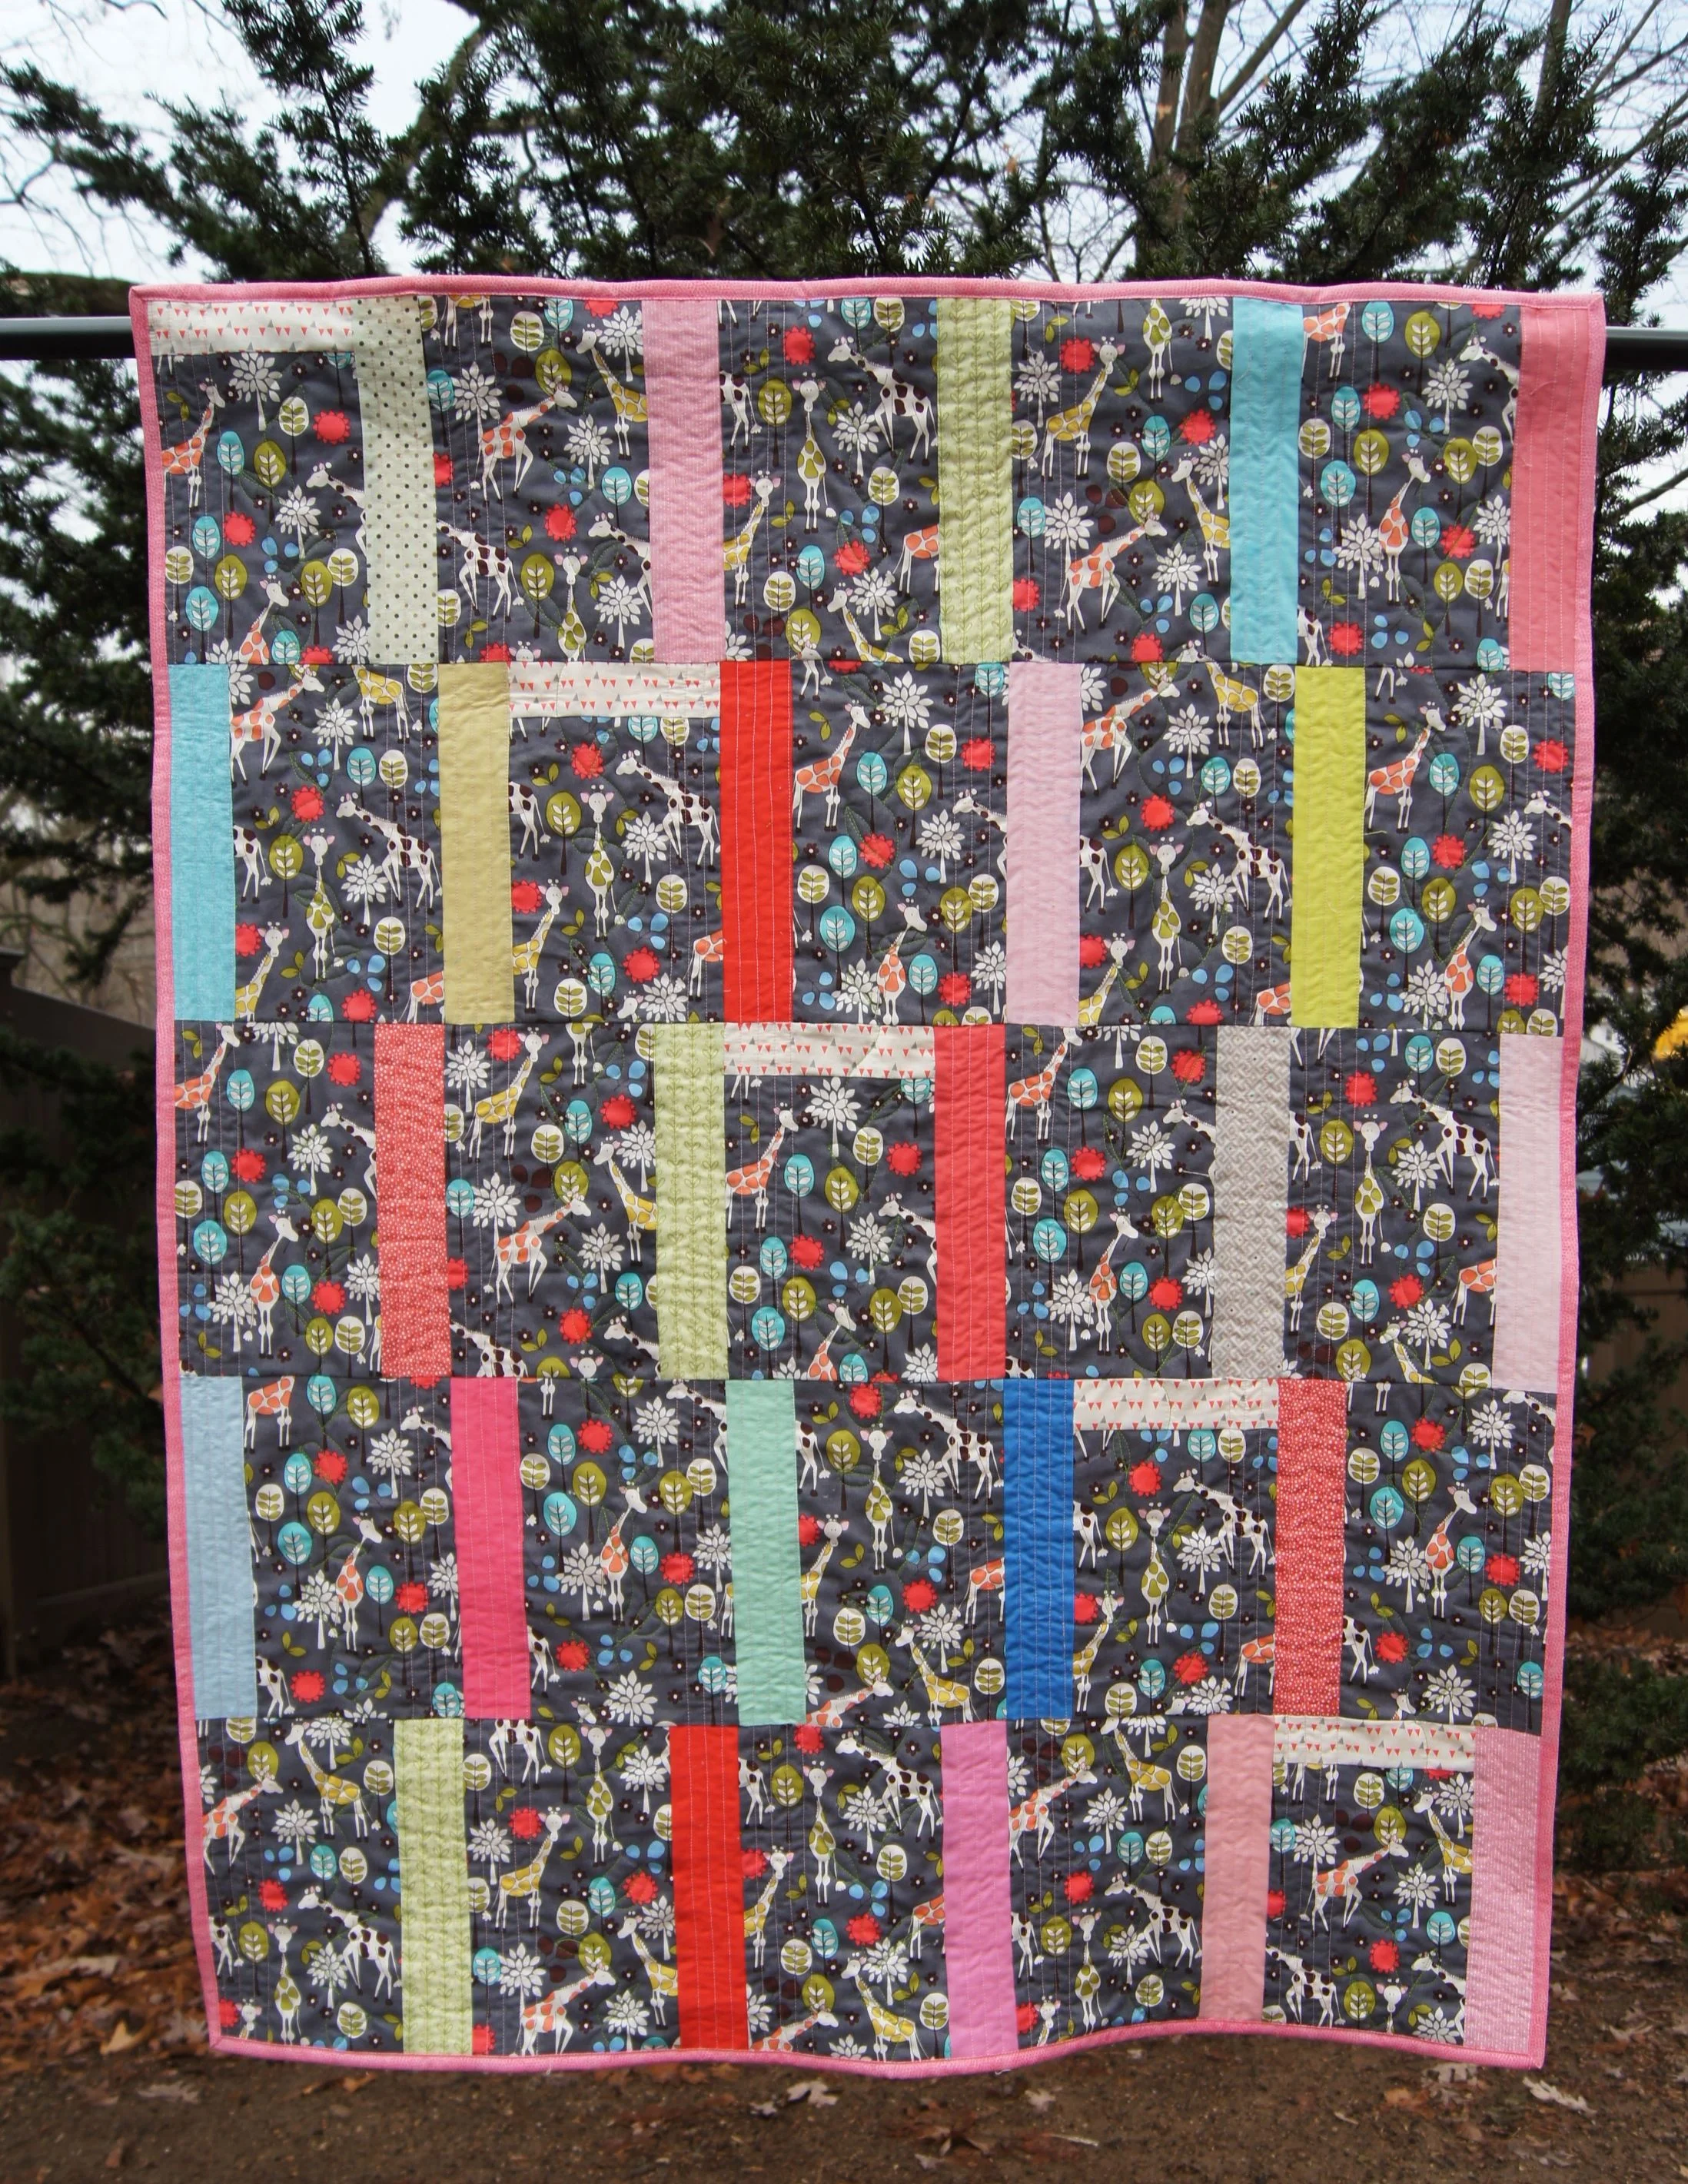
Hedgerow Quilt 41 x 62.5 inches
The Hedgerow Quilt from the Makower UK “Hedgerow Panel” and coordinating print is done! I used three different quilting techniques to complete it.
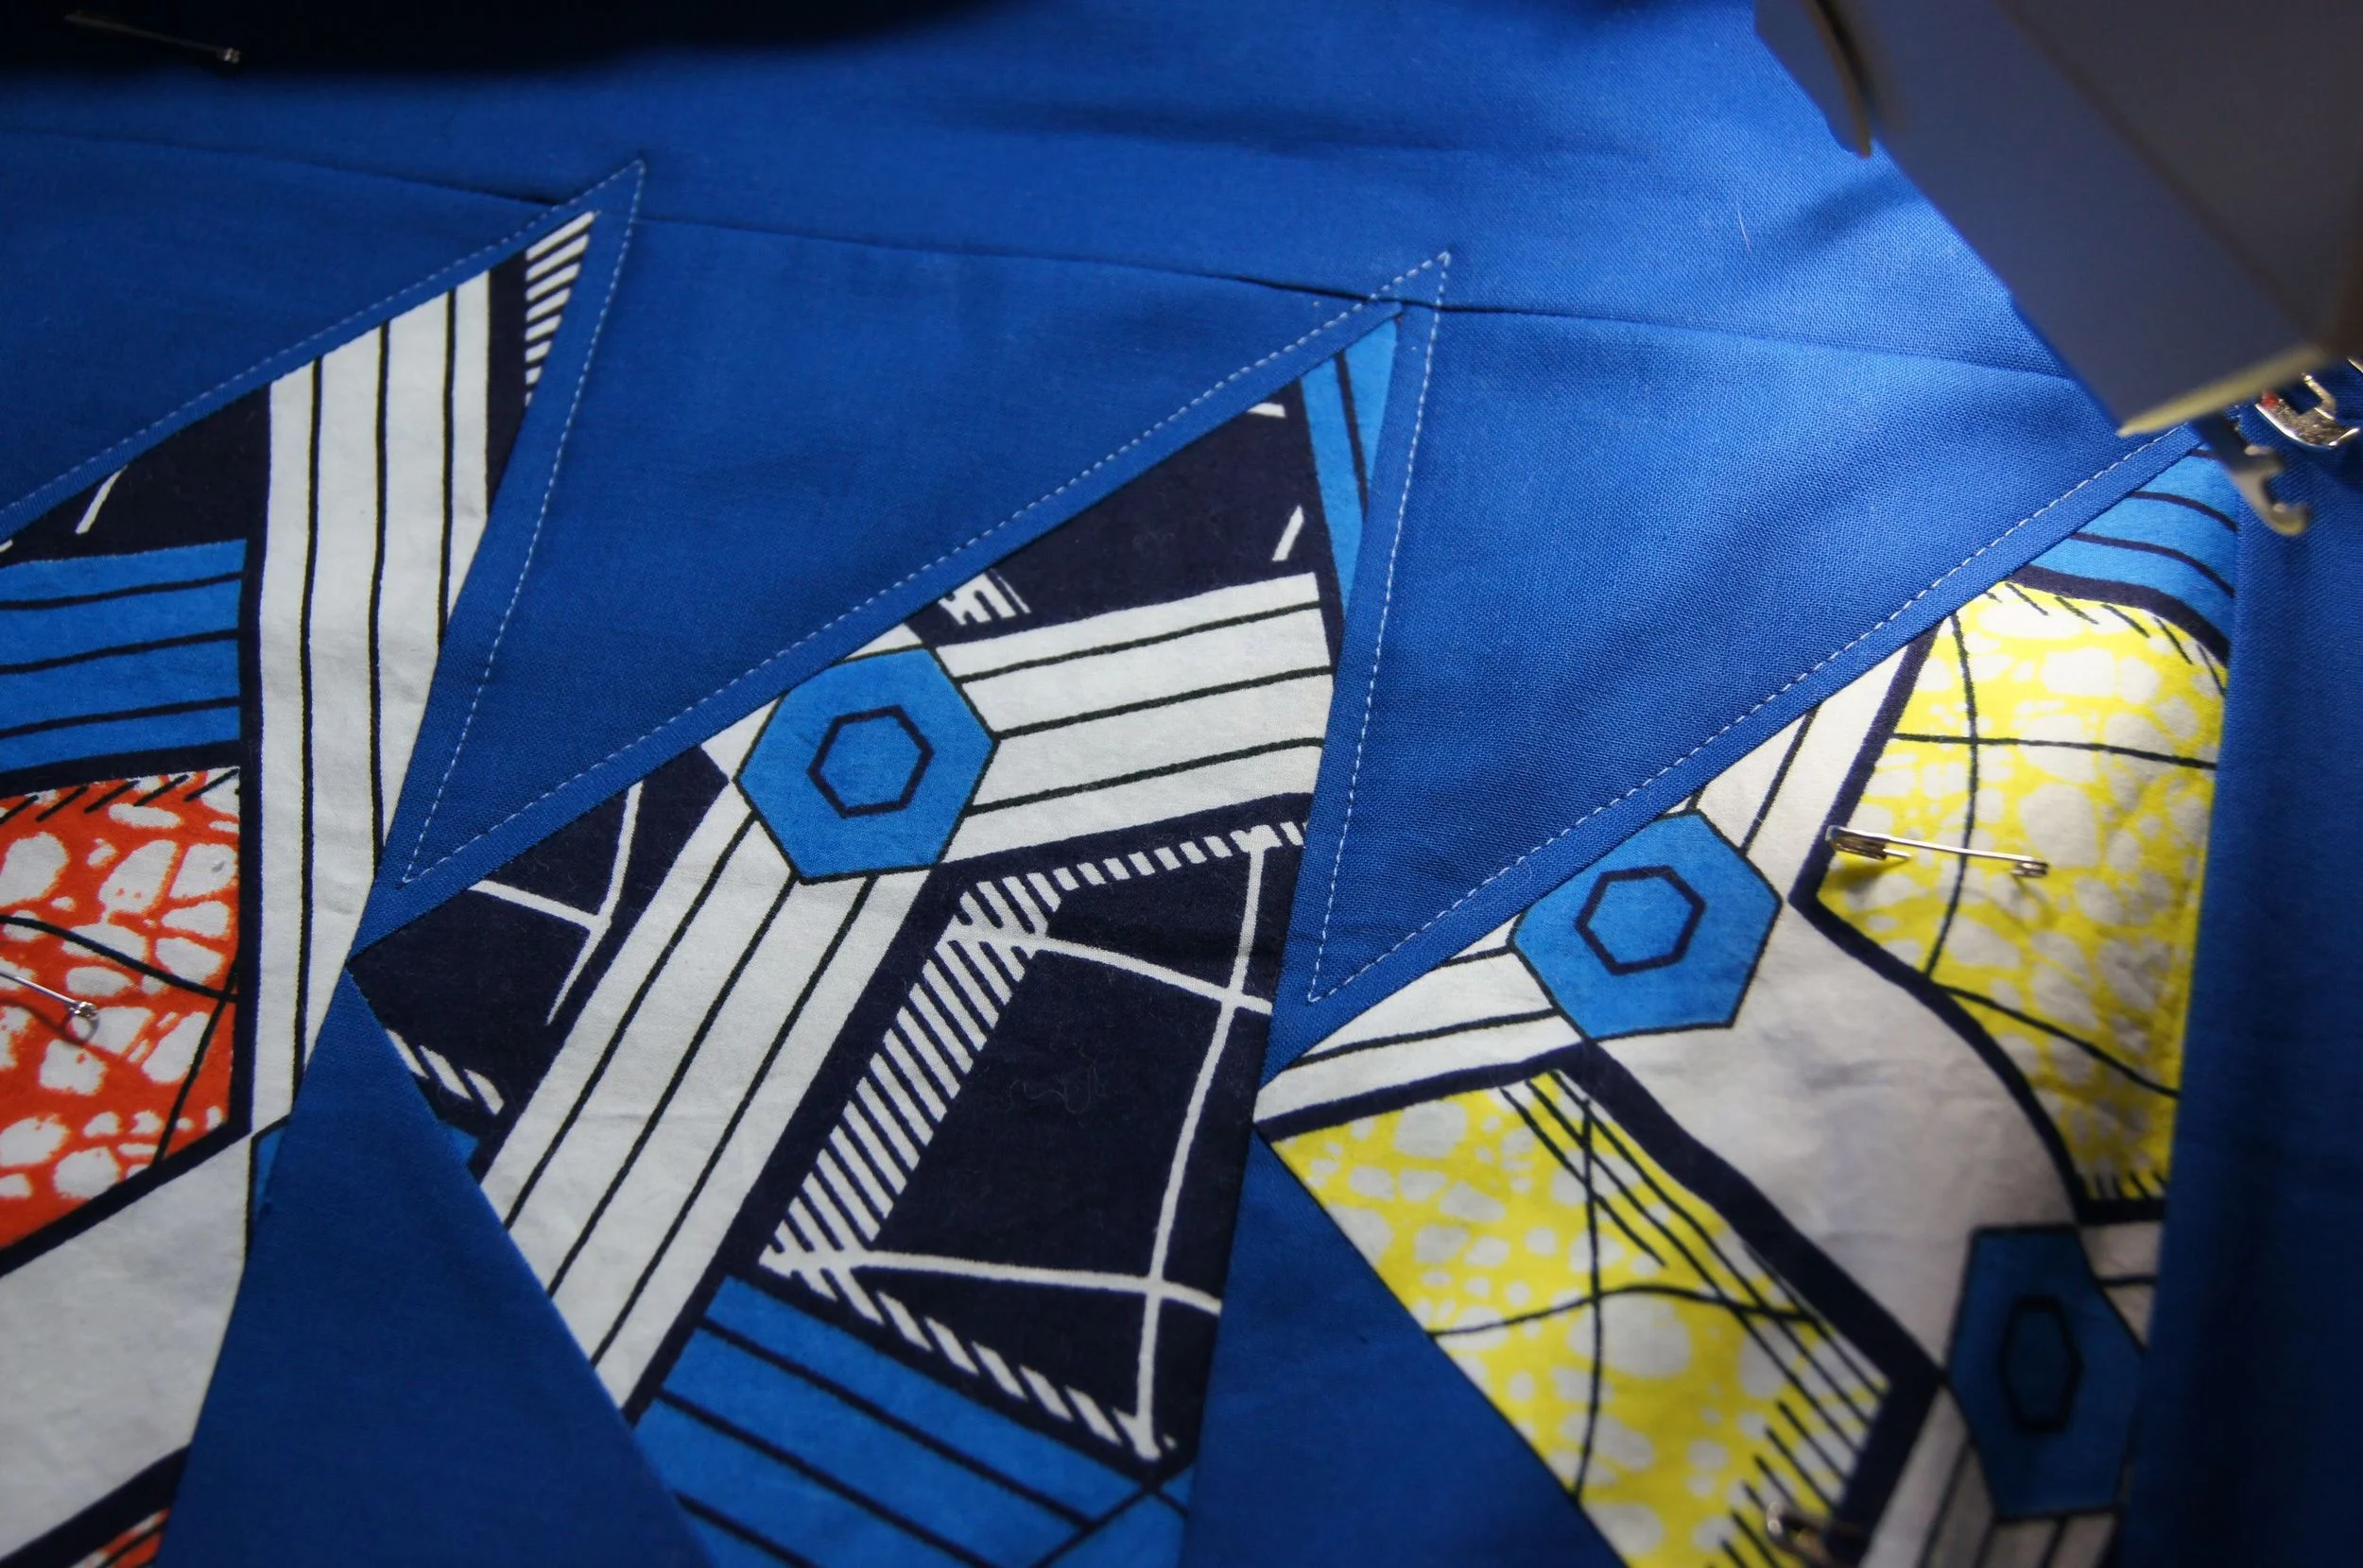
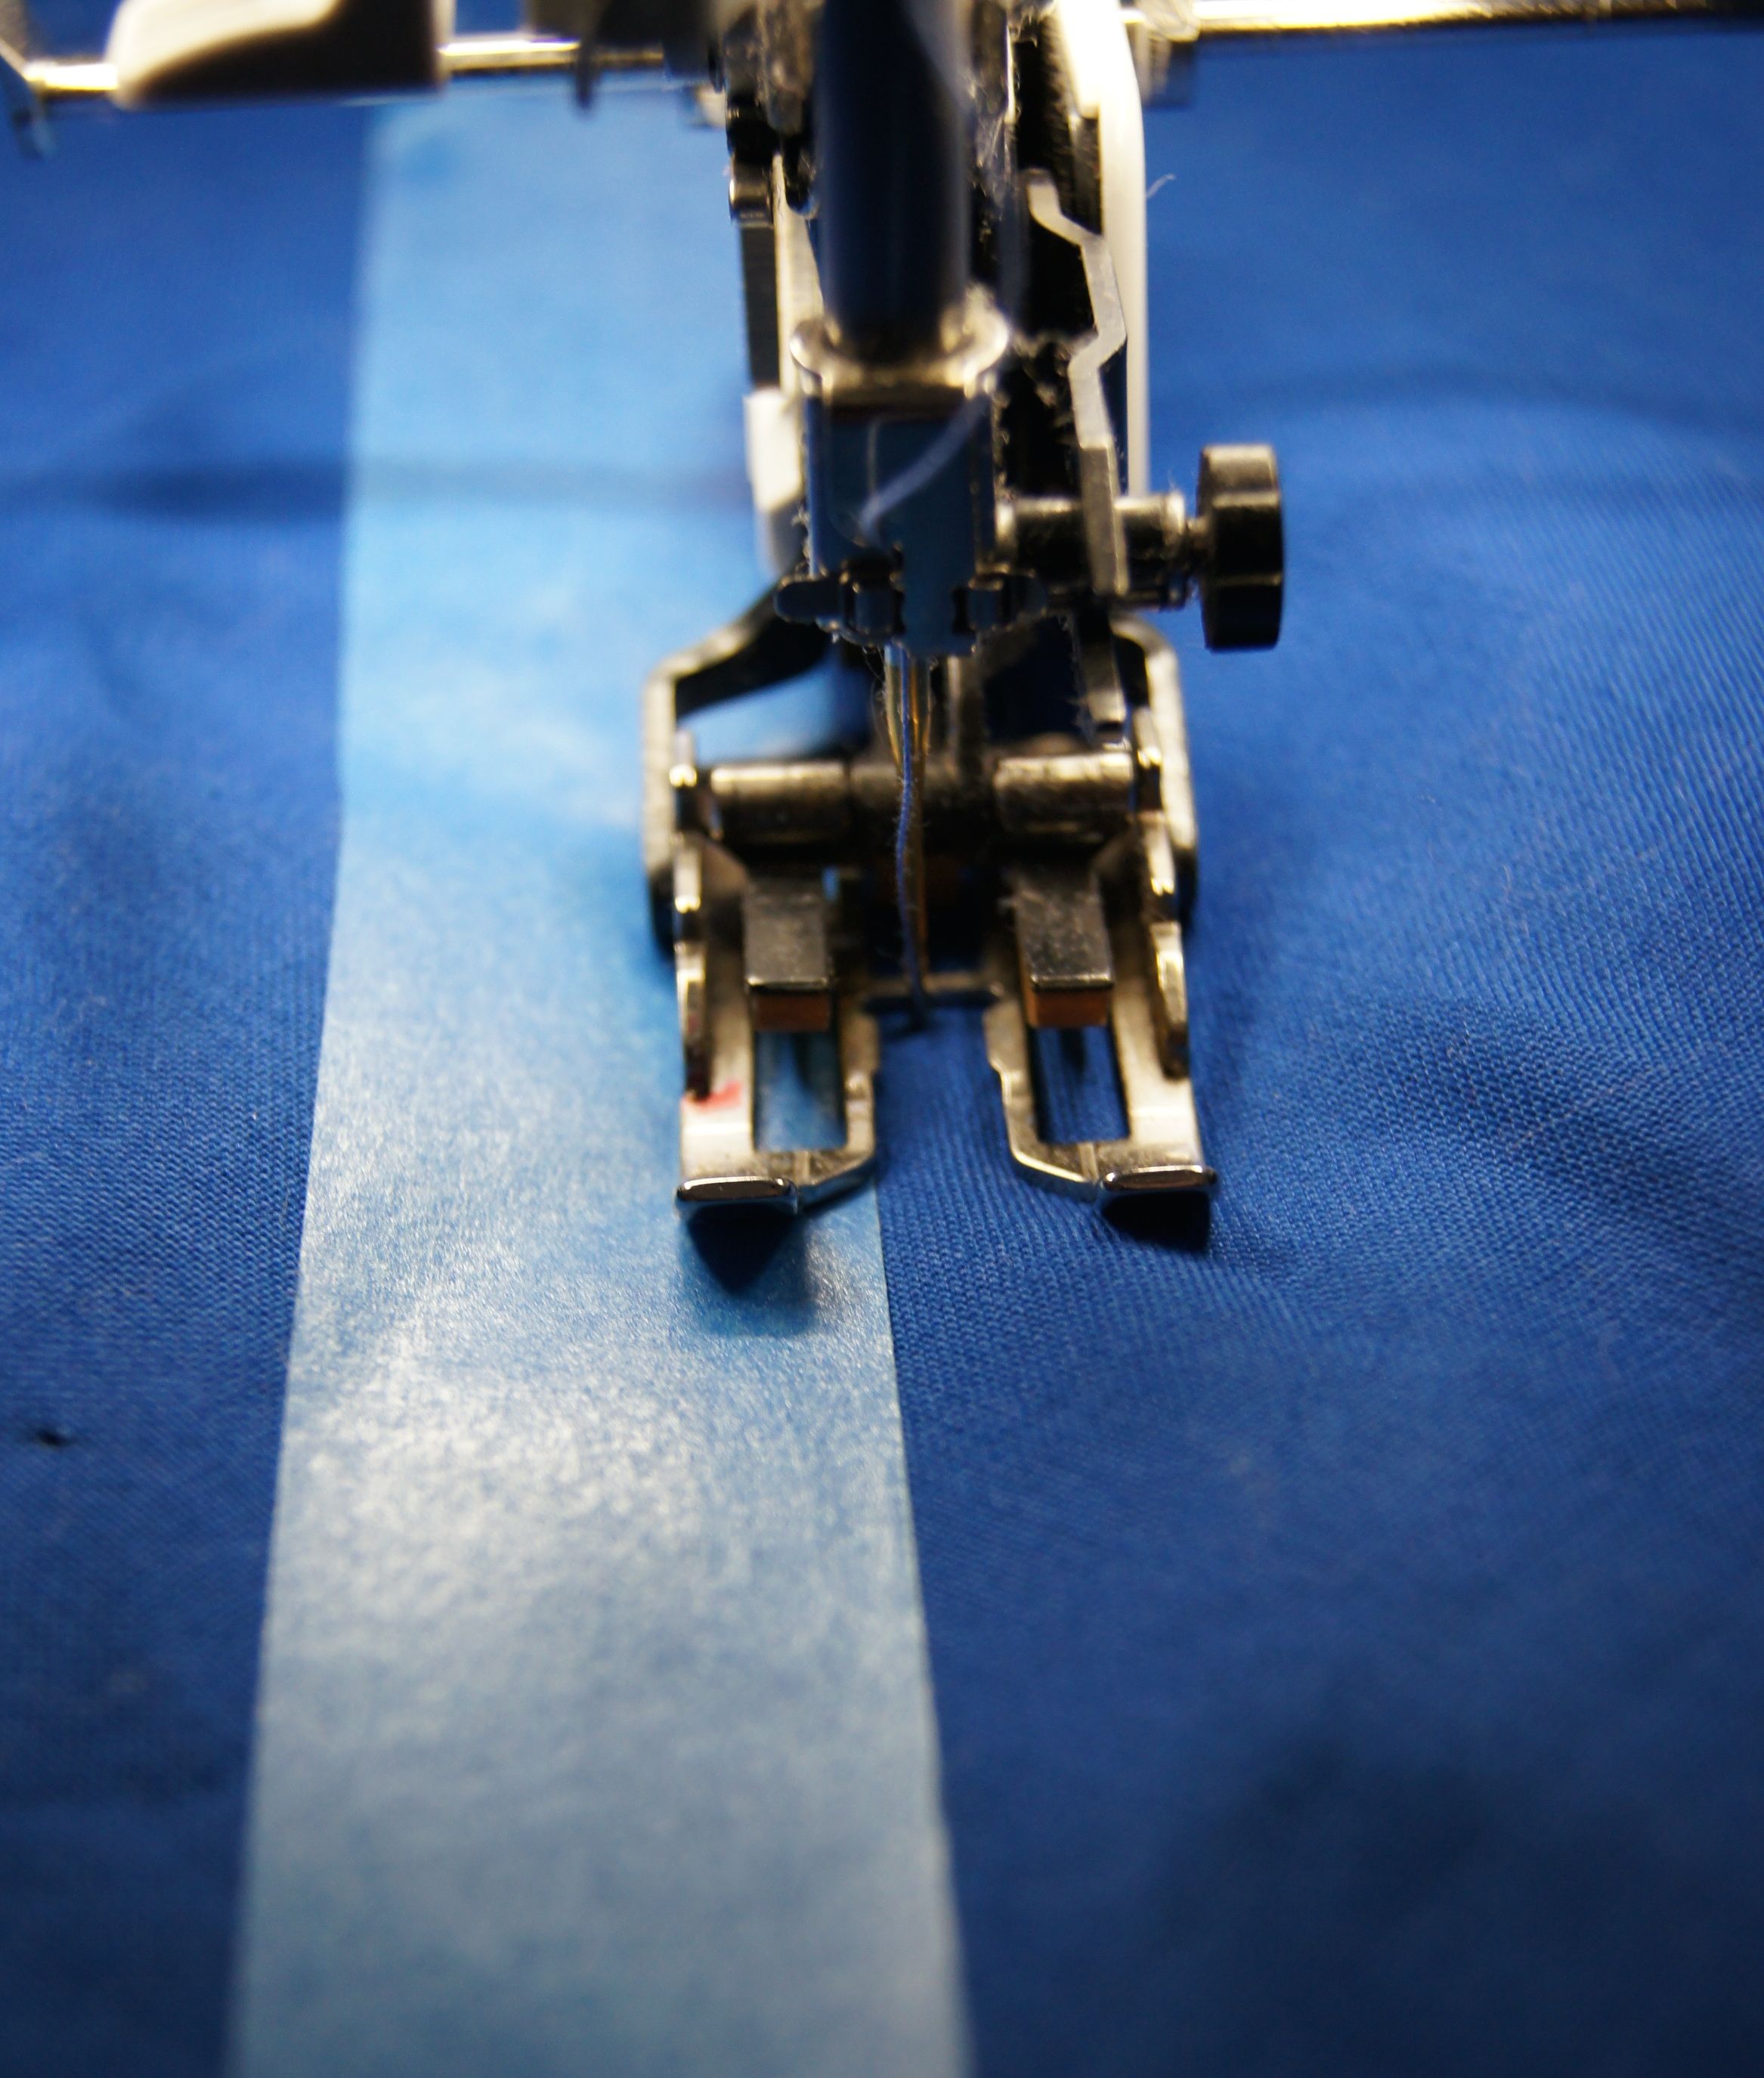
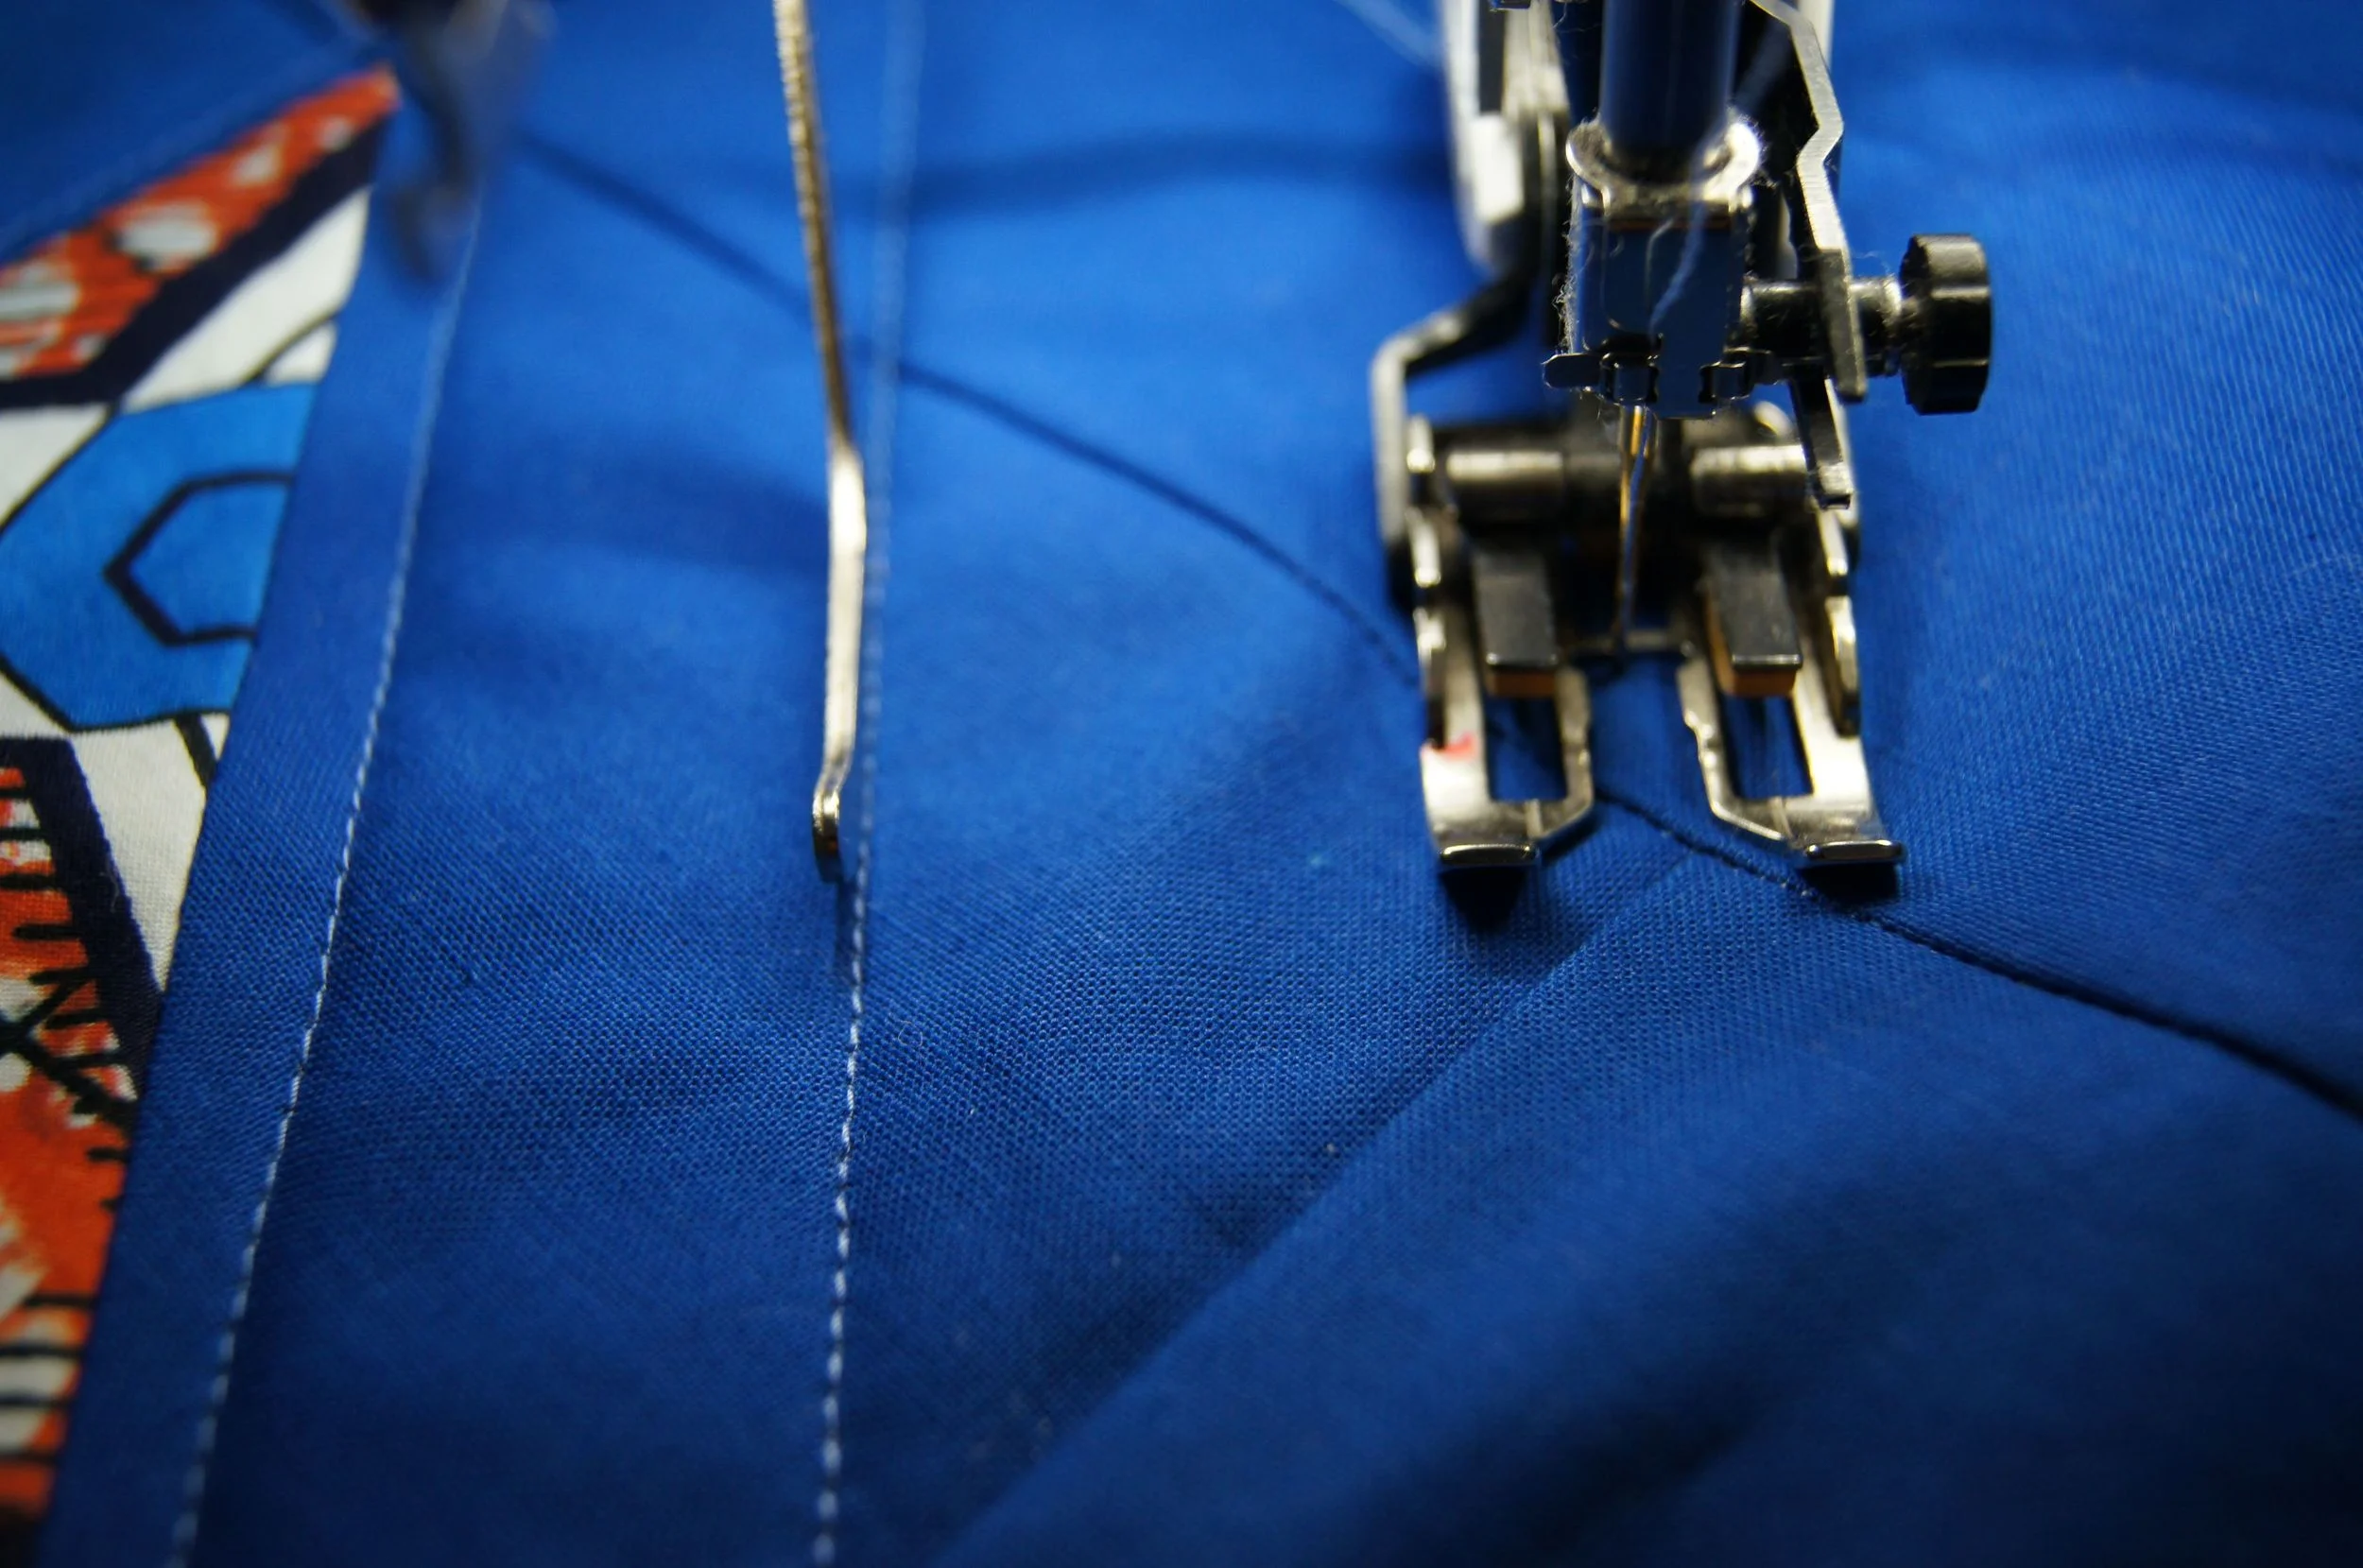
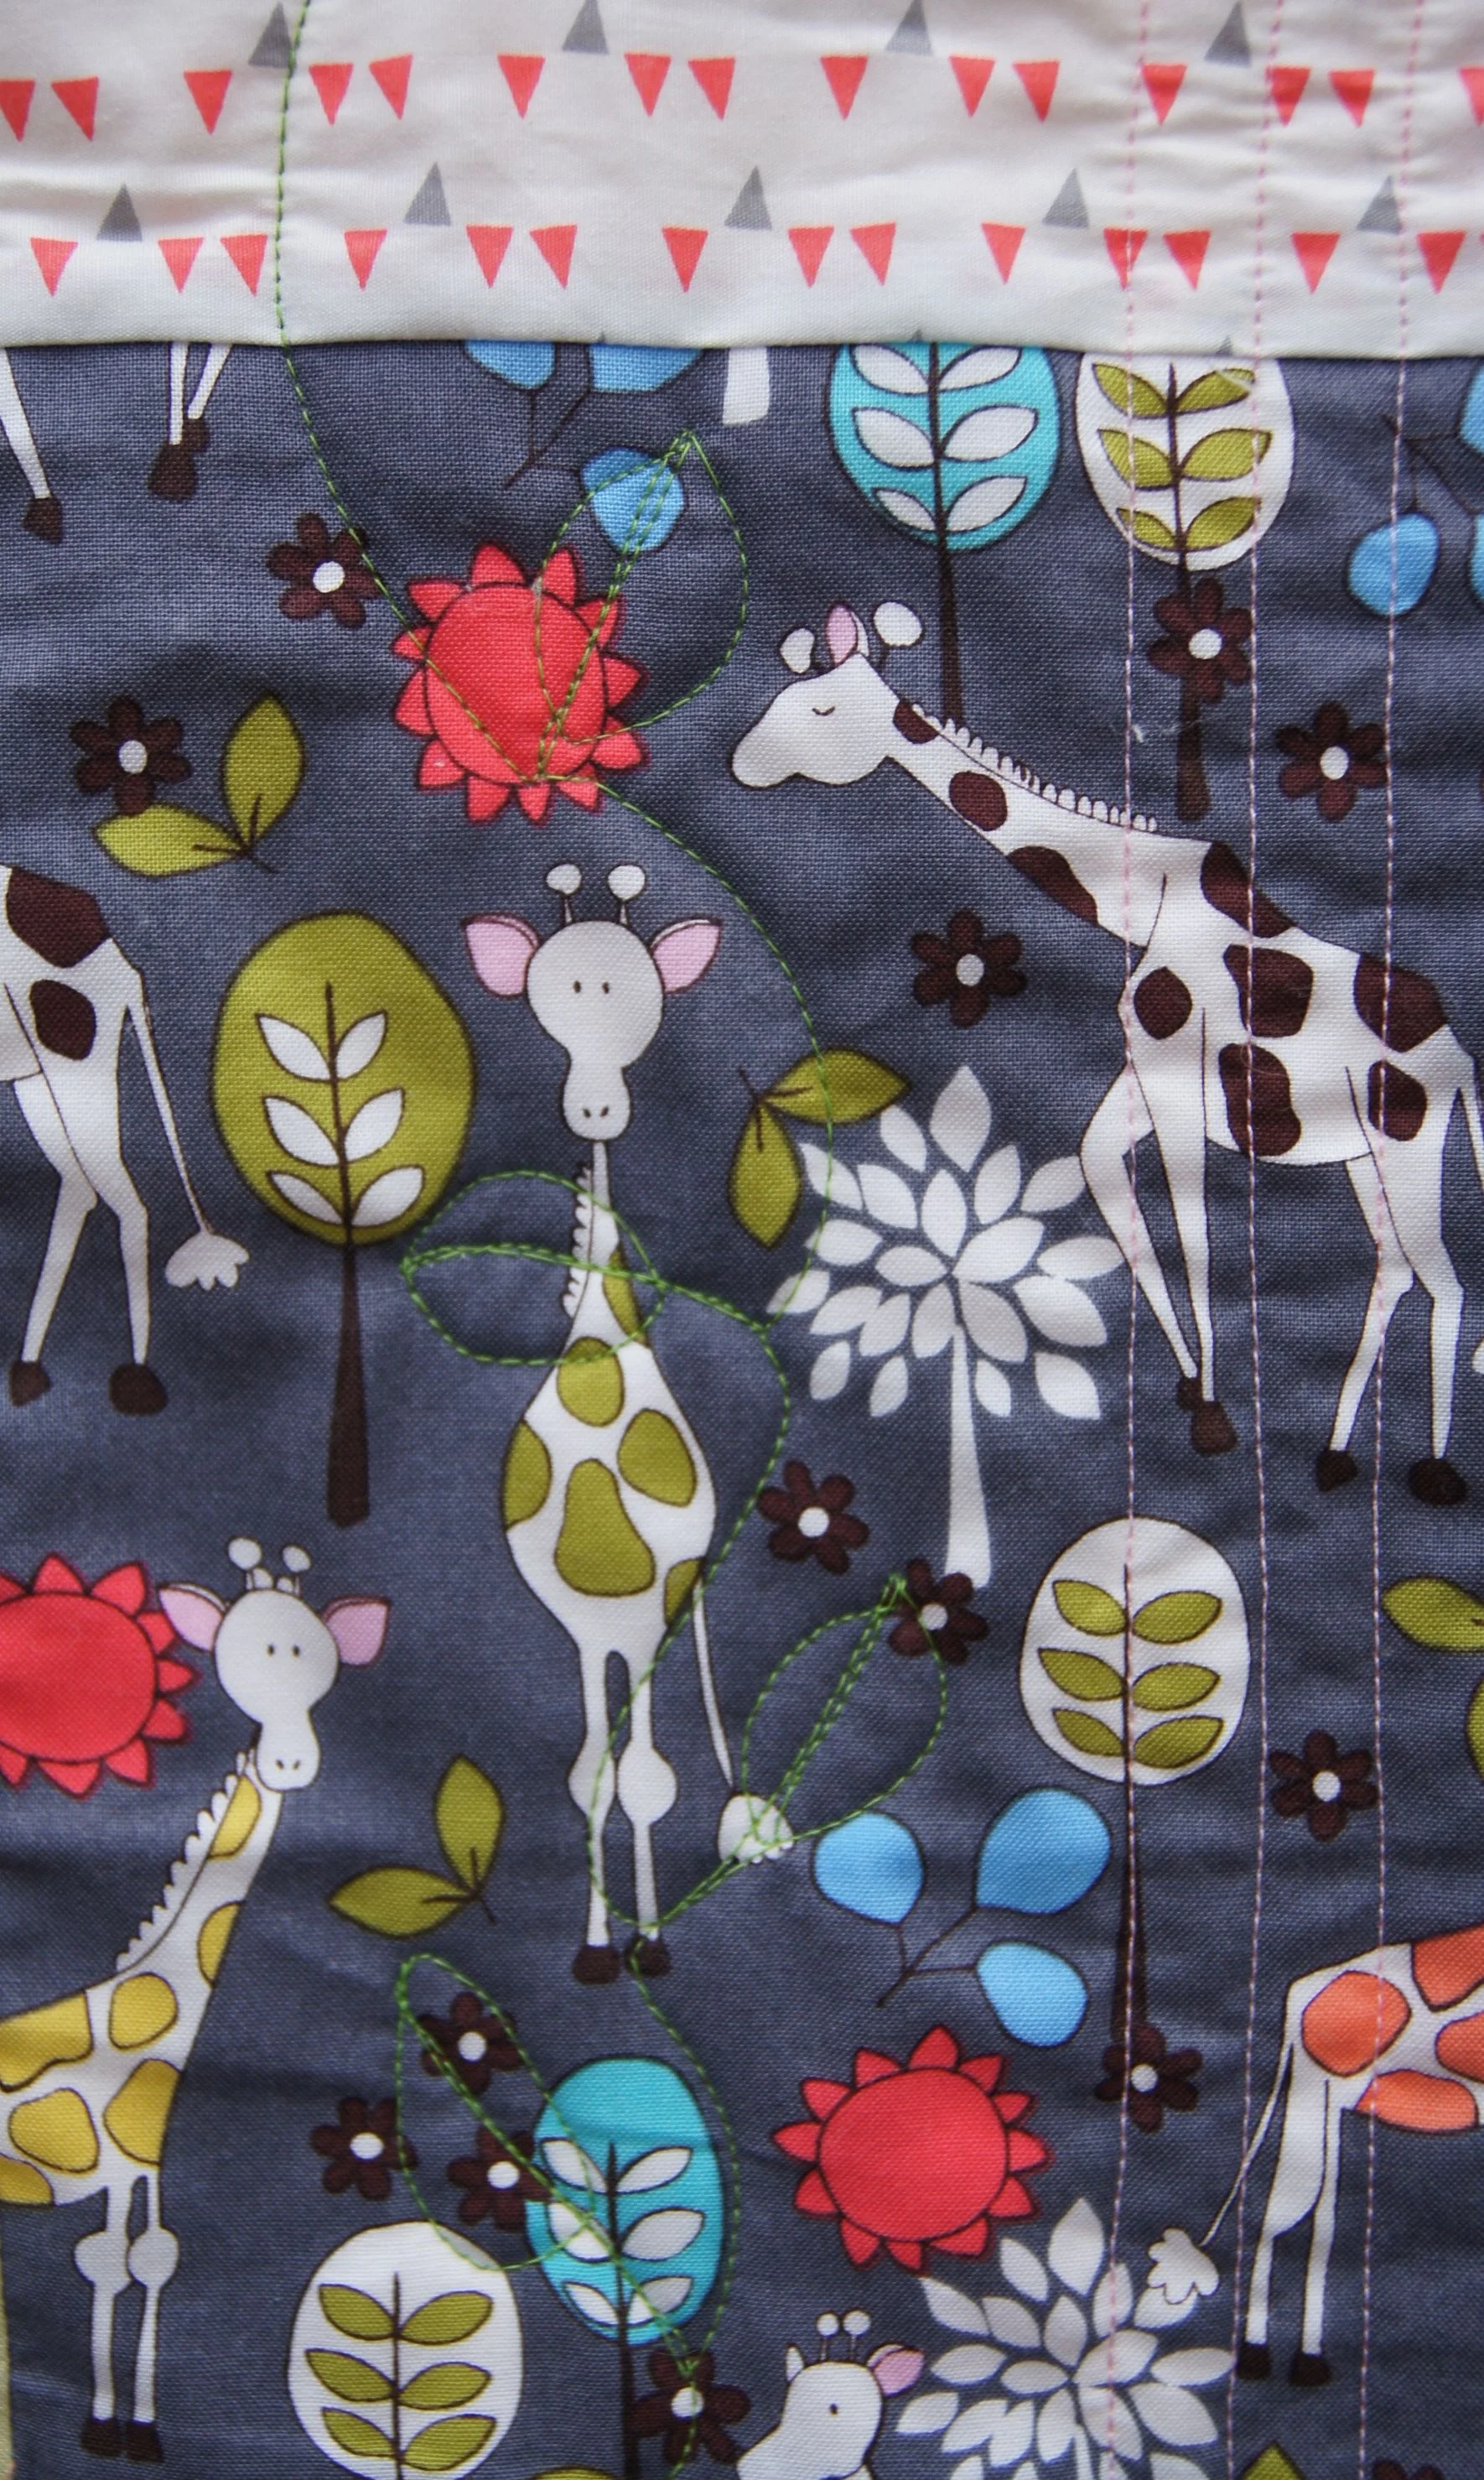
There is big stitch hand quilting using #8 Perle cotton around the animals in the blocks, straight line walking foot stitching in the Returning Birds pieced blocks, and free motion quilting in the sashing and in the animal blocks.
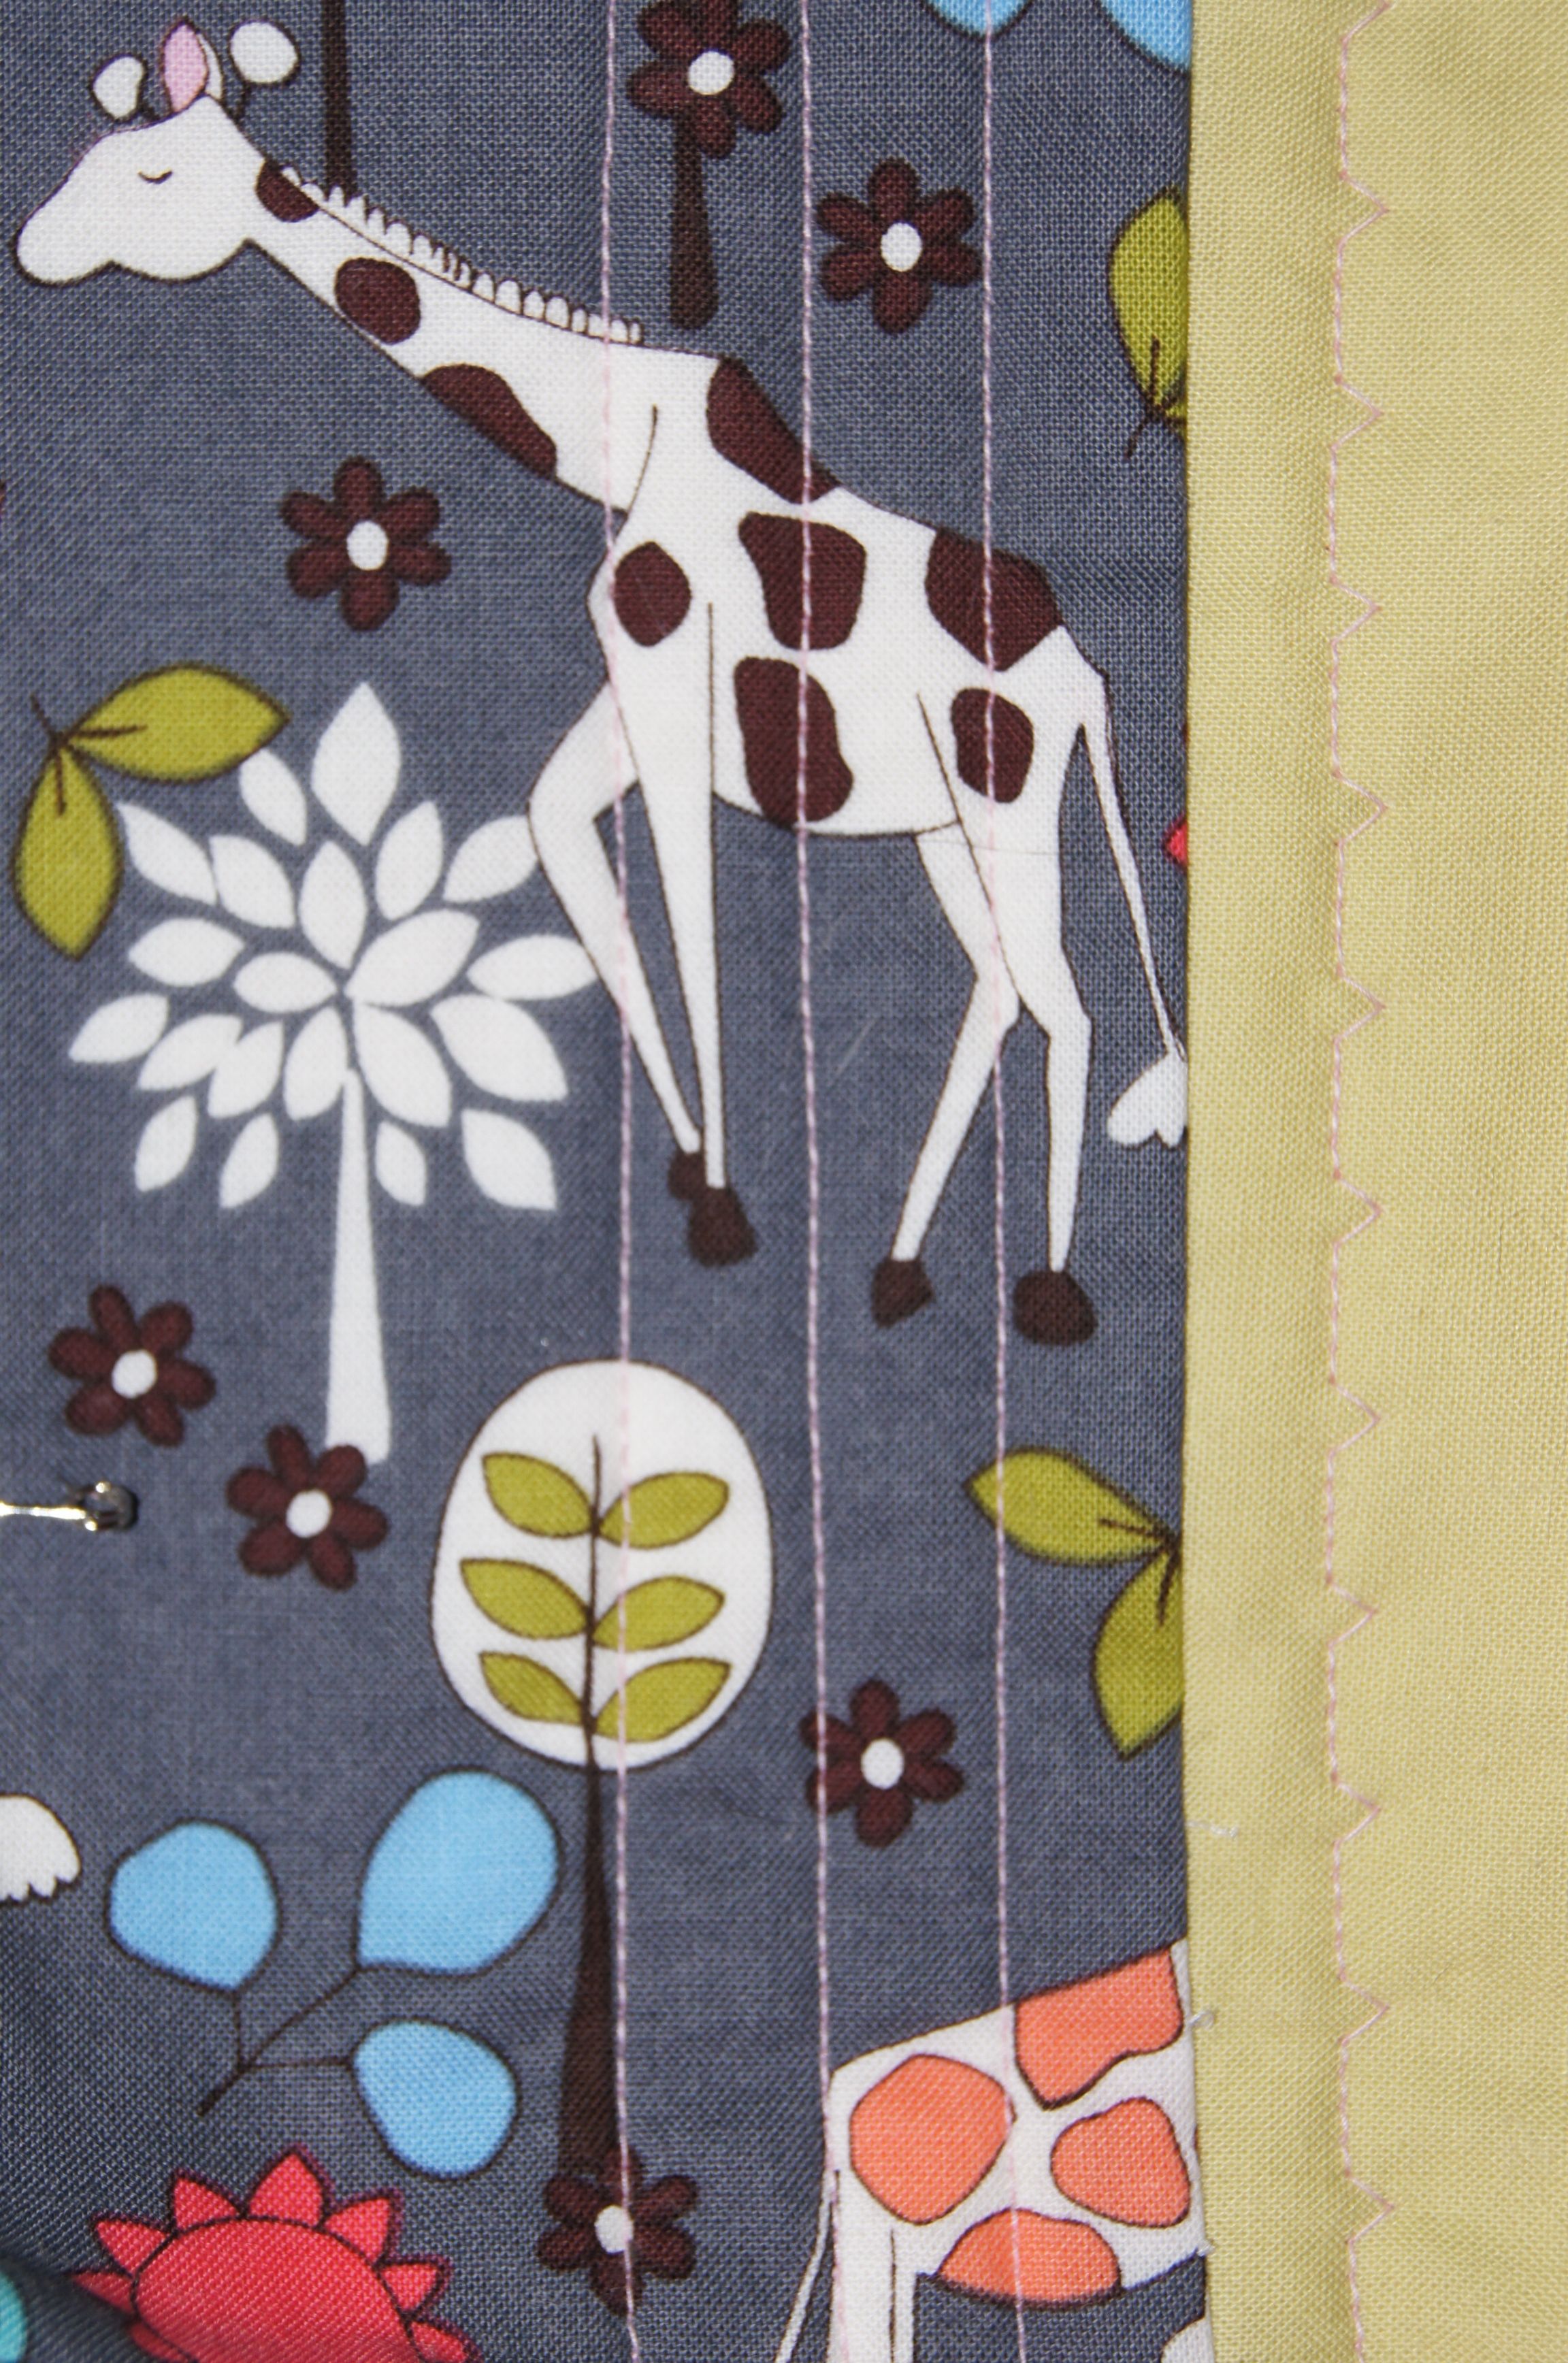
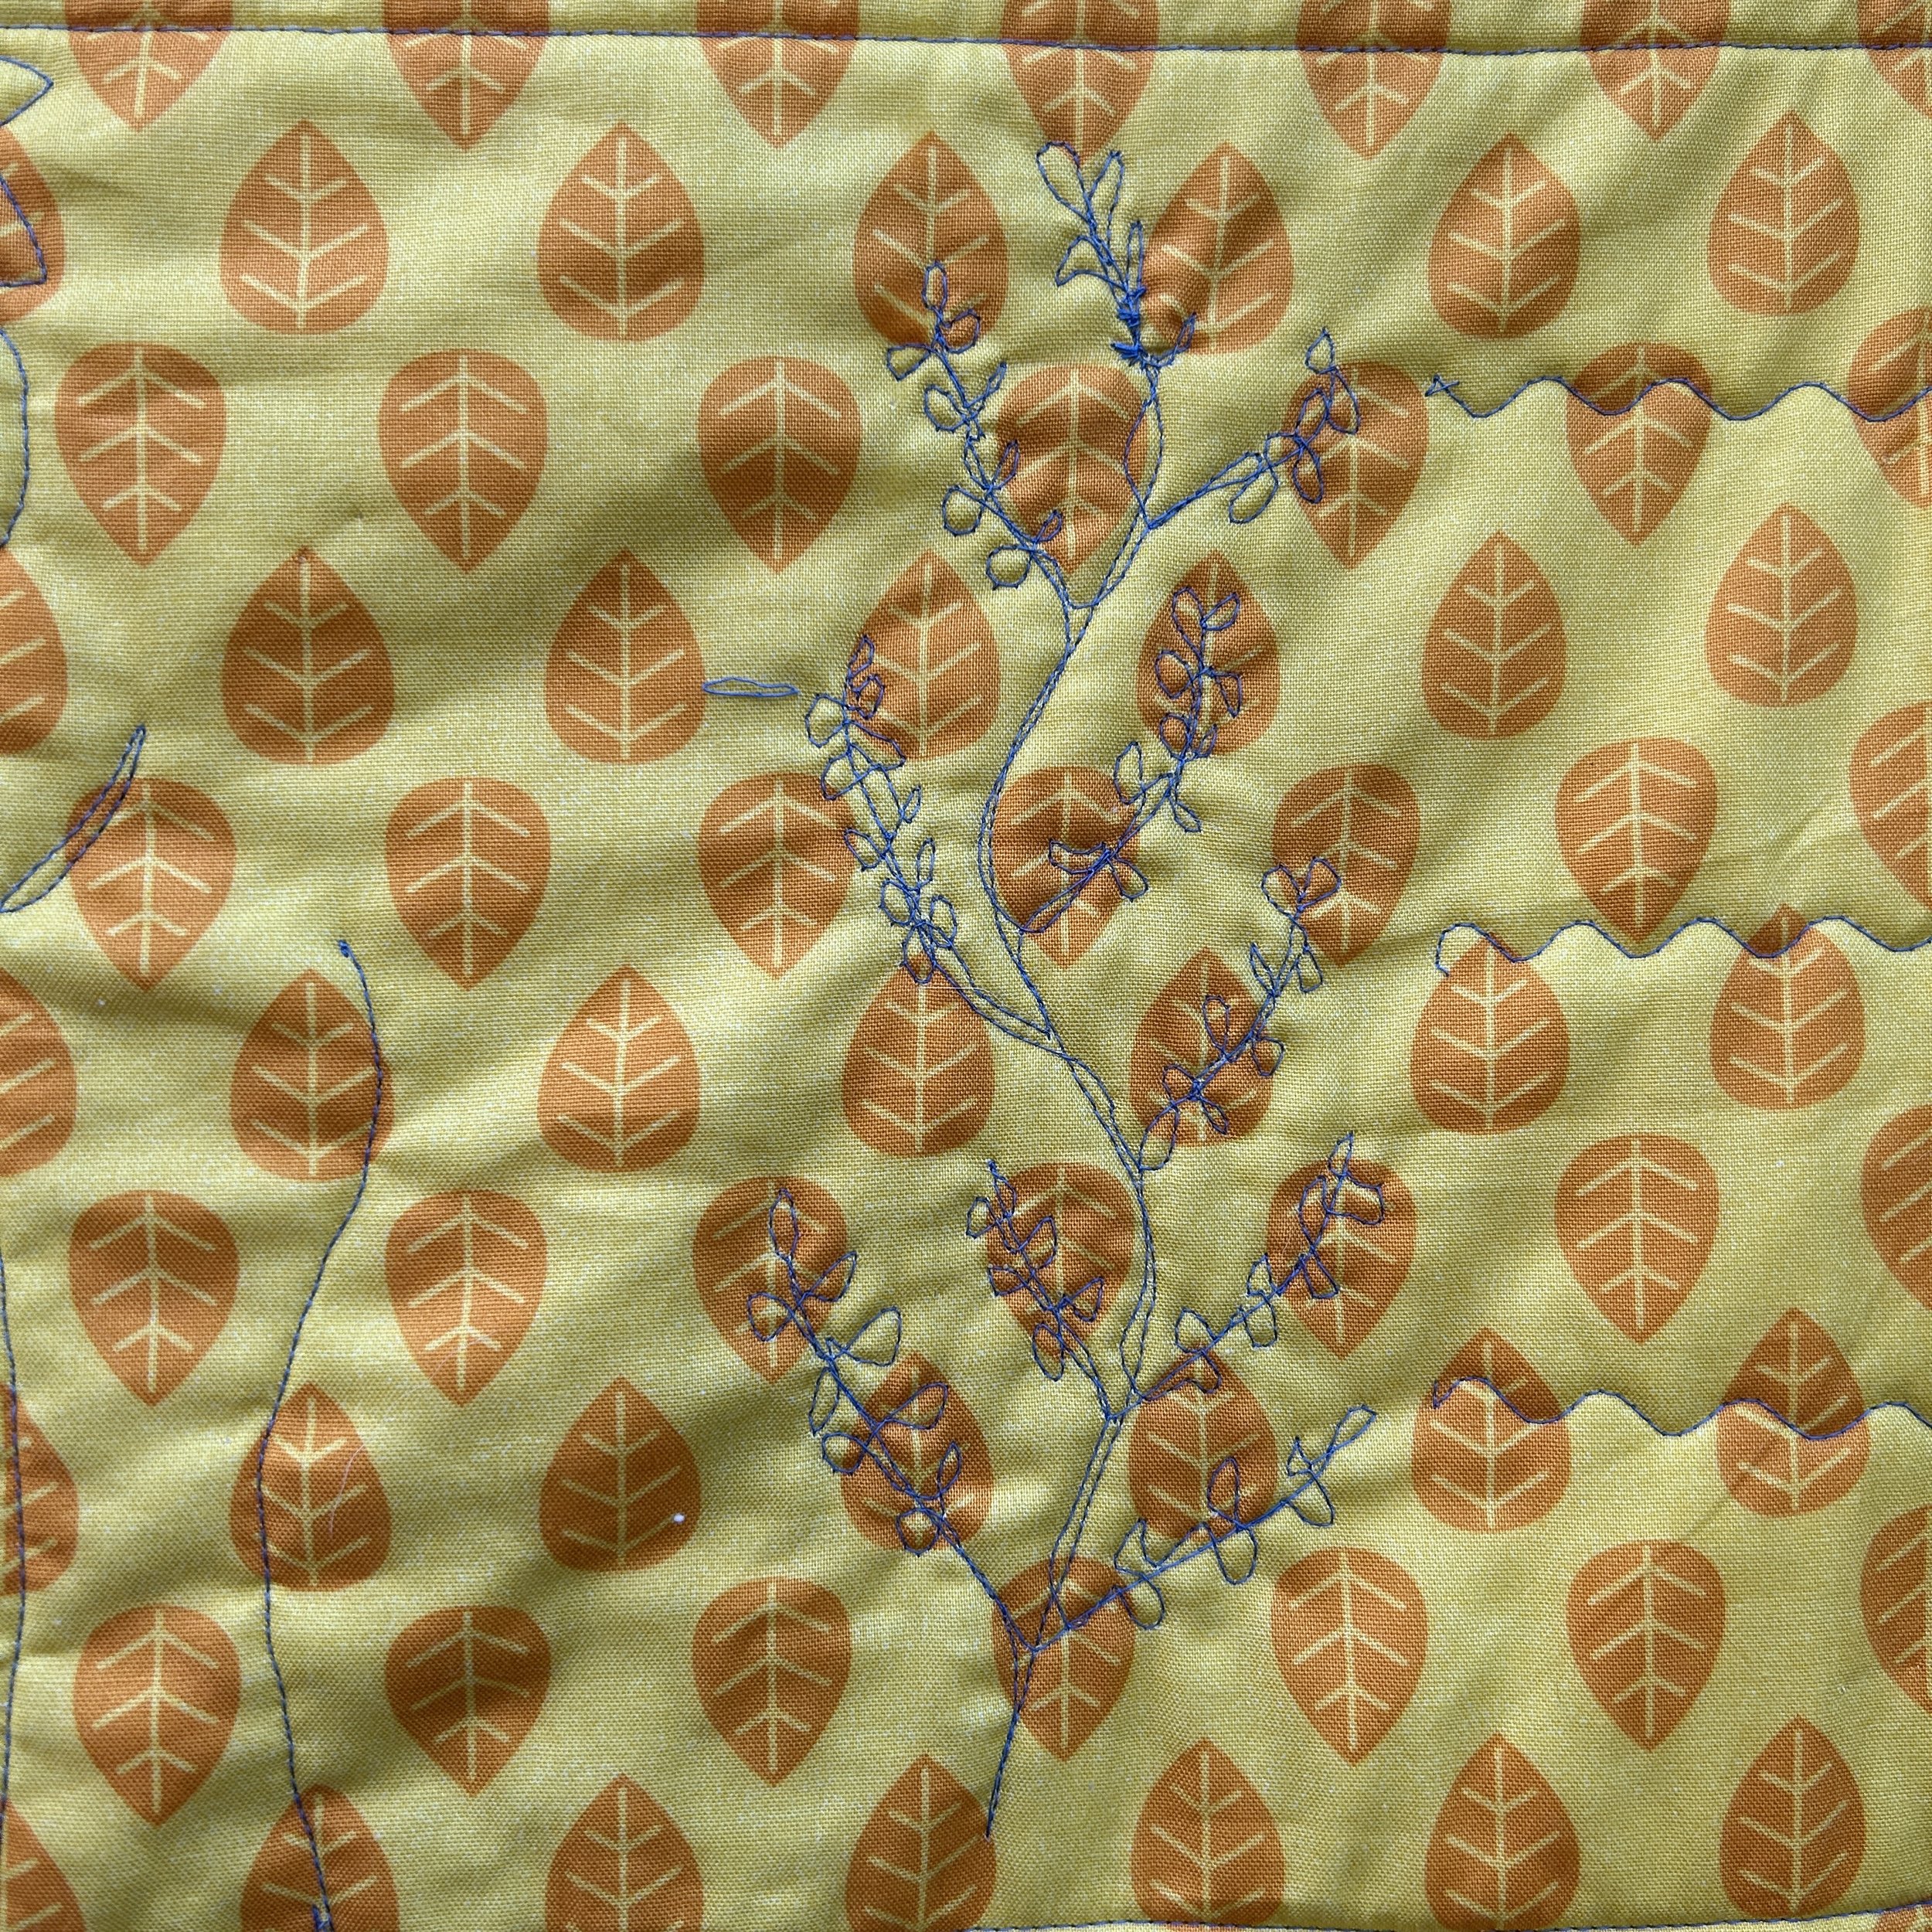
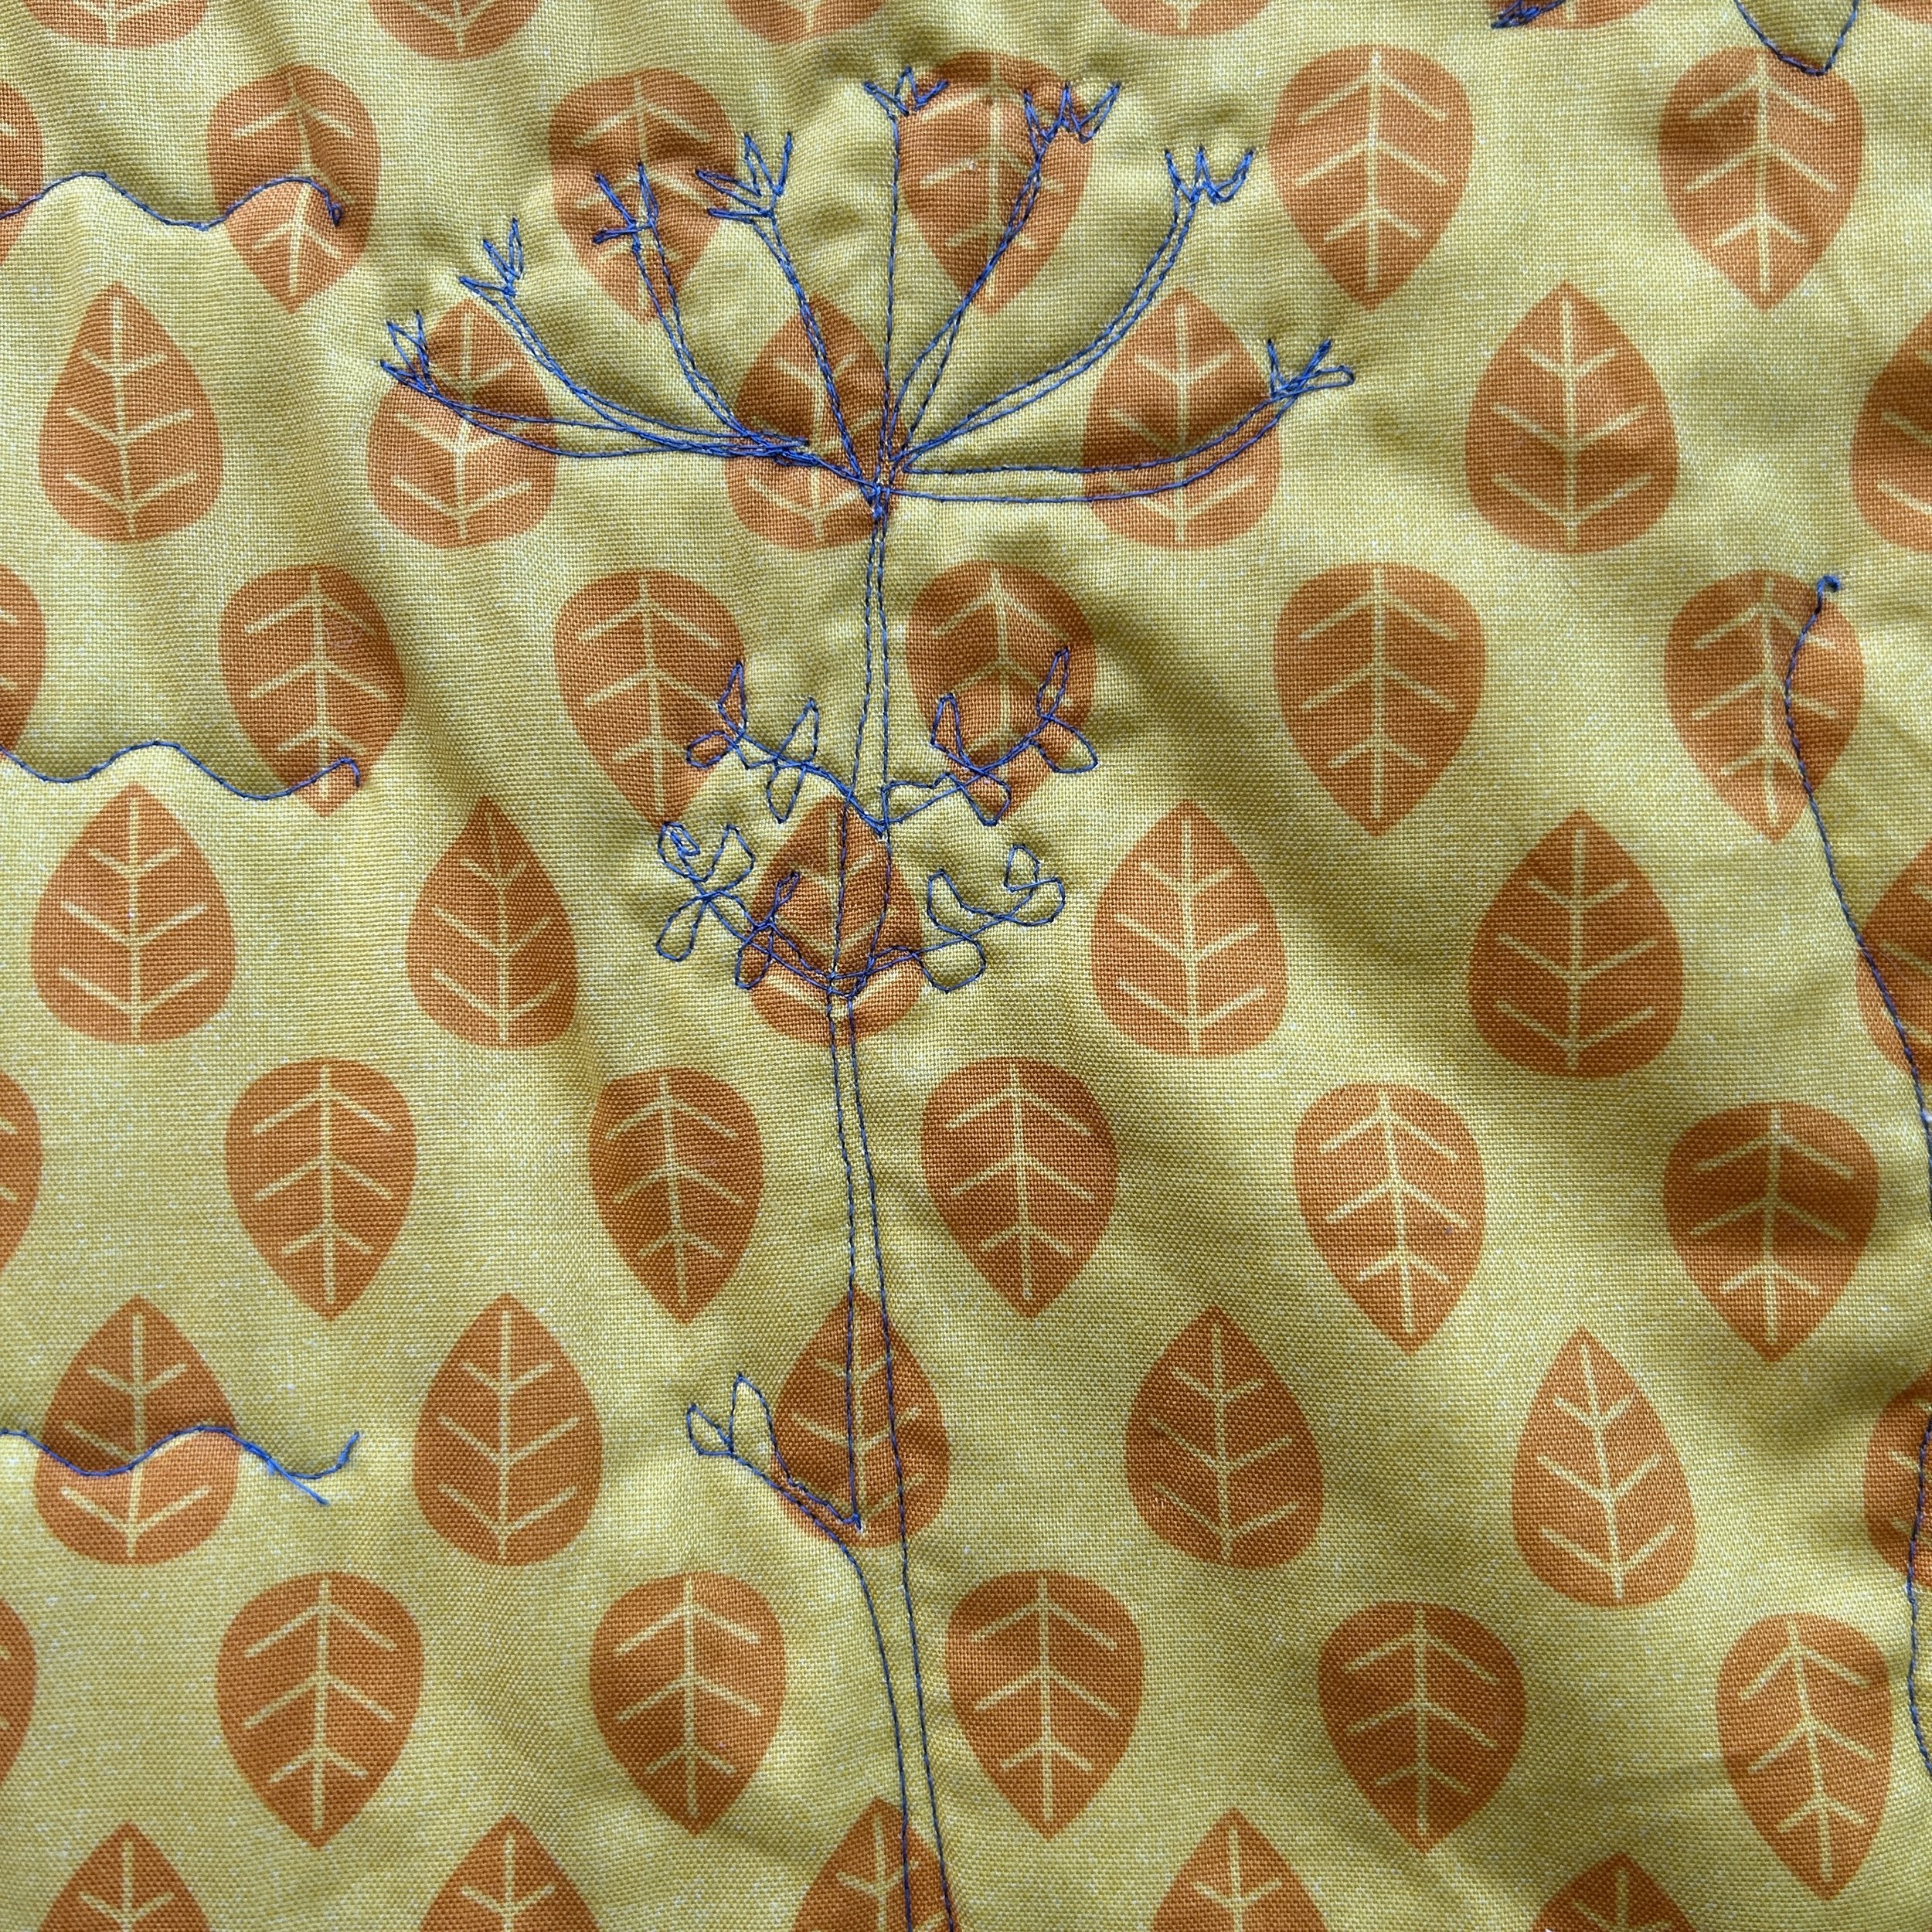
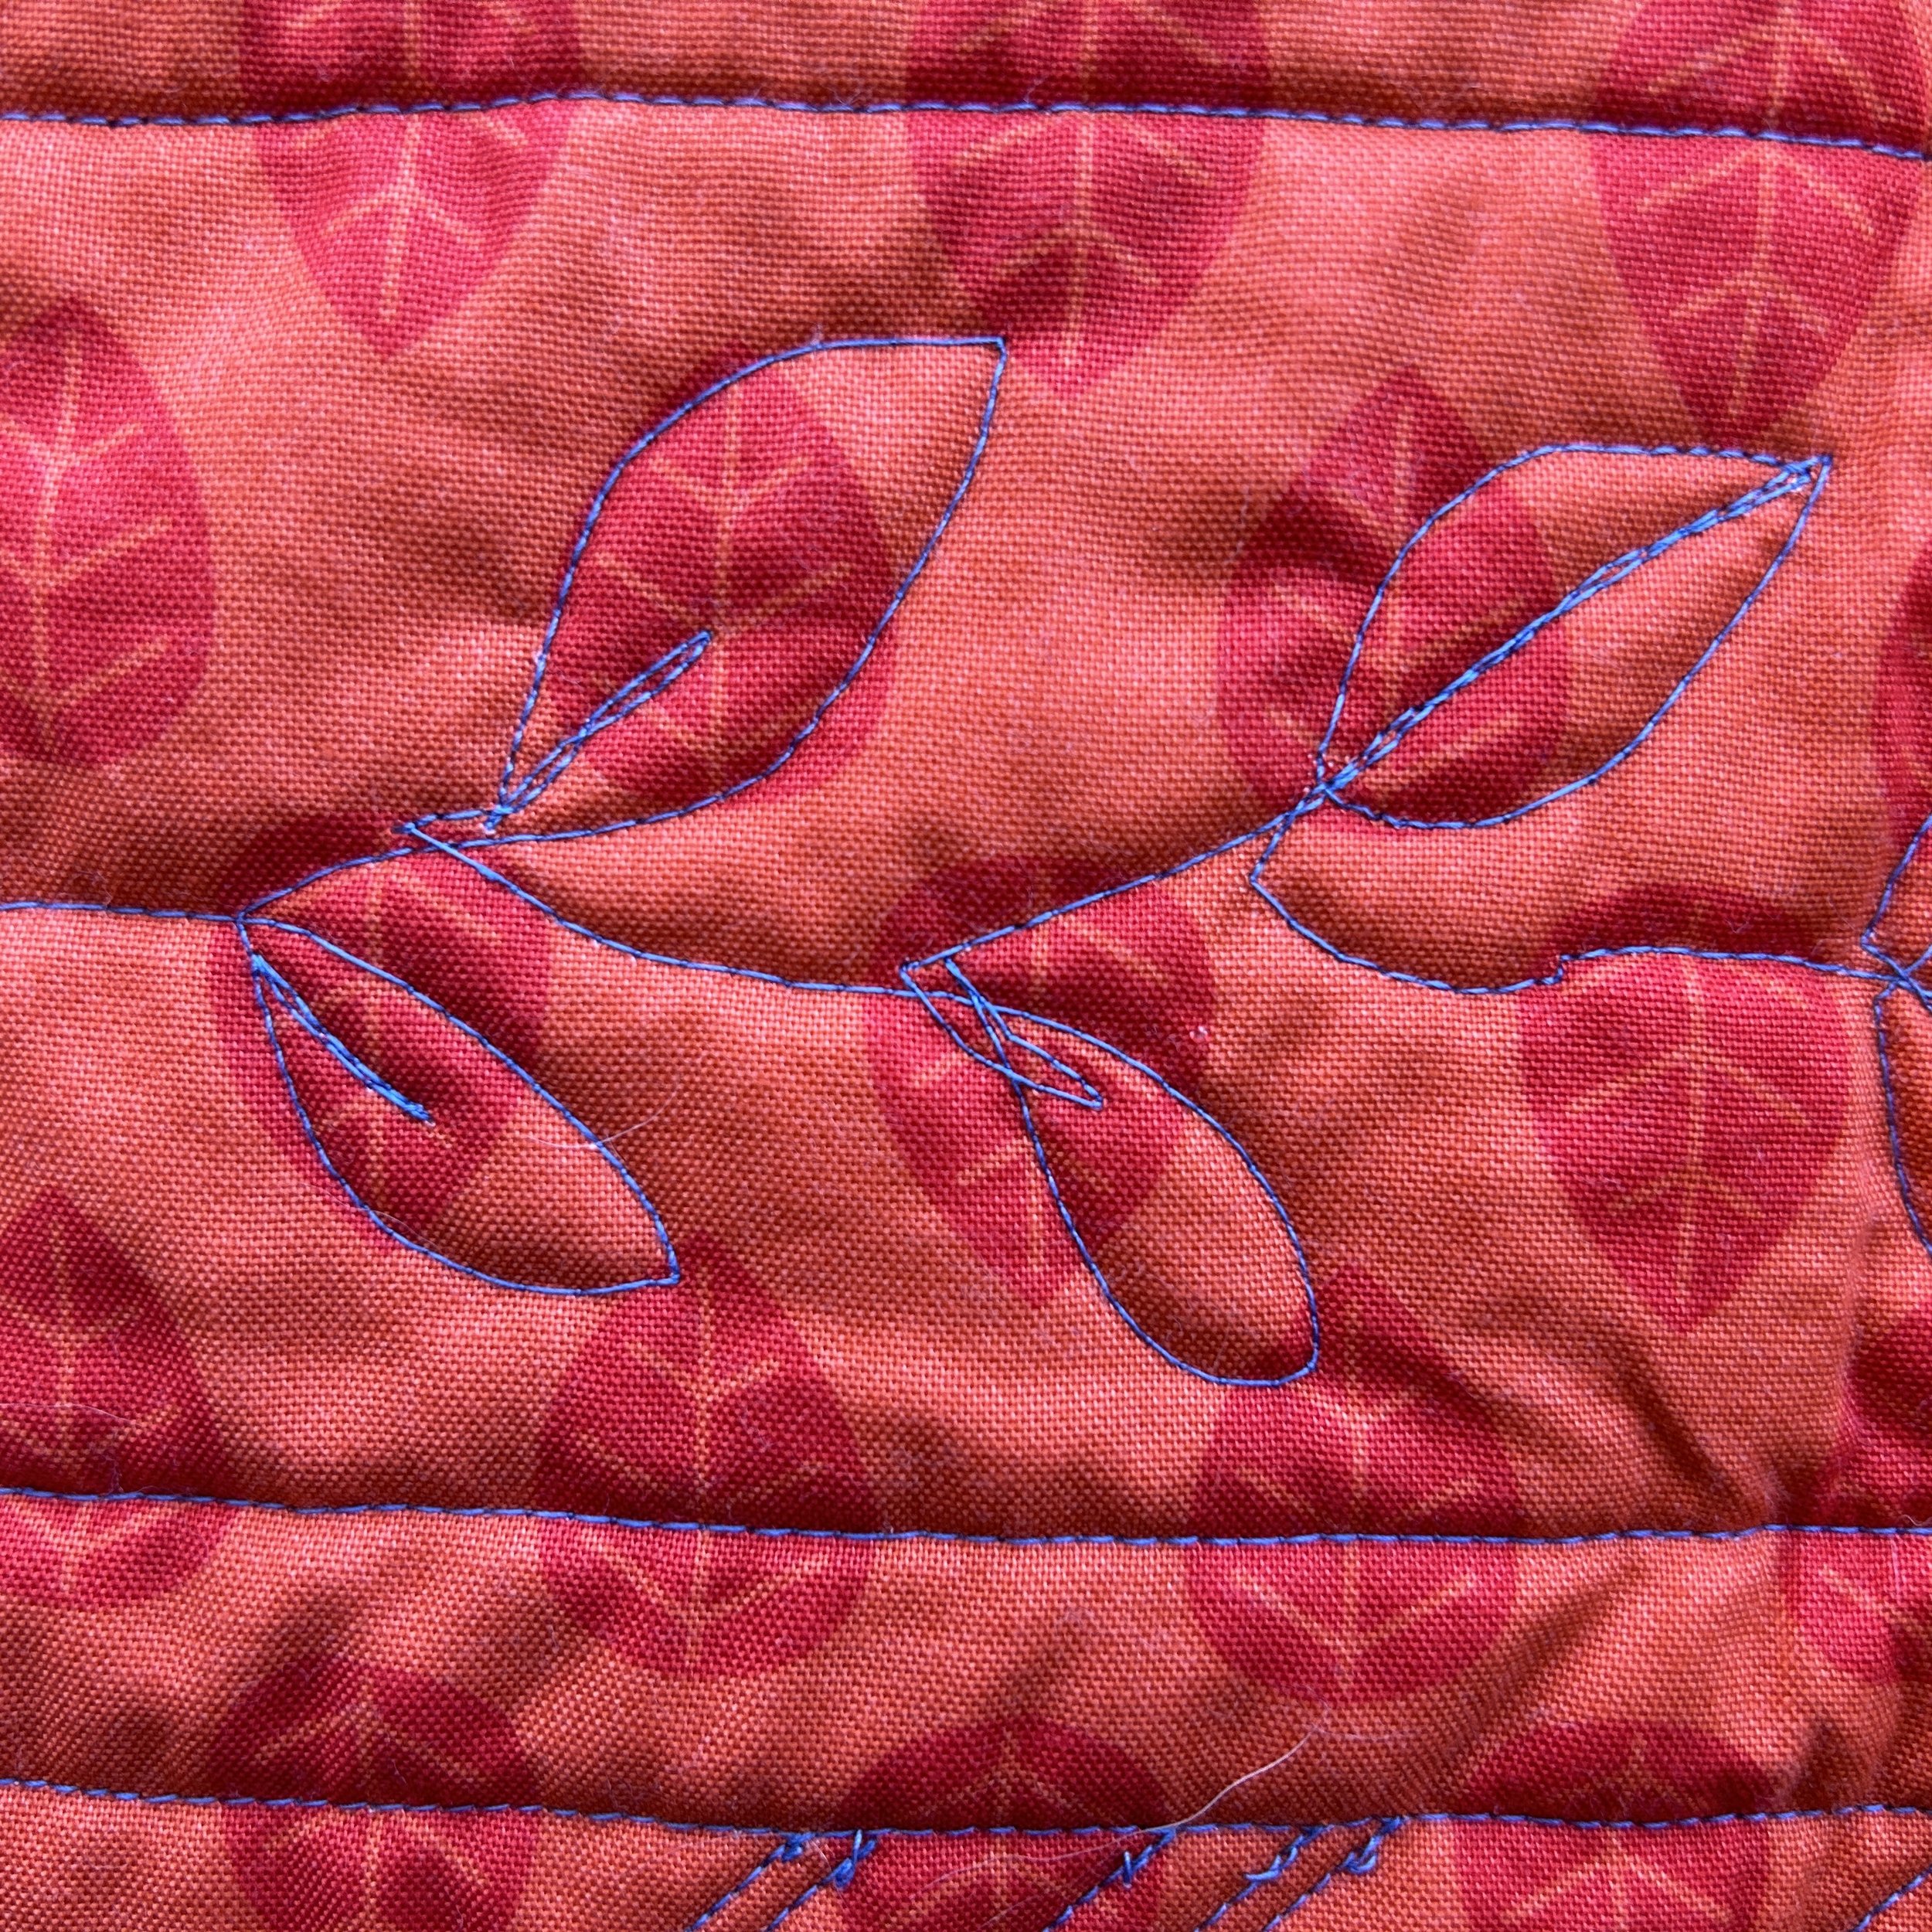
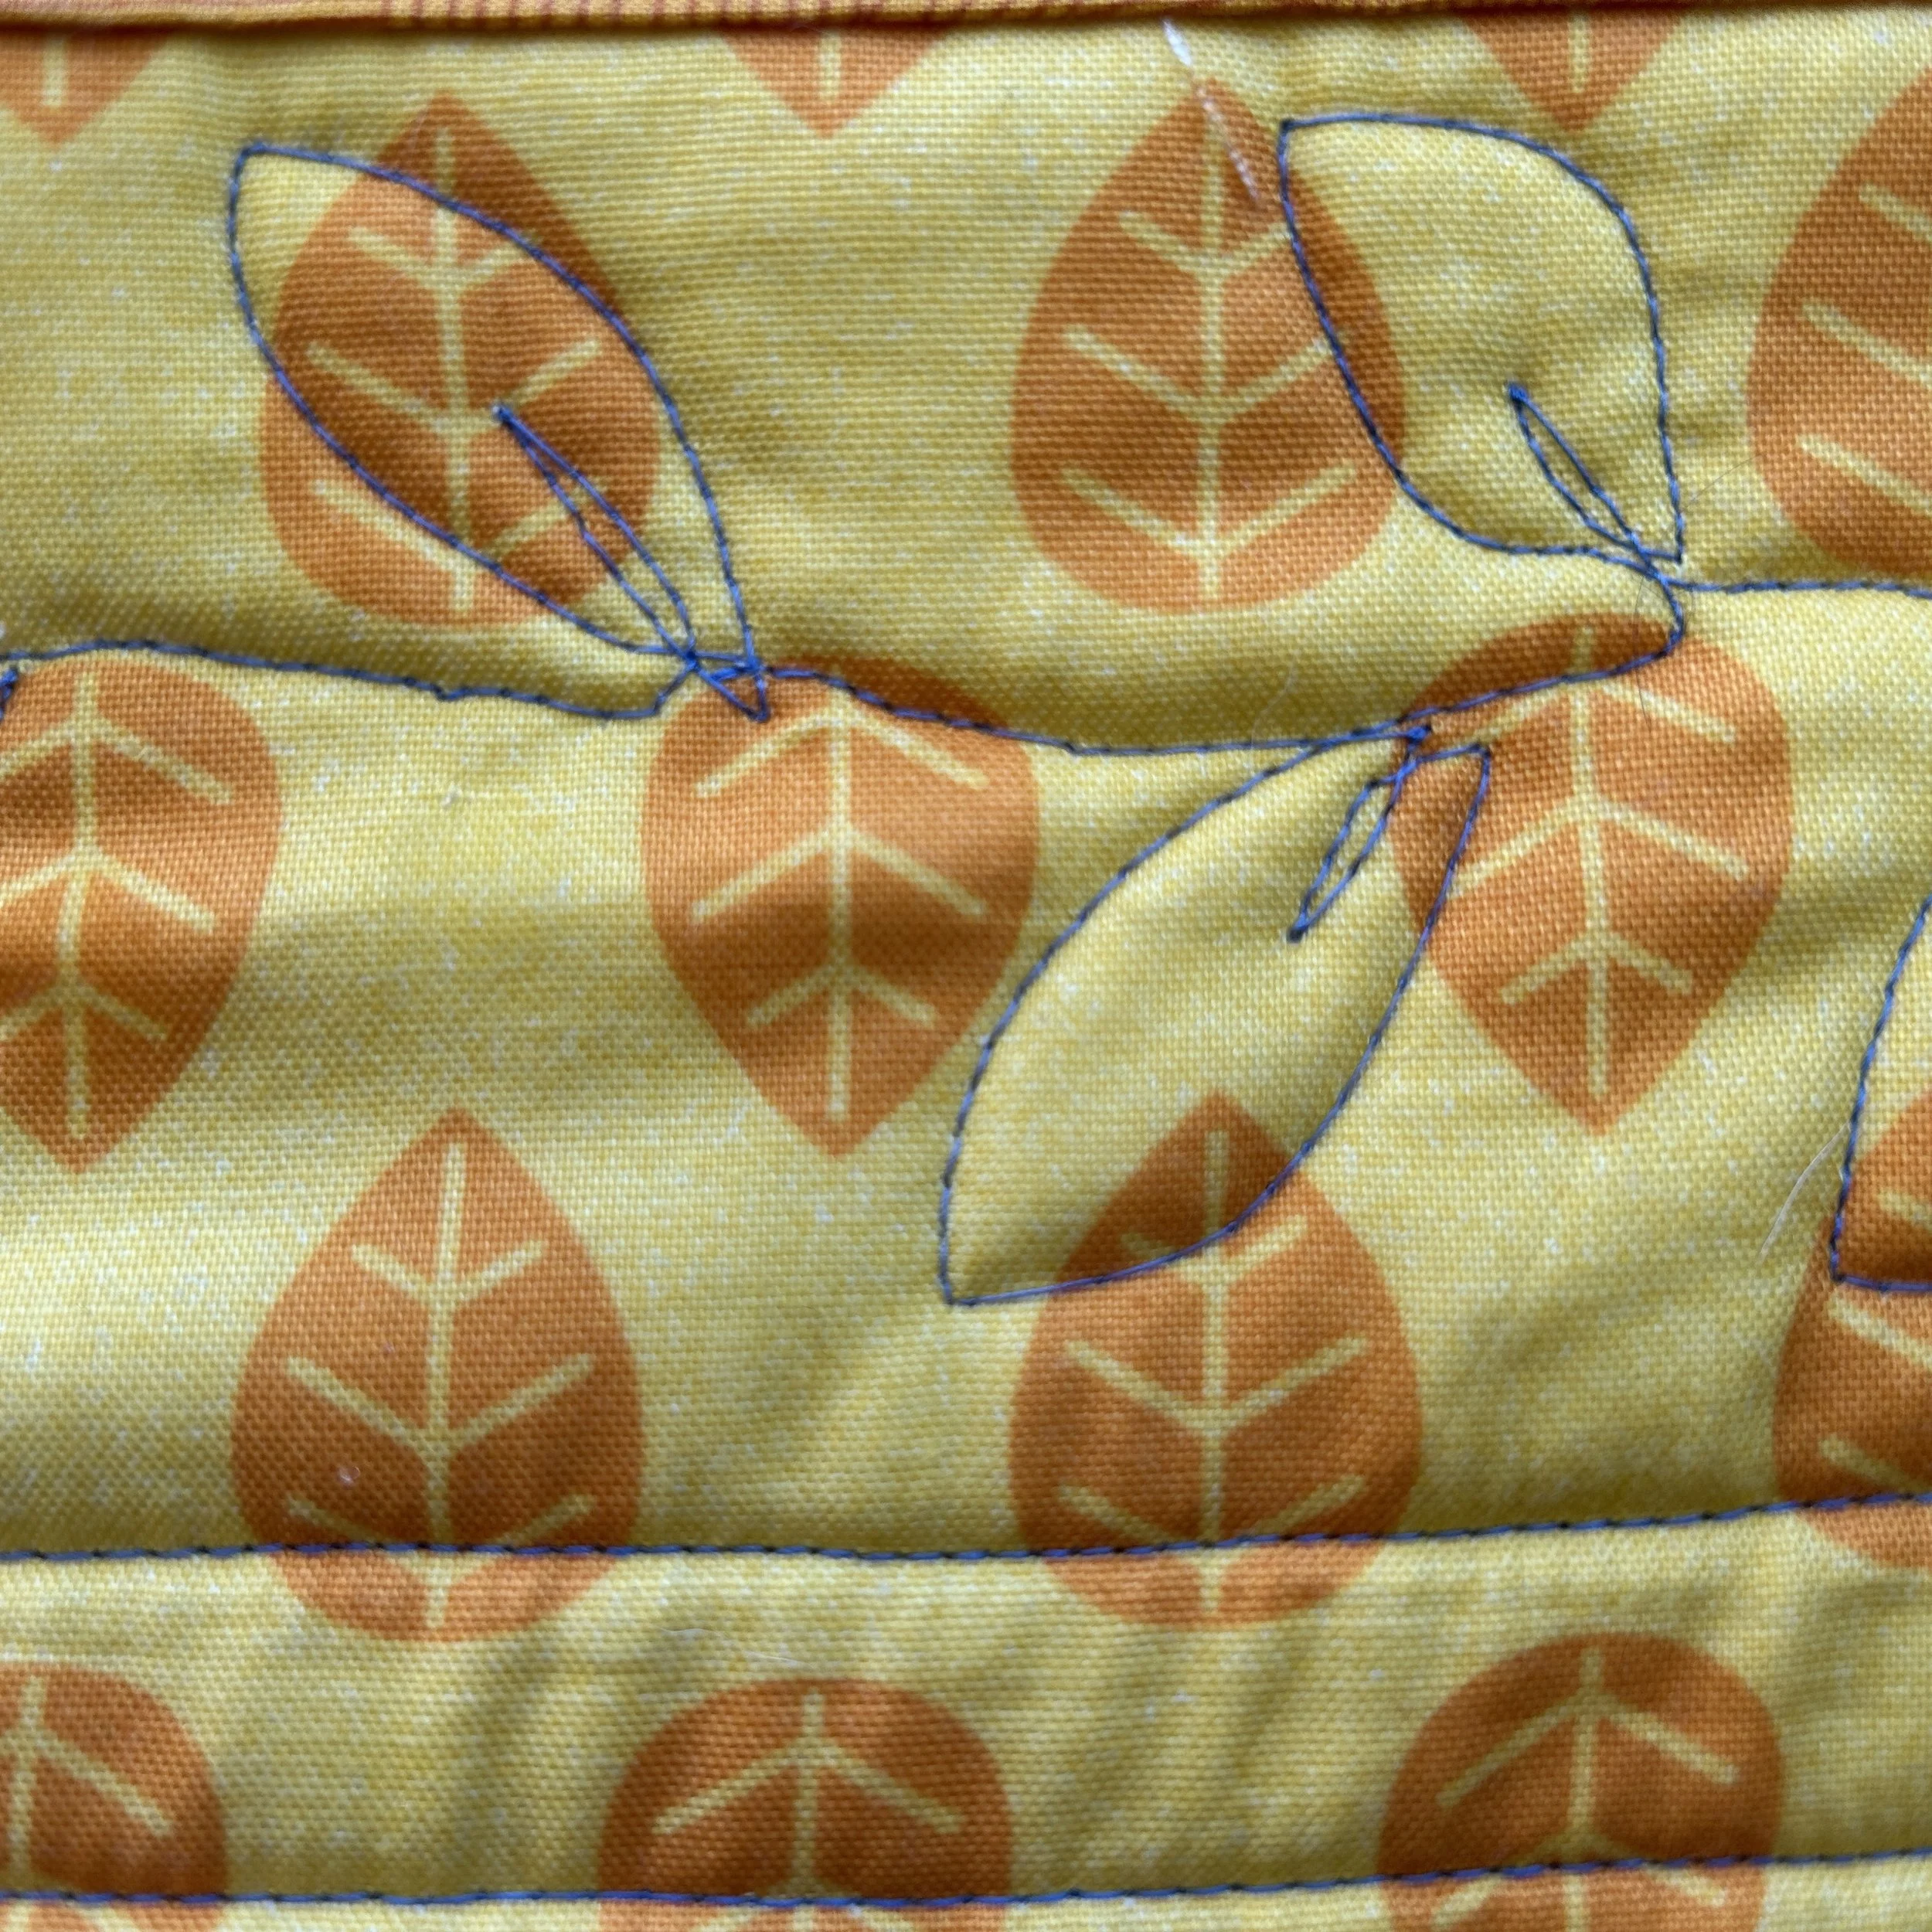
I did free-motion echo stitching around the leaves in the blocks. It gives the block almost a trapunto effect even though there isn’t a 2nd layer of batting and the batting I used isn’t thick and lofty. I really like it. There is a similar effect with the hand quilting around the animals. I also stitched along the stems of the flowers in the animal blocks.
There is a lot you really can’t see on this quilt. It’s almost like the hidden berries and other wonderful plants in a real hedgerow!
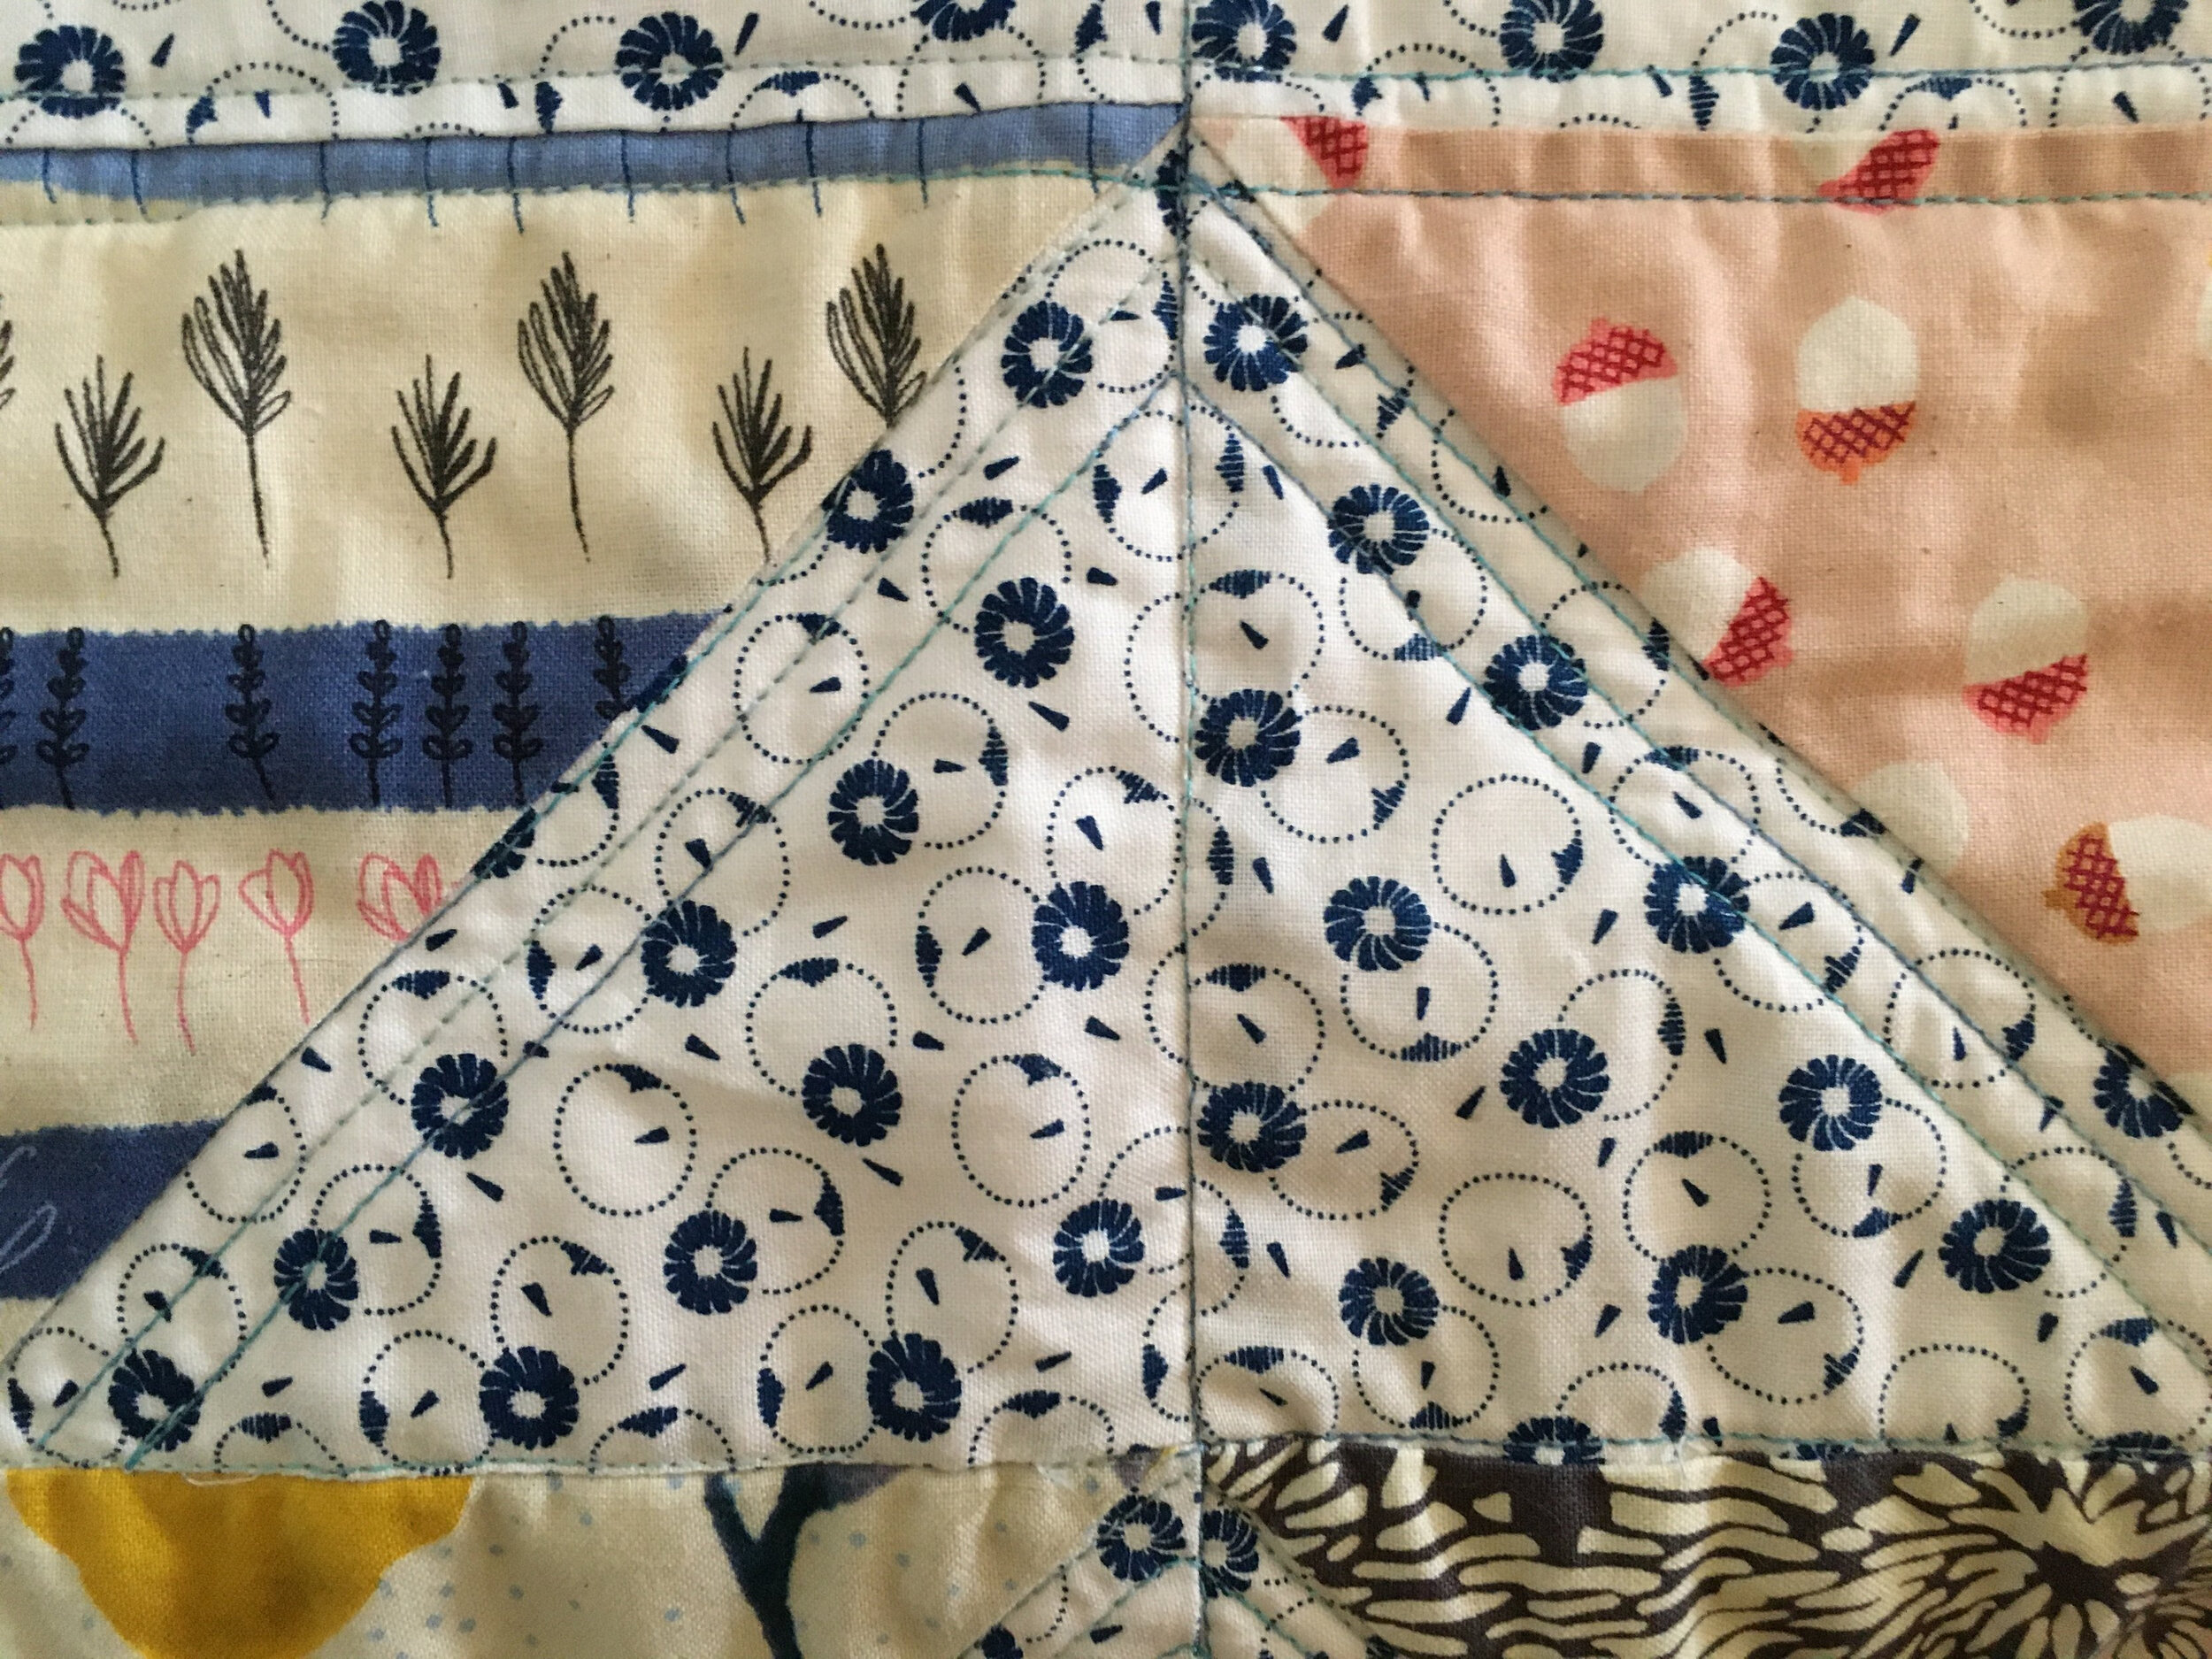
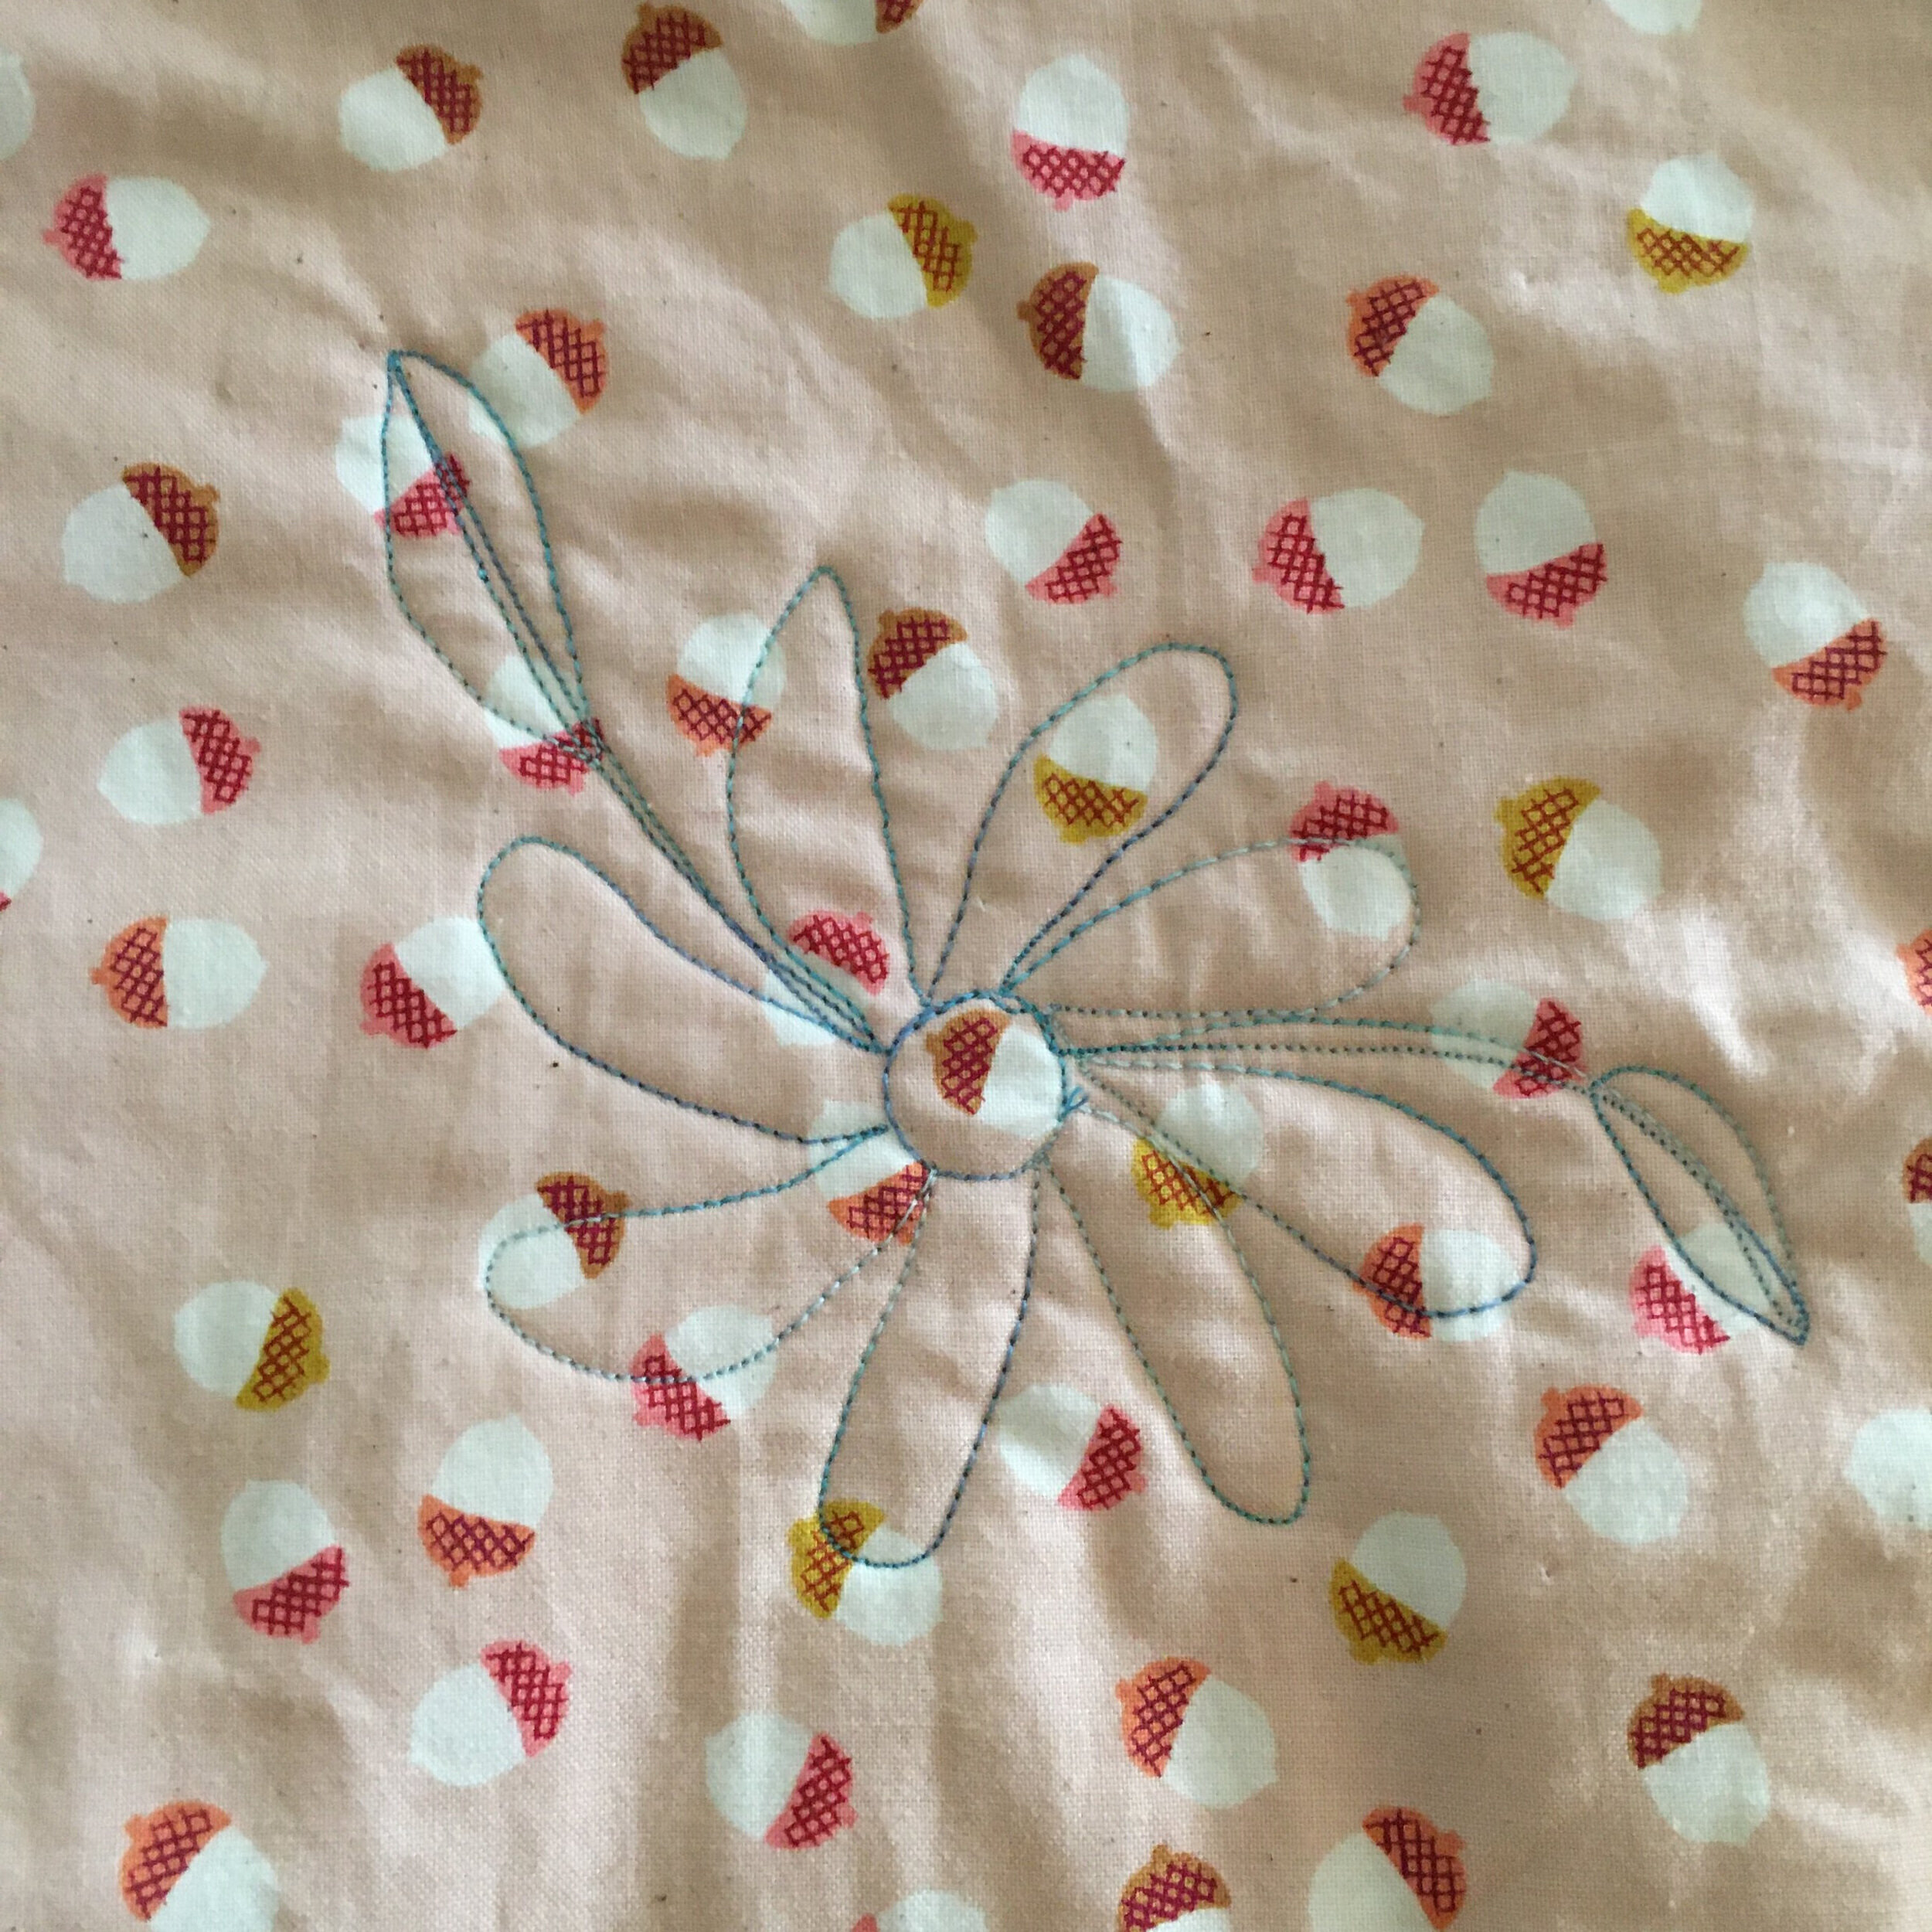
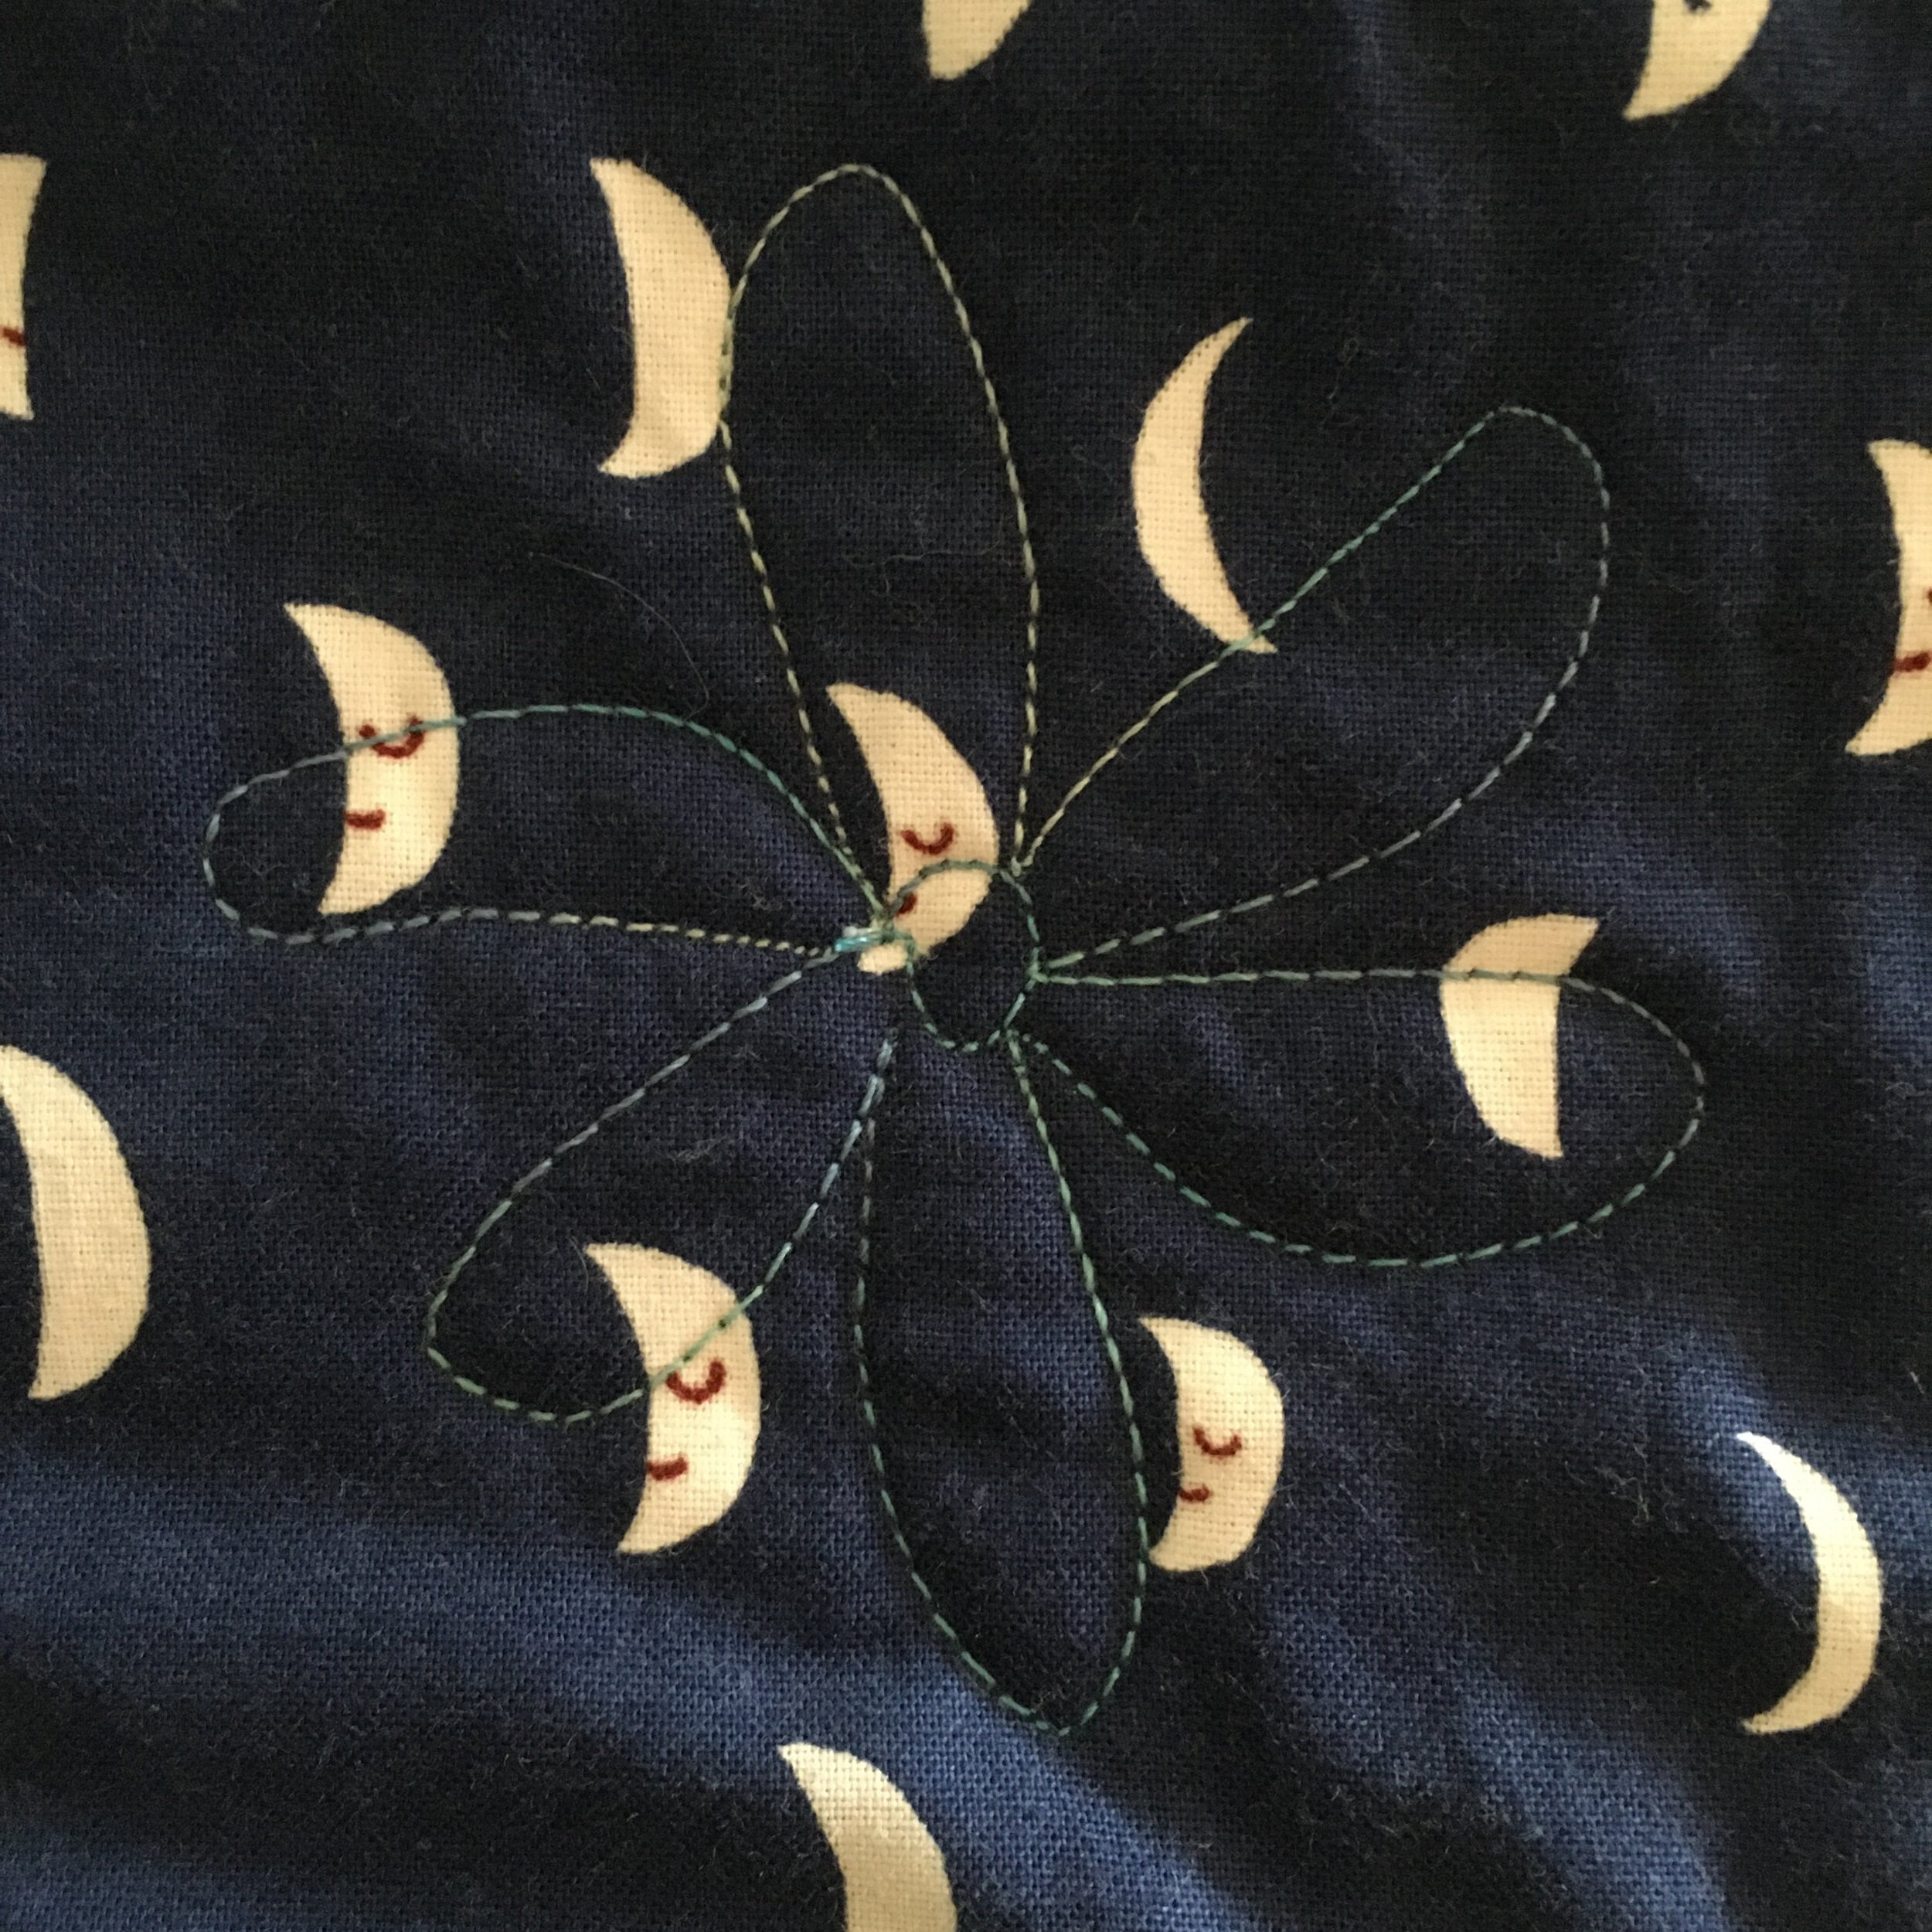
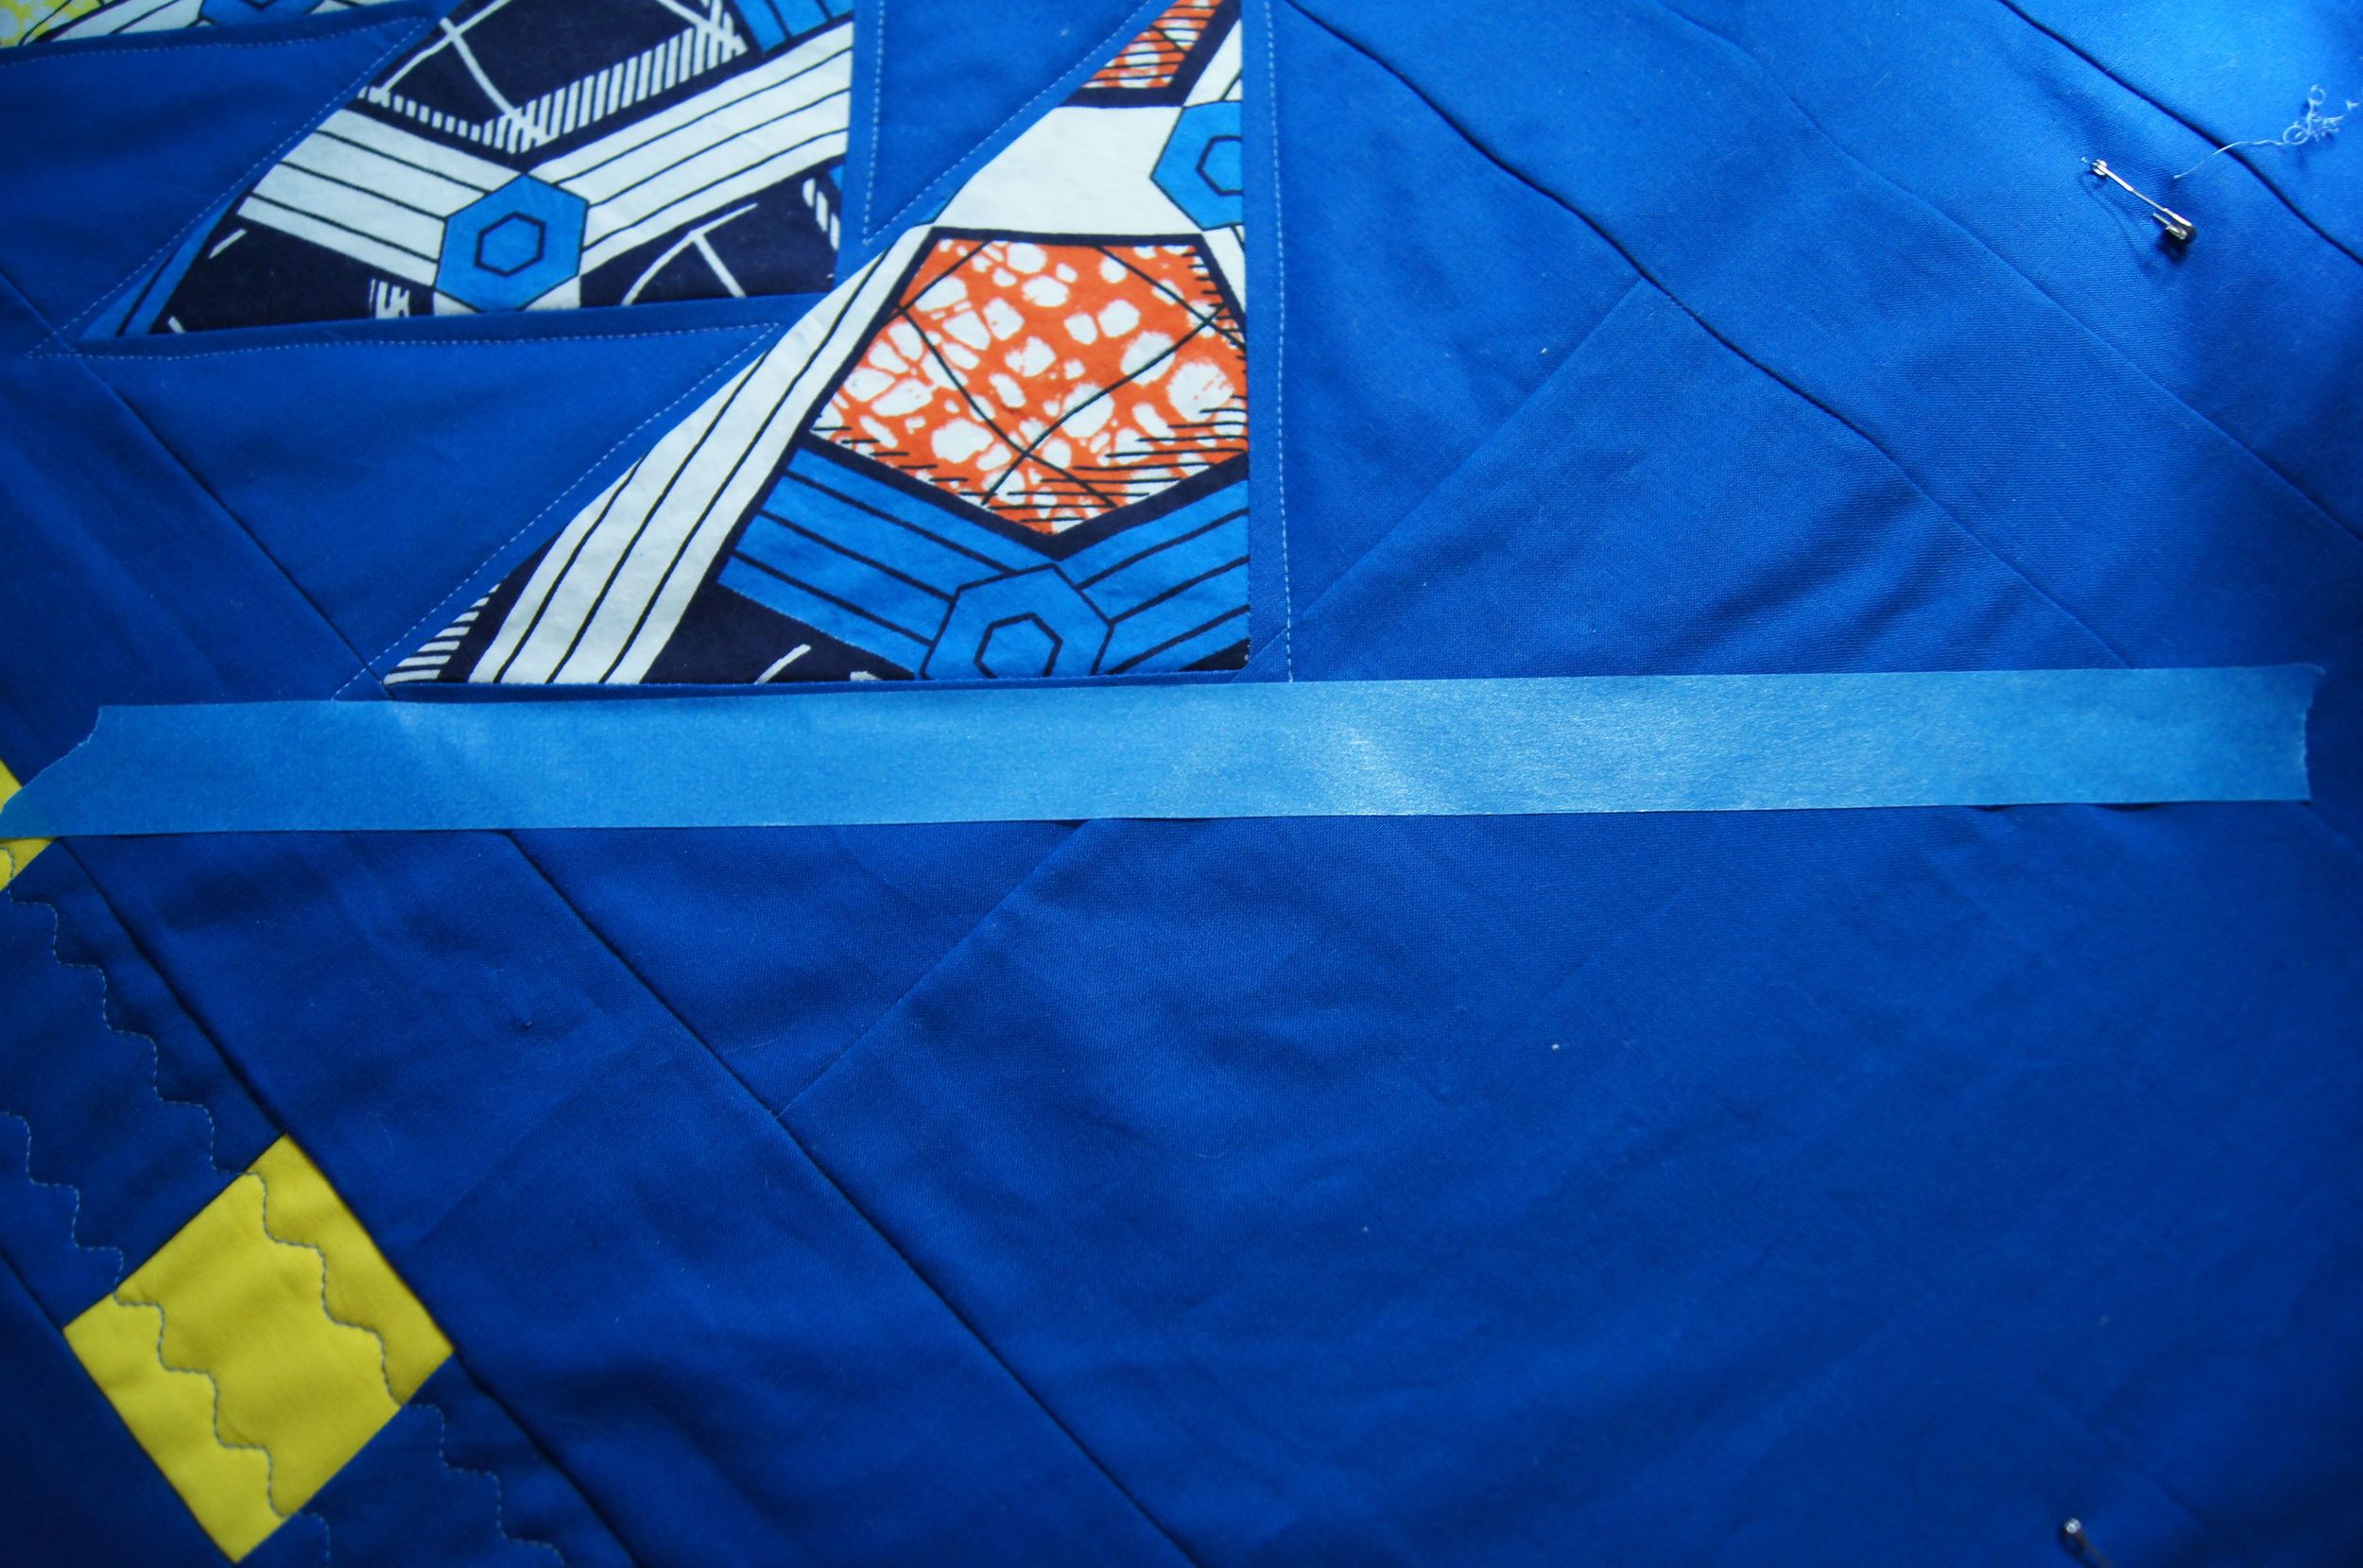
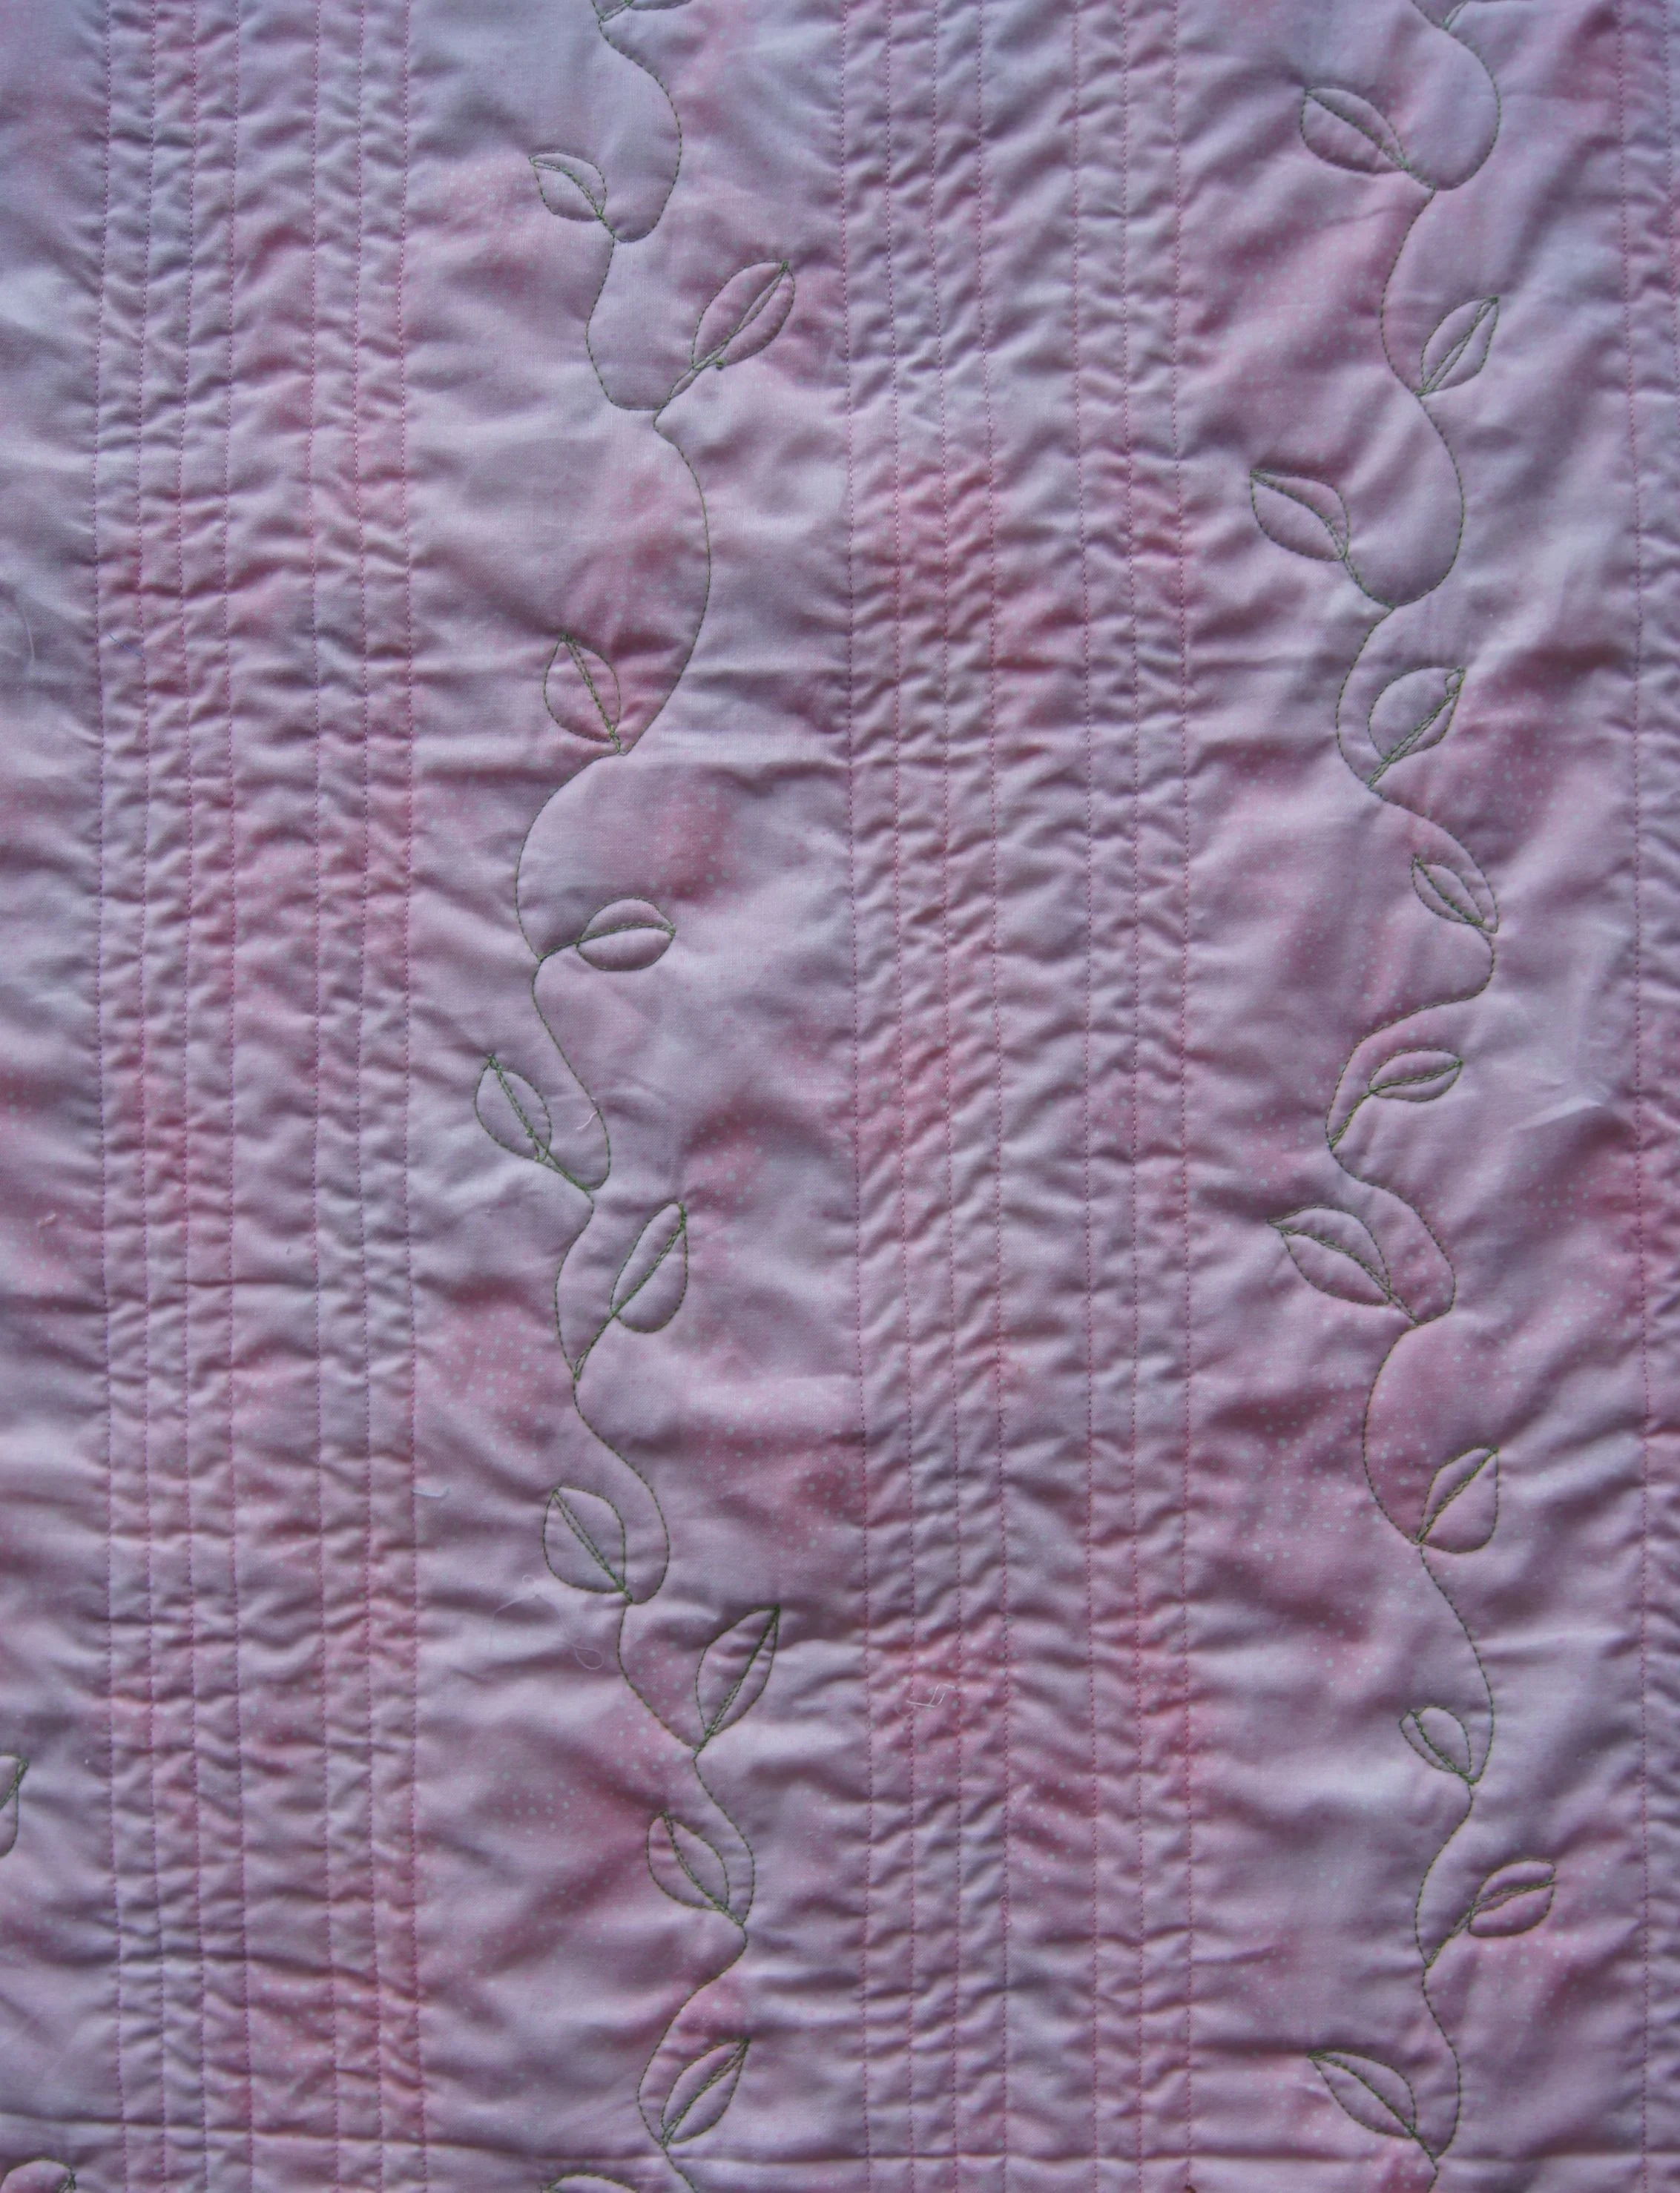
On the sashing blocks, there is a running vine pattern. And each of the solid blue blocks has a free motion plant that is similar to the plants printed on the Hedgerow panel blocks.
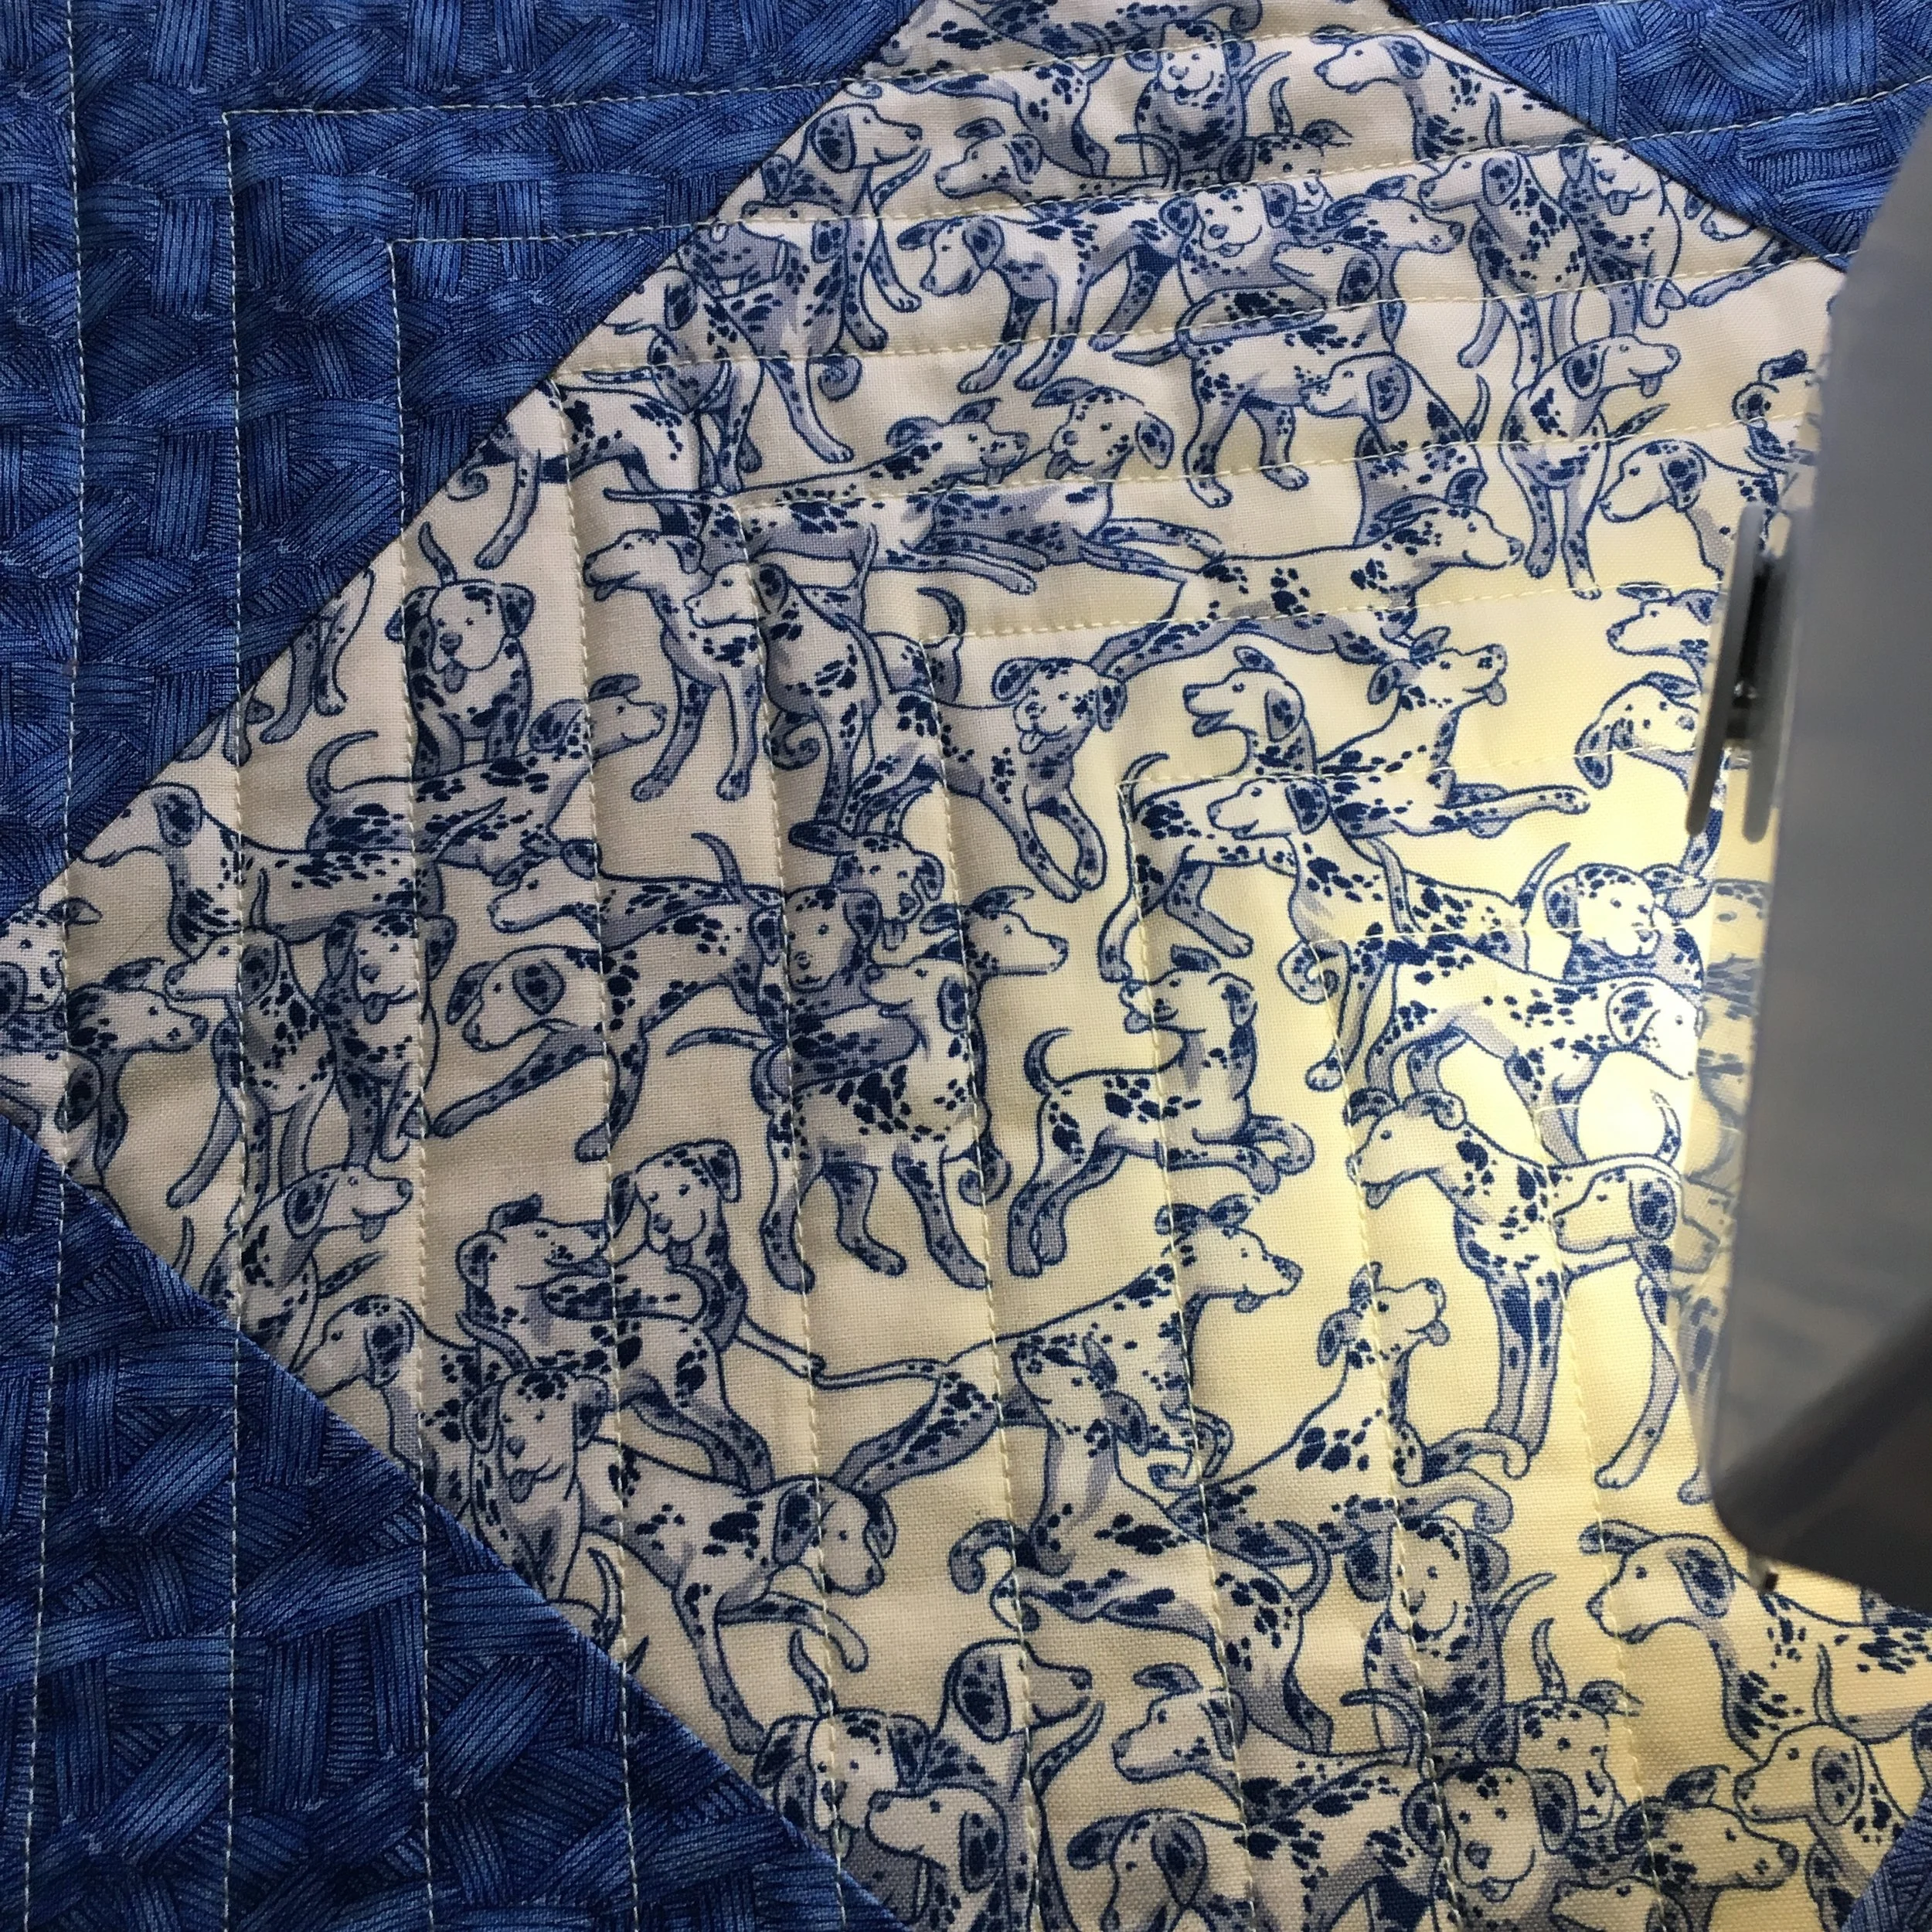
You can see what I’ve done a bit better on the back of the quilt, but even there, some of it is essentially hidden! But I know it’s there, and that’s what counts!
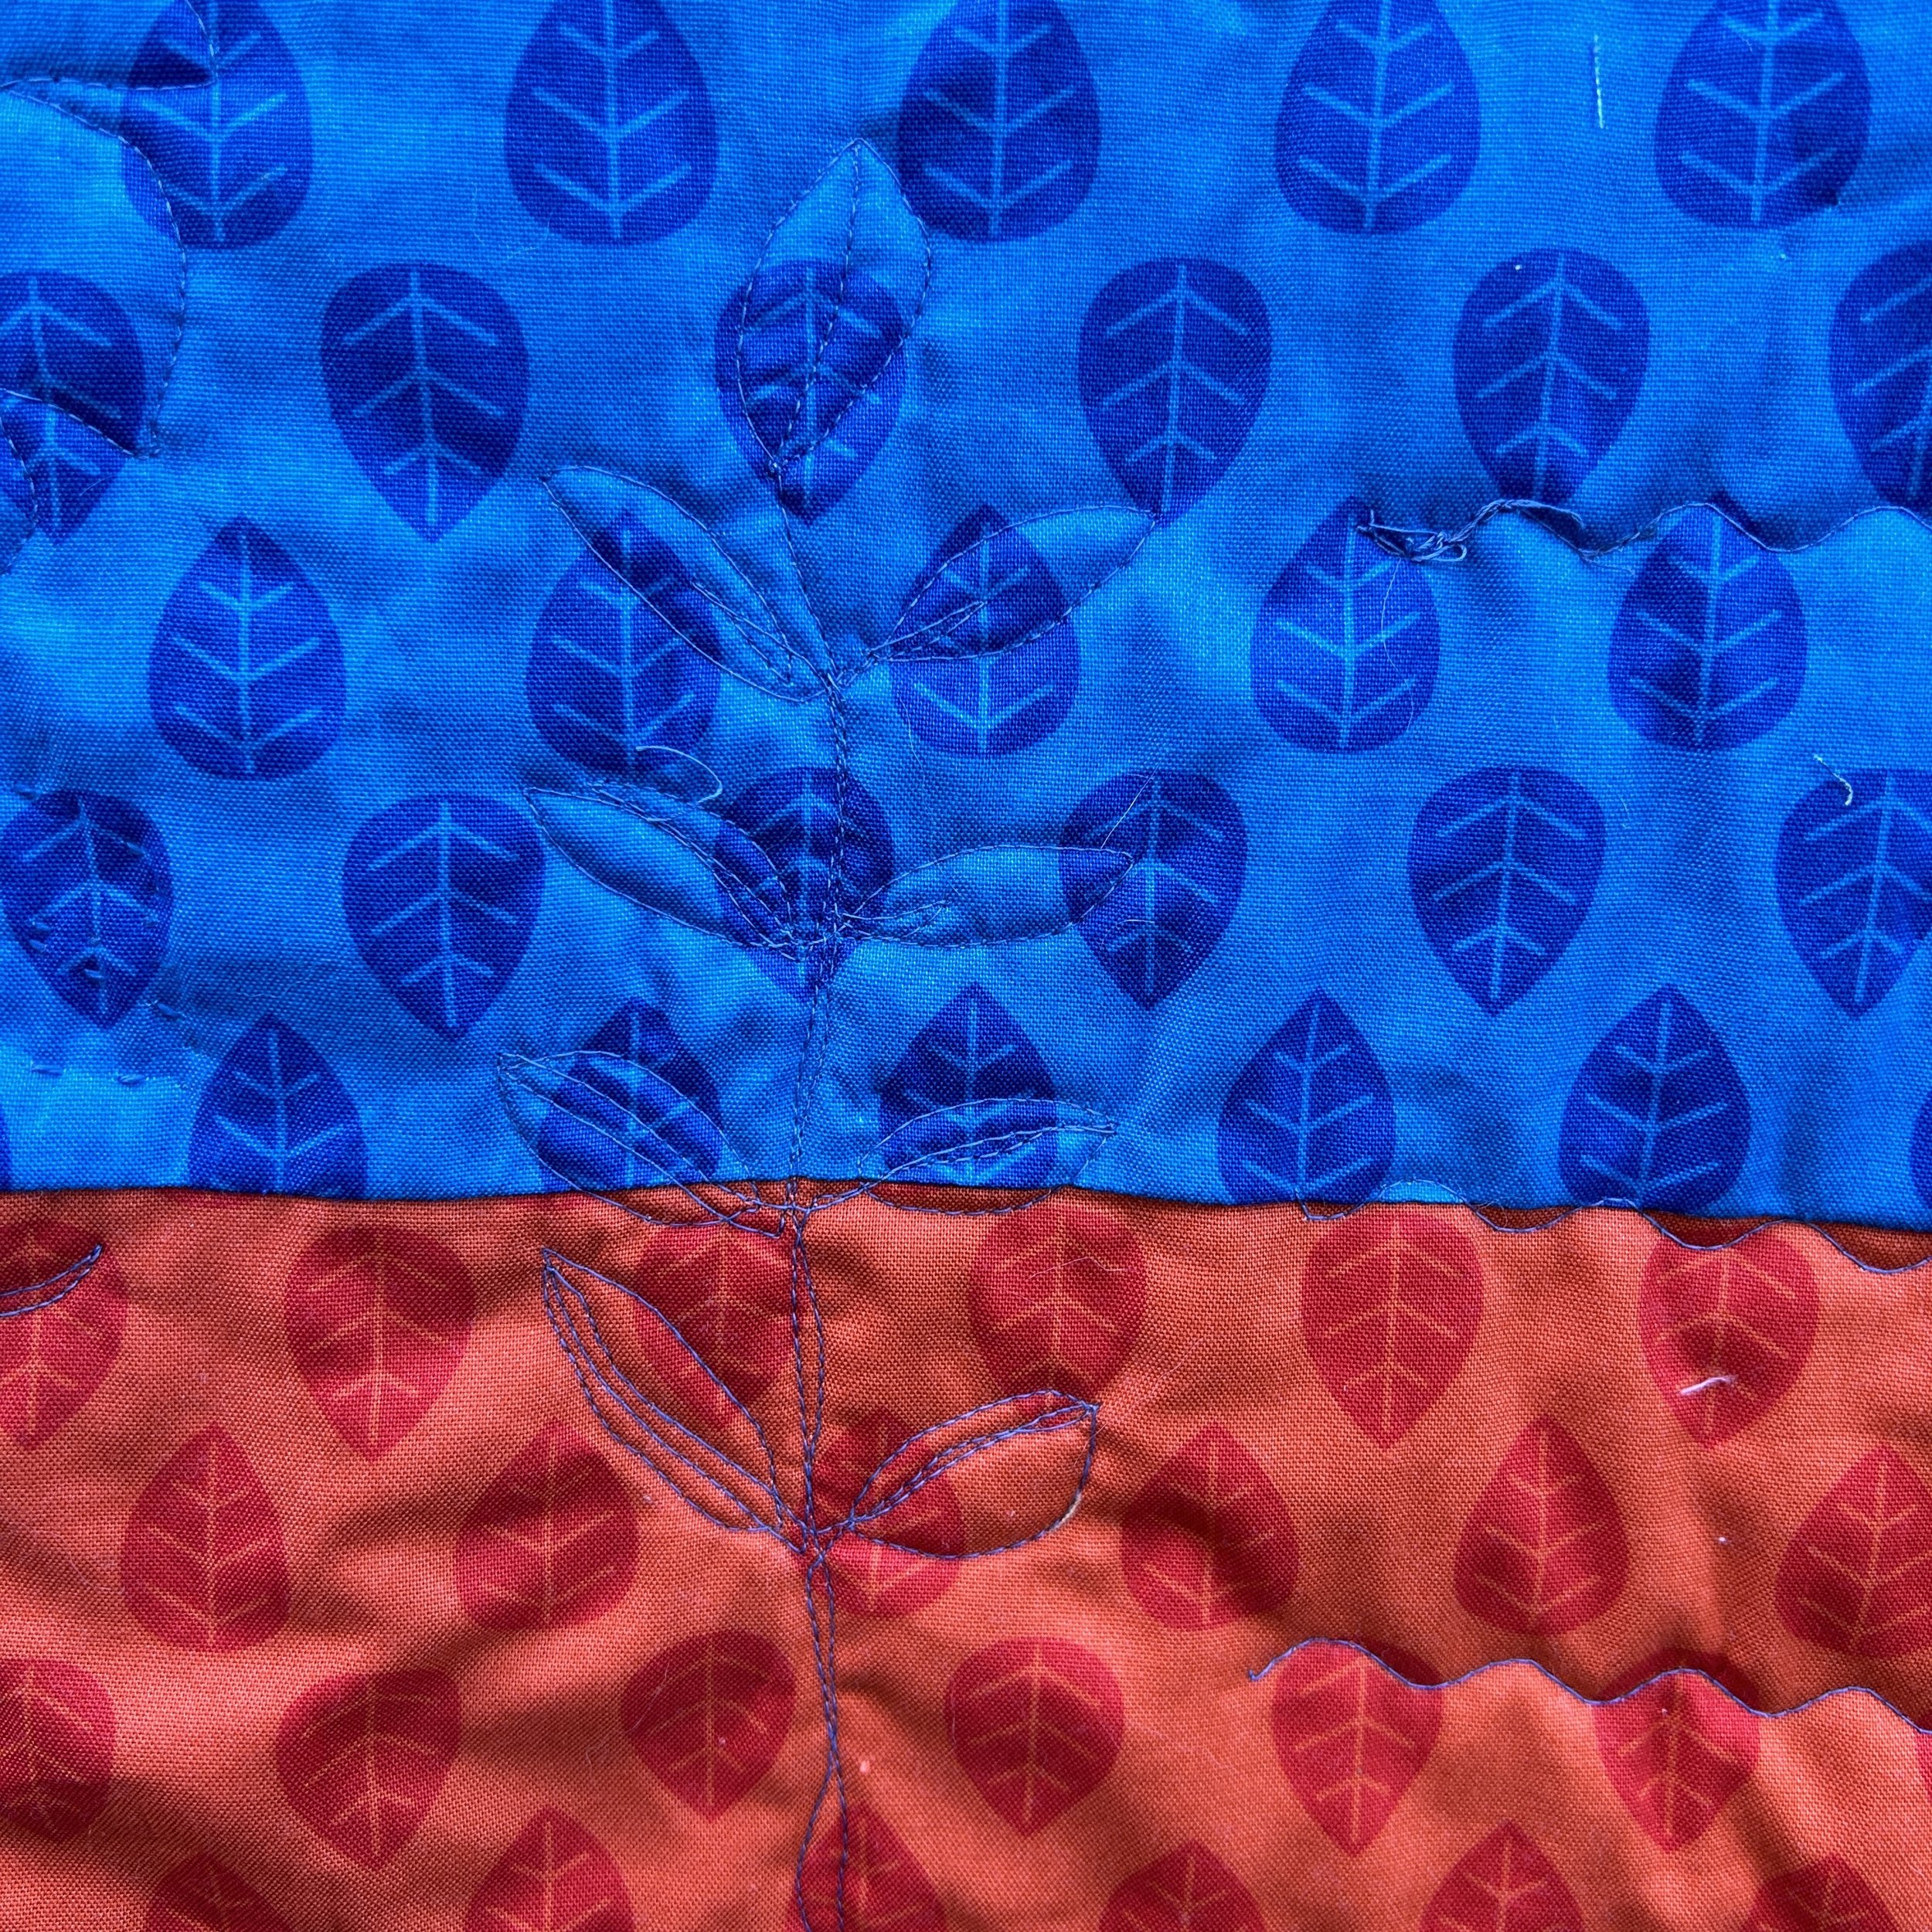
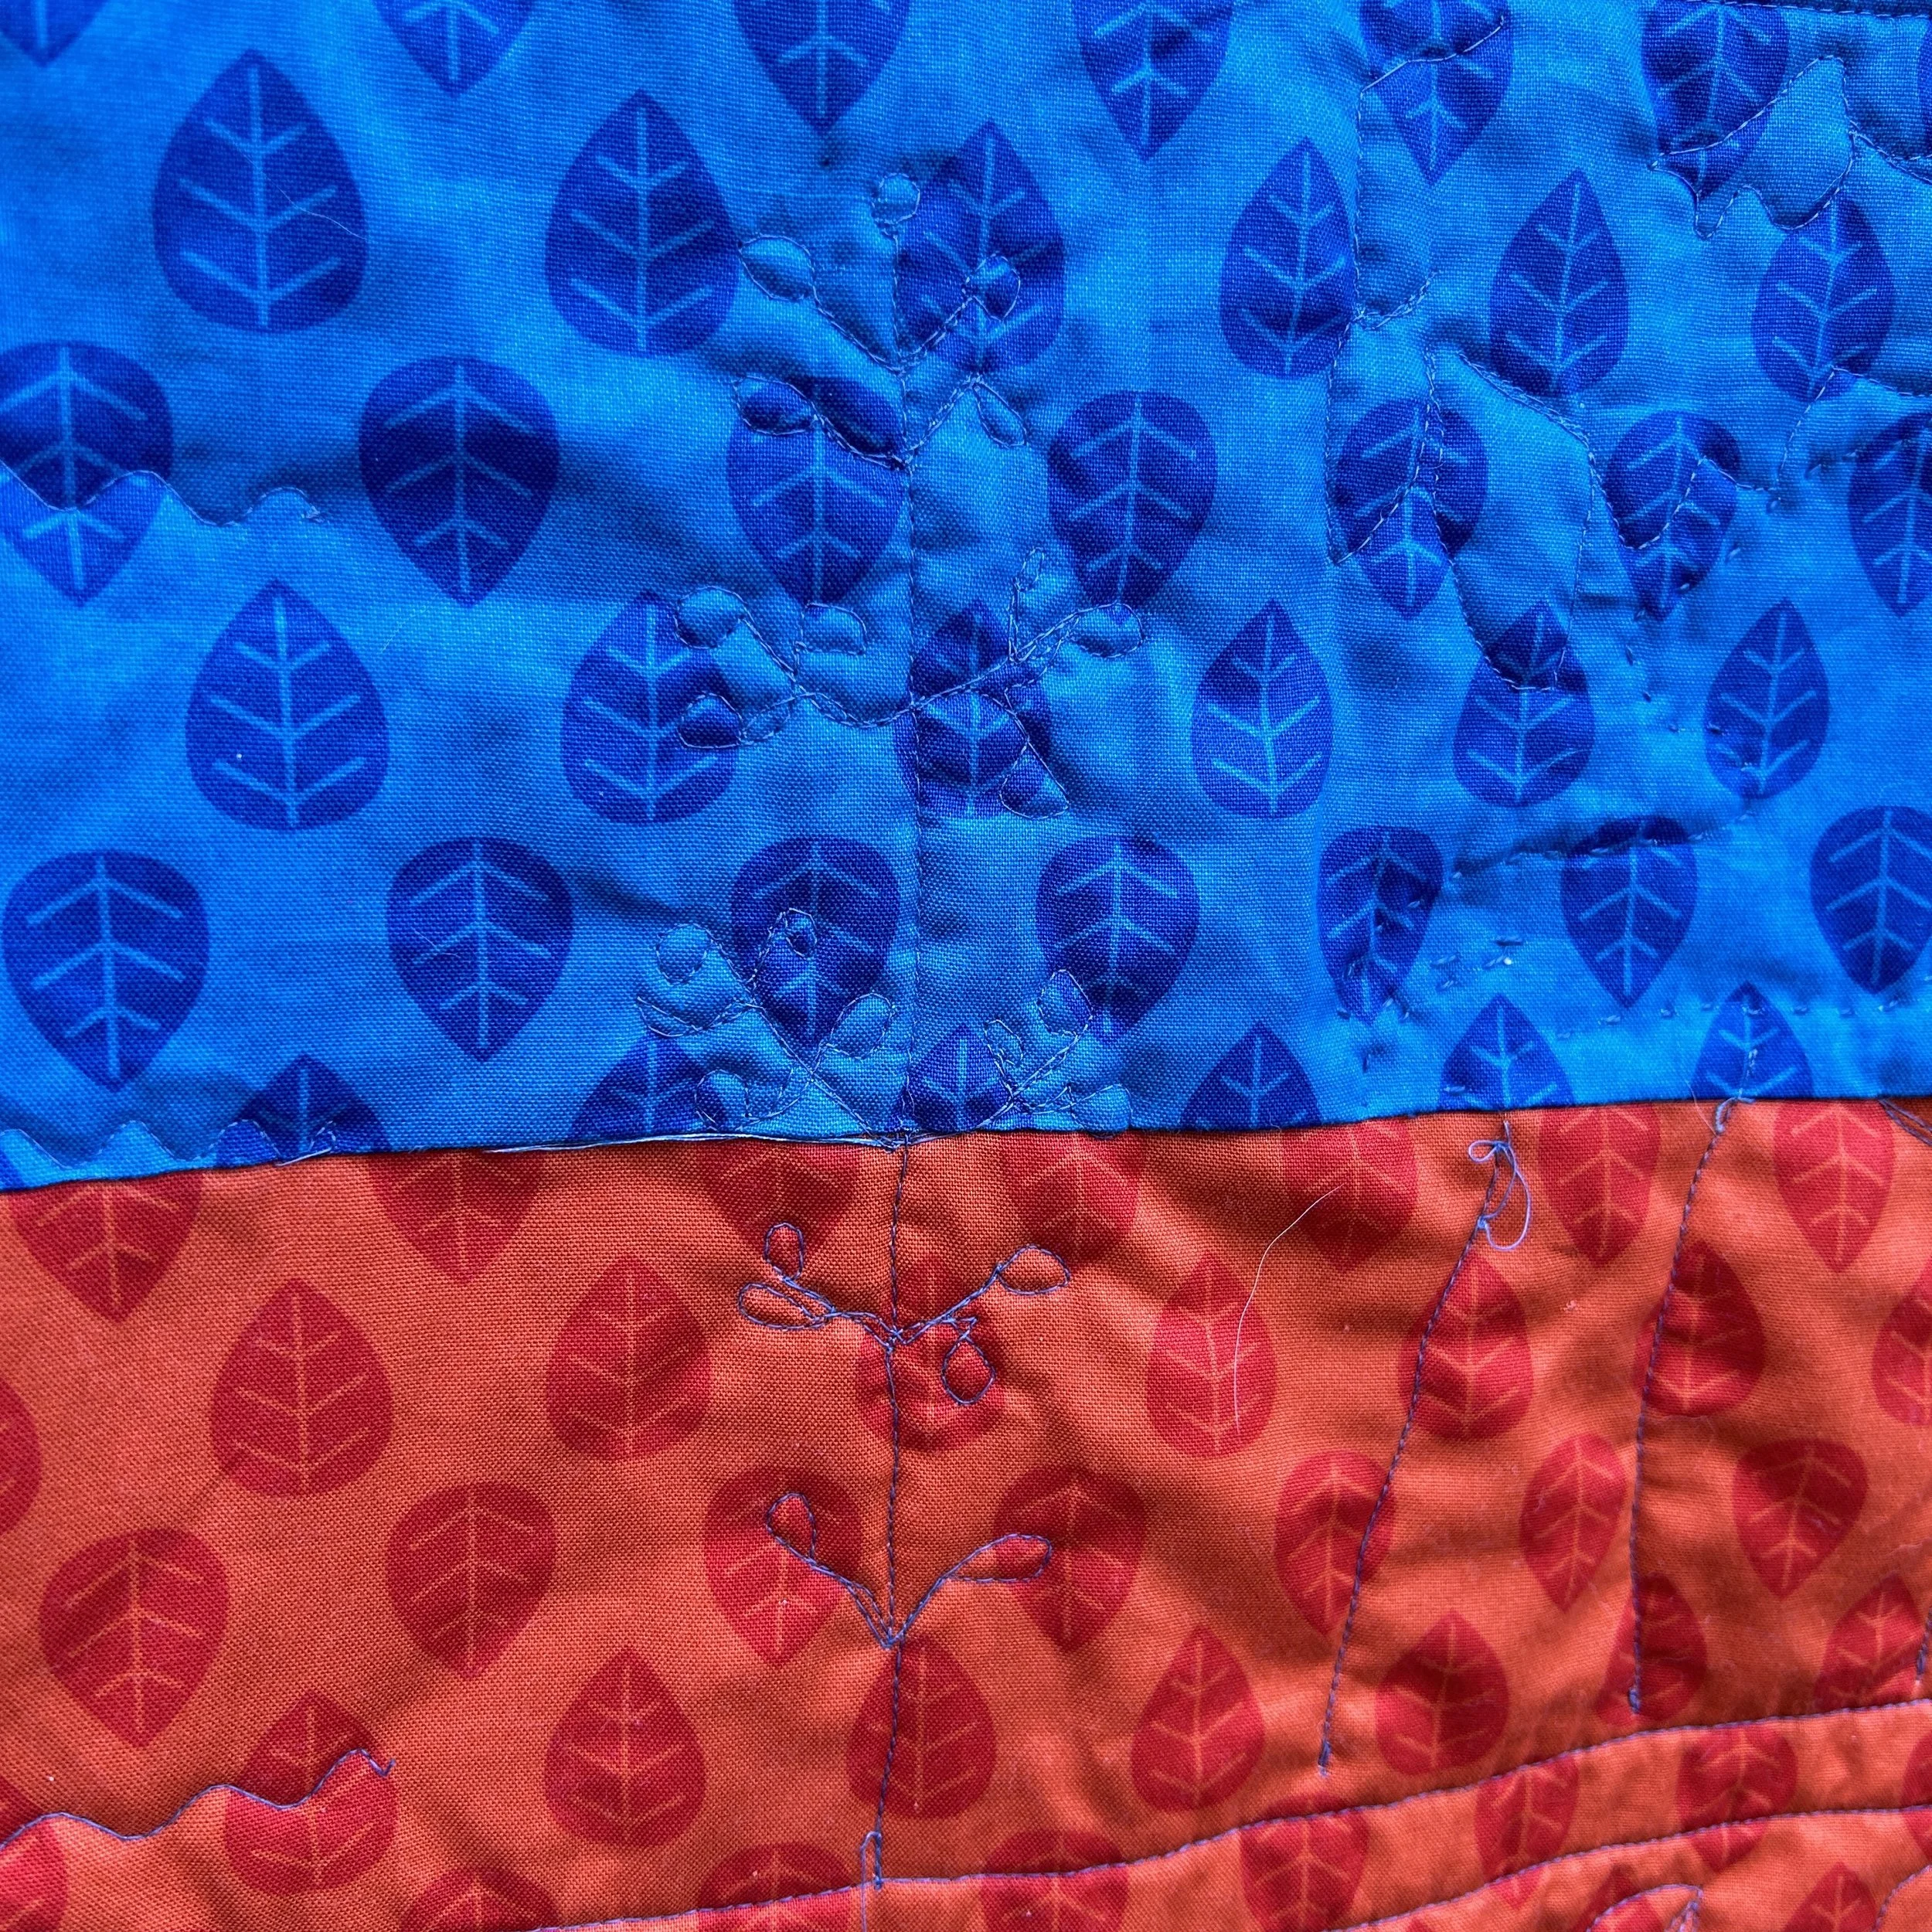
The royal blue stitching on the deep orange backing fabric really jolts your eye when you flip the quilt over. It reminded me of the color study posts I did in the past. You can see some of the color studies I did by clicking on the Color Studies Tab above or just by clicking this link.