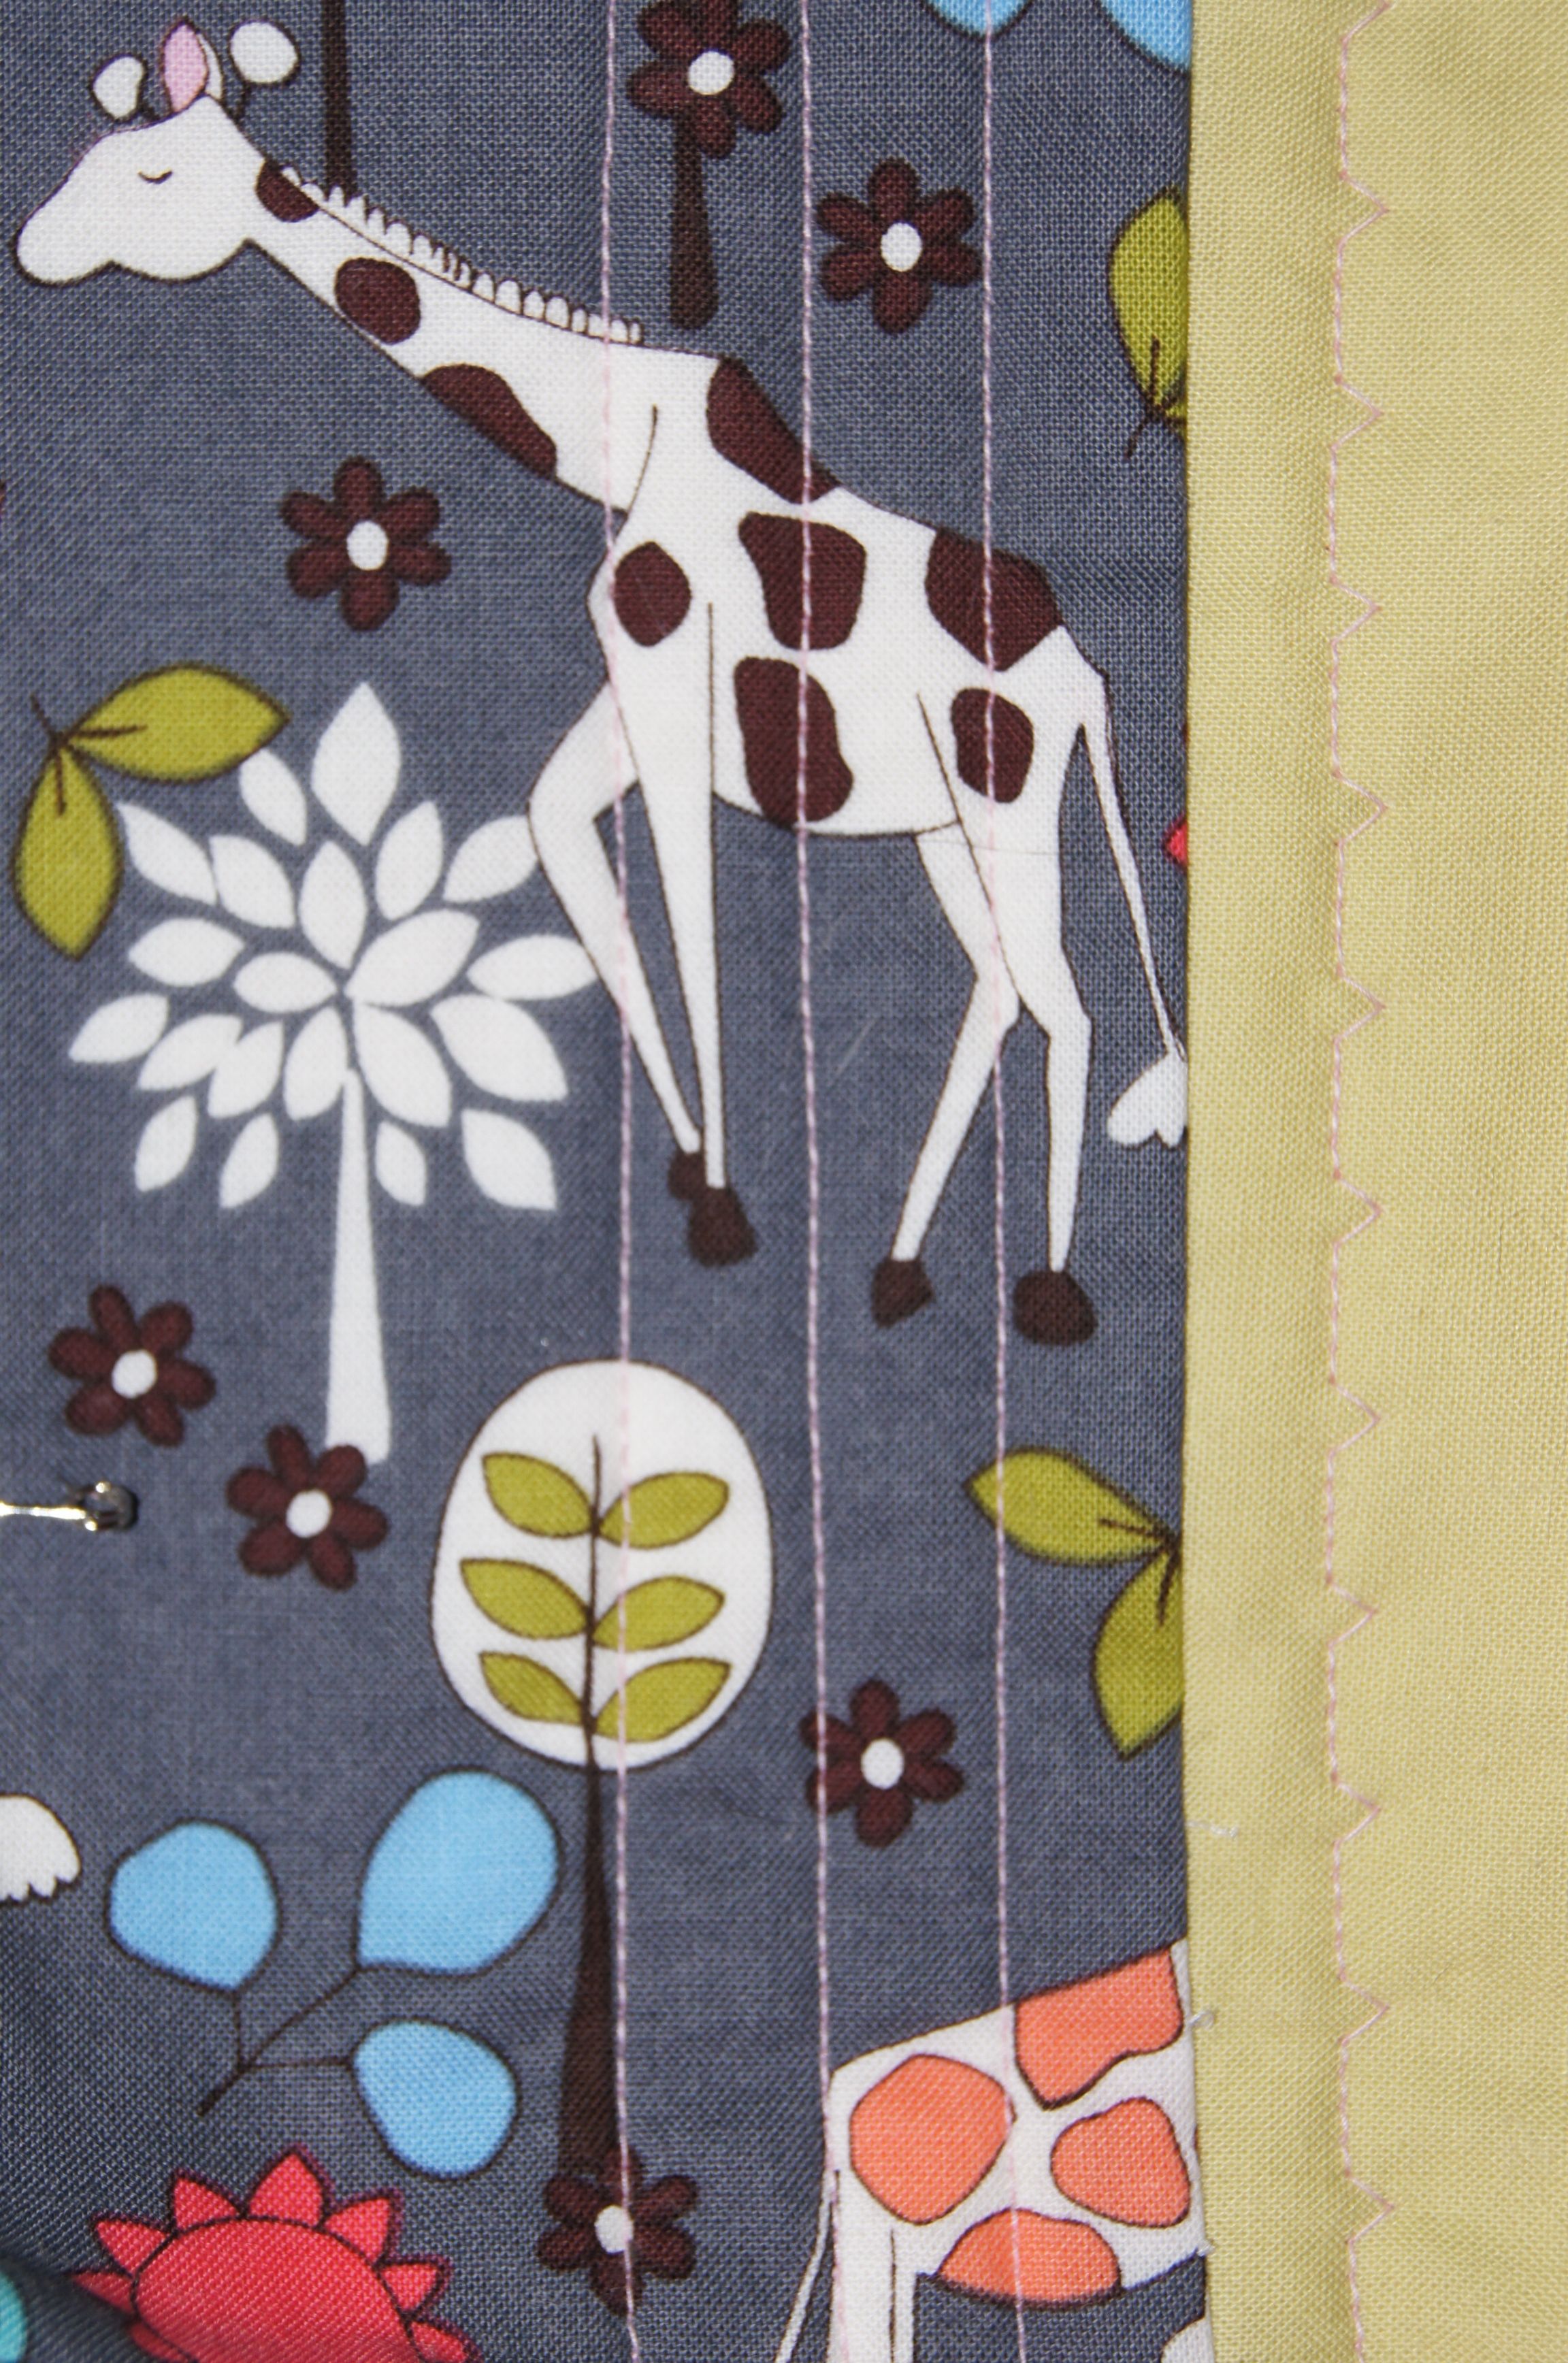
Quilting Detail on the focus fabric
Happy New Year's! Here's a baby quilt pattern to welcome in 2015.
We've all had this happen...we need a baby quilt and we need it yesterday! Here is the 2nd in a series of Baby Quilts in a Weekend. With a bit of diligence, this quilt can be completed in just 2 days. The dishes may not get washed but the quilt will be finished and ready to wrap!
I've had this the giraffe fabric in my stash for several years. I found it on a excursion to Keepsake Quilting, long before grey had become a hot color for baby's rooms. The fabric was so unique. I knew that it would make a cute baby quilt for the right family some day.
Because there are giraffes in the focus fabric, I wanted everything about the quilt to be T-A-L-L! The blocks are tall and the quilting design is vertical.
The quilt blocks are simple rectangles with a 2 1/2 inch strip of Kona cotton used as an accent color.
Block of the focus fabric with the strip of accent fabric, ready for sewing
The colored strips are on opposite sides of the focus fabric in each horizontal row. Row 1 has the strips on the right, Row 2 has them on the left. There are 5 rows in the quilt, so there are an uneven number of right and left blocks.
The mother of the baby receiving this quilt loves celebrations. I had some fabric with tiny peach and grey pennants which matched the focus fabric. I added to to the top of one block in each row of the quilt. They are the reason why this quilt is named "Giraffe Party"!
While I love the strips with the pennants on individual blocks, and while I really did want them in this quilt, I won't use them when I make this pattern again. I think the white strips running down the quilt in a stair-step pattern detracts from the verticality of the quilt's design. I think the quilt is a lot more interesting in use than it is hanging up for a photograph.
Giraffe Party! 40 x 50 inches
I did part of the quilting with my walking foot and part by free motion quilting. All the quilting is vertical, running from top to bottom of the quilt.
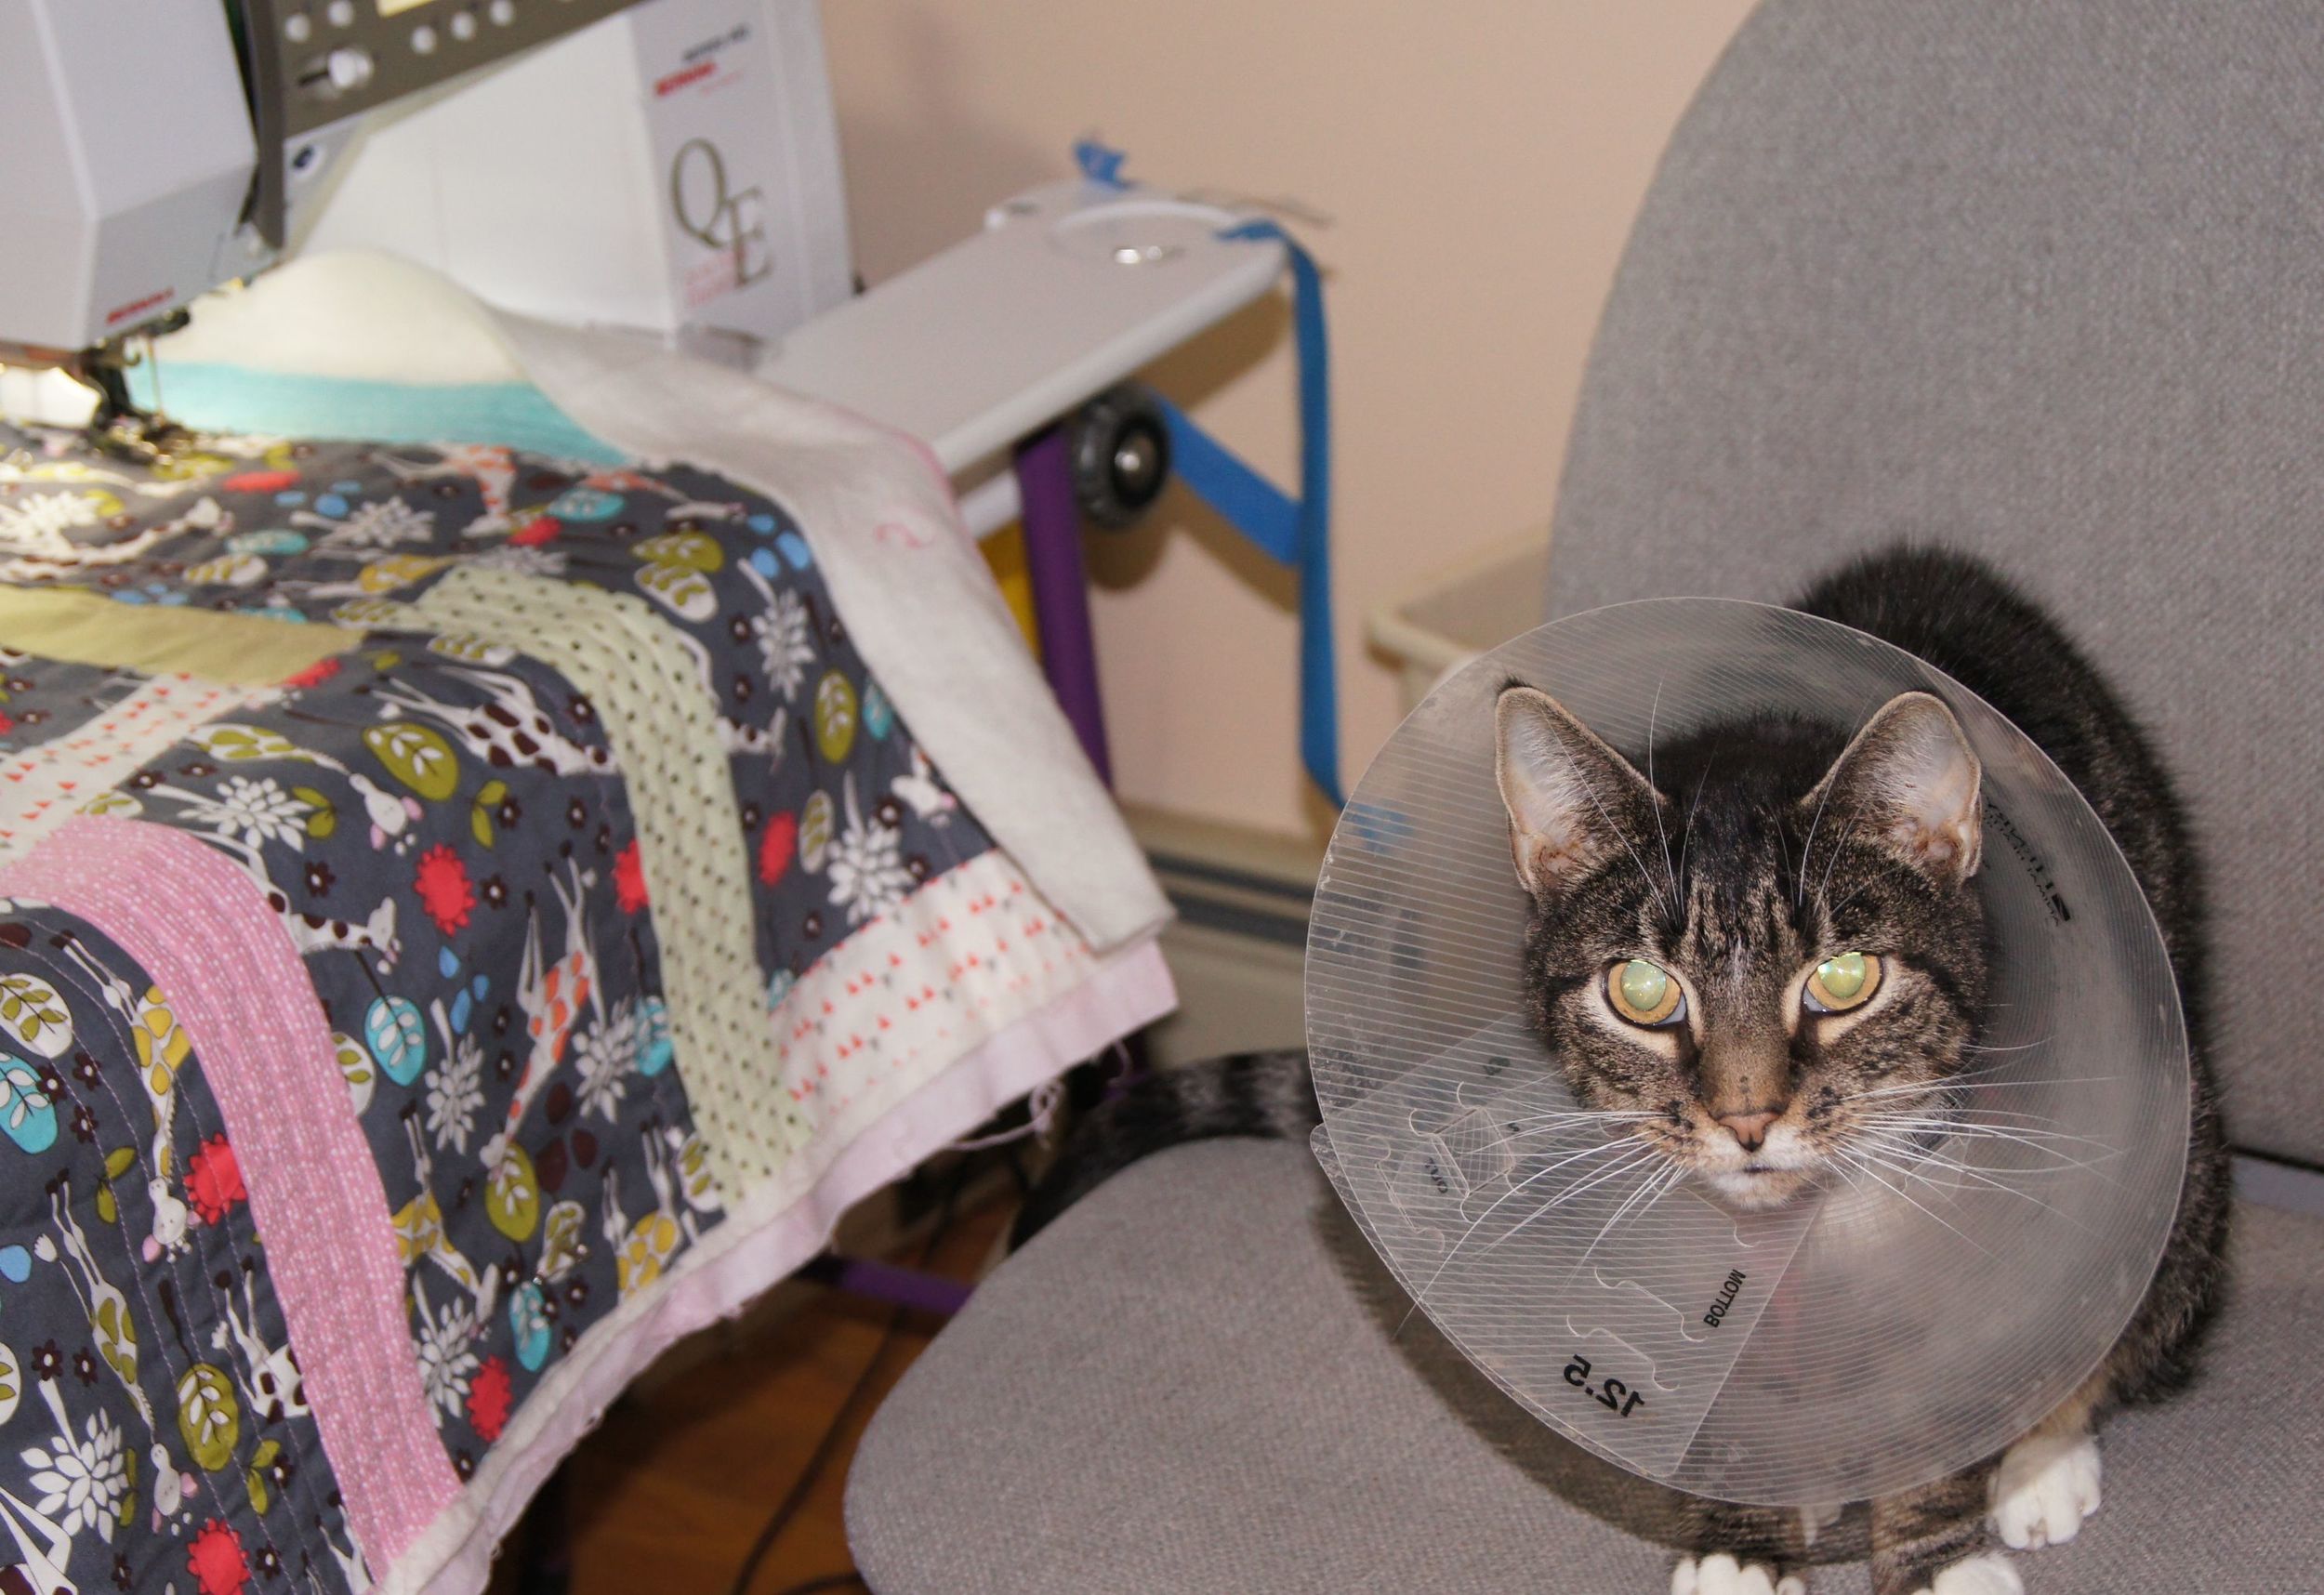
My cat, Chester, had had surgery the week I was working on this quilt. He came to sit beside me on my chair while I was doing the quilting. It's always a tight fit when he does this, but even tighter due to the Elizabethan Collar he was wearing. (The collar kept him from reaching, and removing the stitches at the surgical site). At one point he must have leaned forward bumped one of the stitch choice buttons on the front of my machine. I was quite surprised when I reached the end of my row and realized that Chester had made a design change (a hemming stitch) without my permission! I got a good chuckle about his creativity and then did a bit of un-sewing!
The basic quilting is straight lines with varying numbers of parallel lines and varying distance between some of the adjacent lines. I chose to do a vine and leaf free motion design through the center of the blocks of focus fabric, seen in the photo at the top of this post. When you flip the quilt over to the back, it looks like a whole cloth quilt design. It's really beautiful, making this quilt truly reversible.
Quilting on the back of the quilt
To make this quilt:
Yardage:
- Focus fabric: 1 1/2 yards
- Assorted solid color strips: 25 strips 2 1/2 inches x 10 1/2 inches (3/4 yard if the solid color strips are to be all the same color)
- Binding: 1/2 yard
- Backing: 1 3/4 yards
- 1 crib size quilt batting 45 x 60 inches
Instructions:
- Cut 25 blocks 6 1/2 inches wide x 10 1/2 inches long from the focus fabric
- Sew a 2 1/2 inch x 10 1/2 inch strip of the solid color fabric to the RIGHT side of 15 of the focus fabric rectangles
- Sew a 2 1/2 inch x 10 1/2 inch strip of the solid color fabrics to the LEFT side of the remaining 10 focus fabric rectangles.
- Sew the quilt together in horizontal rows--5 blocks to each row, starting with blocks with the colored strip on the RIGHT side of the block. In row 2 the colored strips will be on the LEFT side of the block.
- Sew the 5 completed rows together to finish the quilt top.
- Sandwich the quilt top, quilt batting and backing fabric and quilt as desired.
- Cut 5 strips of the binding fabric, 2 1/2 inches x Width of fabric (40 inches). Sew strips together to make the binding. Fold the binding in half across the 2 1/2 width and press. Attach binding to your quilt.
- Add a label! You're done!


