Making a Piano Key Border
For years I have looked at “piano key” borders on quilts and thought there was no way. It looked like way too much sewing. But I wanted to widen the quilt top in my last post and I only had some strips left from my stack of fat quarters. So I decided to finally try making a piano key border. It’s actually really easy!
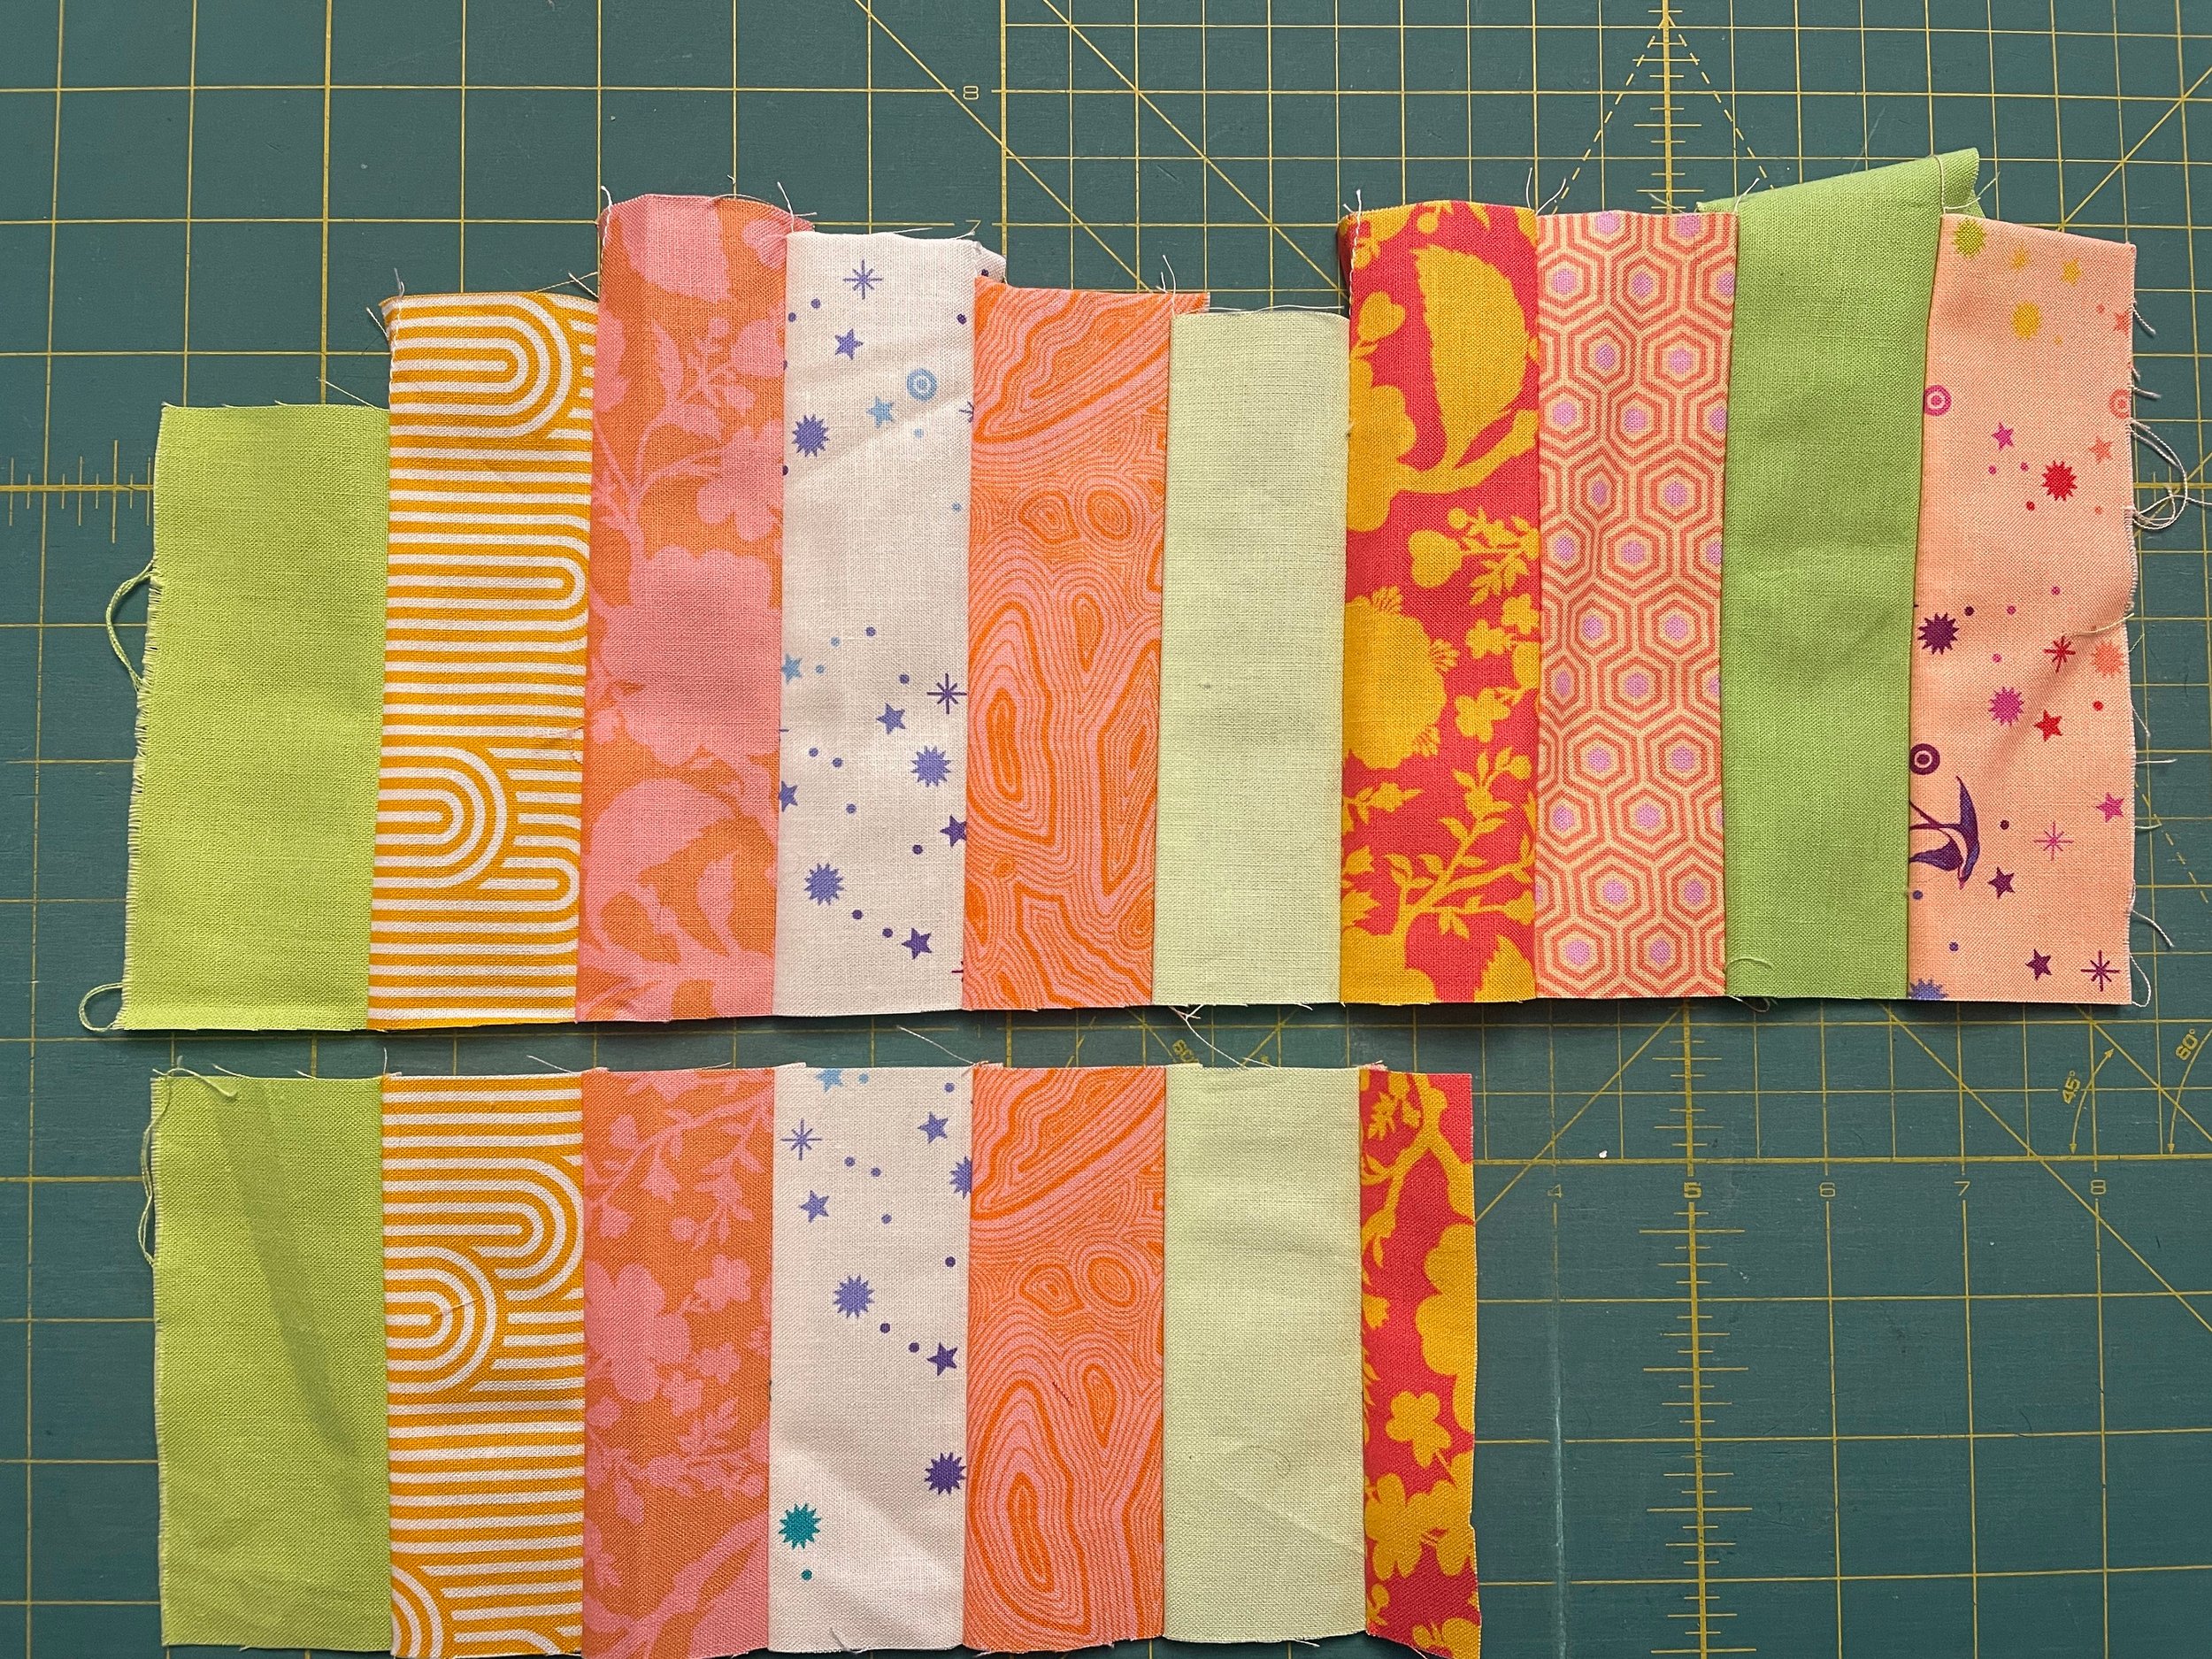
I wanted fairly narrow keys, so I cut 2 inch strips the width of the fat quarters. That gave me strips 2 x 20 inches. As you can see from the photo above, I sewed 10 of these strips together.
TIP: if you cut strips 40 inches wide (a full width of fabric) or use a 2 1/2 inch strip set, sew the strips together starting the seam at the opposite end of the strips from where the last one started. This will help keep the strip set straight. There is a chance they will start to develop a slight curve if you start each seam at the same end of the strip set.
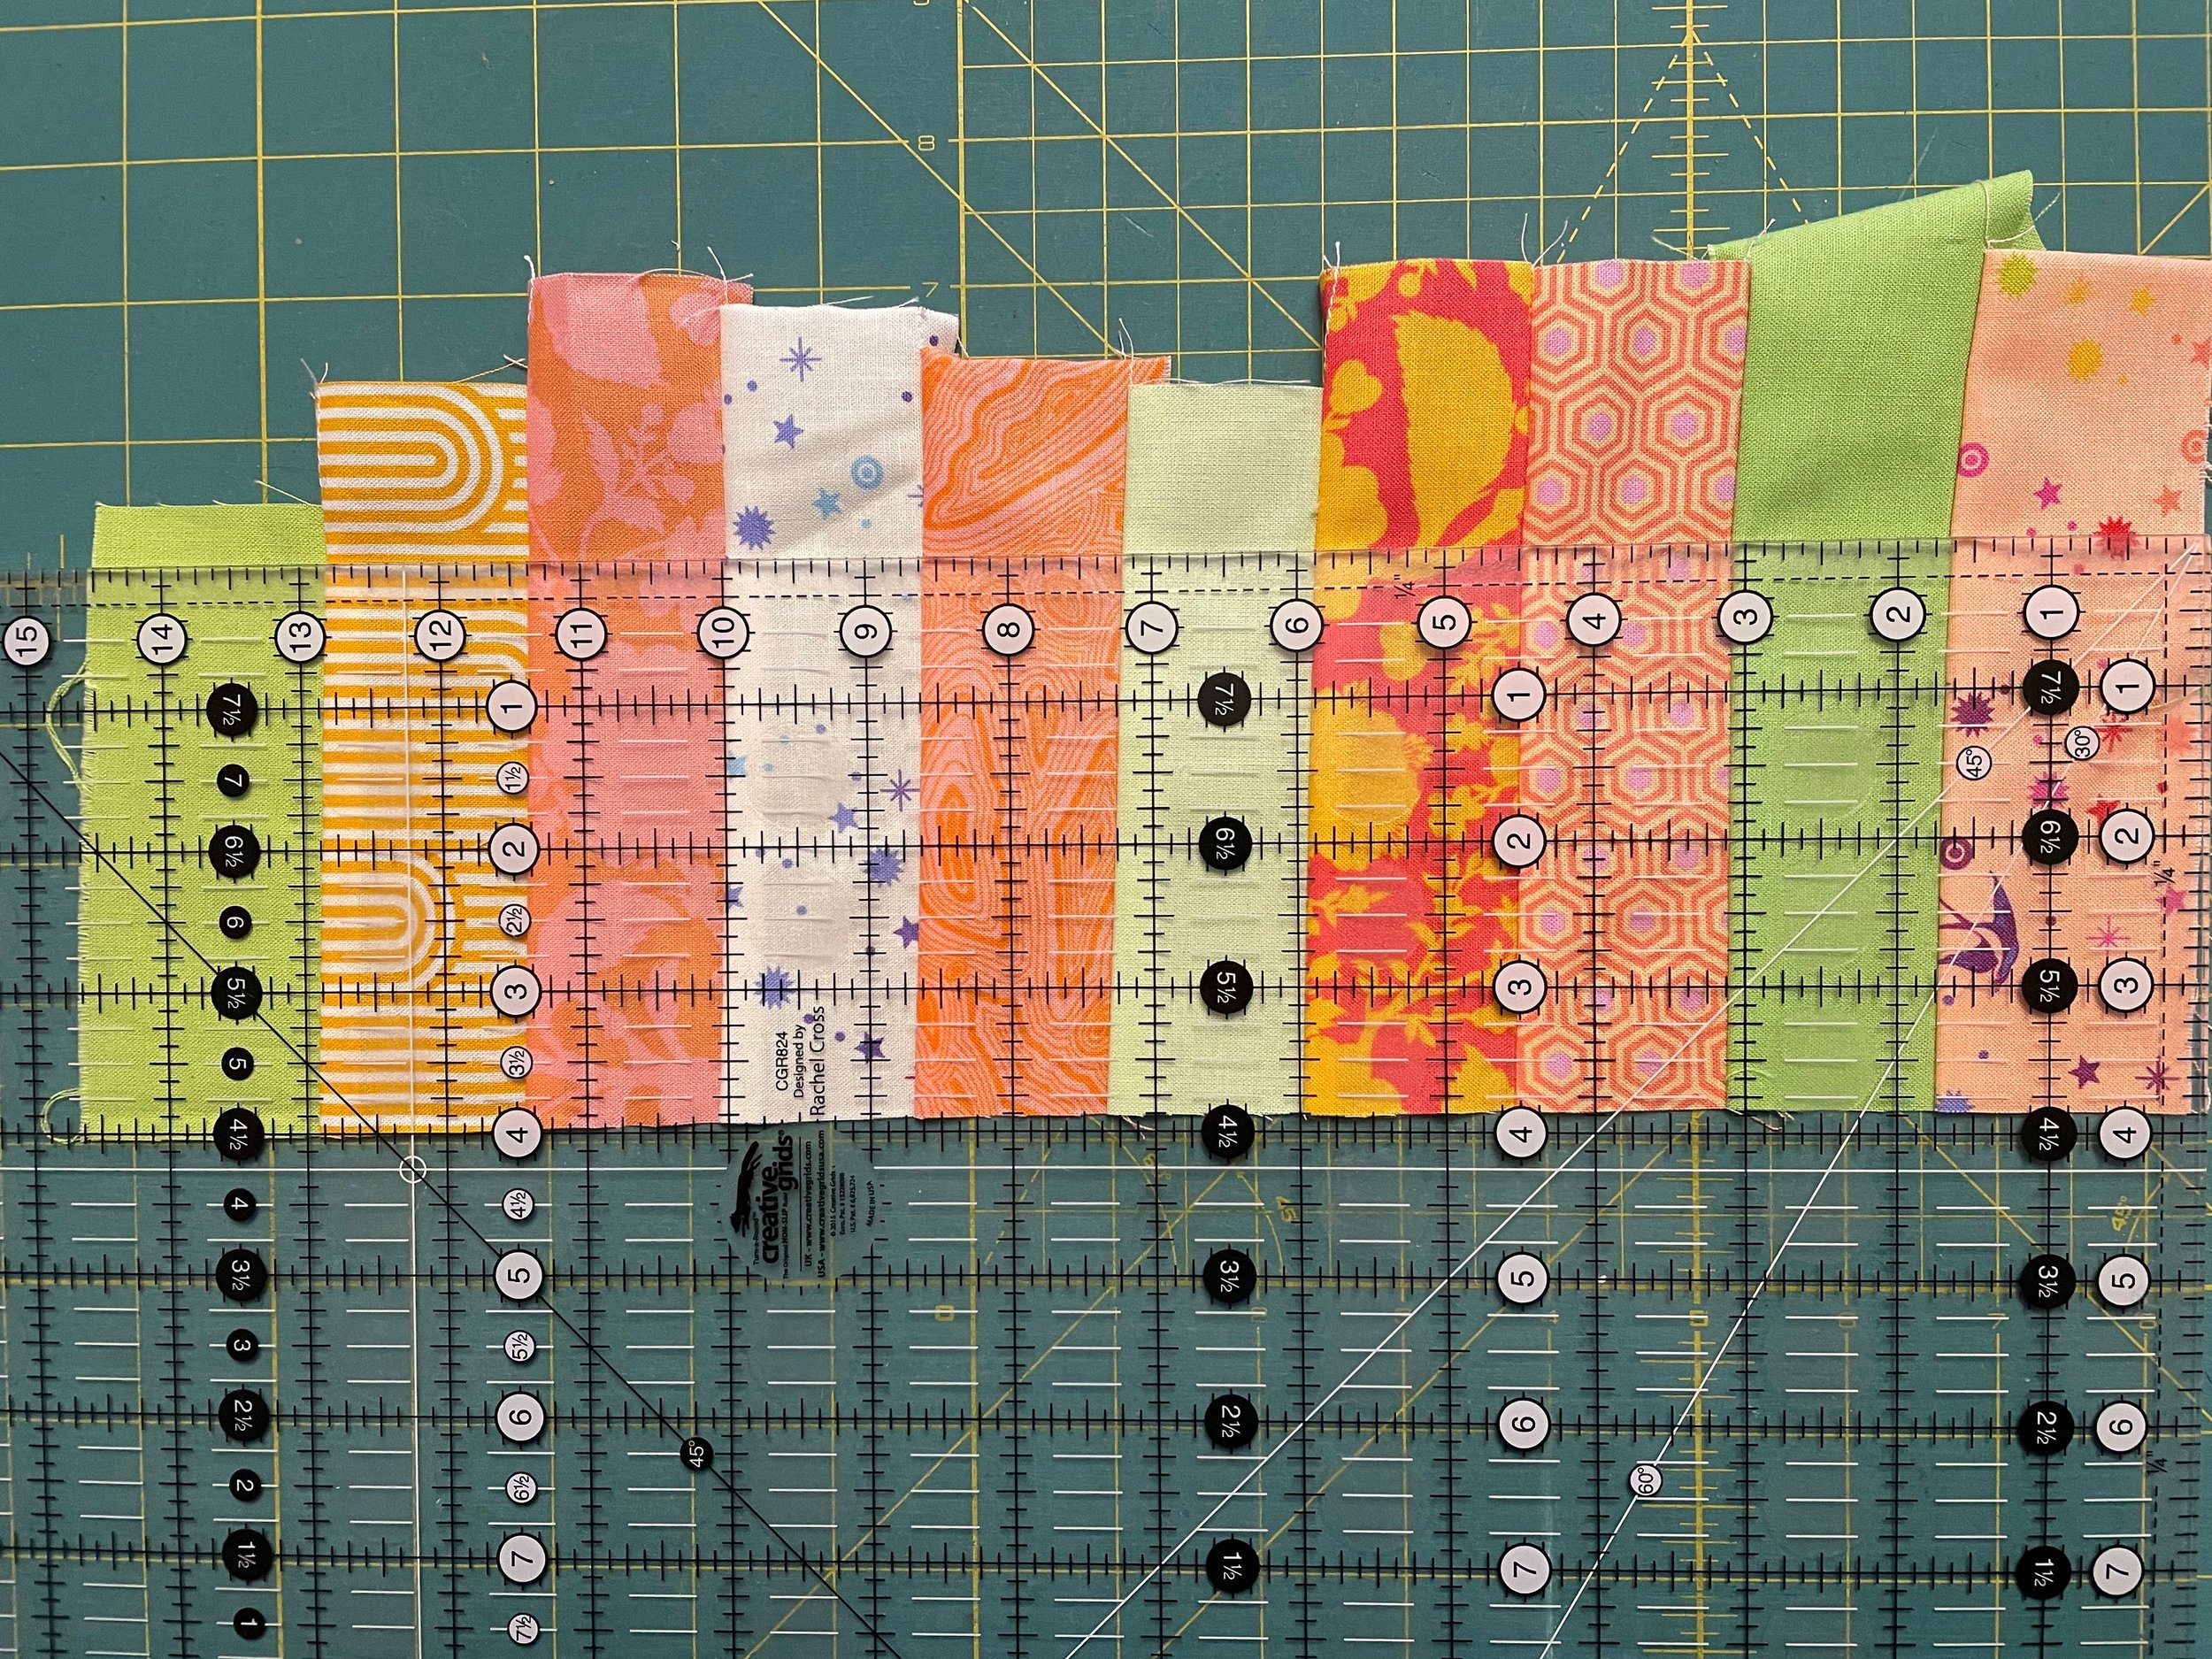
Press the seams all in the same direction. Then cut the set of piano keys the width you want for your quilt. I chose 4 inches. That gave me 5 strip sets from my 20 inch wide strips.
Cutting a set of piano keys for a quilt border from a strip set
I’d recommend keeping the number of strips you sew together in you wide strip set to under 20 inches long. I think cutting the piano key sections will get really unwieldy if you have a very long strip set. Make a couple of sets rather than one super long set of strips.
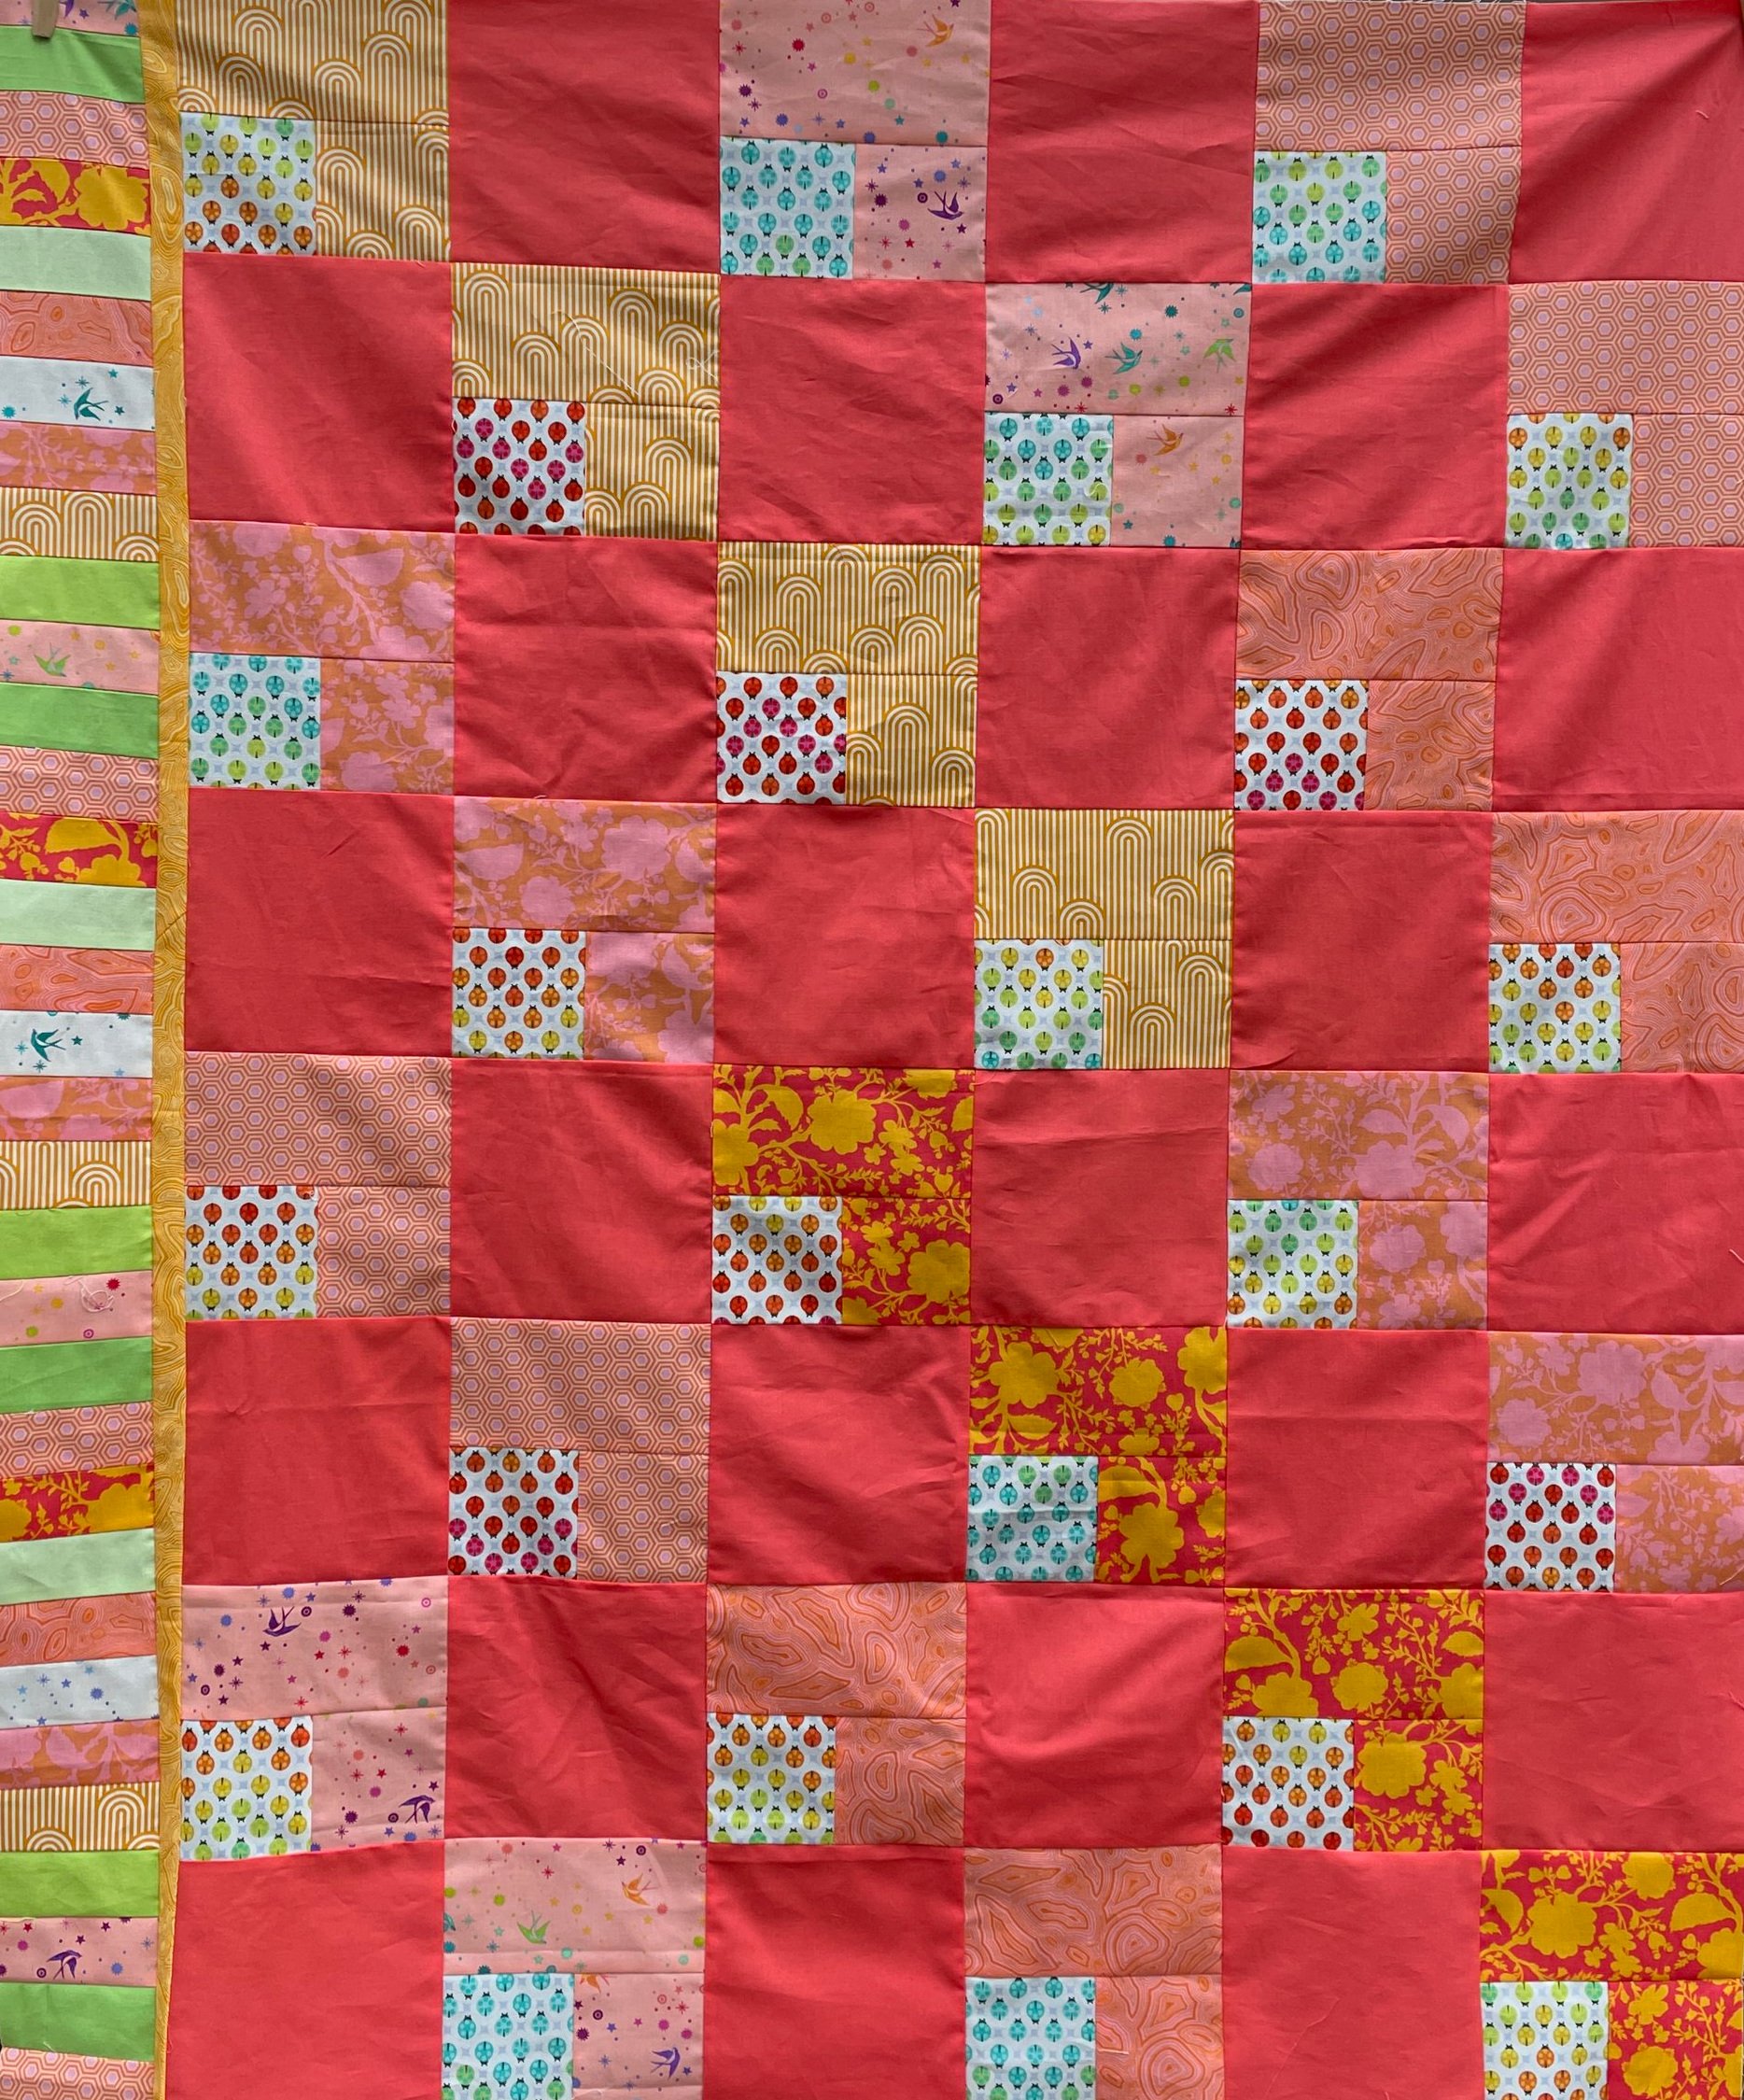
Sew you cut piano key strips together end-to-end to make the border. Cut to the length needed. Attach the border to the quilt and press toward the body of the quilt. If you have really light colored quilt and are worried about the seam from the keys showing, add a narrow border between the quilt and the piano key border as I did in my quilt shown below.
Have fun! This is so much faster and easier than it looks!
Piano key border on a quilt top


