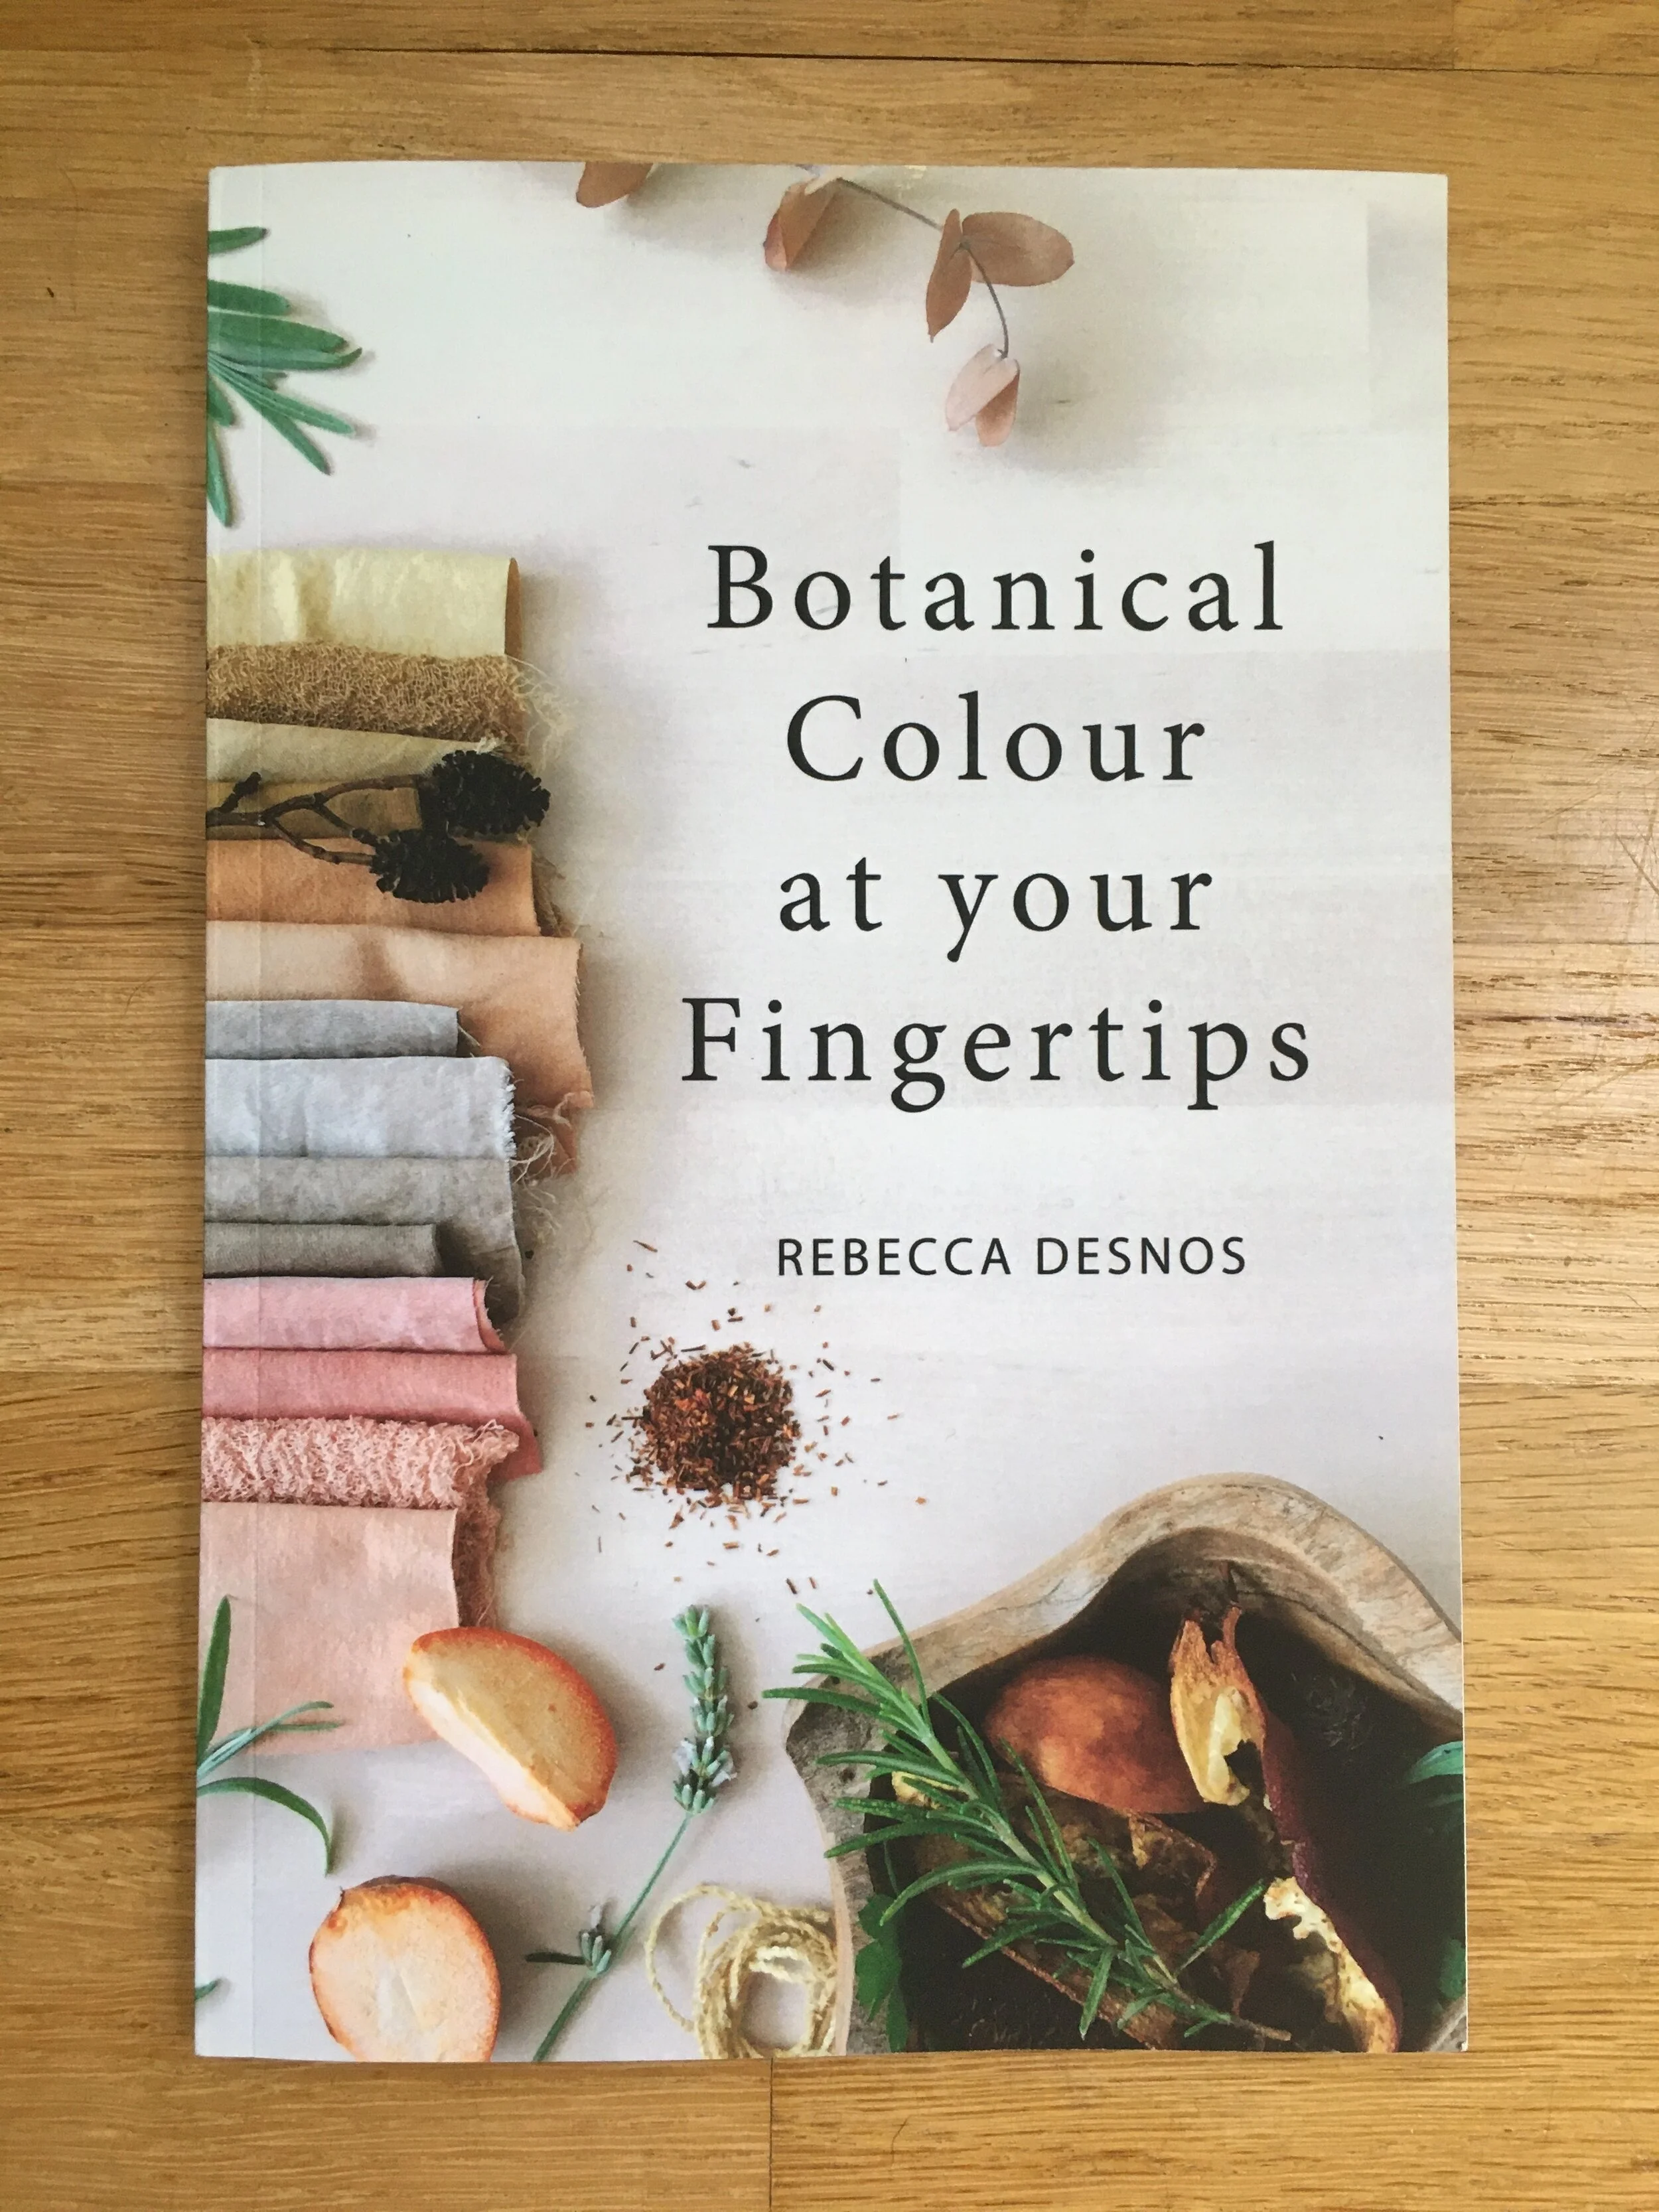
If you ever wanted to try to do some natural dyeing using plants from the woods, your garden, or your kitchen, Rebecca Desnos’s 2016 book Botanical Colour at your Fingertips is a great place to start.
In the past, I’ve done dyeing with synthetic dyes, but I’ve never tried dyeing anything with natural dyes. But when I saw that green avocados create peach and pink dyes, that I just had to try!
This book goes takes you through the process of natural dyeing, step-by-step, covering each step in its own chapter. The instructions are clear, thorough, and beautifully illustrated. This book really does teach you how to do everything in the entire process from collecting plant matter to fixing the dyed items.
Natural dyeing is really fun, but be forewarned—this is a s-l-o-w process. Especially the first time you dye something. It will take 3-4 weeks before you will have fabric or yarn dyed and ready for use. So, definitely not a quick project to do in a weekend or with impatient children.
Rather than talking more about the book’s contents, I thought I’d show you about my experience doing natural dyeing using this book.
My task was collecting the items I needed to do the dyeing. All of the kitchen wear/utensils used for dyeing should be reserved JUST FOR DYEING. You can NOT dye and cook with the equipment. Rebecca recommends using an aluminum pot because the aluminum acts as a mordant for the dye. But she also discusses how other types of pots can create interesting effects with the plant dyes.
I don’t use any aluminum pots or pans in my kitchen so I couldn’t just re-purpose some thing I had. But I had a hunch I might find just what I needed at a local thrift shop. The first store only had stainless steel pots, but at the second, larger one, I had a choice of aluminum pots. Pick one with a lid, since you will need to cover the pot when you are boiling things. (I didn’t realize I’d need a lid, so I got a pot without one. That was easily solved with an inexpensive glass lid, but that was an extra expense I could have avoided if I’d picked a pot that still had its lid)! I fished around in my spoon drawer for a less-loved wooden spoon and found a wooden spatula that I never used. I wrote CRAFT ONLY on it with a marker, to be sure it wouldn’t need up back in the kitchen drawer. I had all the other items needed in my house.
Rebecca recommends using soy milk as a mordant to help bind the plant dyes to the fabric. You can use soy milk from your local market, but I have dried soybeans I keep on hand for making soy milk, so I made up a 2 quart batch. For fabric I used Kona® cotton that is prepared for dyeing. I expect I could have just used this prepared fabric as is, but I pre-washed it as recommended and then treated it with the soy milk. I needs to be dipped several times, so look for a couple sunny days in a row to do that! I thought the soy milk treated fabric might start to go off or spoil after a few weeks, but I’ve had some for a at least 6 weeks now and it still smells sweet!
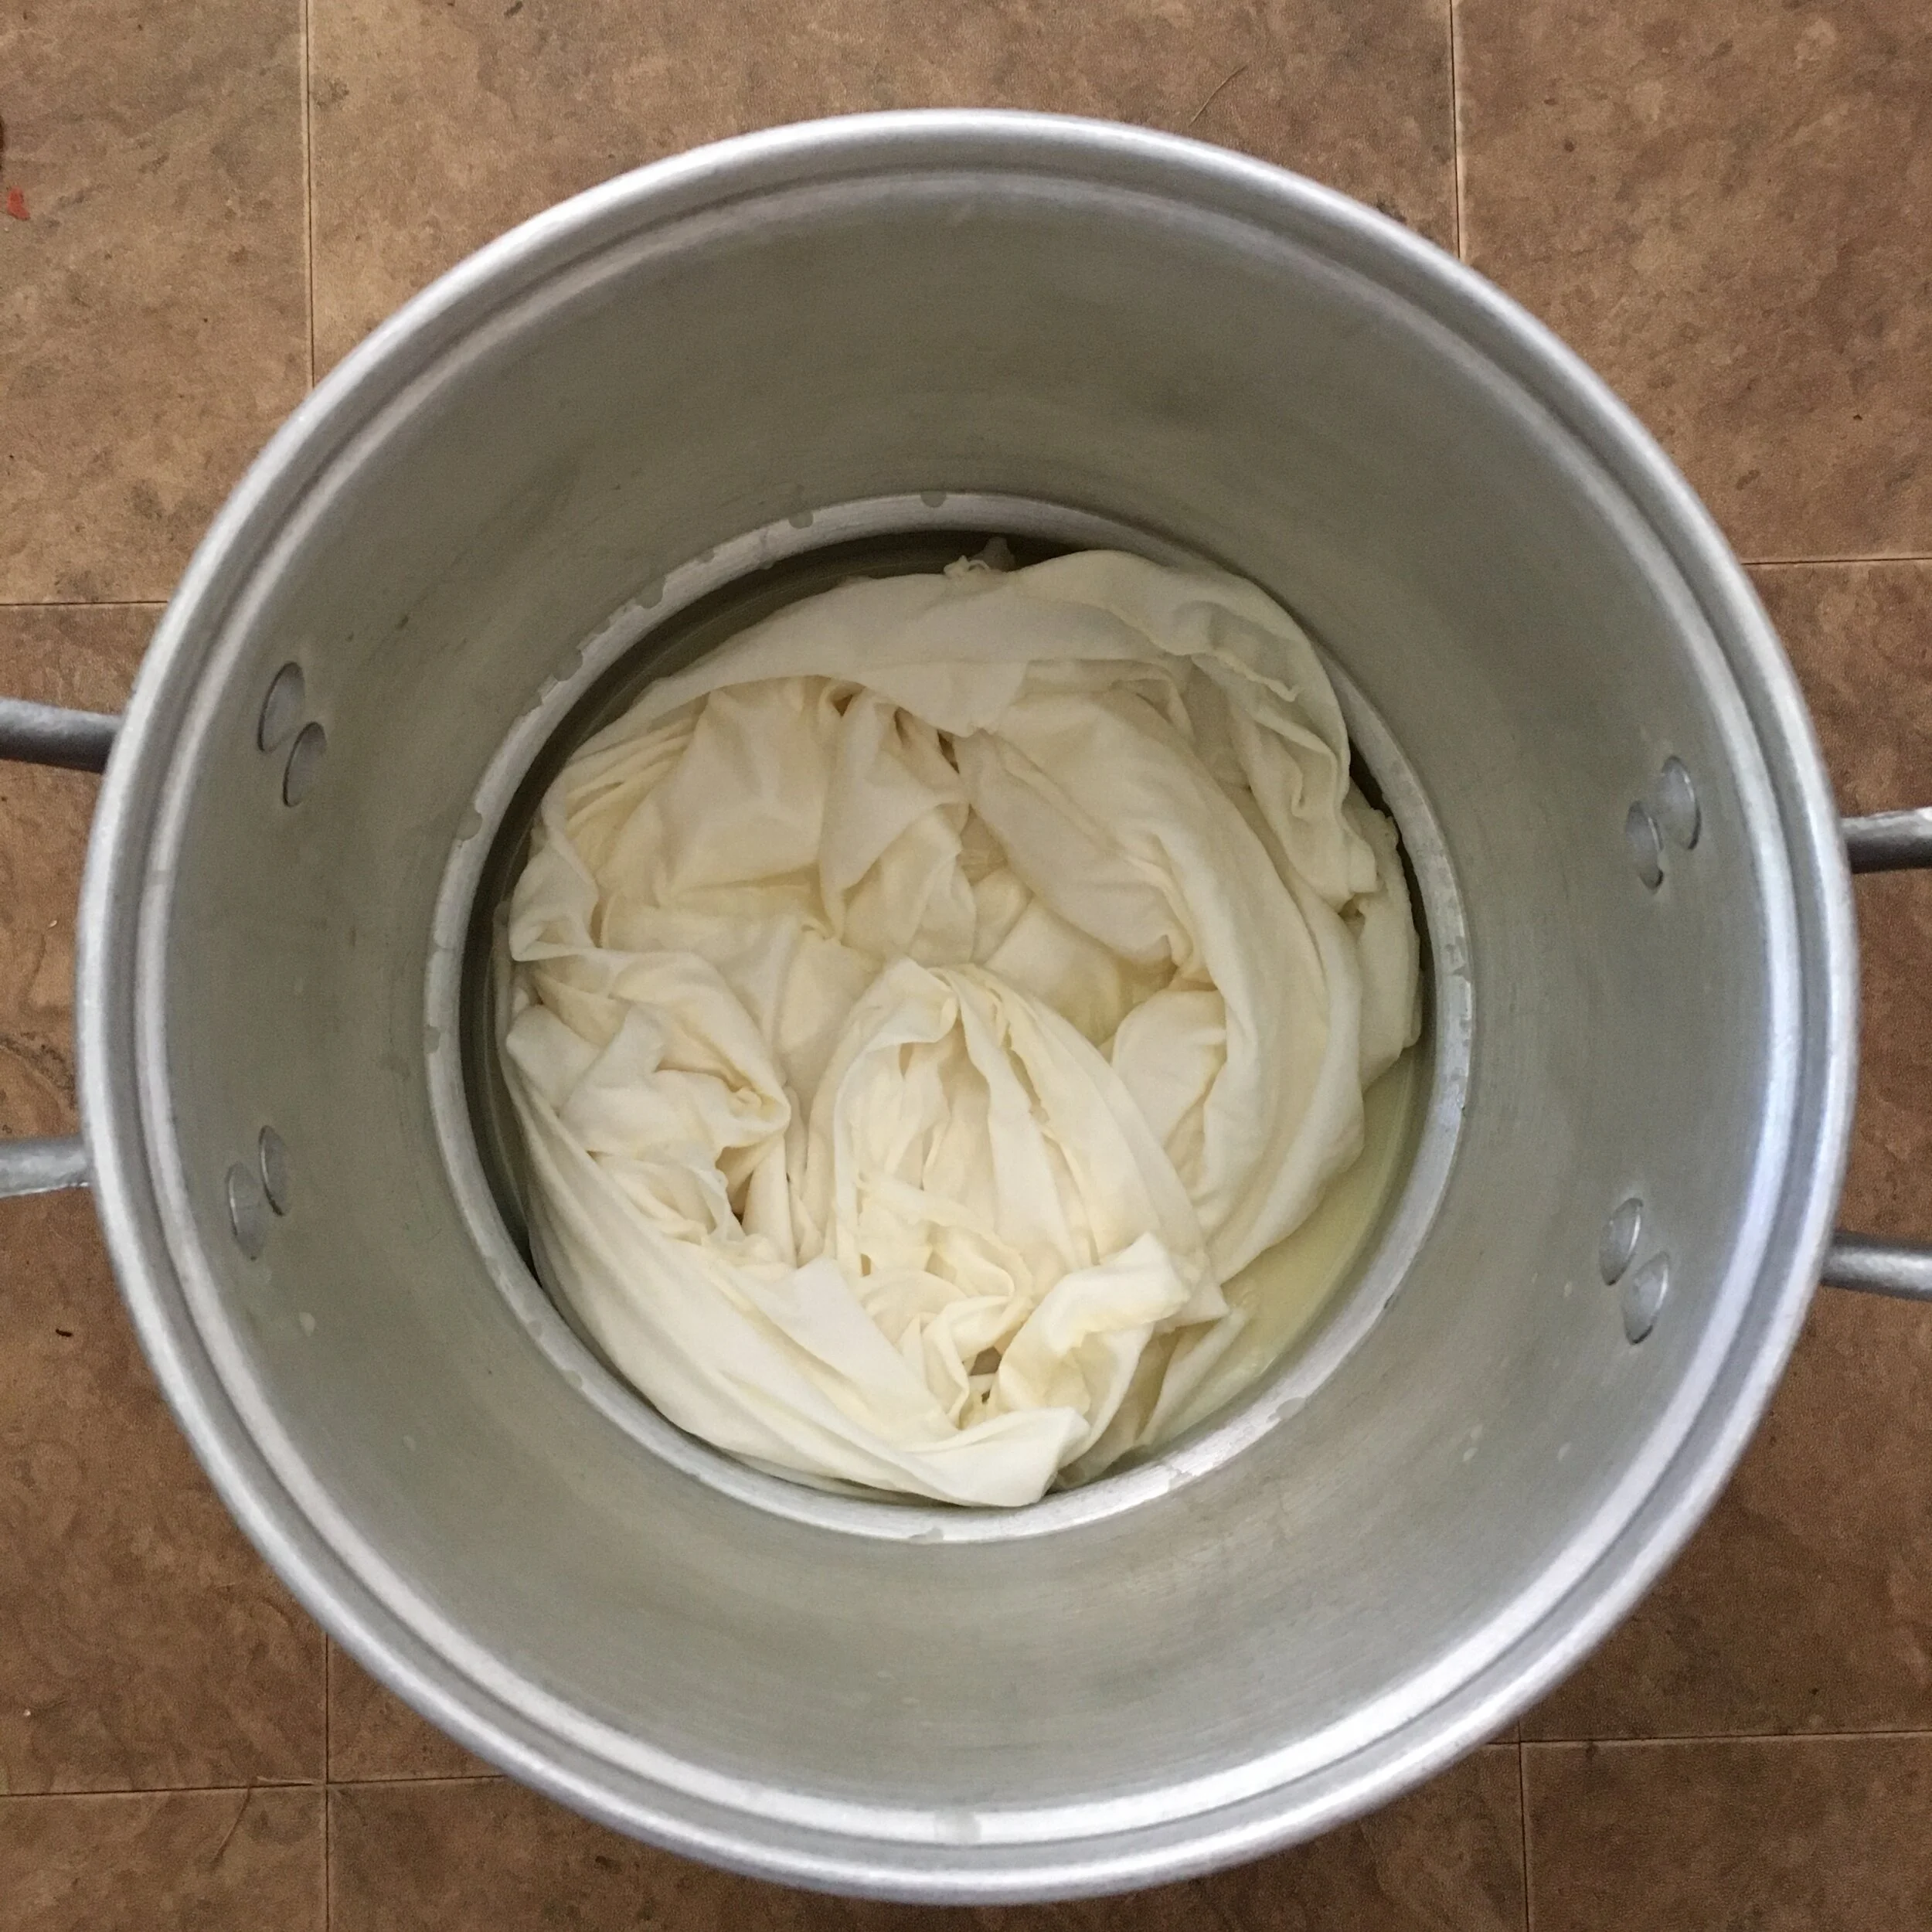
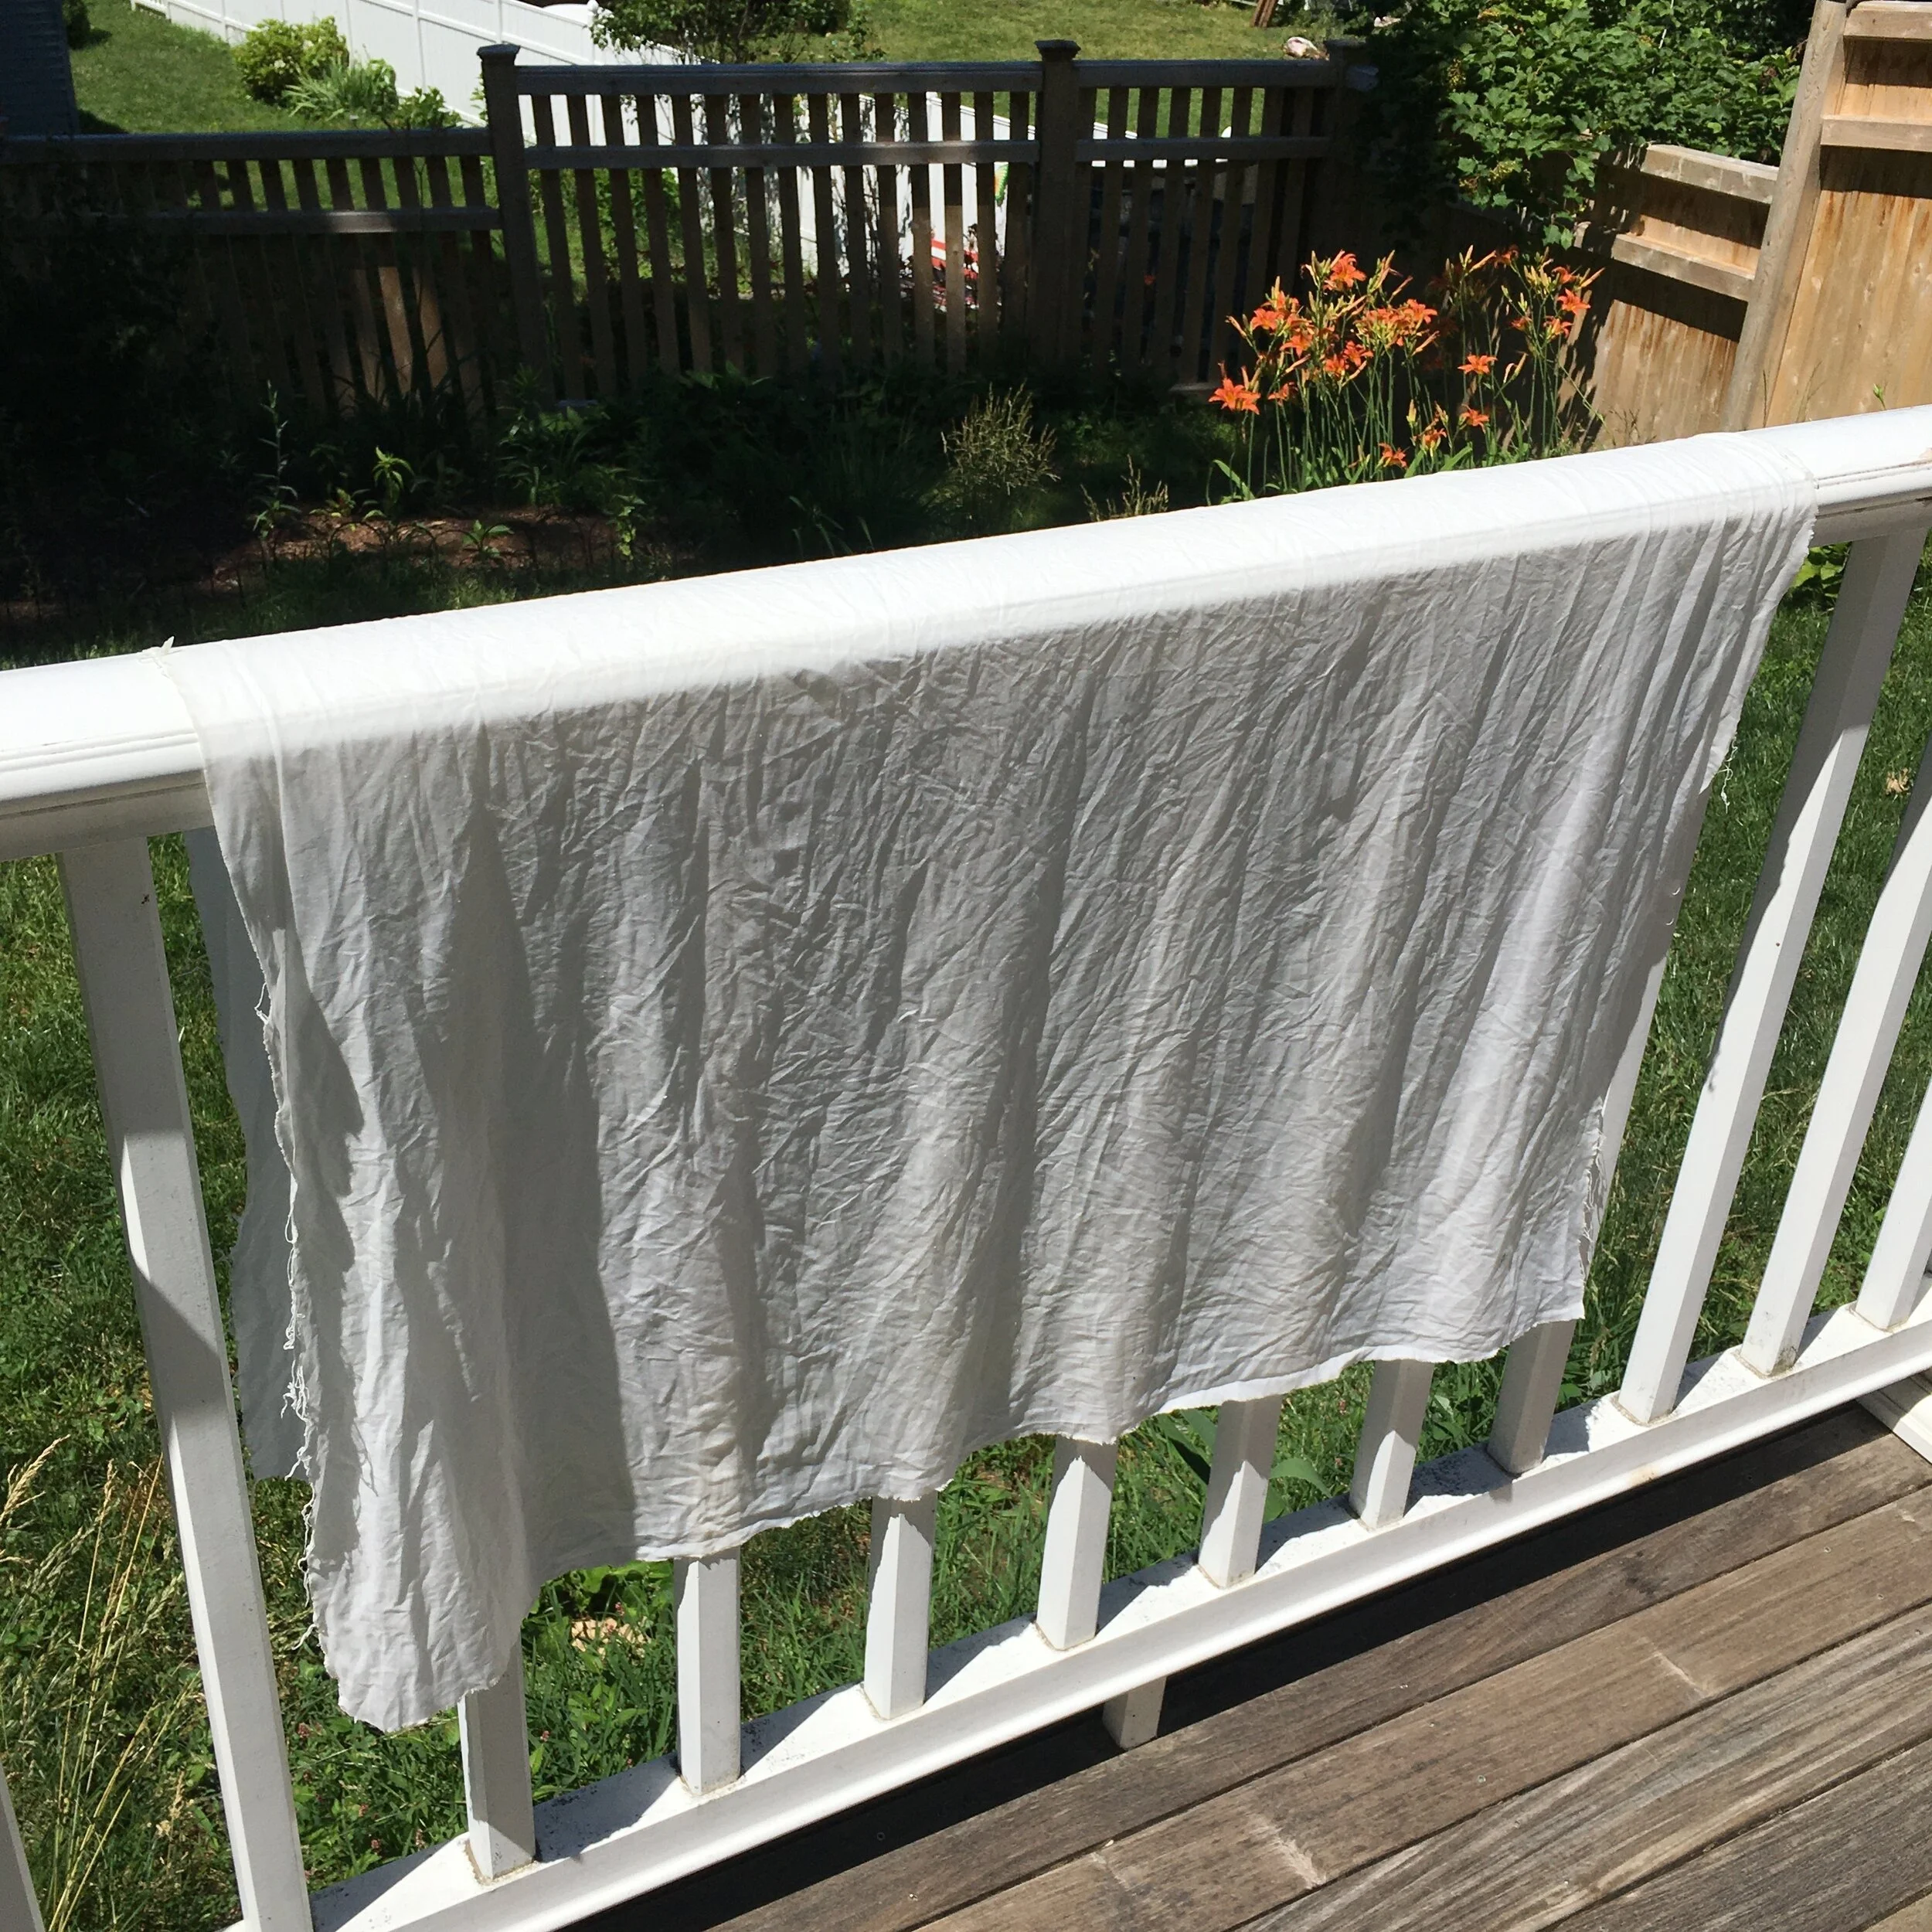
Here is a yard of fabric, soaking in my homemade soy milk in my amazing aluminum pot, and then drying over my deck railing in between dips. The treated fabric needs to rest at least a week before it you can dye it.
So, this is the perfect place for me to stop writing, and for you to rush off and purchase a copy of the book! (I might also need to eat a few more avocados)!
In my next post I’ll show you the fabric I have dyed so far.
Notice: This blog is not monetized: I do not use affiliate links. When there are links in a post, they are to give credit to another creative person, because I like or have used a product, or to help the reader easily find supplies for a project.


