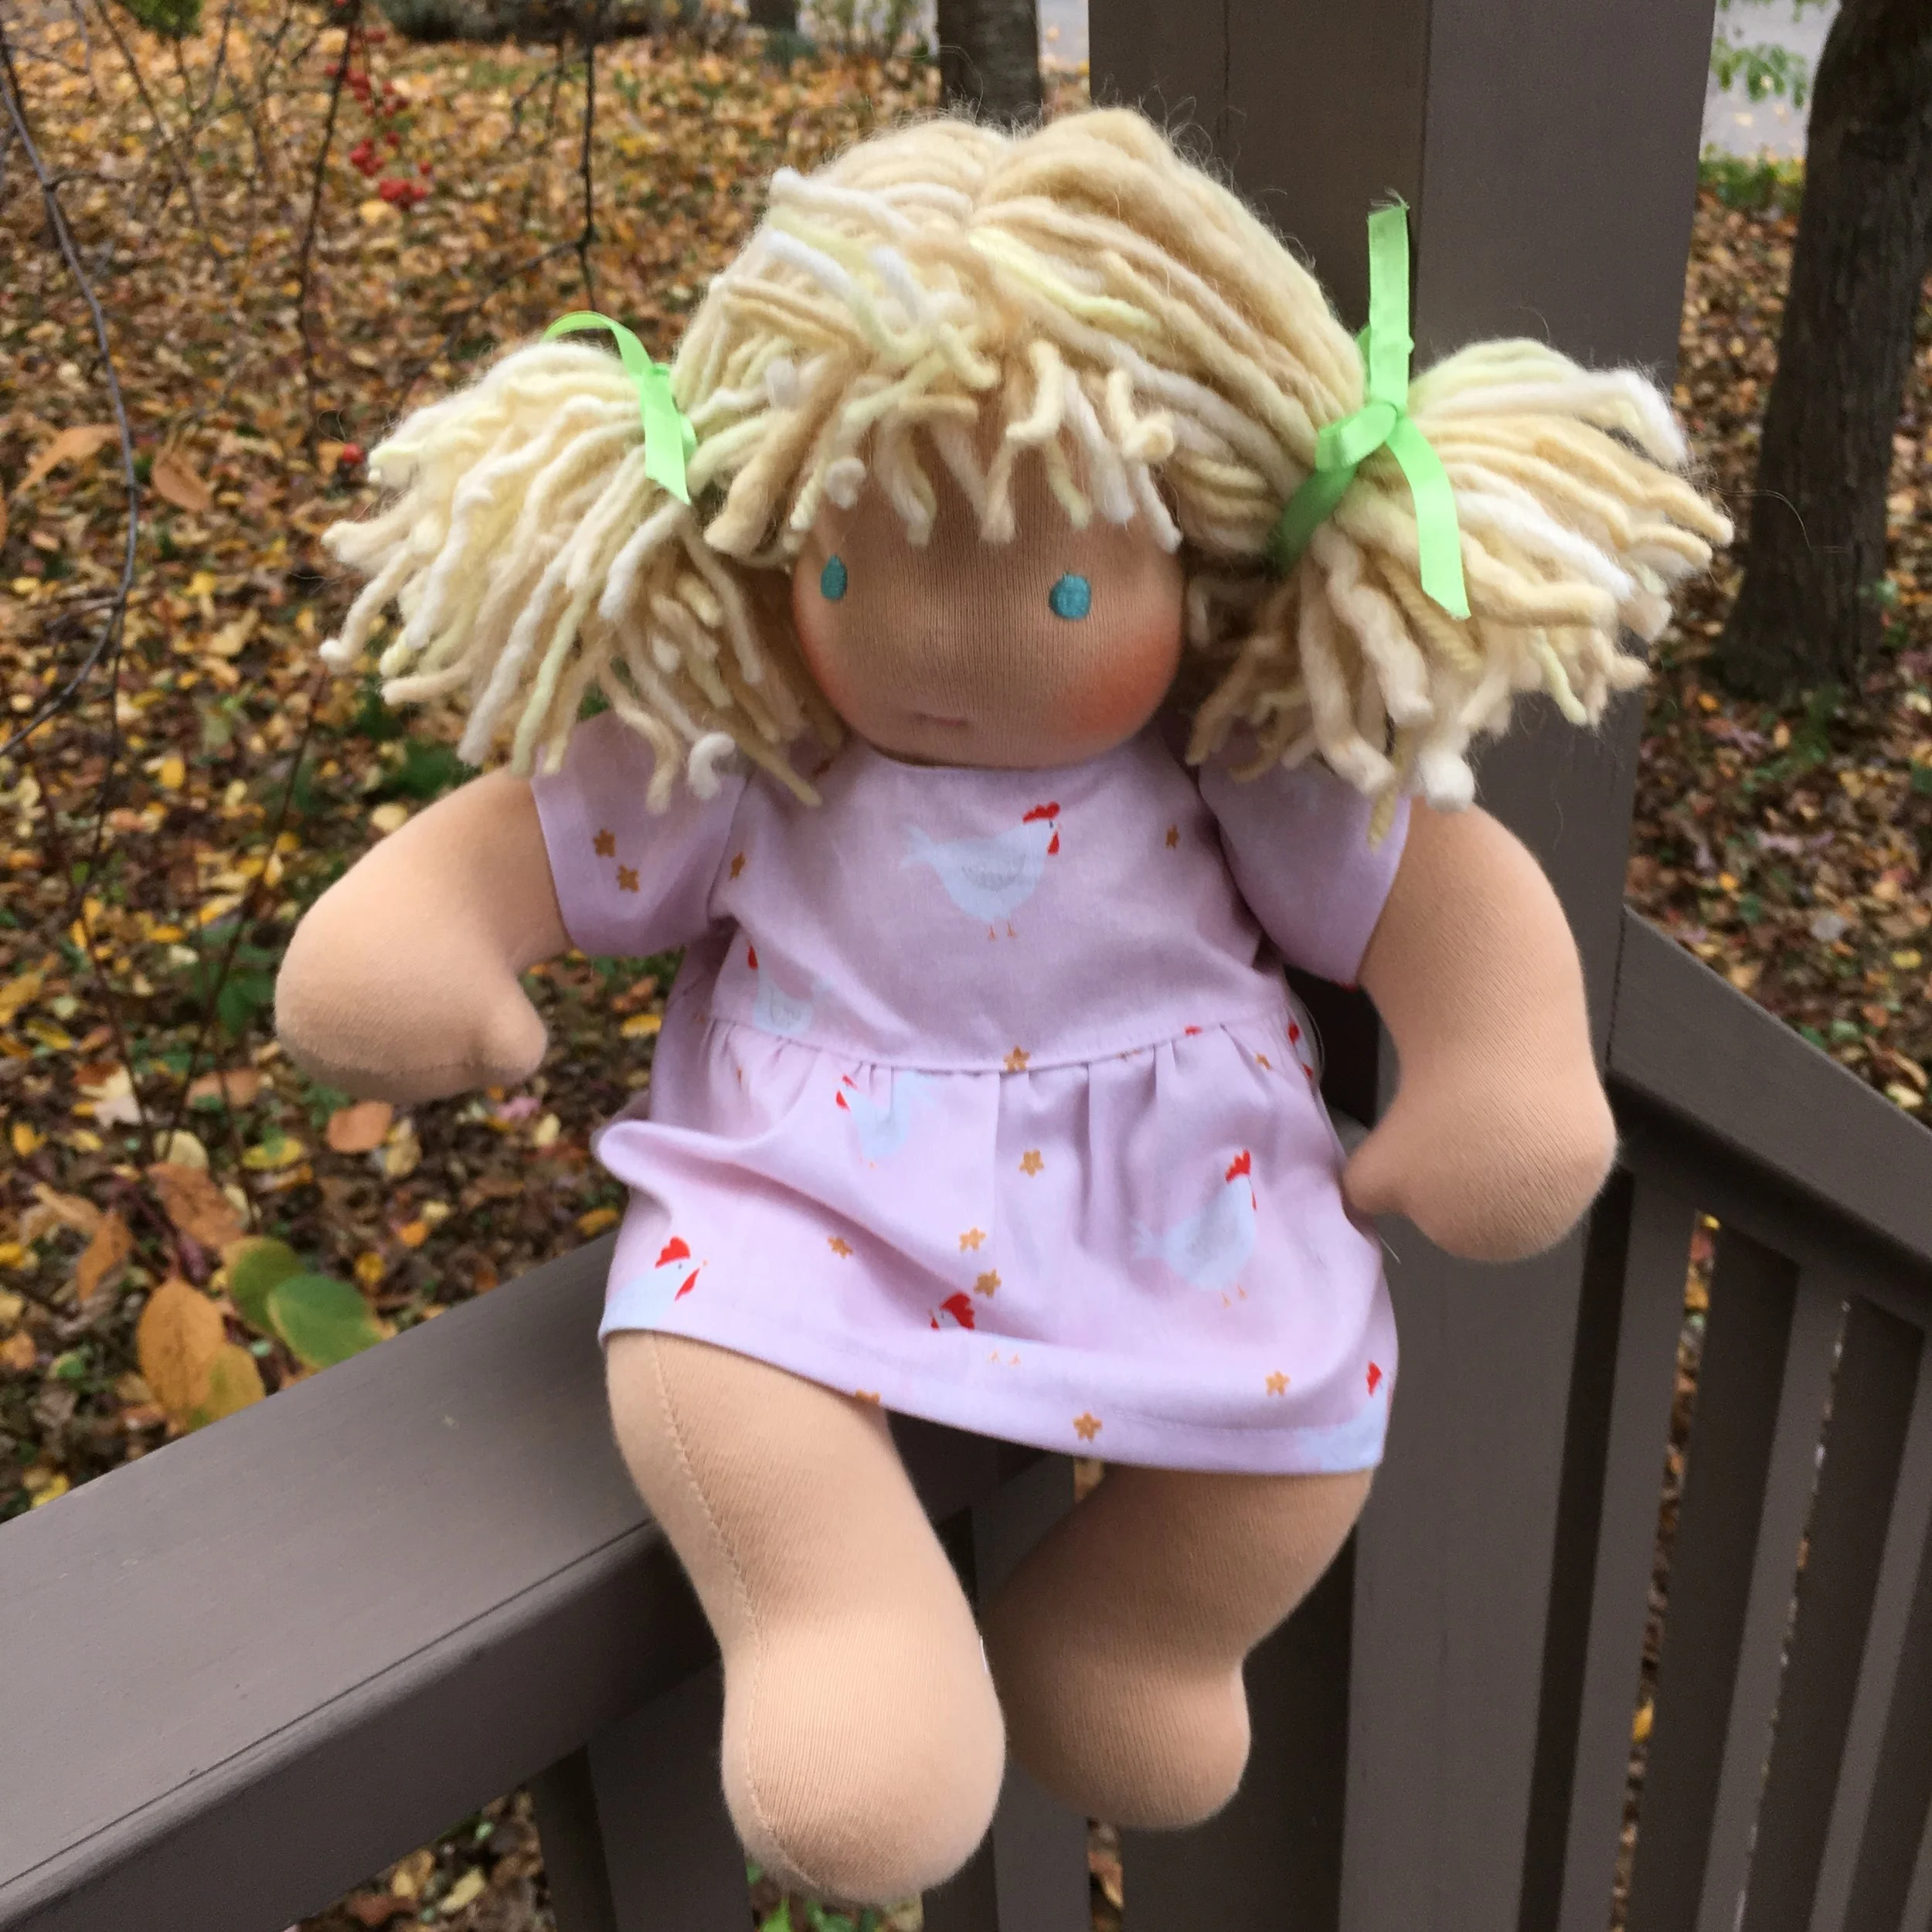
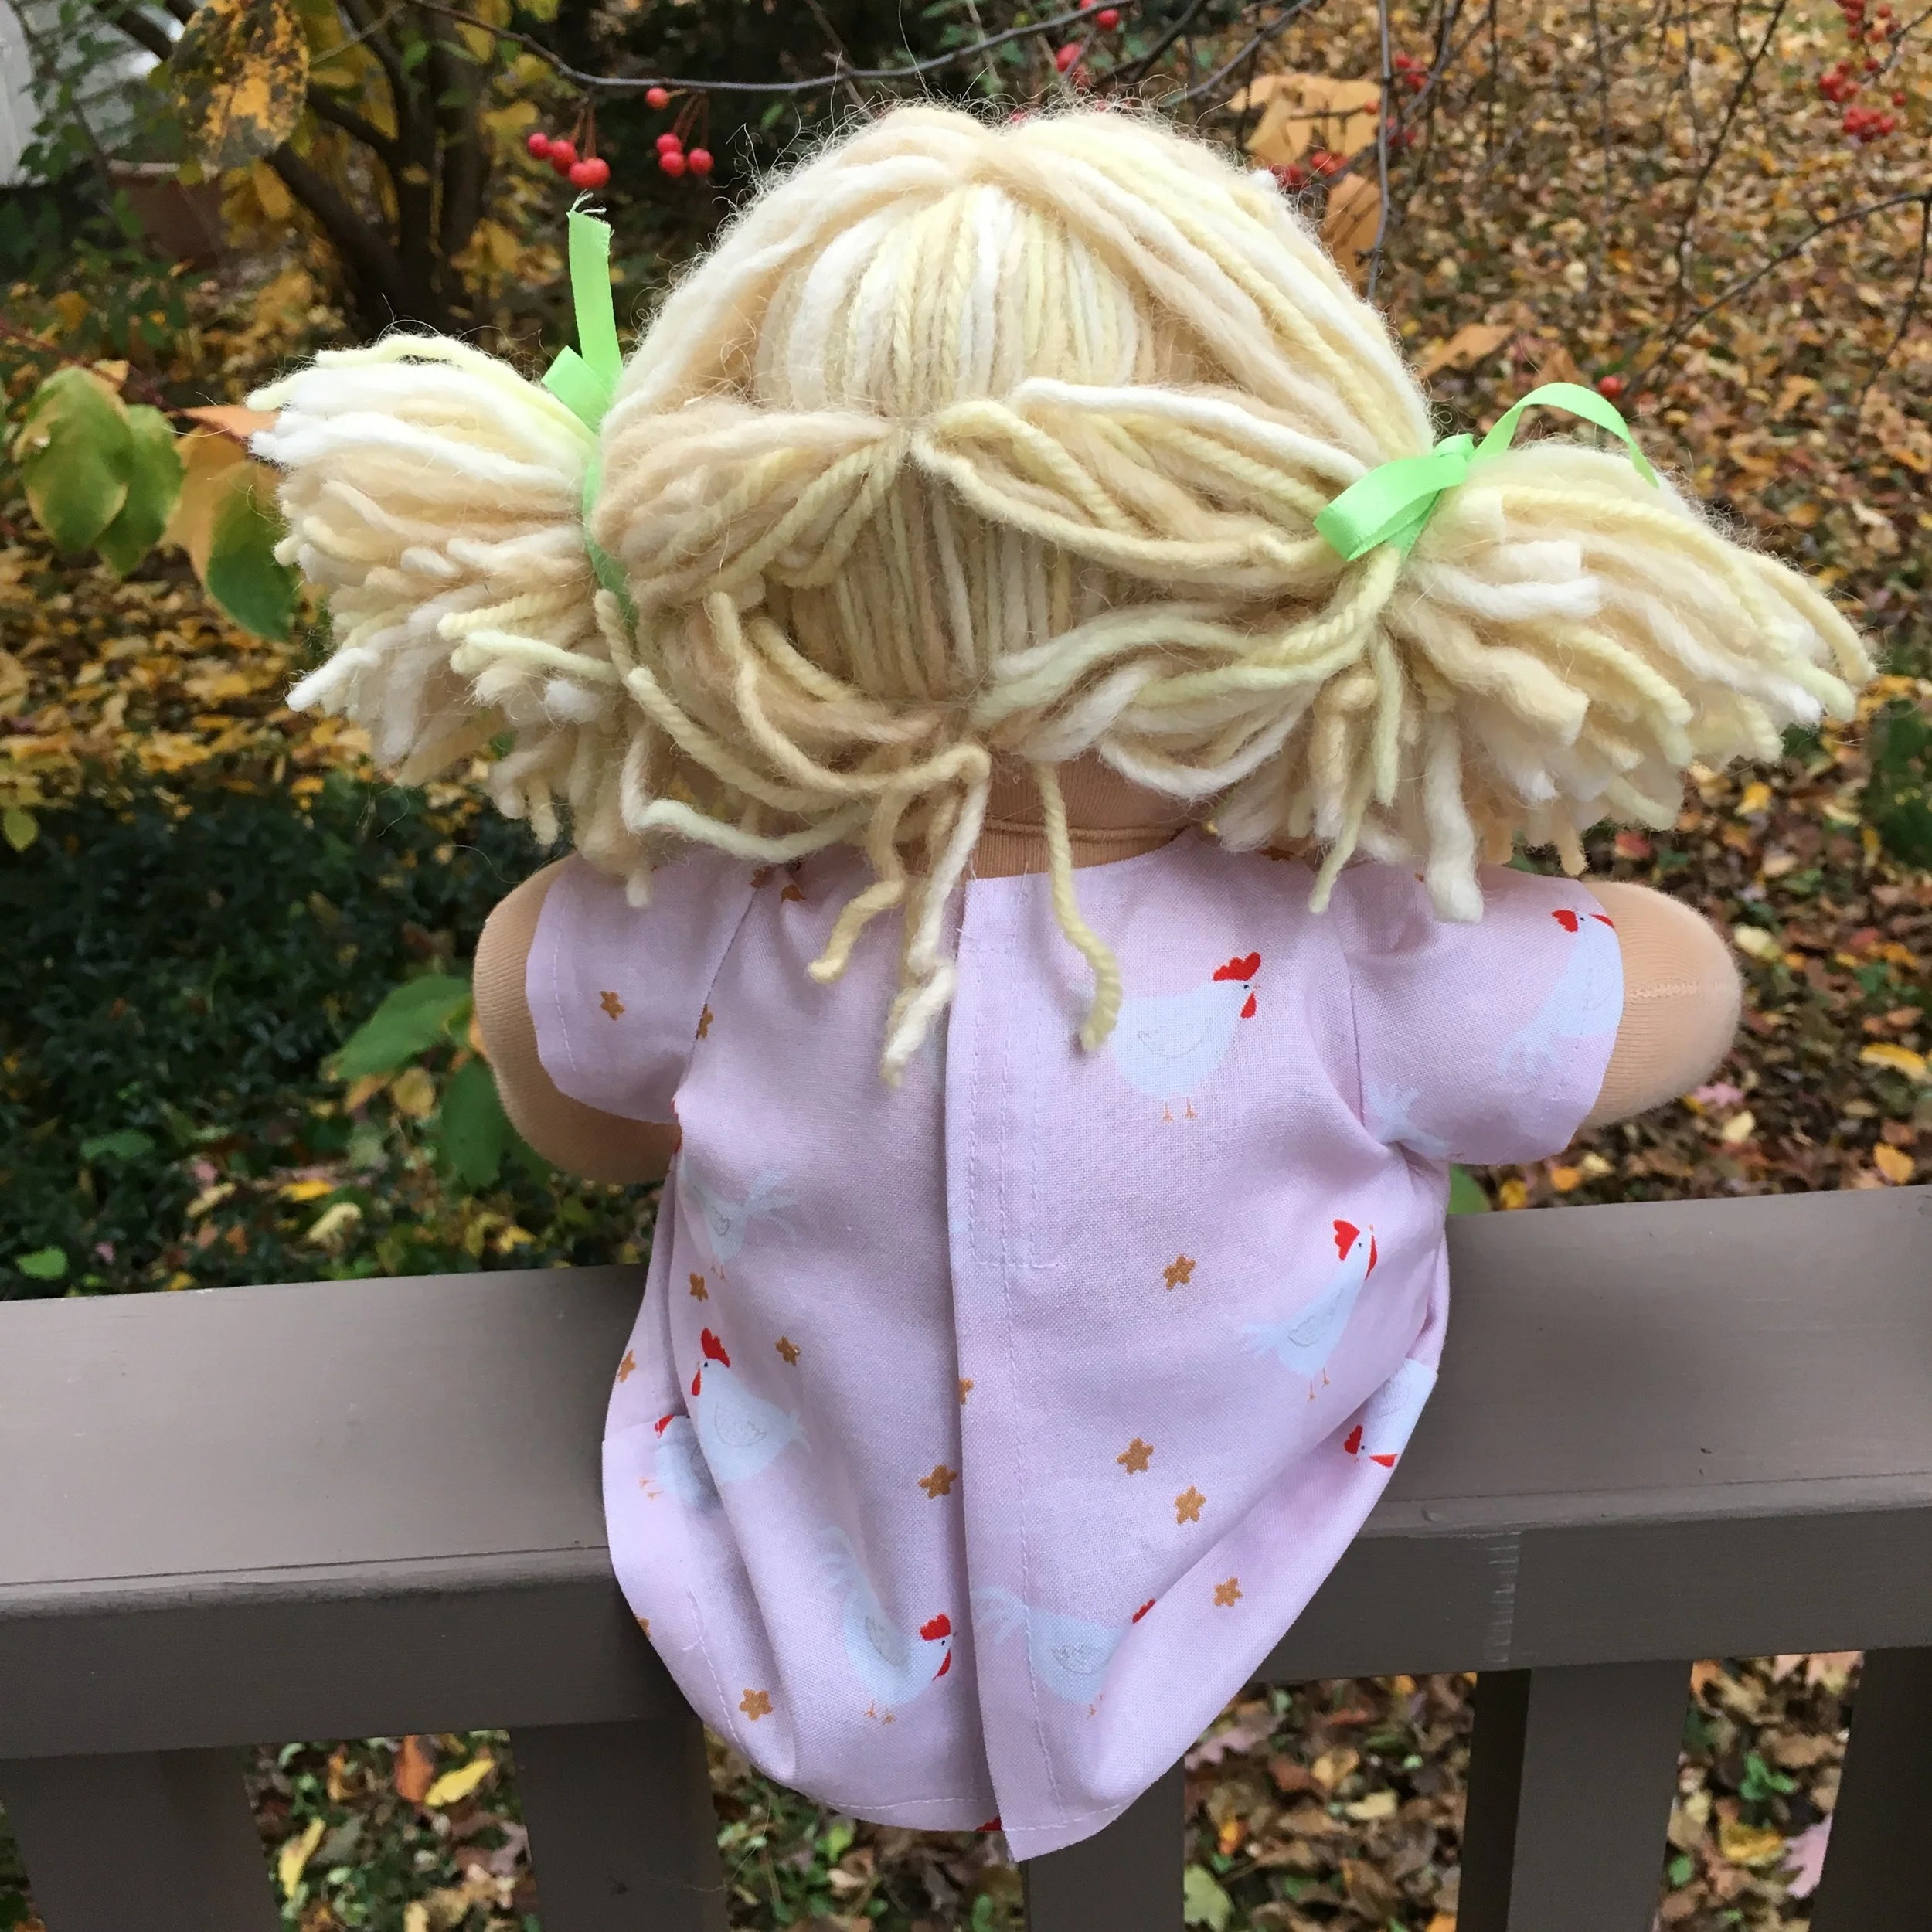
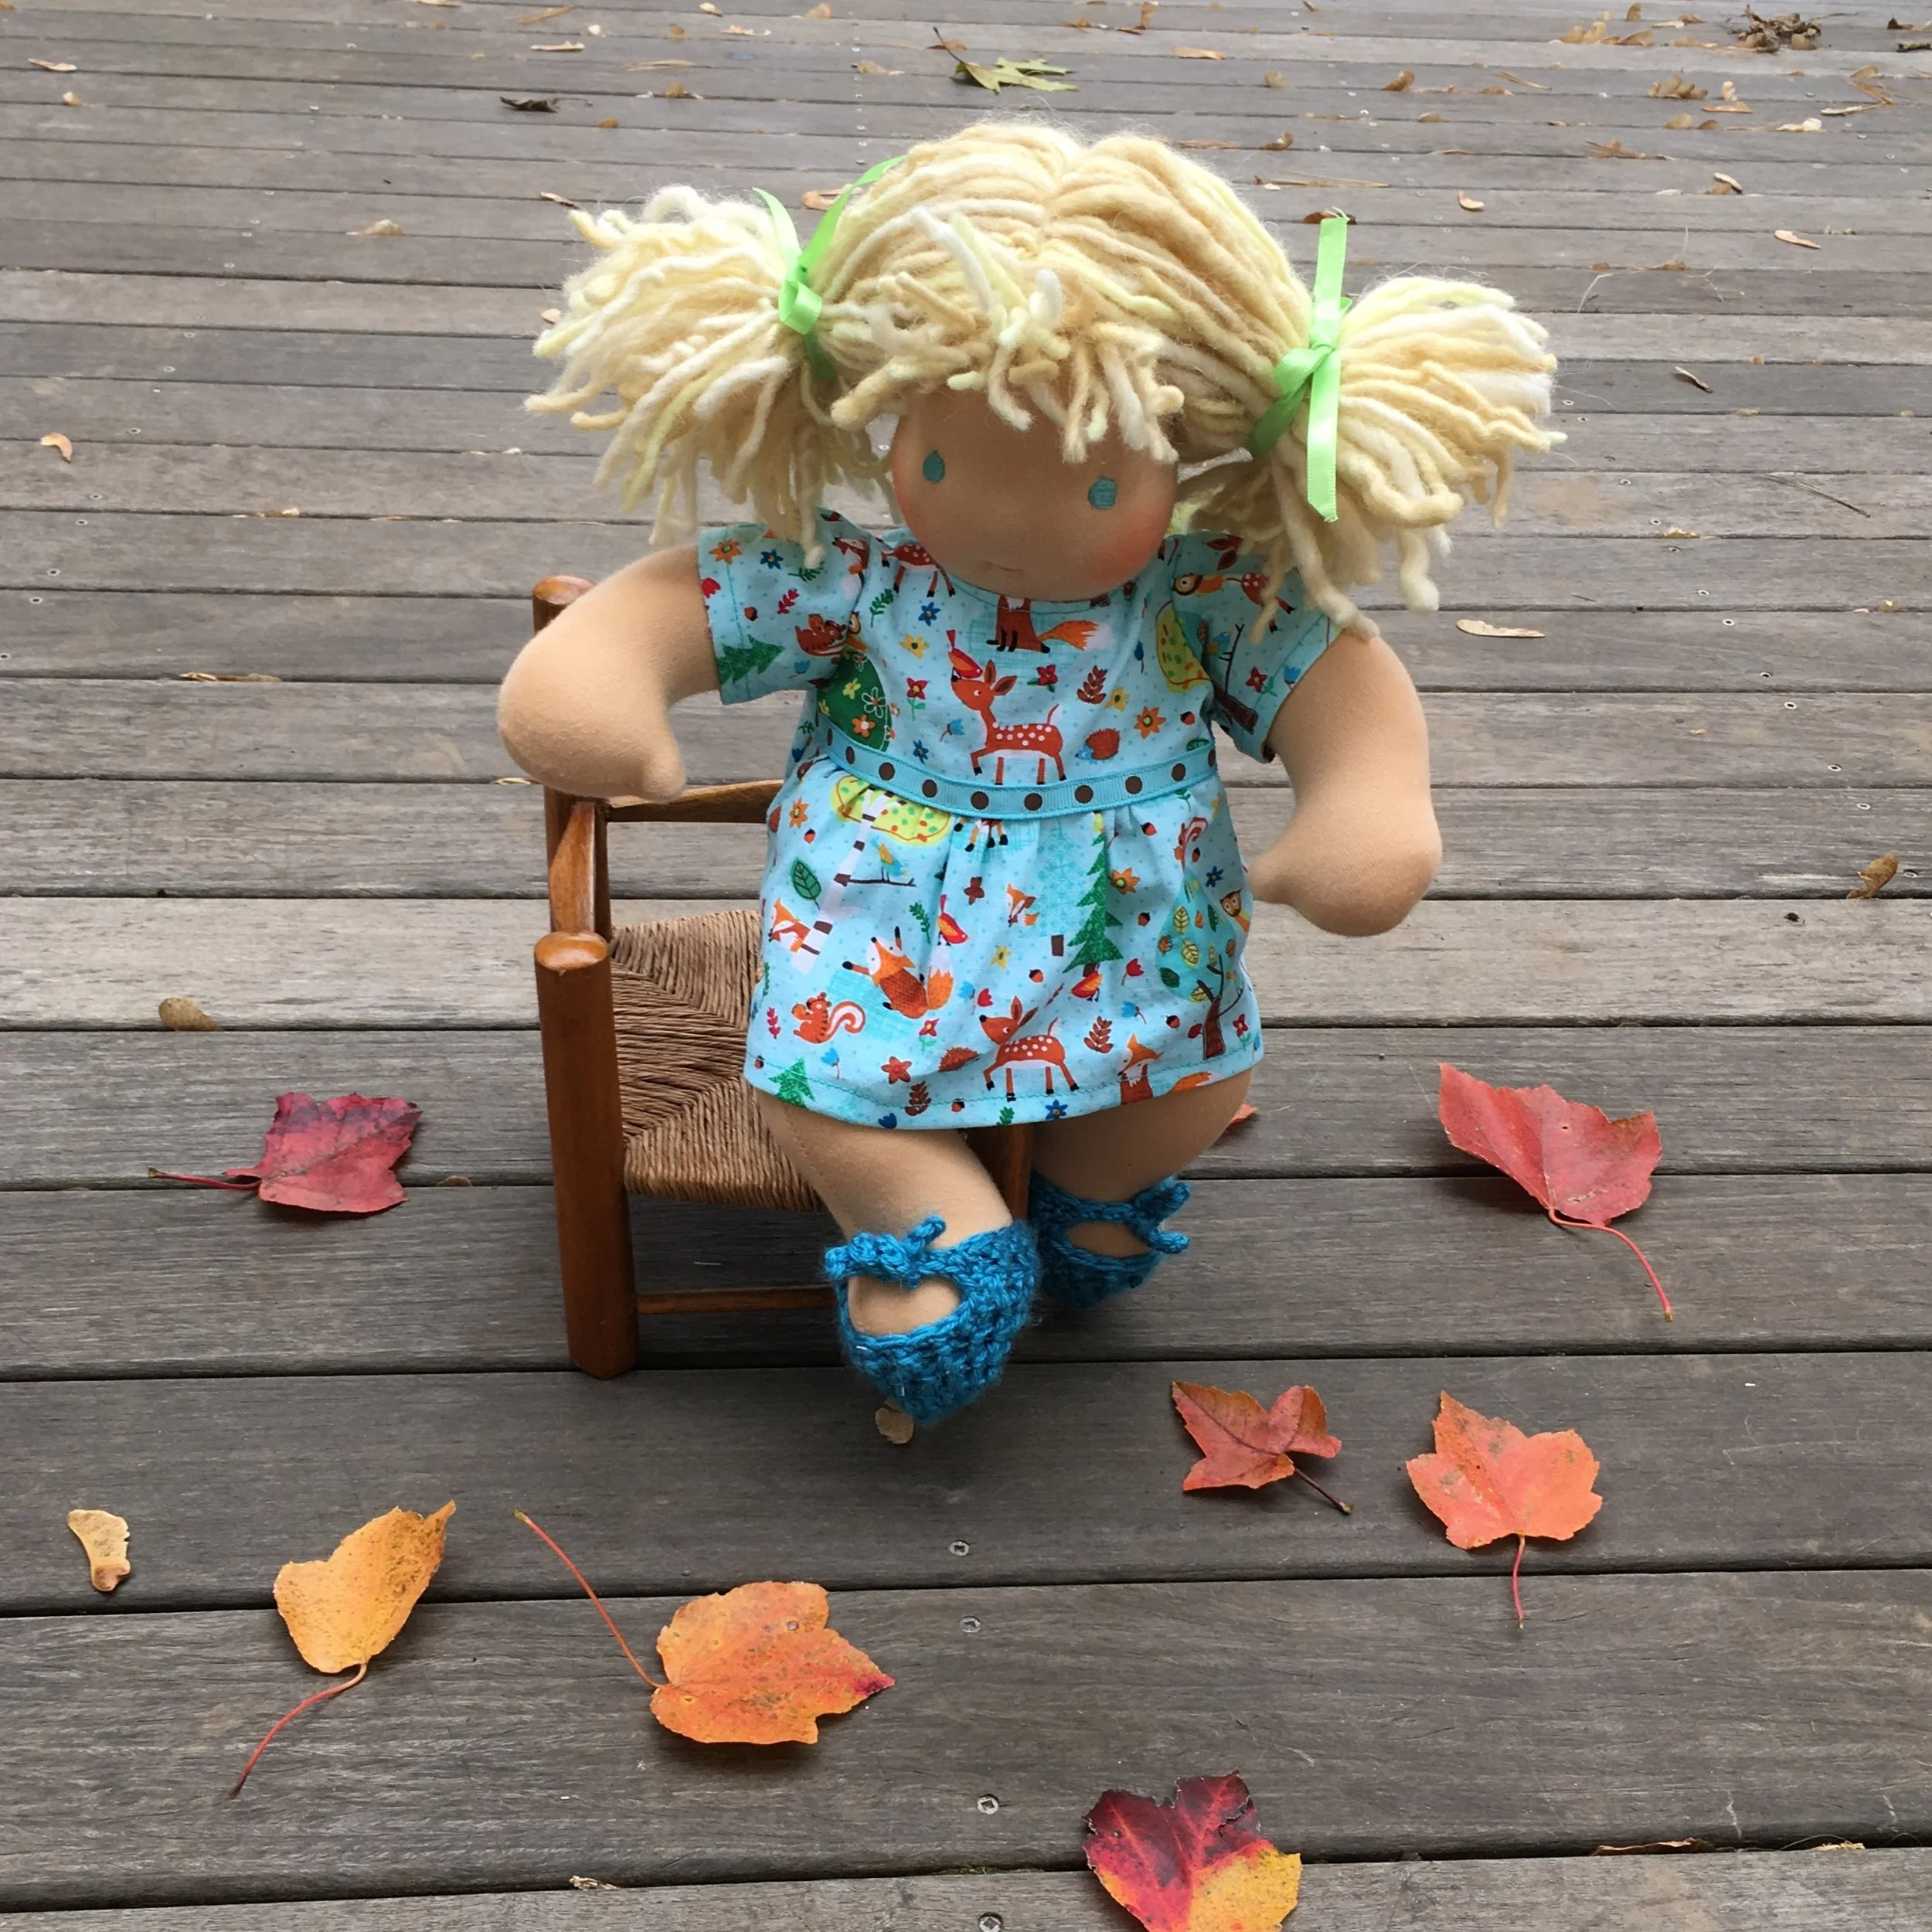
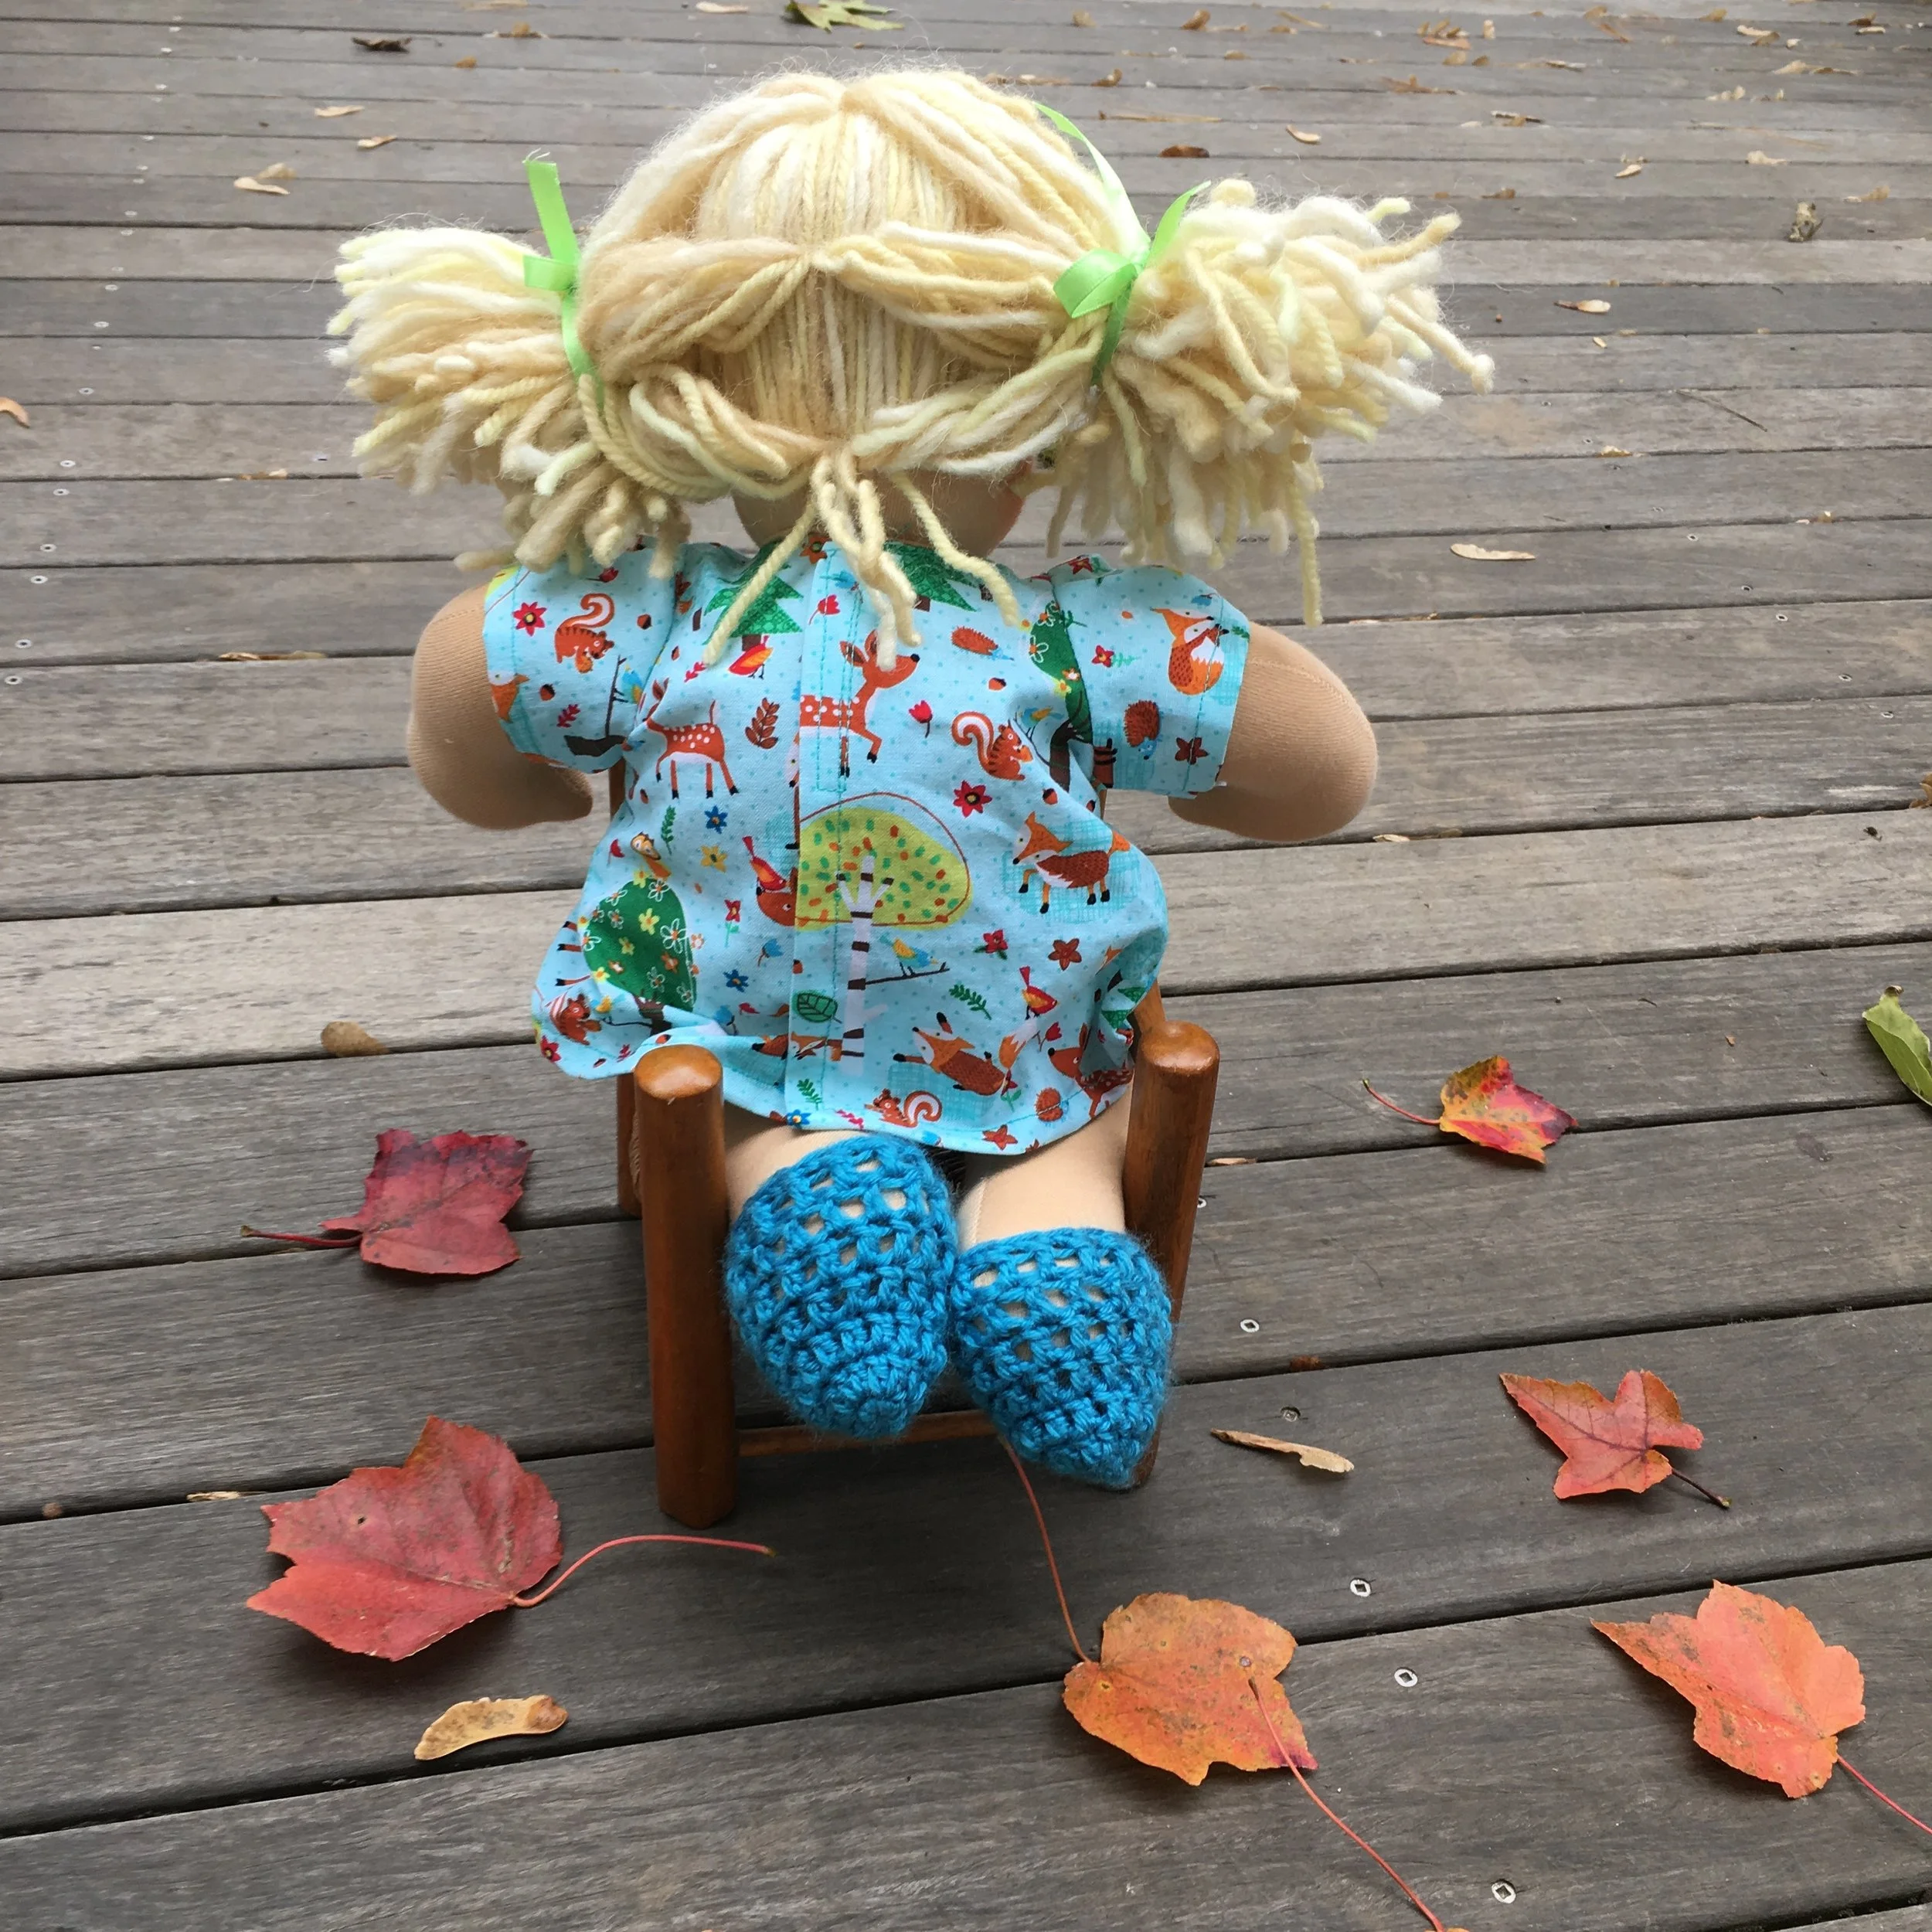
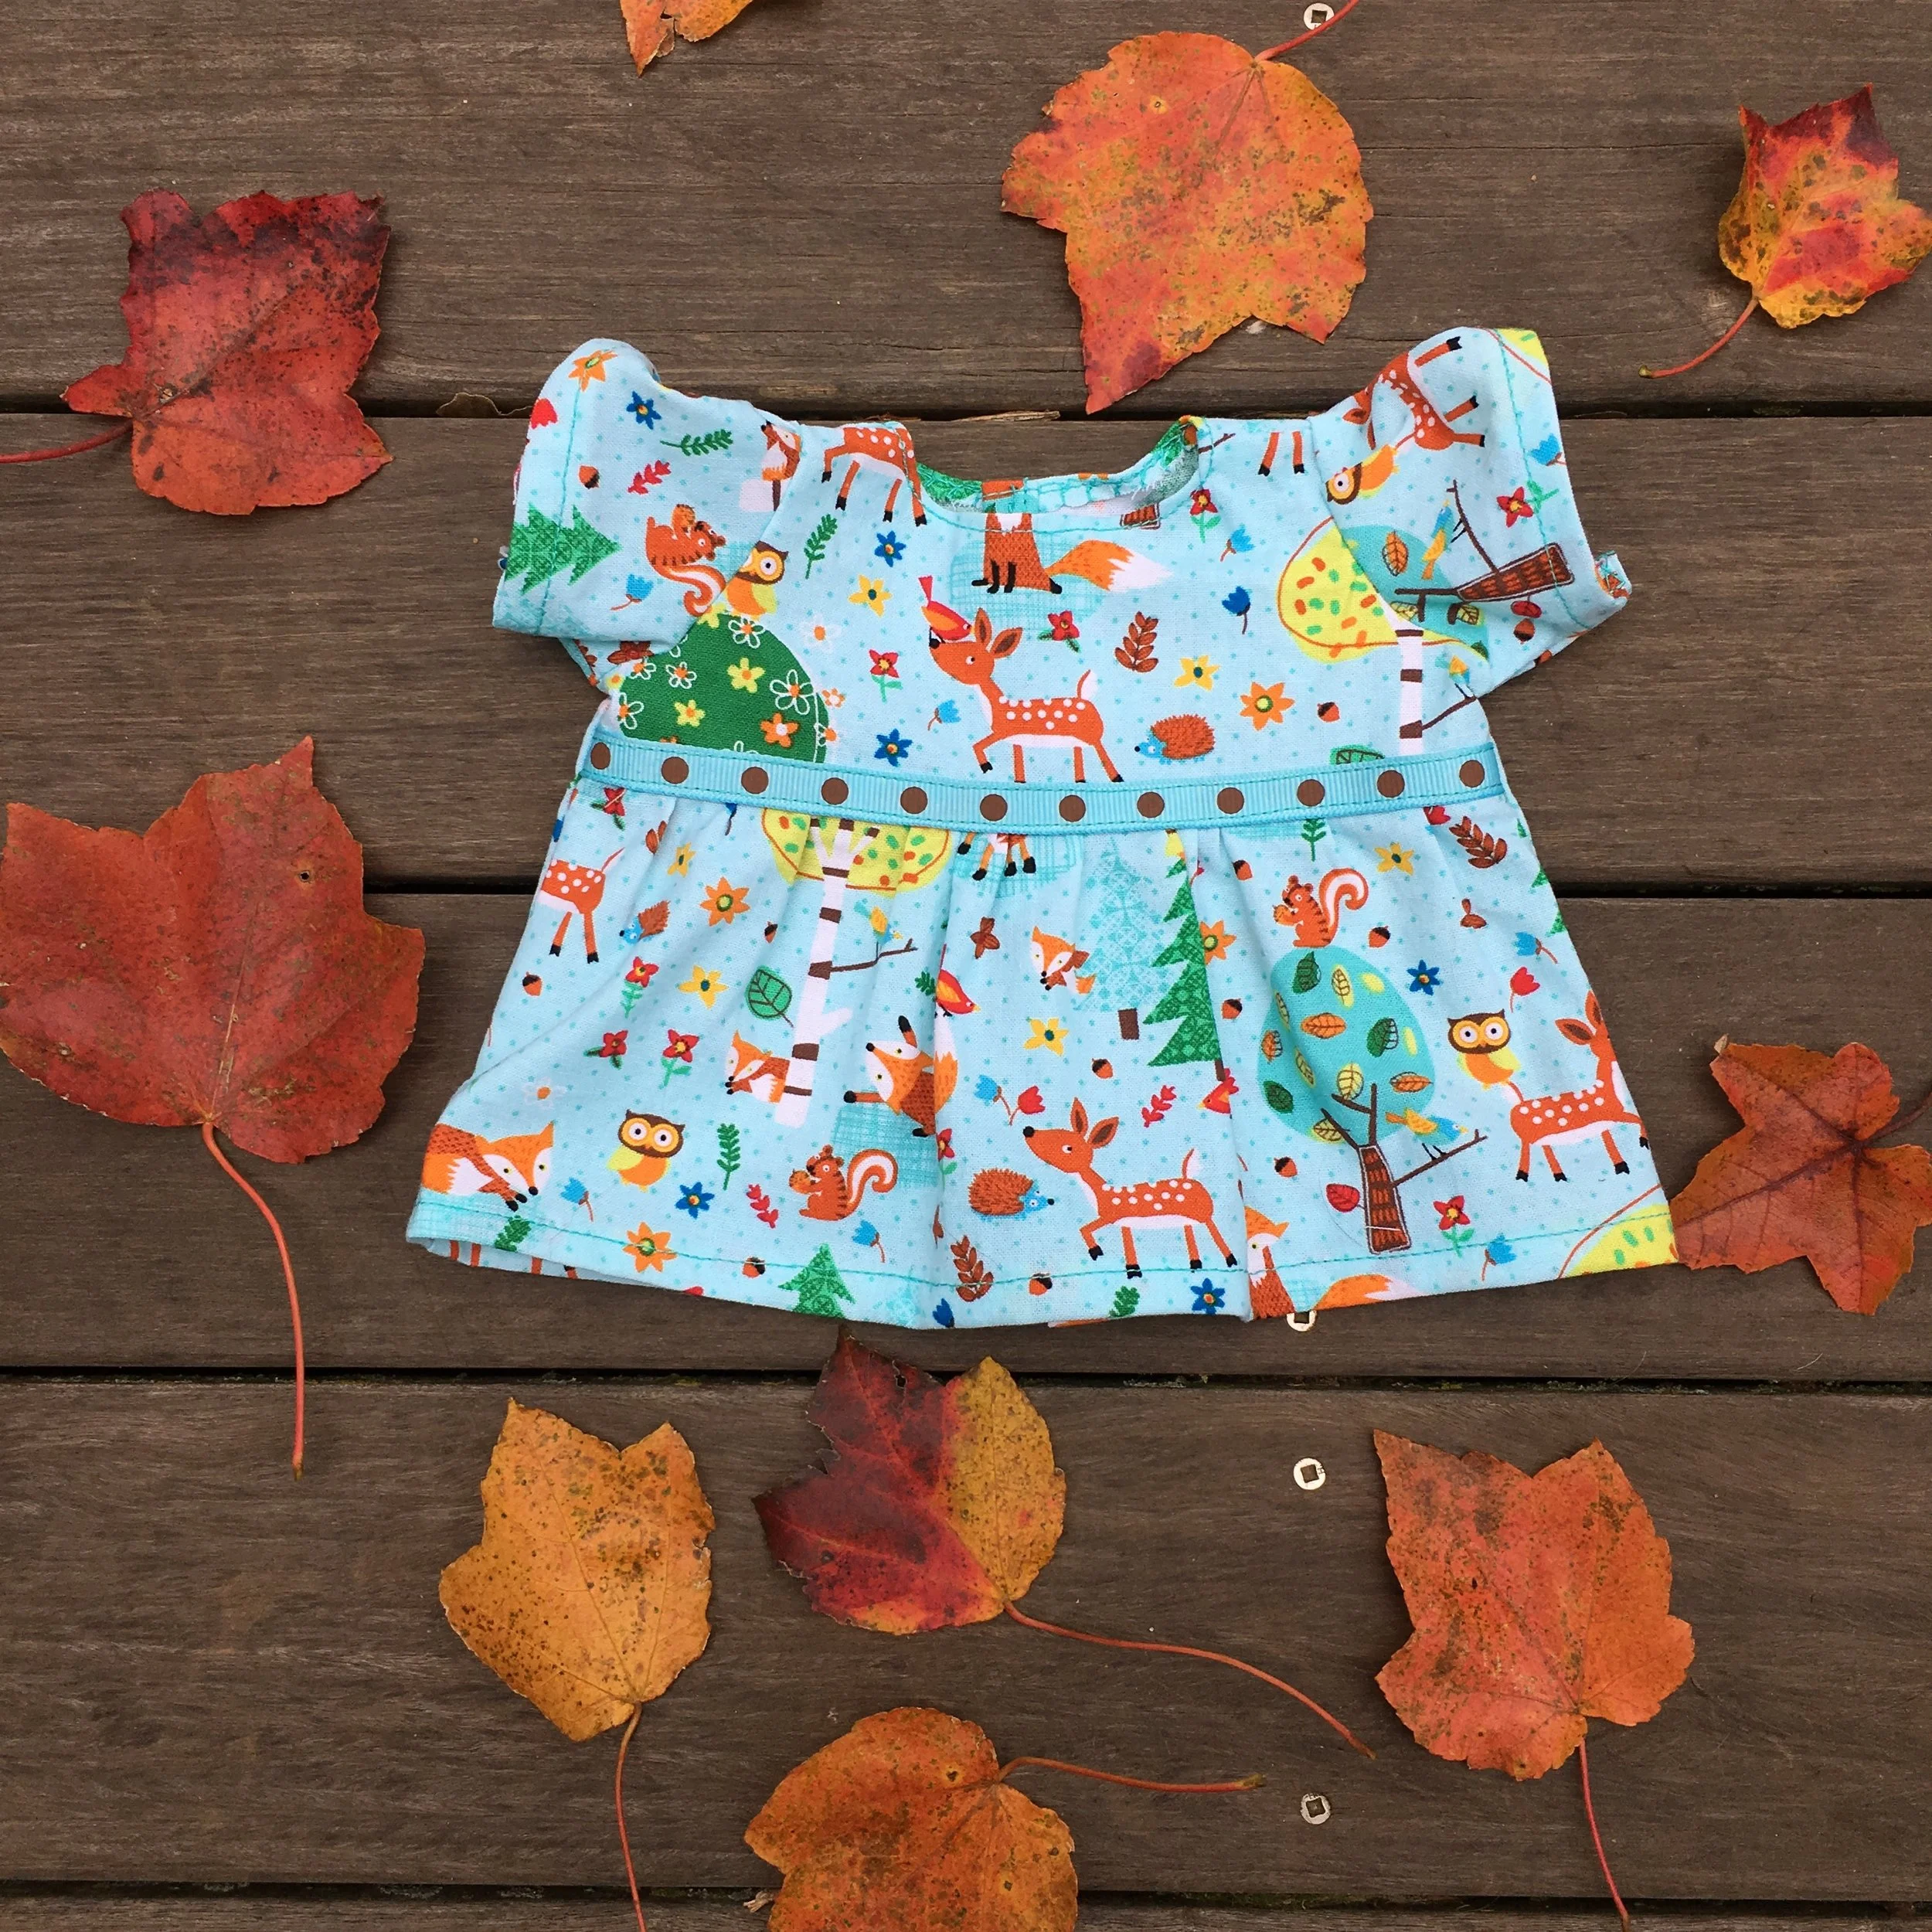
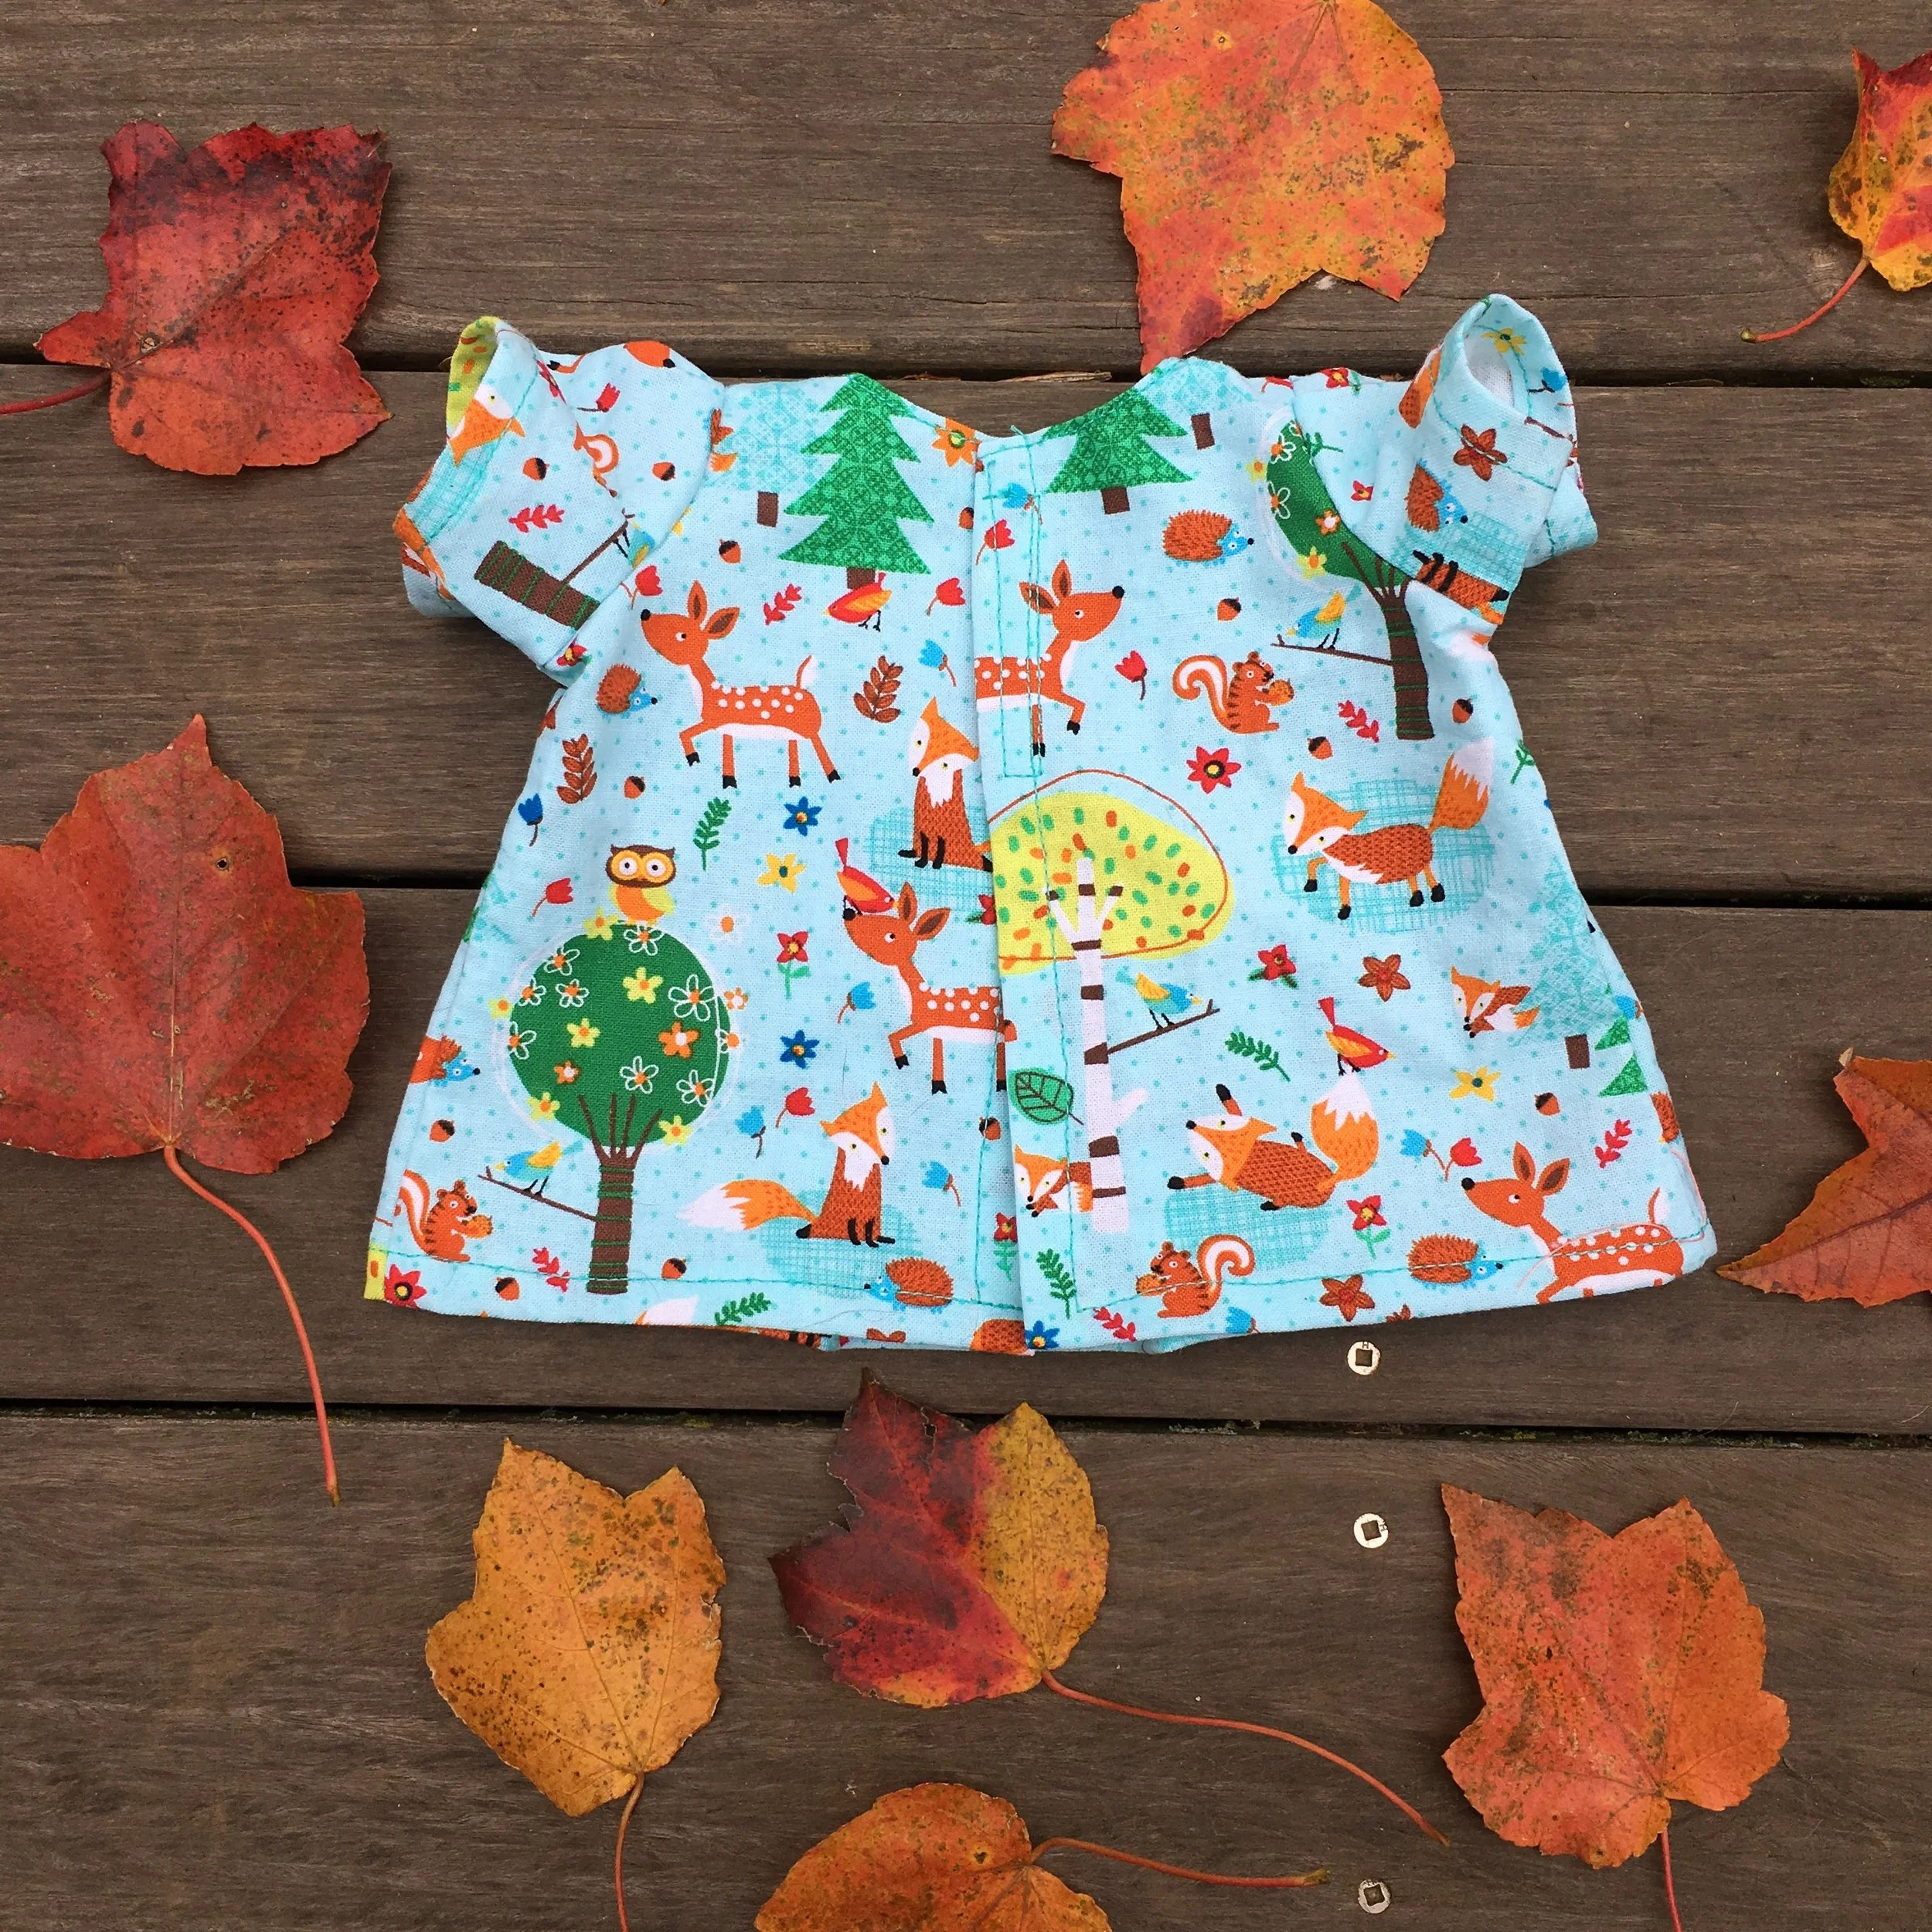
Bamboletta Baby Doll Lily, modeling her chicken dress
This is a tutorial to make a dress for a 12-13 inch Bamboletta Baby Doll. Bamboletta sells Cuddle Doll dresses which often fit their baby doll. But sometimes it’s a pretty tight squeeze! This dress pattern allows for a bit more wiggle room and may make it easier for a young child to dress the baby doll.
Bamboletta Baby Doll Dress Pattern
Supplies:
— 1/2 yard of woven cotton fabric. Quilting weight cotton is perfect.
— Thread to match the fabric
— 3/4 inch sew-on hook and loop tape.
— Sewing scissors and paper scissors
— Sewing pins
— Sewing machine.
— Iron and a surface to iron on
The dress is longer in the back than the front to allow for the baby’s ample bottom! The dress’s hem should look straight once on the doll.
Directions:
ALL seams are 1/4 inch.
1. PRINT the PDF pattern pieces at 100%. Once the pages are printed check the to be sure the one inch gauges on the pattern measure 1 inch.
2. Cut out the pattern pieces with paper scissors.
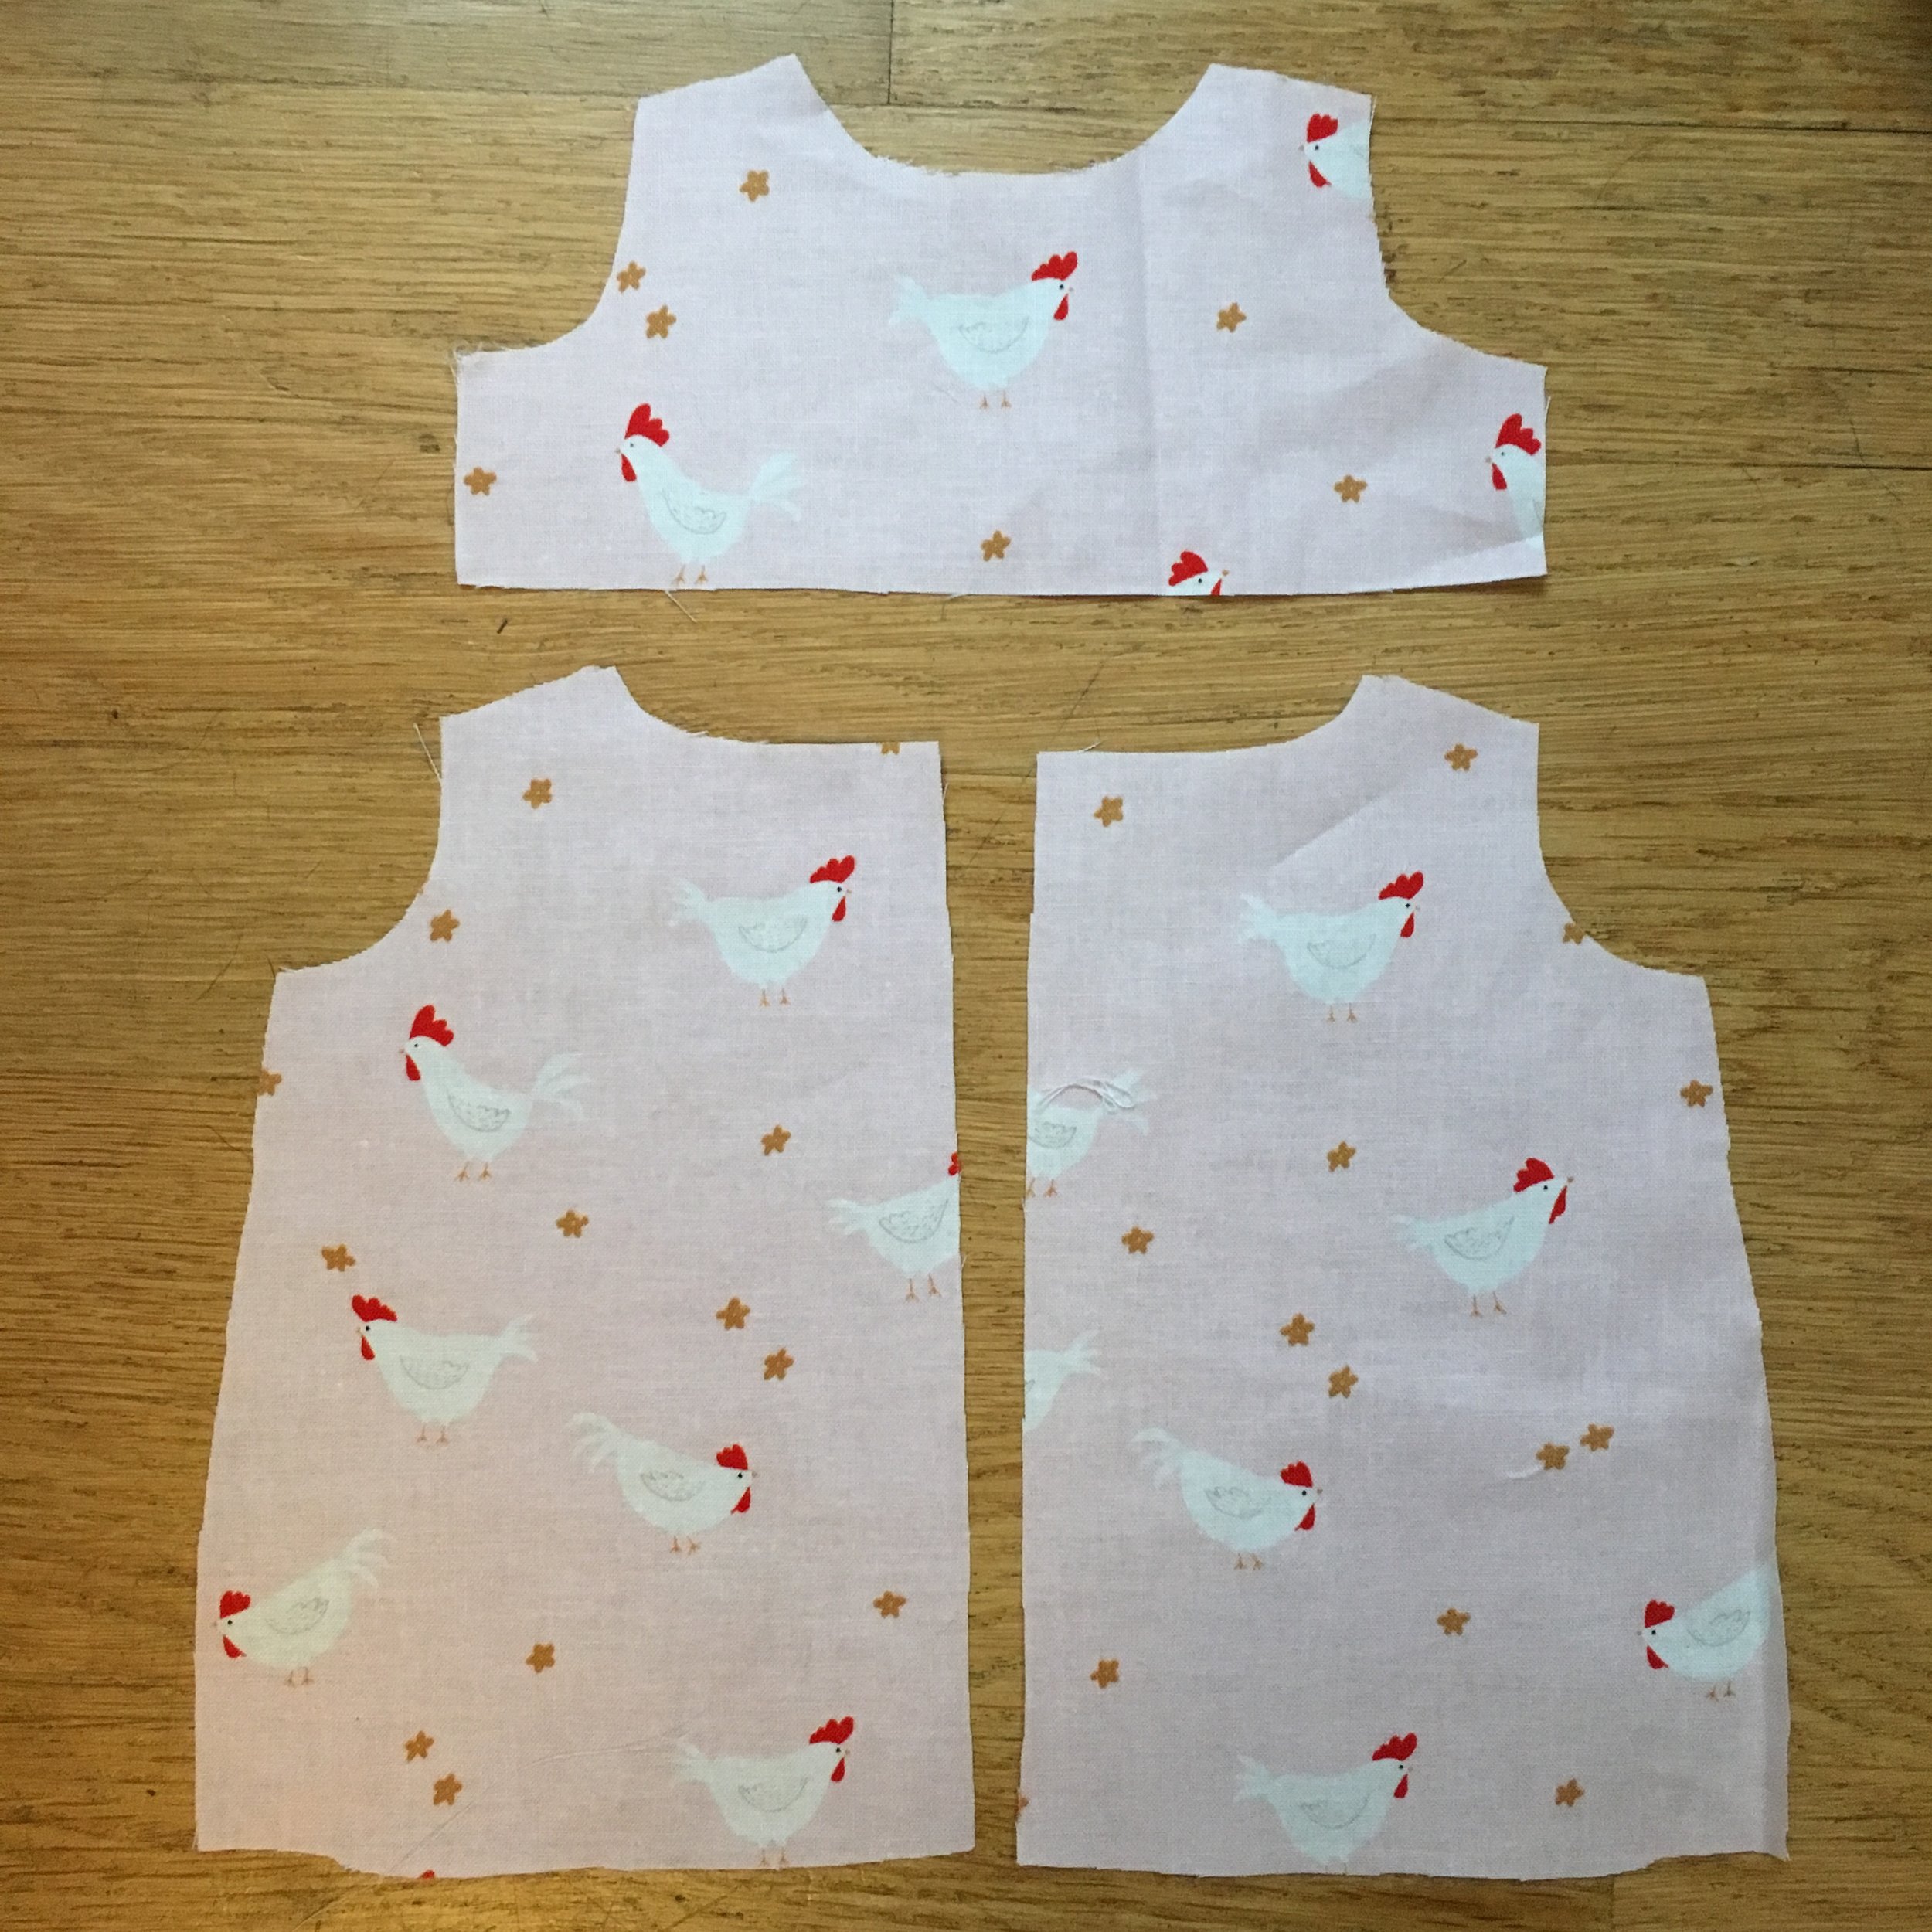
3. Pin the pattern to the fabric, making sure the long arrows on the pattern pieces are parallel with the fabric’s grain. (That’s the same as the selvedge edges). If your fabric has an interesting pattern, try to cut the bodice so that a focal point of the fabric is located at the middle of the pattern piece. Make sure that the feature you want it is at least 1/2 inch away from both the neck edge and the seam at the bottom of the bodice pattern piece. For example. Your fabric may have a cute rabbit. Position the pattern piece so that the rabbit is centered.
Note: Make sure you have enough fabric for all the other pattern pieces before you fussy cut the bodice piece.
Bodice and back pattern pieces. Note that the chicken is centered on the bodice.
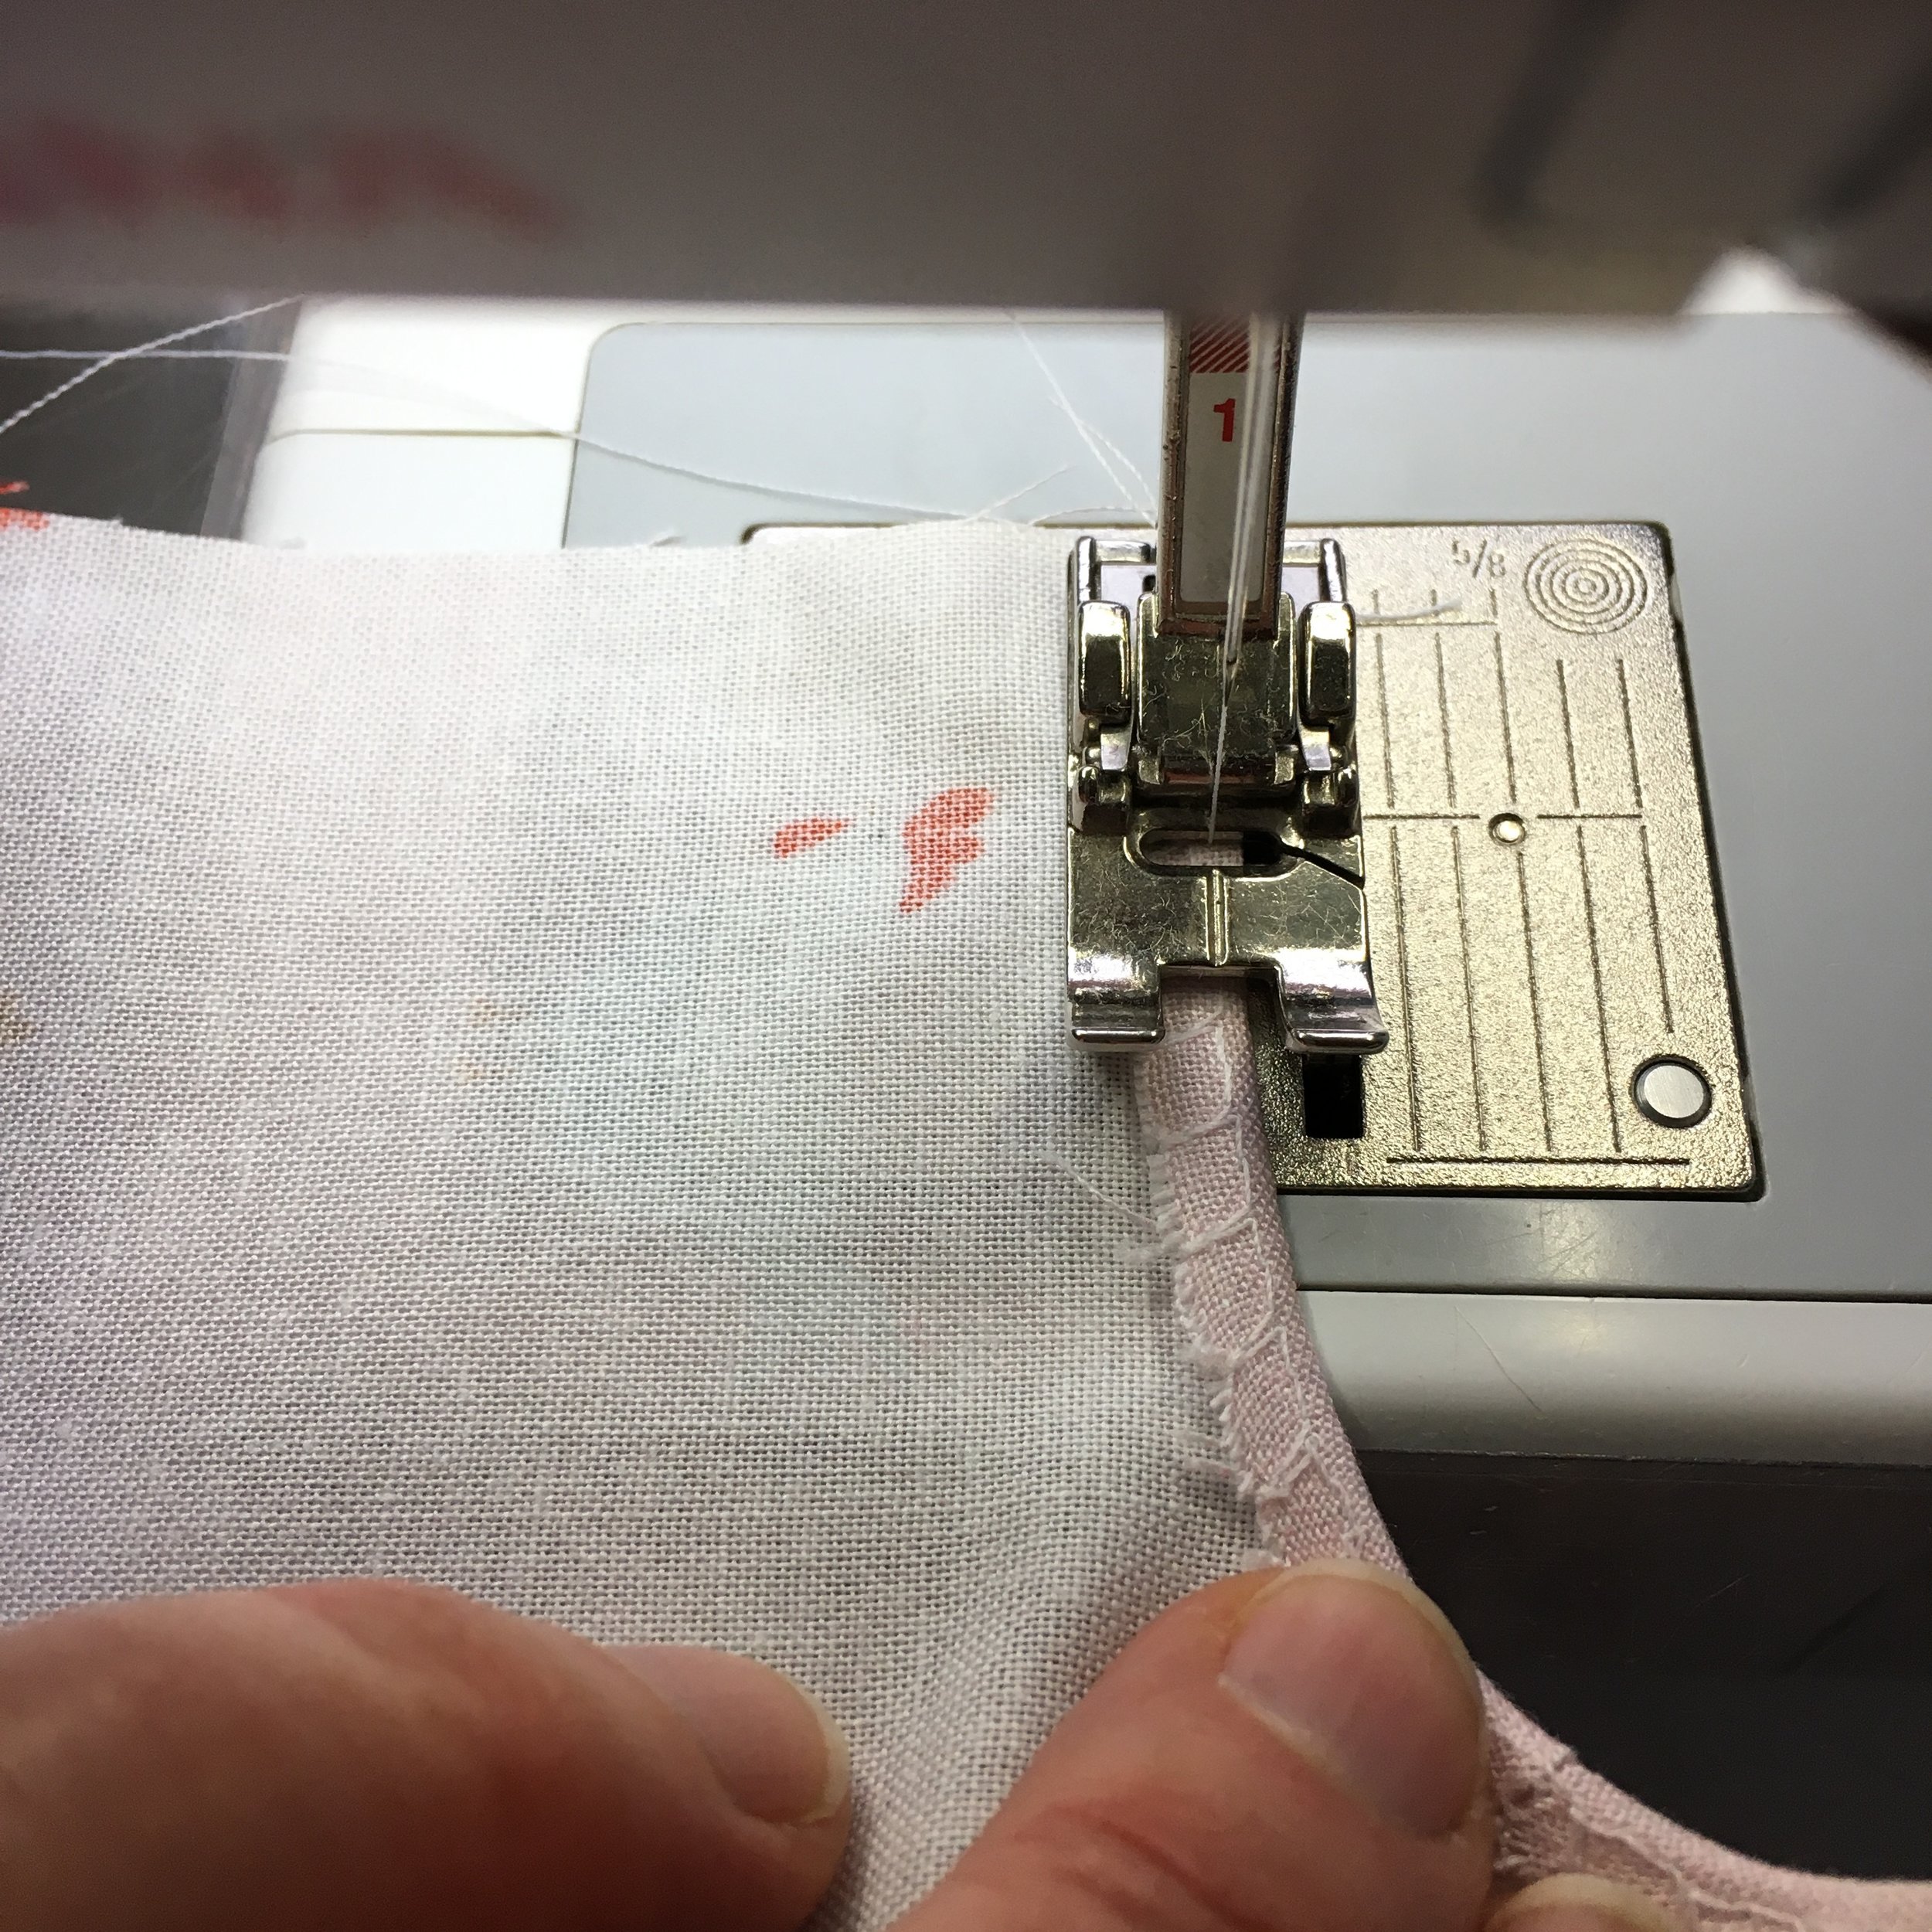
4. Finish the raw edges of the neck on the bodice and back pieces with a zig-zag stitch or an overlock stitch if your sewing machine has one.
This is the overcast stitch on my sewing machine
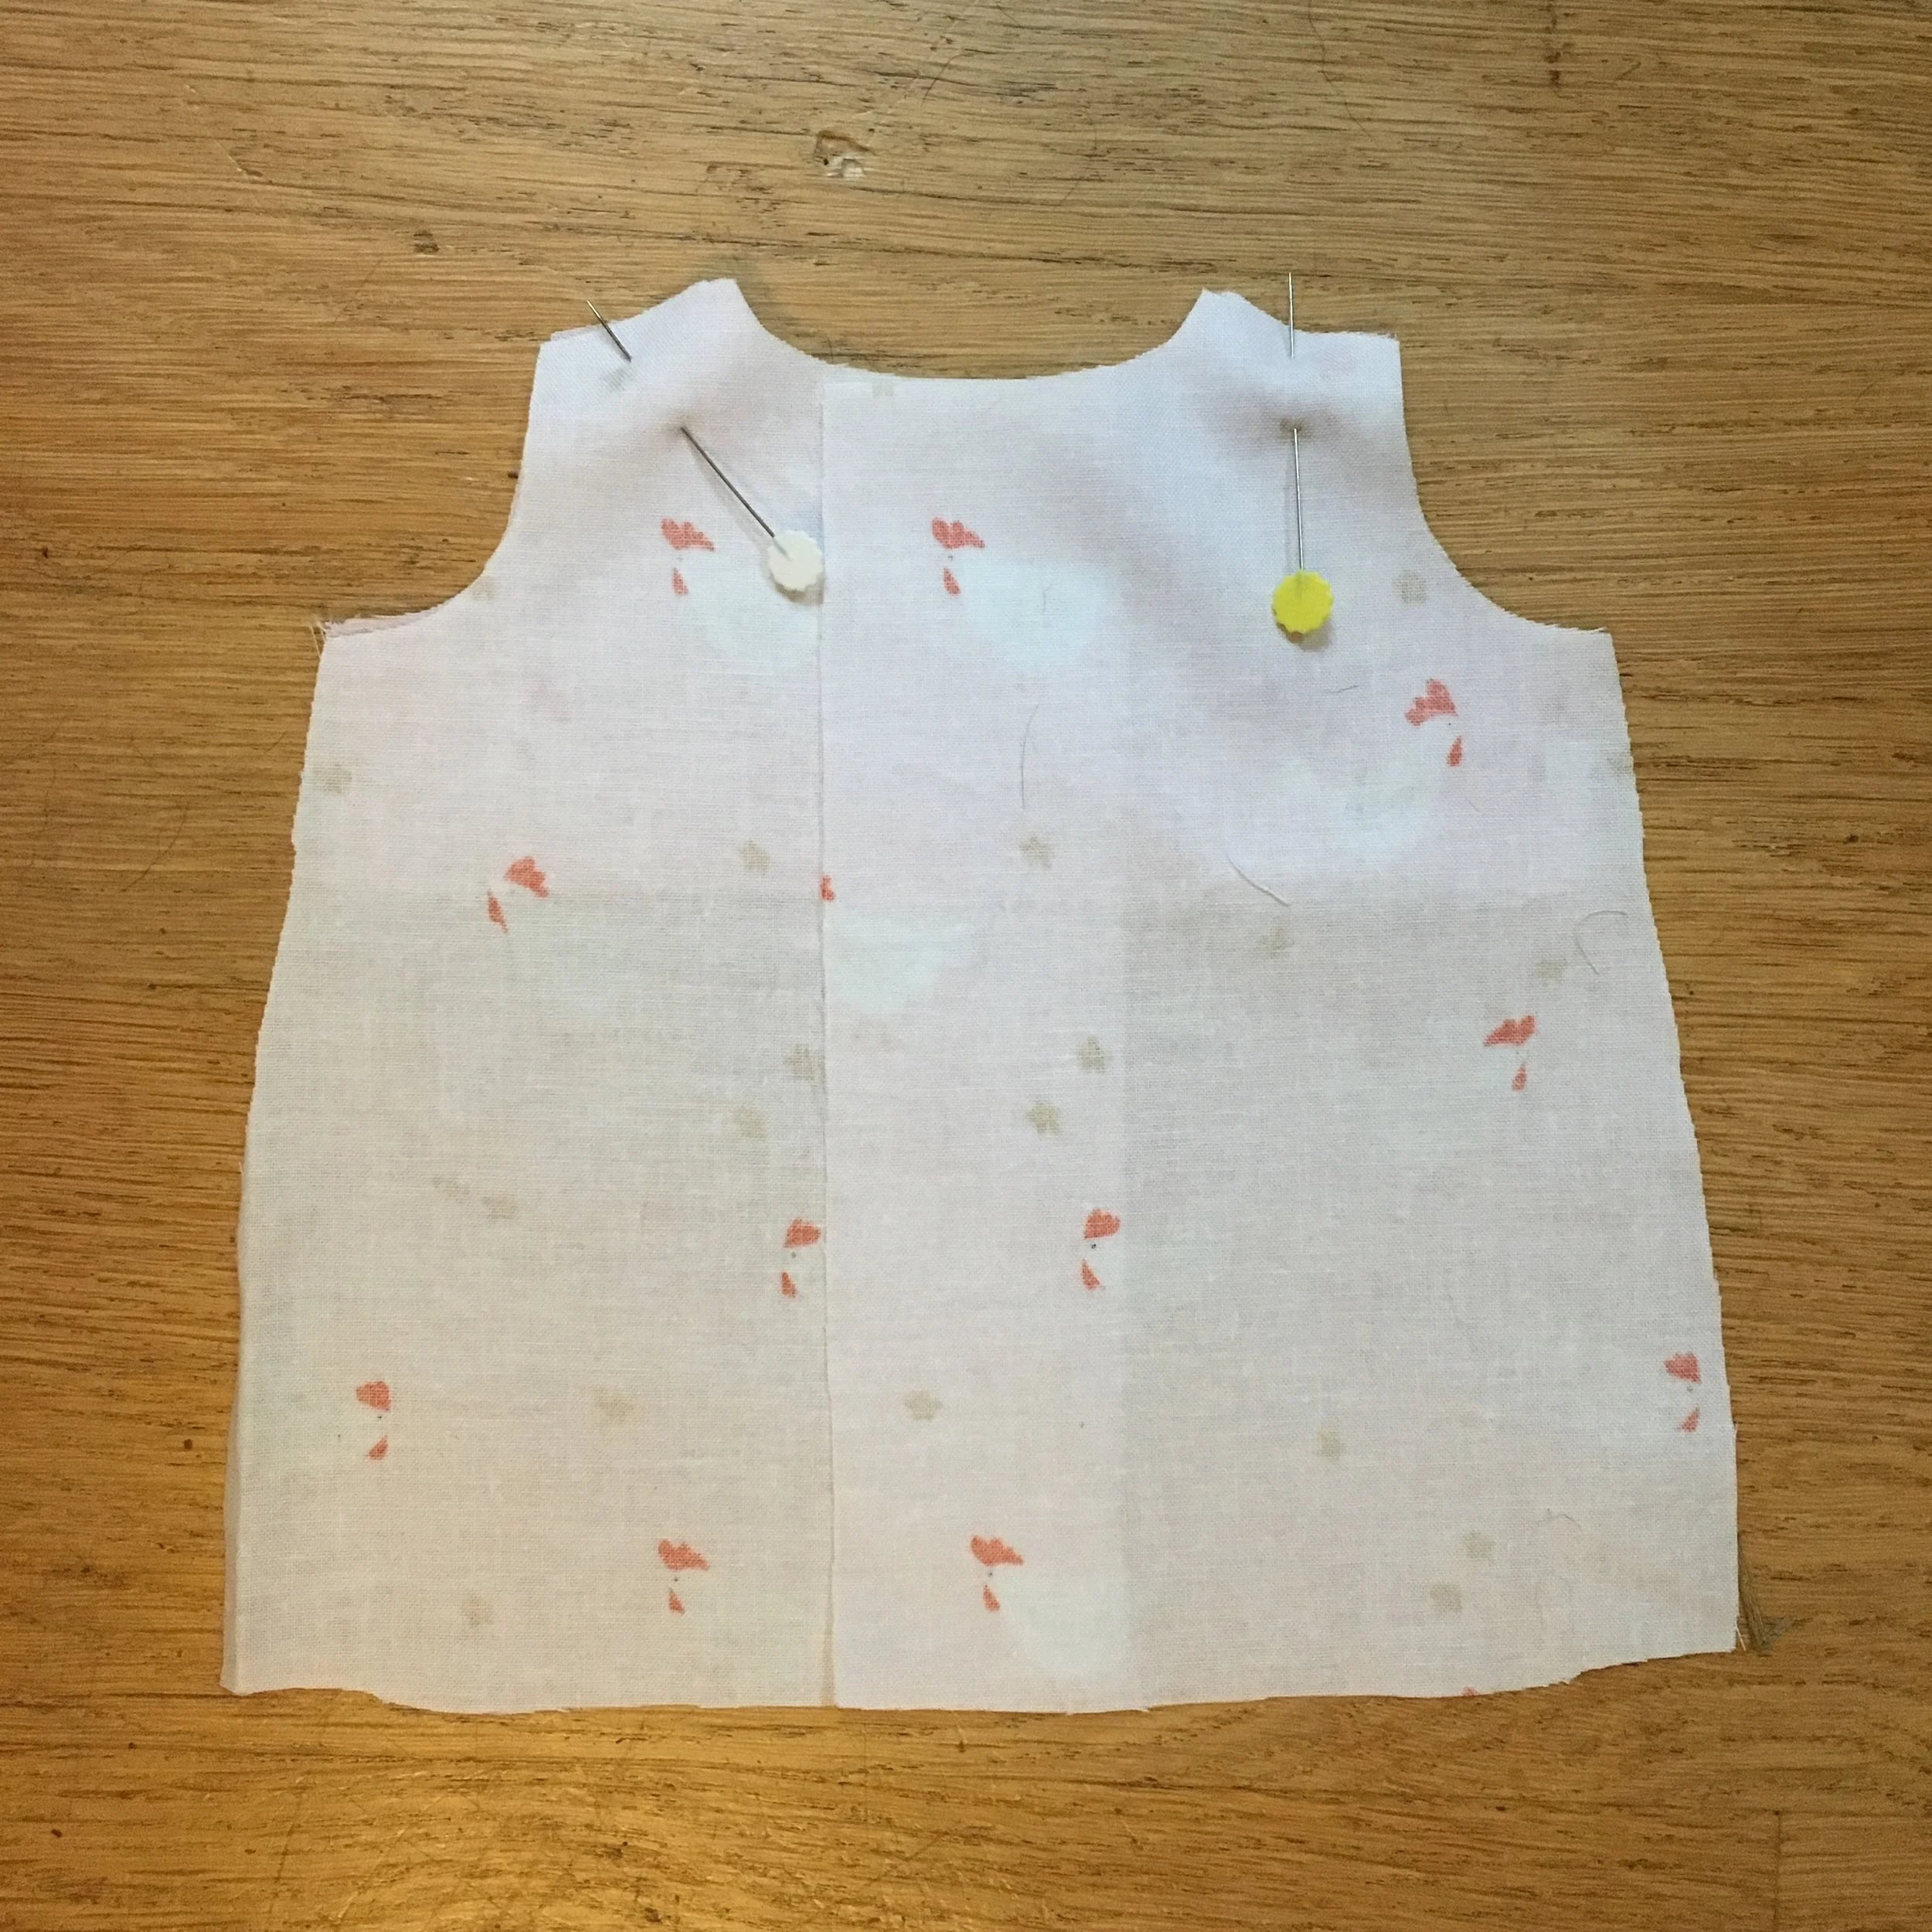
5. Pin the shoulder seams of the bodice and the two back pieces, RIGHT sides together.
Sew the shoulder seams using a 1/4 inch seam. Press.
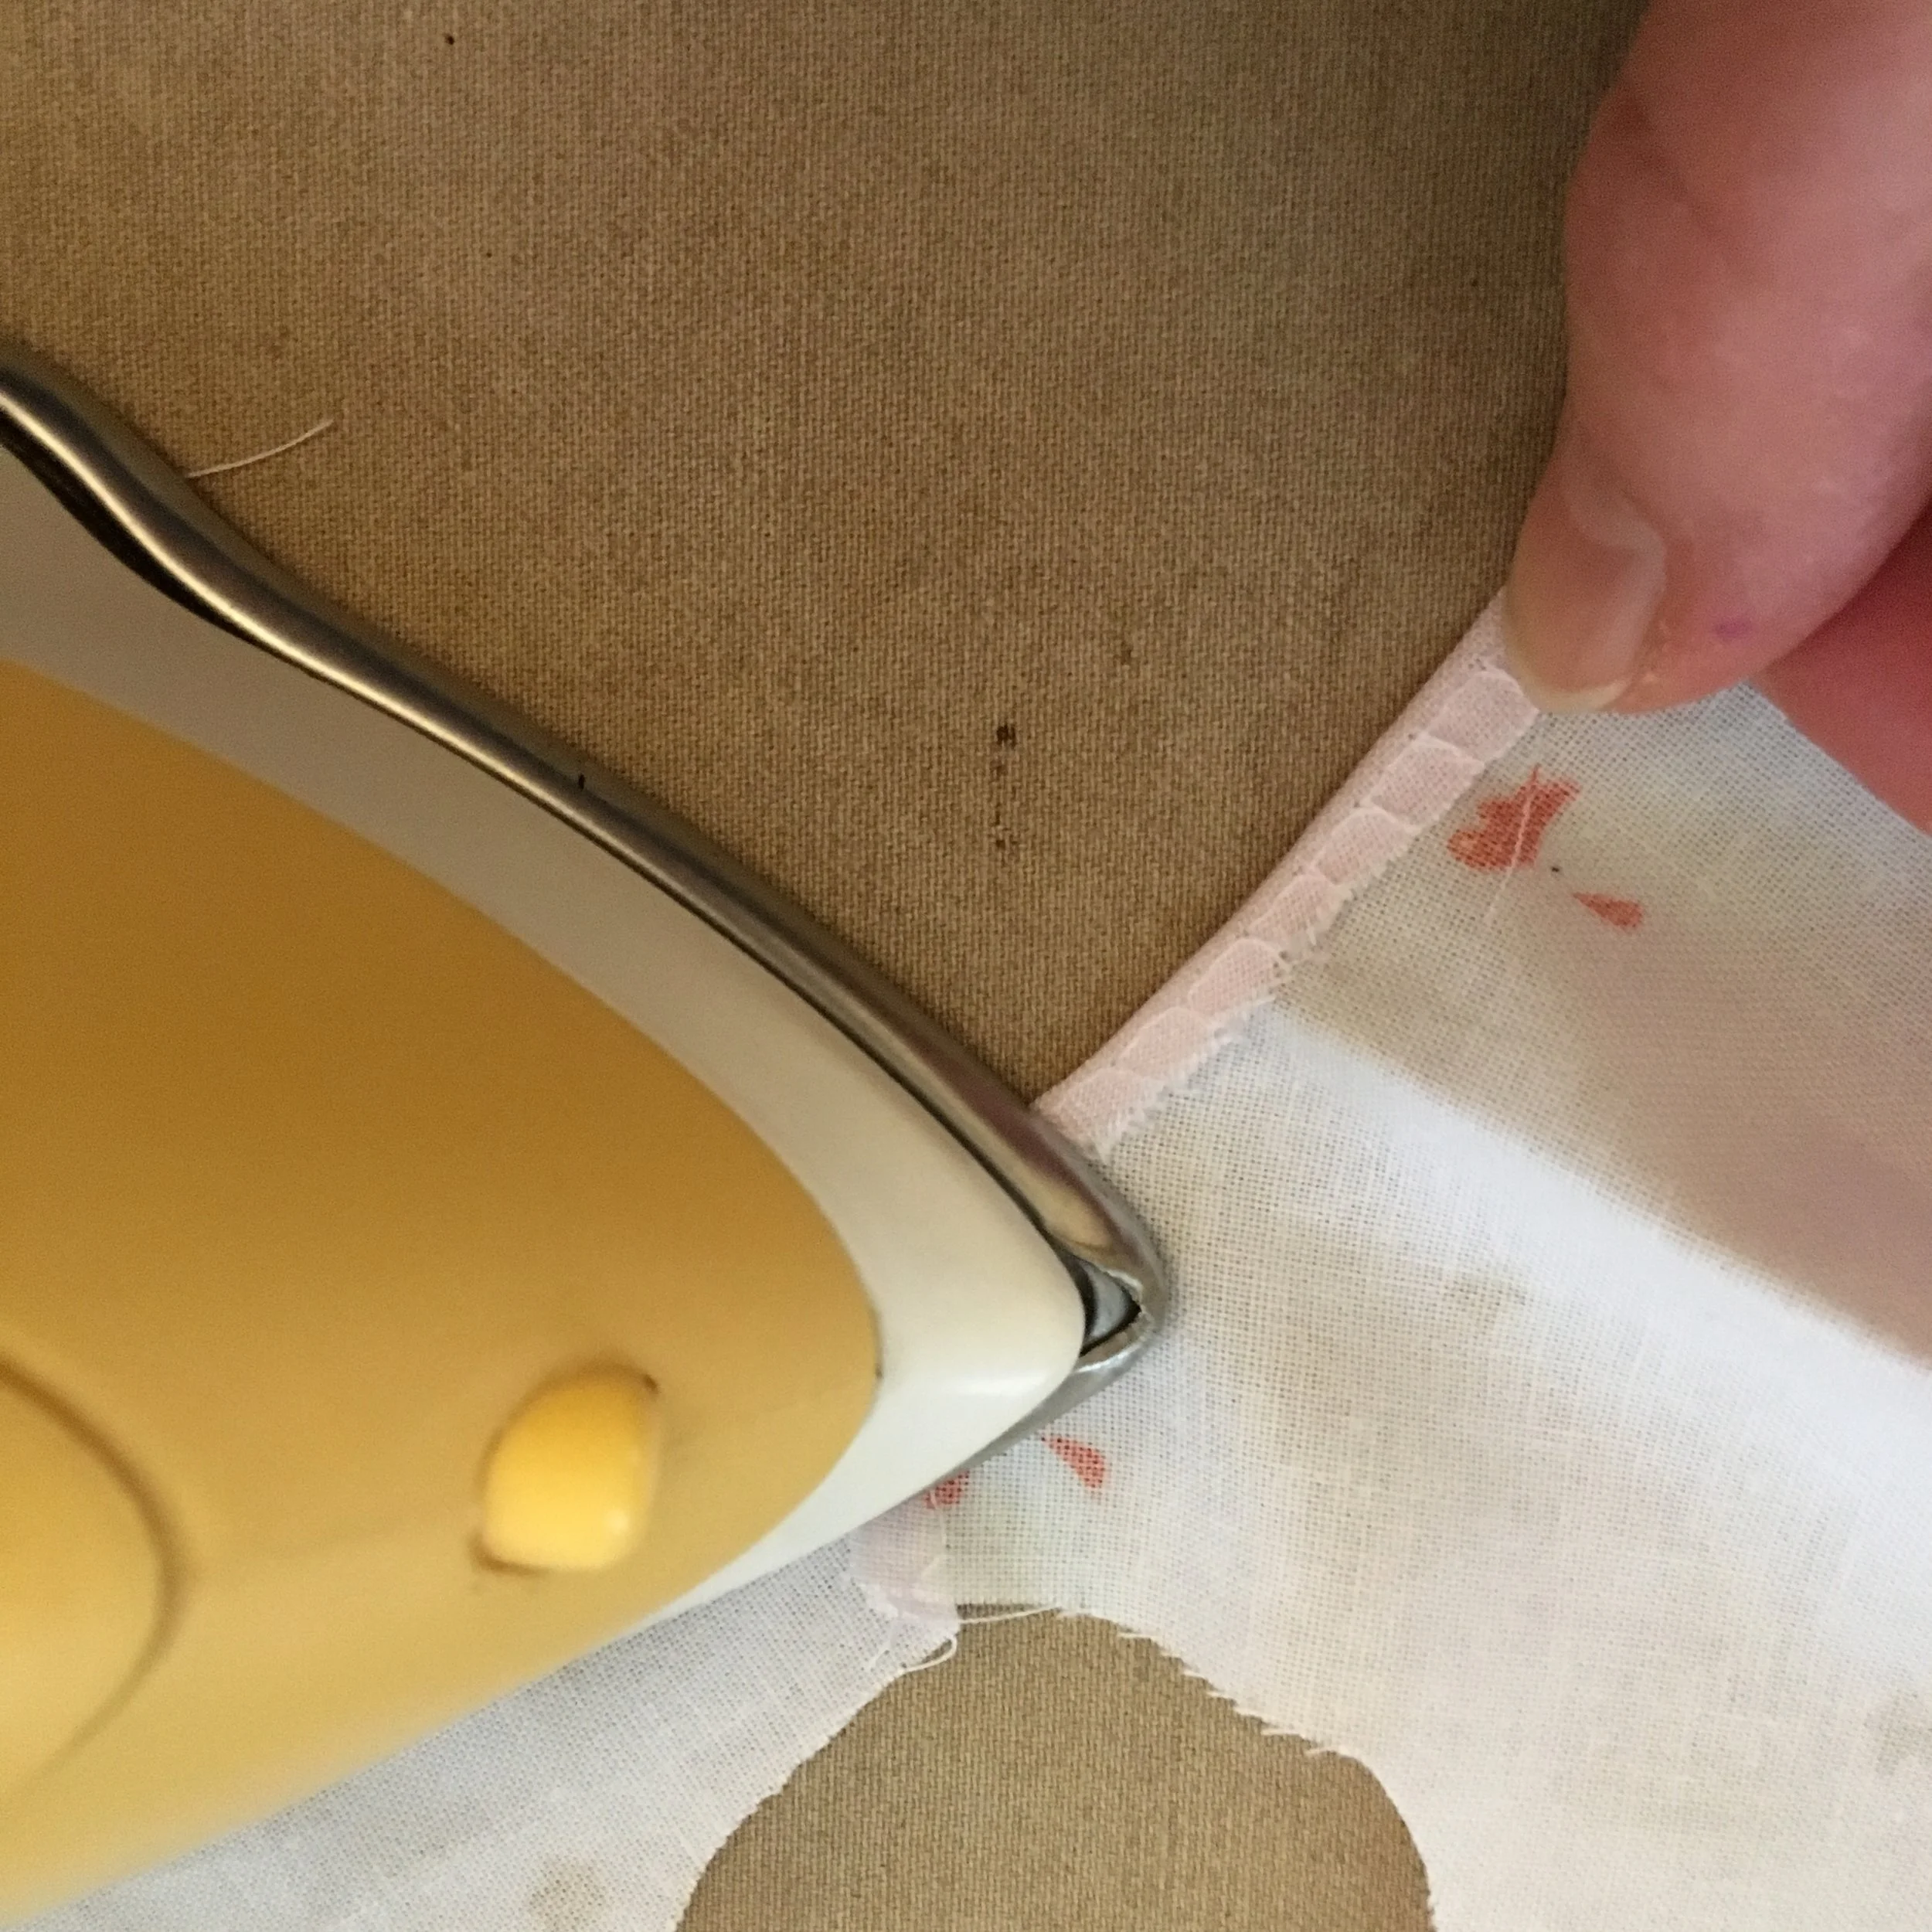
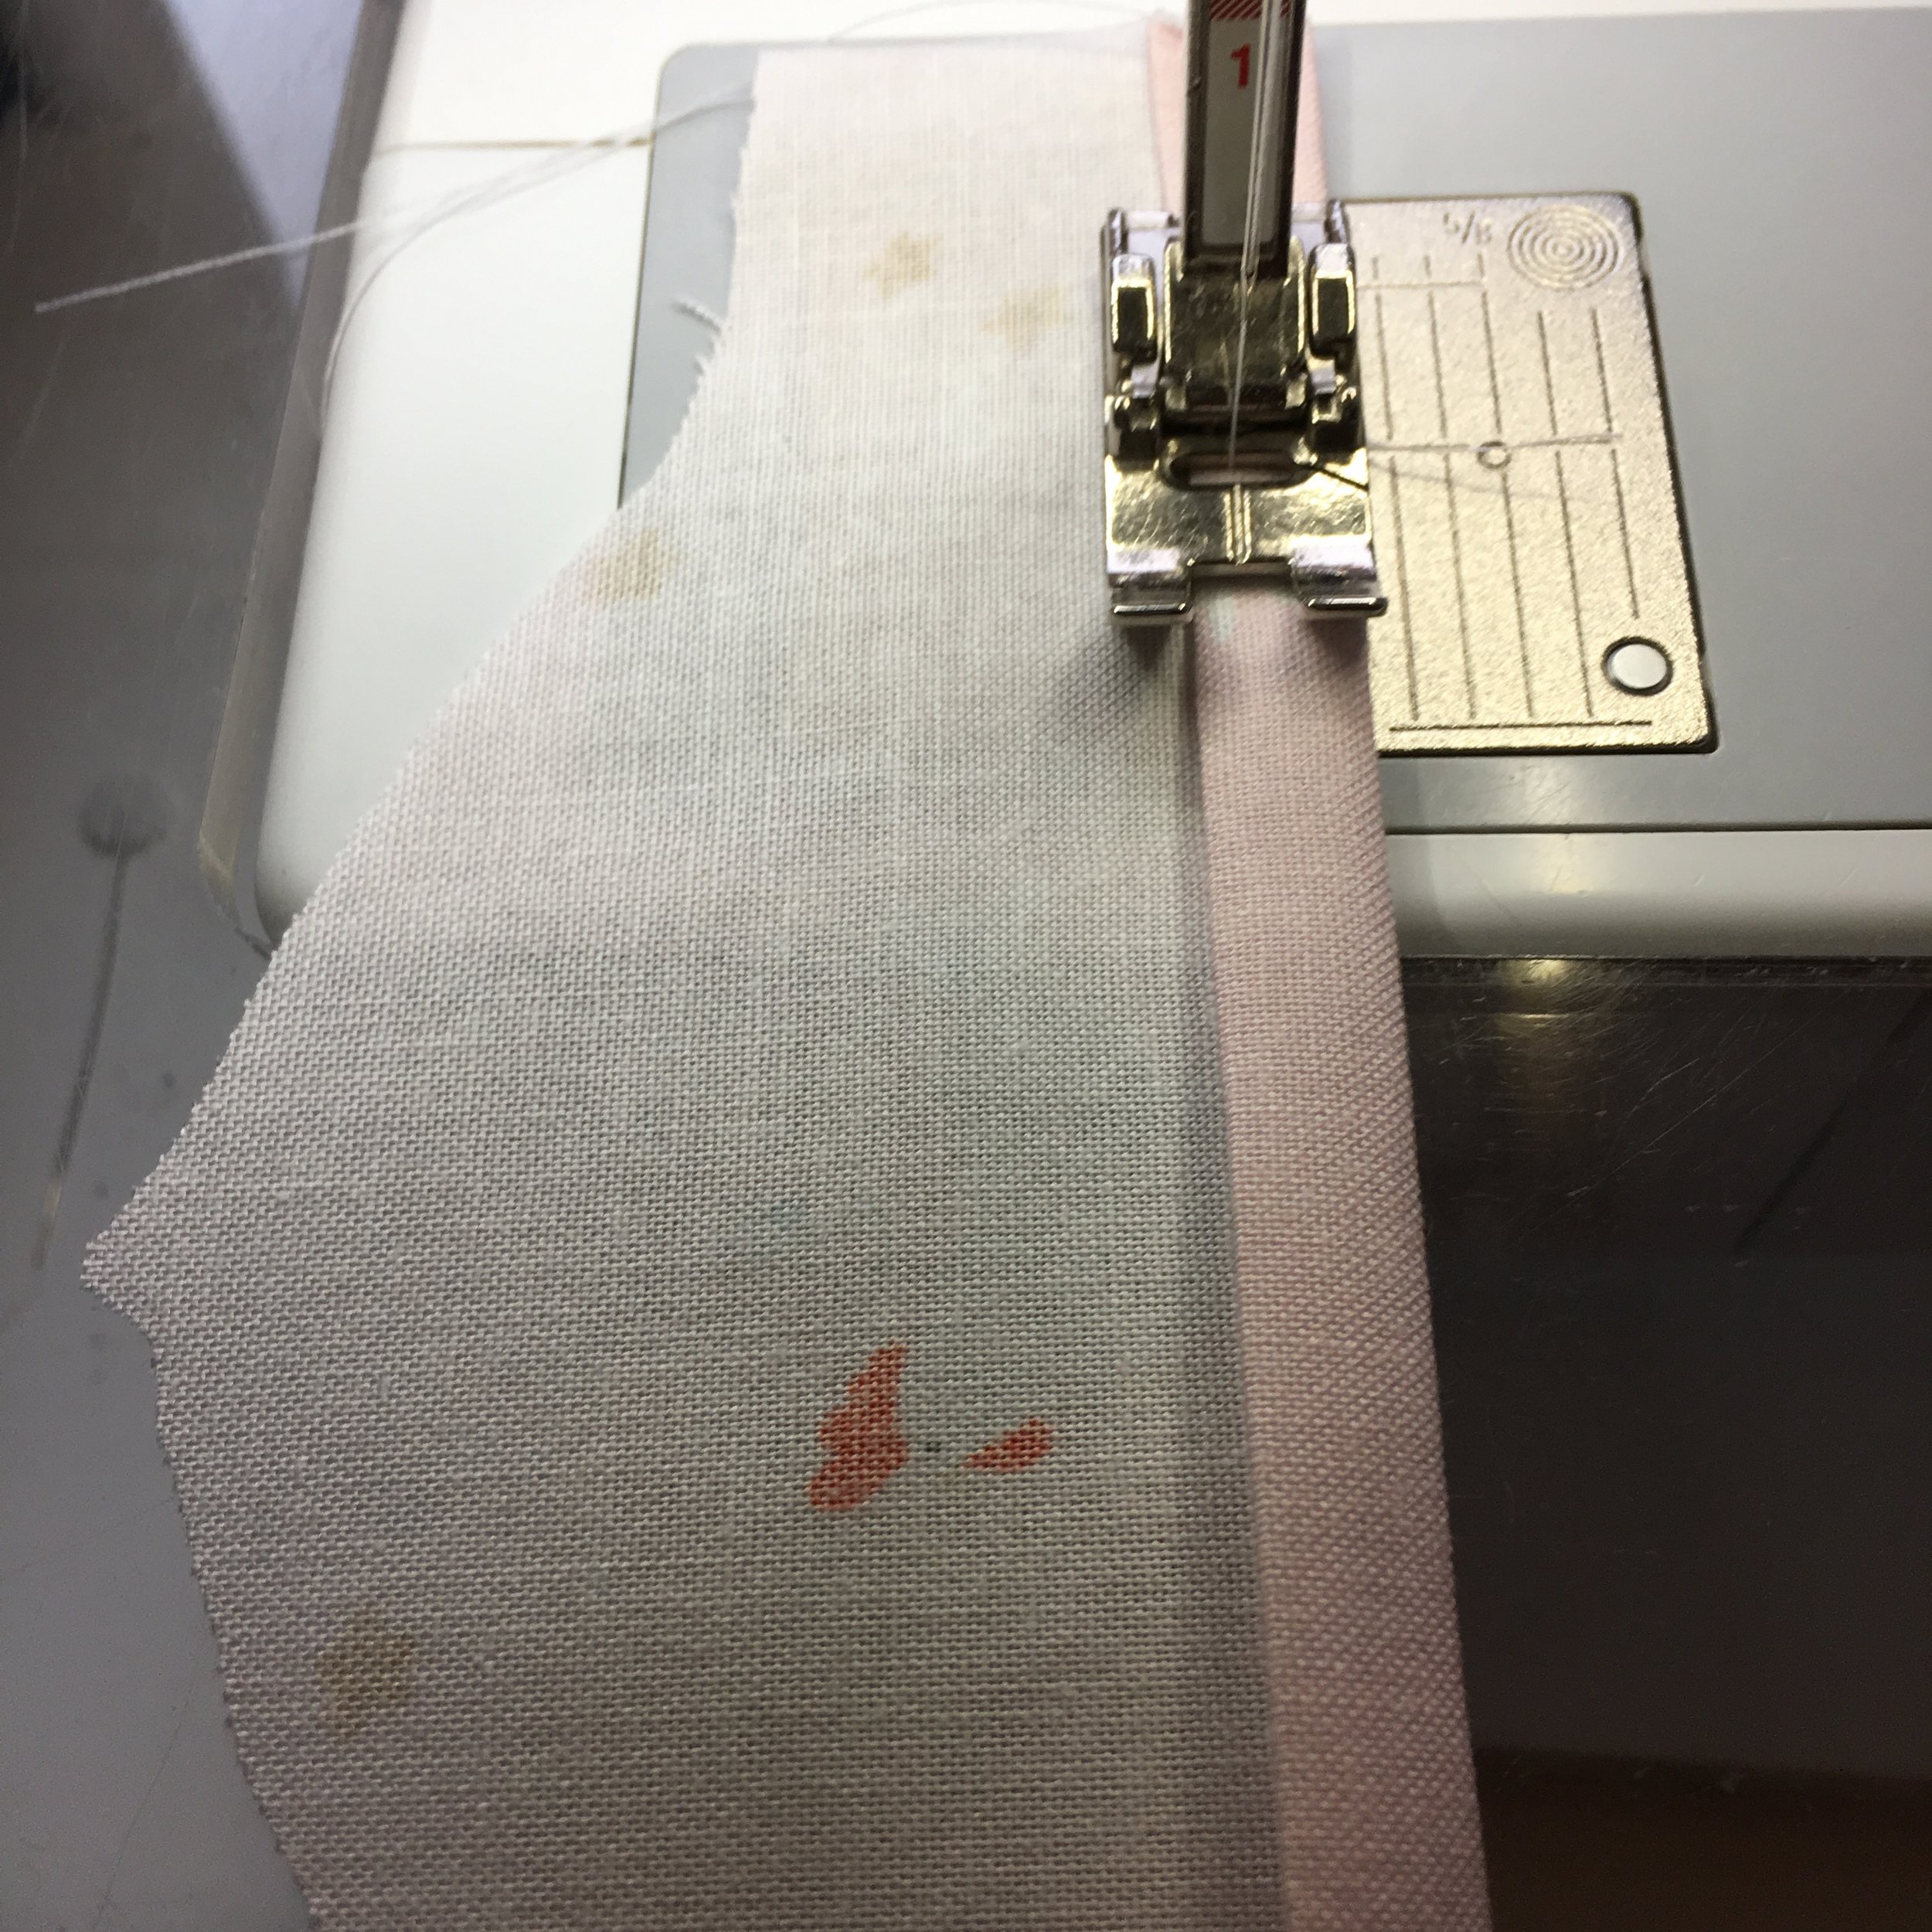
6. Turn the edges of the neck under 1/4 inch, along the dotted lines of the pattern with WRONG sides together. Press. An adult should do this pressing. Top stitch along the edge of the neck seam.
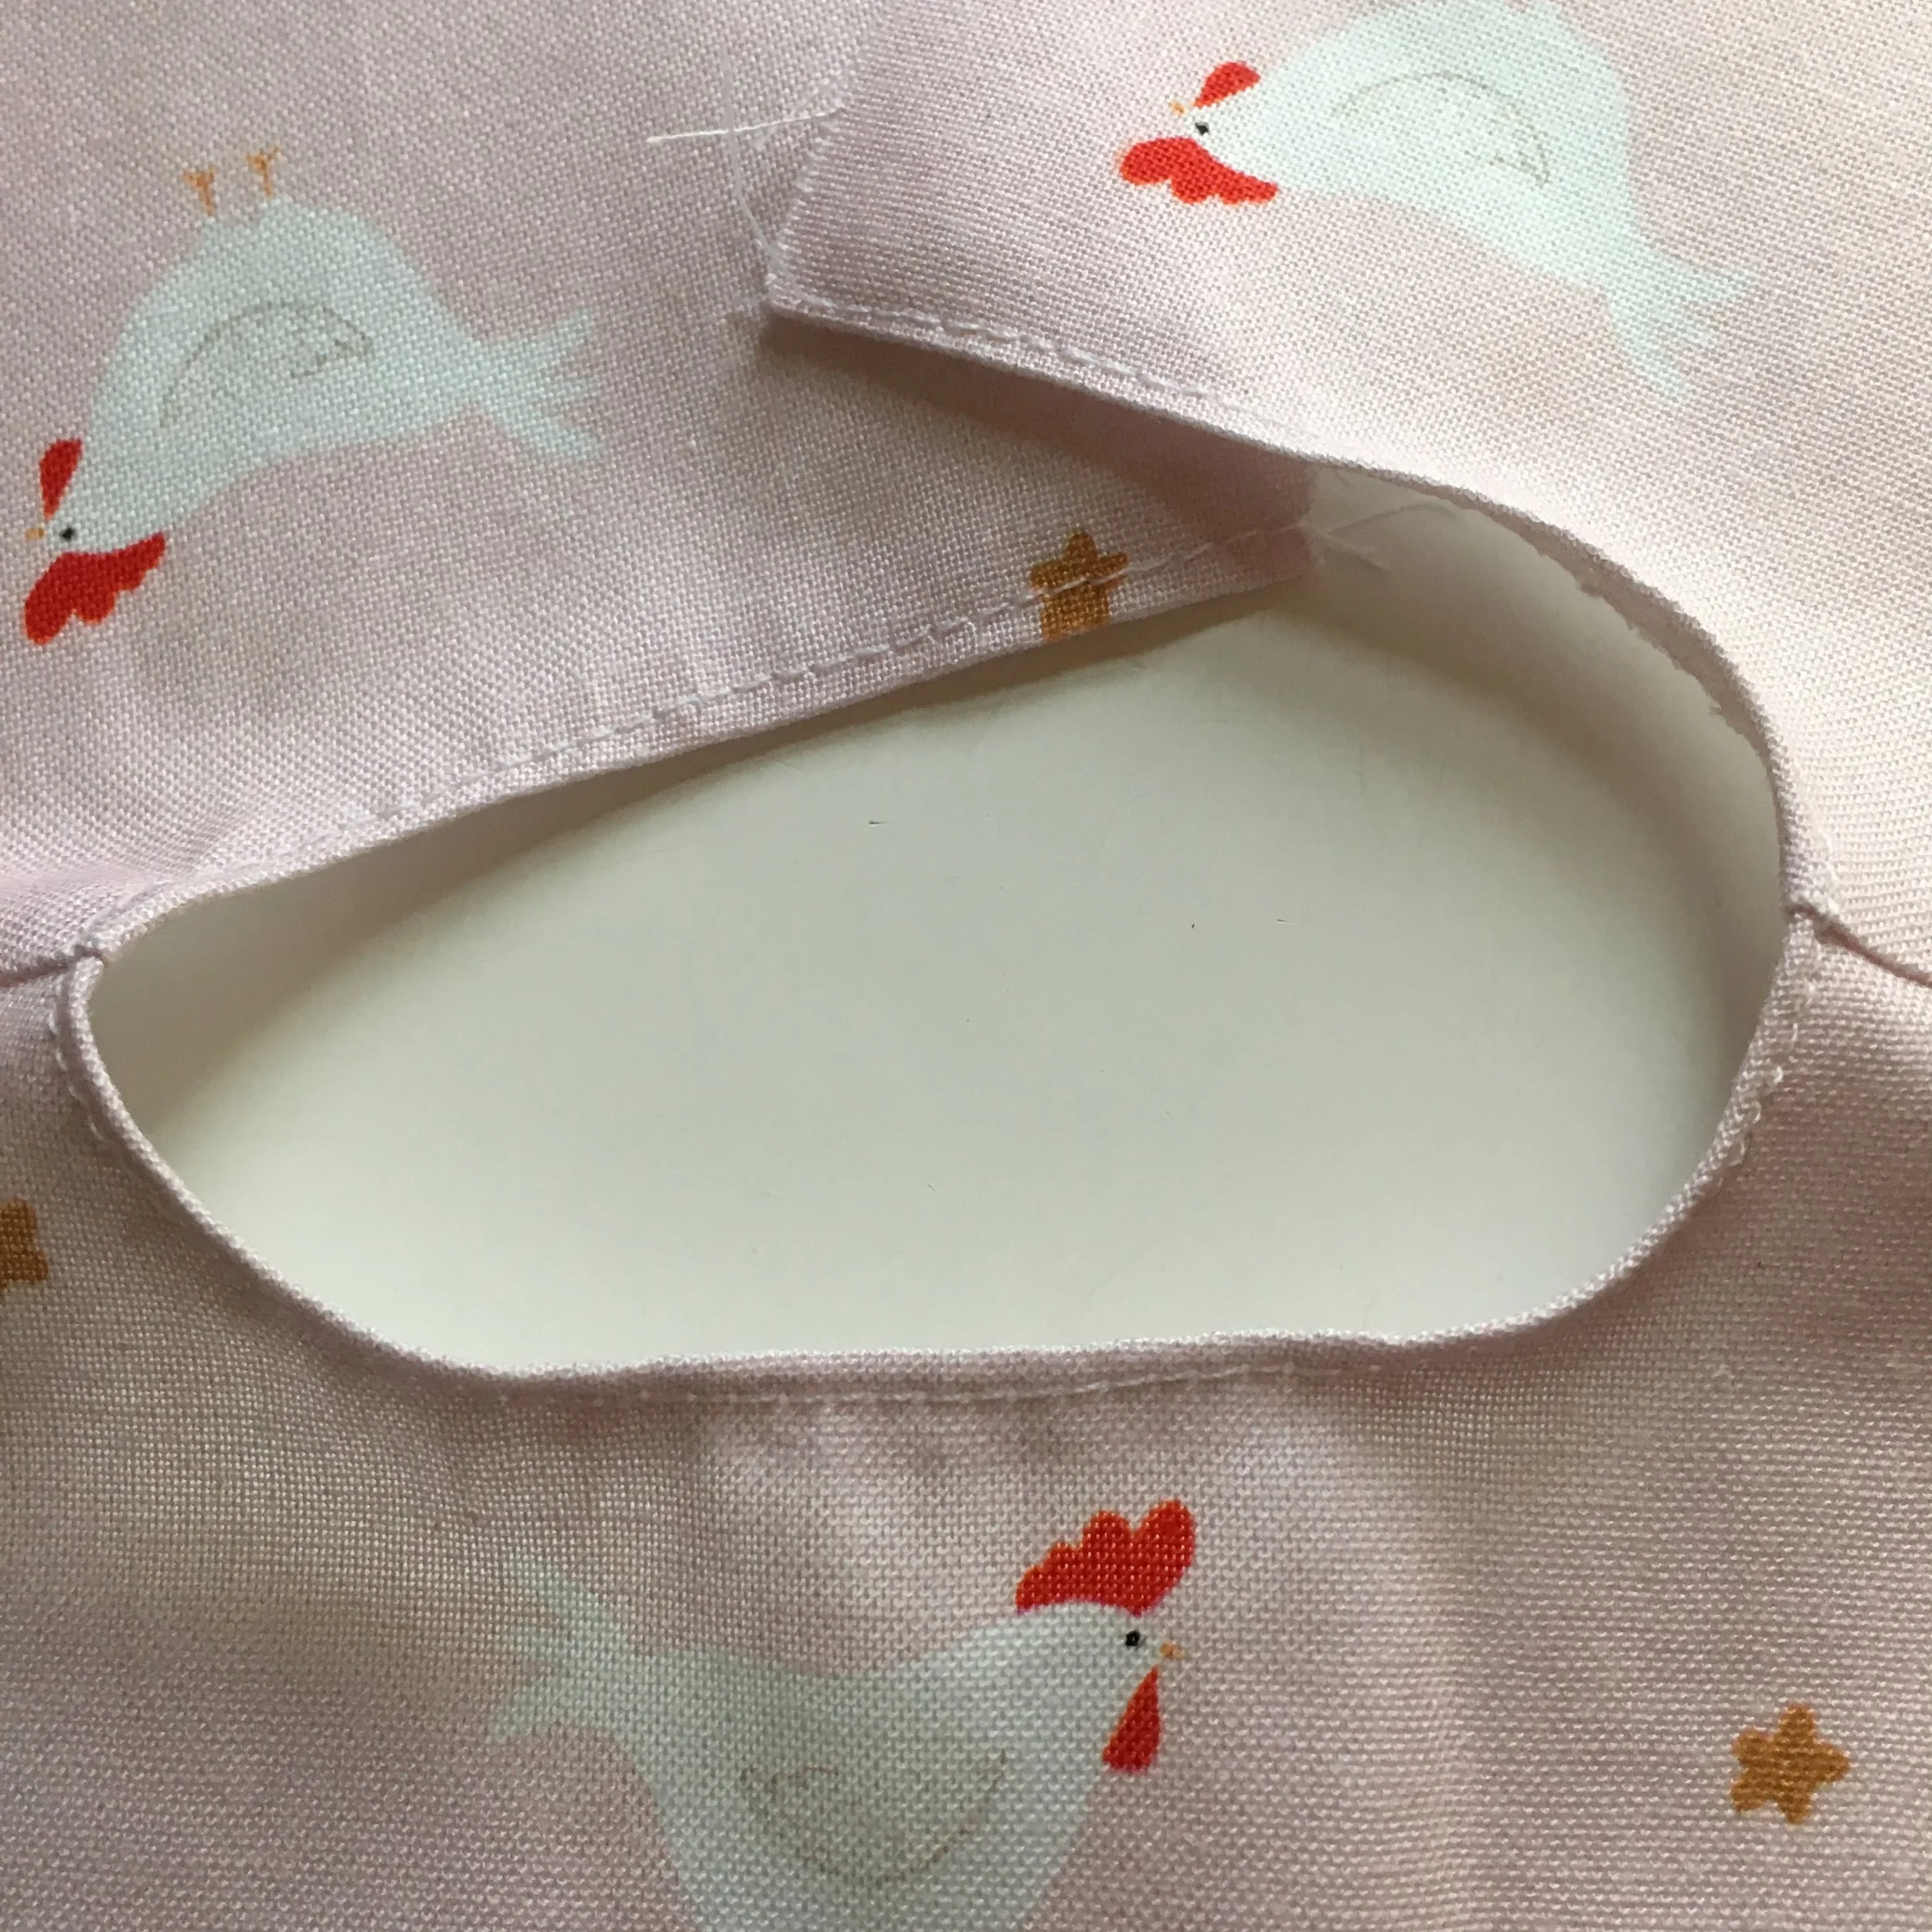
7. Turn the hem of the sleeve under 1/4 inch. Repeat, enclosing the raw edge of the fabric. Press. On the INSIDE of the sleeve, sew along the folded edge.
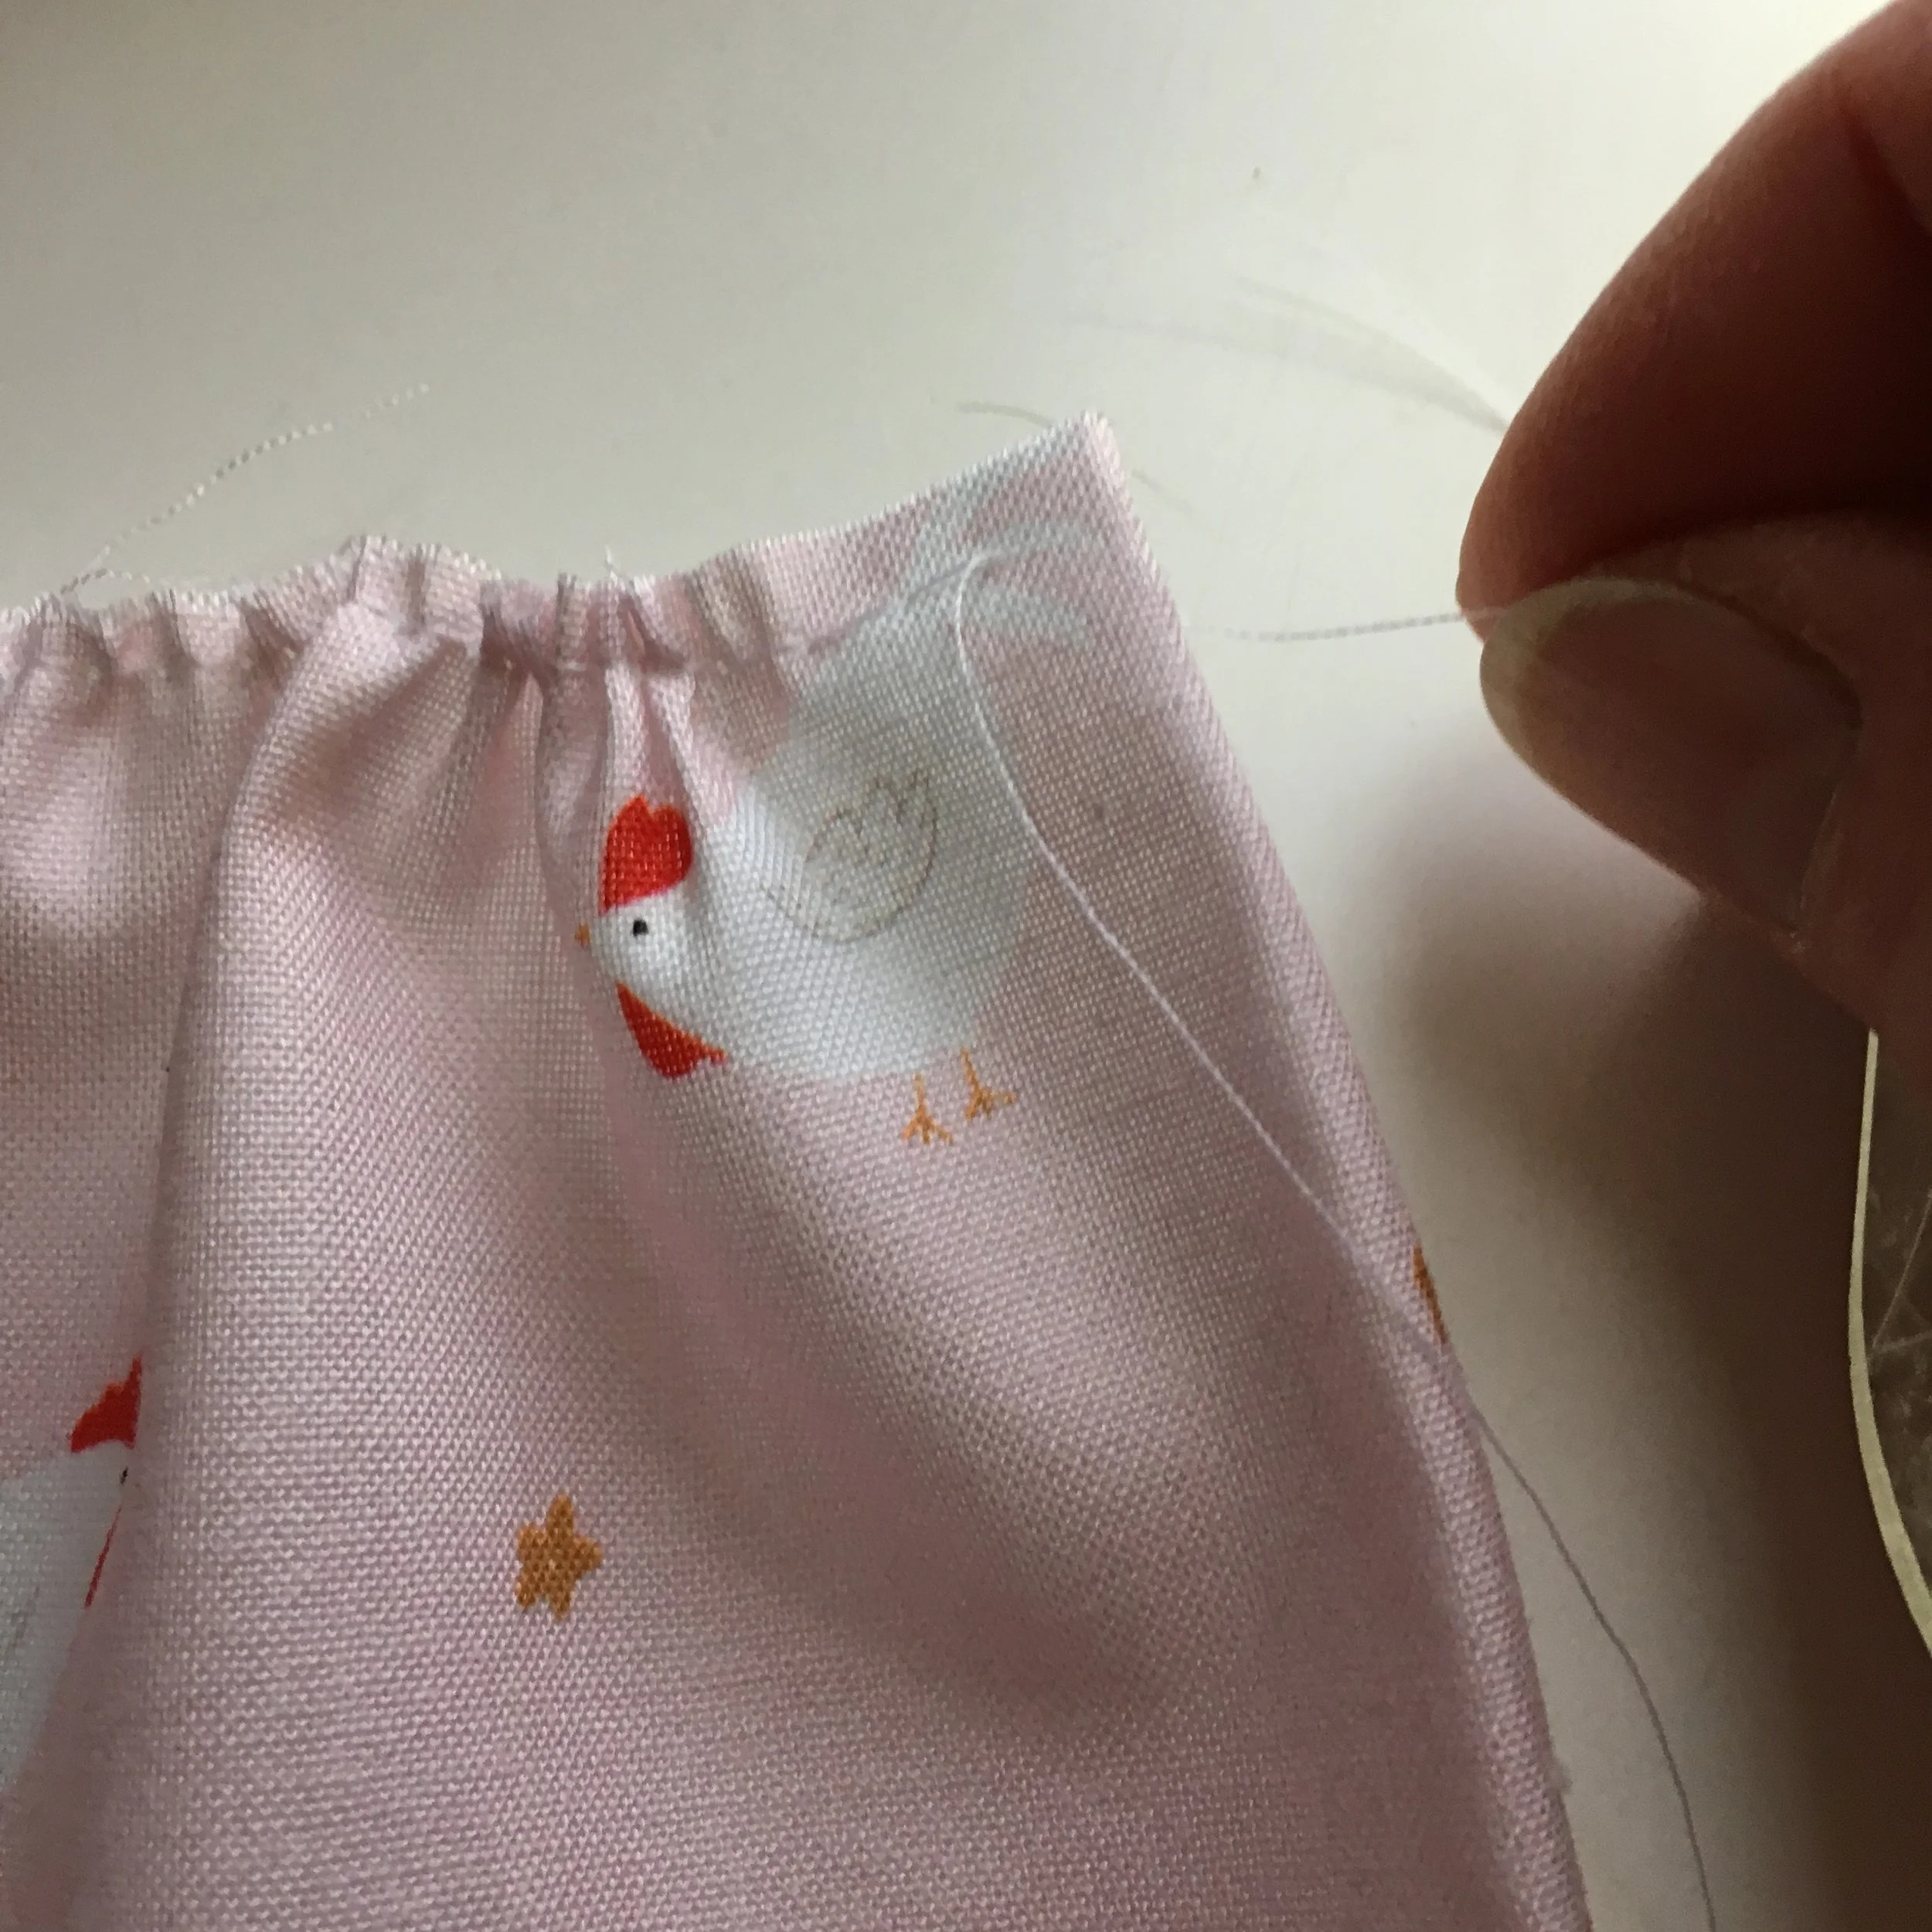
8. If you wish to gather your sleeve, set your stitch length to the longest number it has. Starting at the mark on the sleeve pattern, sew a couple stitches, then BACK STITCH 2 stitches to lock the gather stitches. Sew to the second mark on the sleeve. Do NOT back stitch here. Leave long tails on both threads when you cut them.
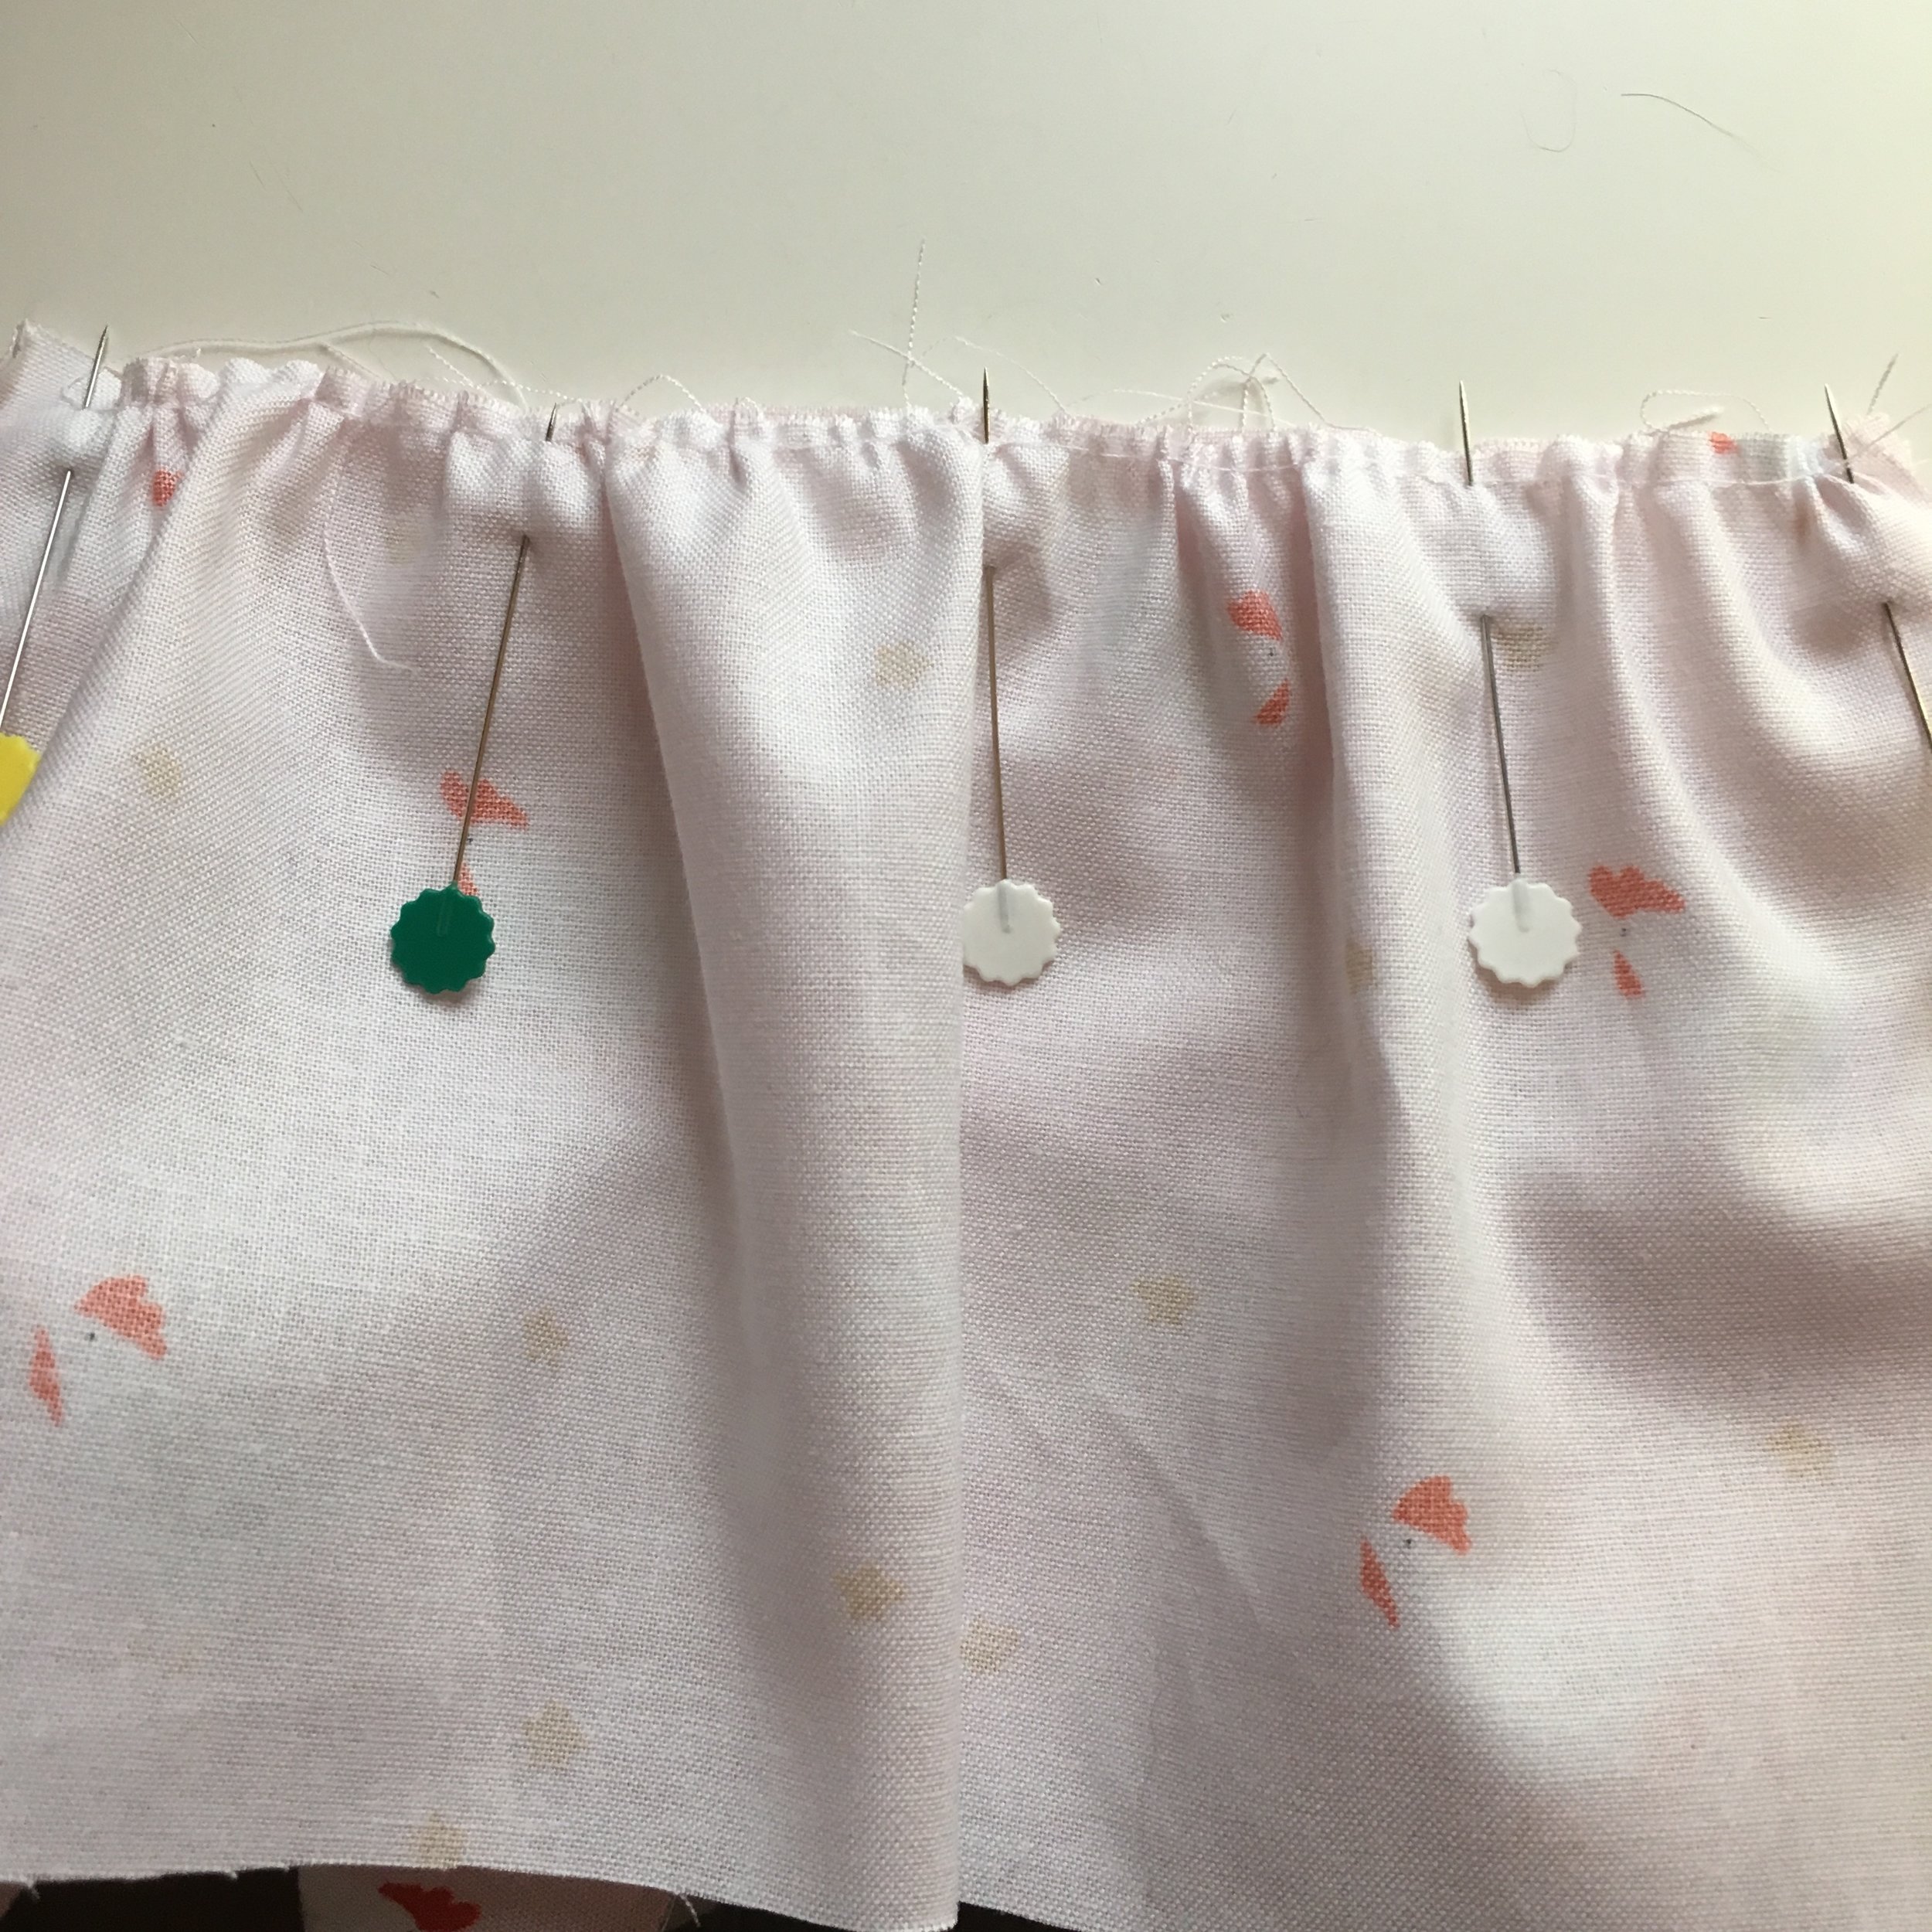
9. While your machine is set for a gathering stitch, sew along the top of the dress’s front skirt piece, starting 1/2 inch from side of the skirt and stopping 1/2 inch from the opposite side. Now set your machine back to the normal stitch length.
10. Attach to sleeve to the body of the dress, matching the notch on the sleeve with the shoulder seam. Pin the two pieces at the notch. Pin the short edges of the sleeves to the lower edge of the sleeve openings the body of the dress. Pin again about 1 inch from that pin. Now take the gathering thread on the WRONG side of the sleeve and gently pull it, gathering the upper edge of the sleeve until it matches the length of the arm hole of the dress. Pin those edges together. (If you prefer, you can also make several folds in the sleeve to match the sleeve opening instead of gathering it).
11. Sew the sleeve to the dress. Repeat for the second sleeve.
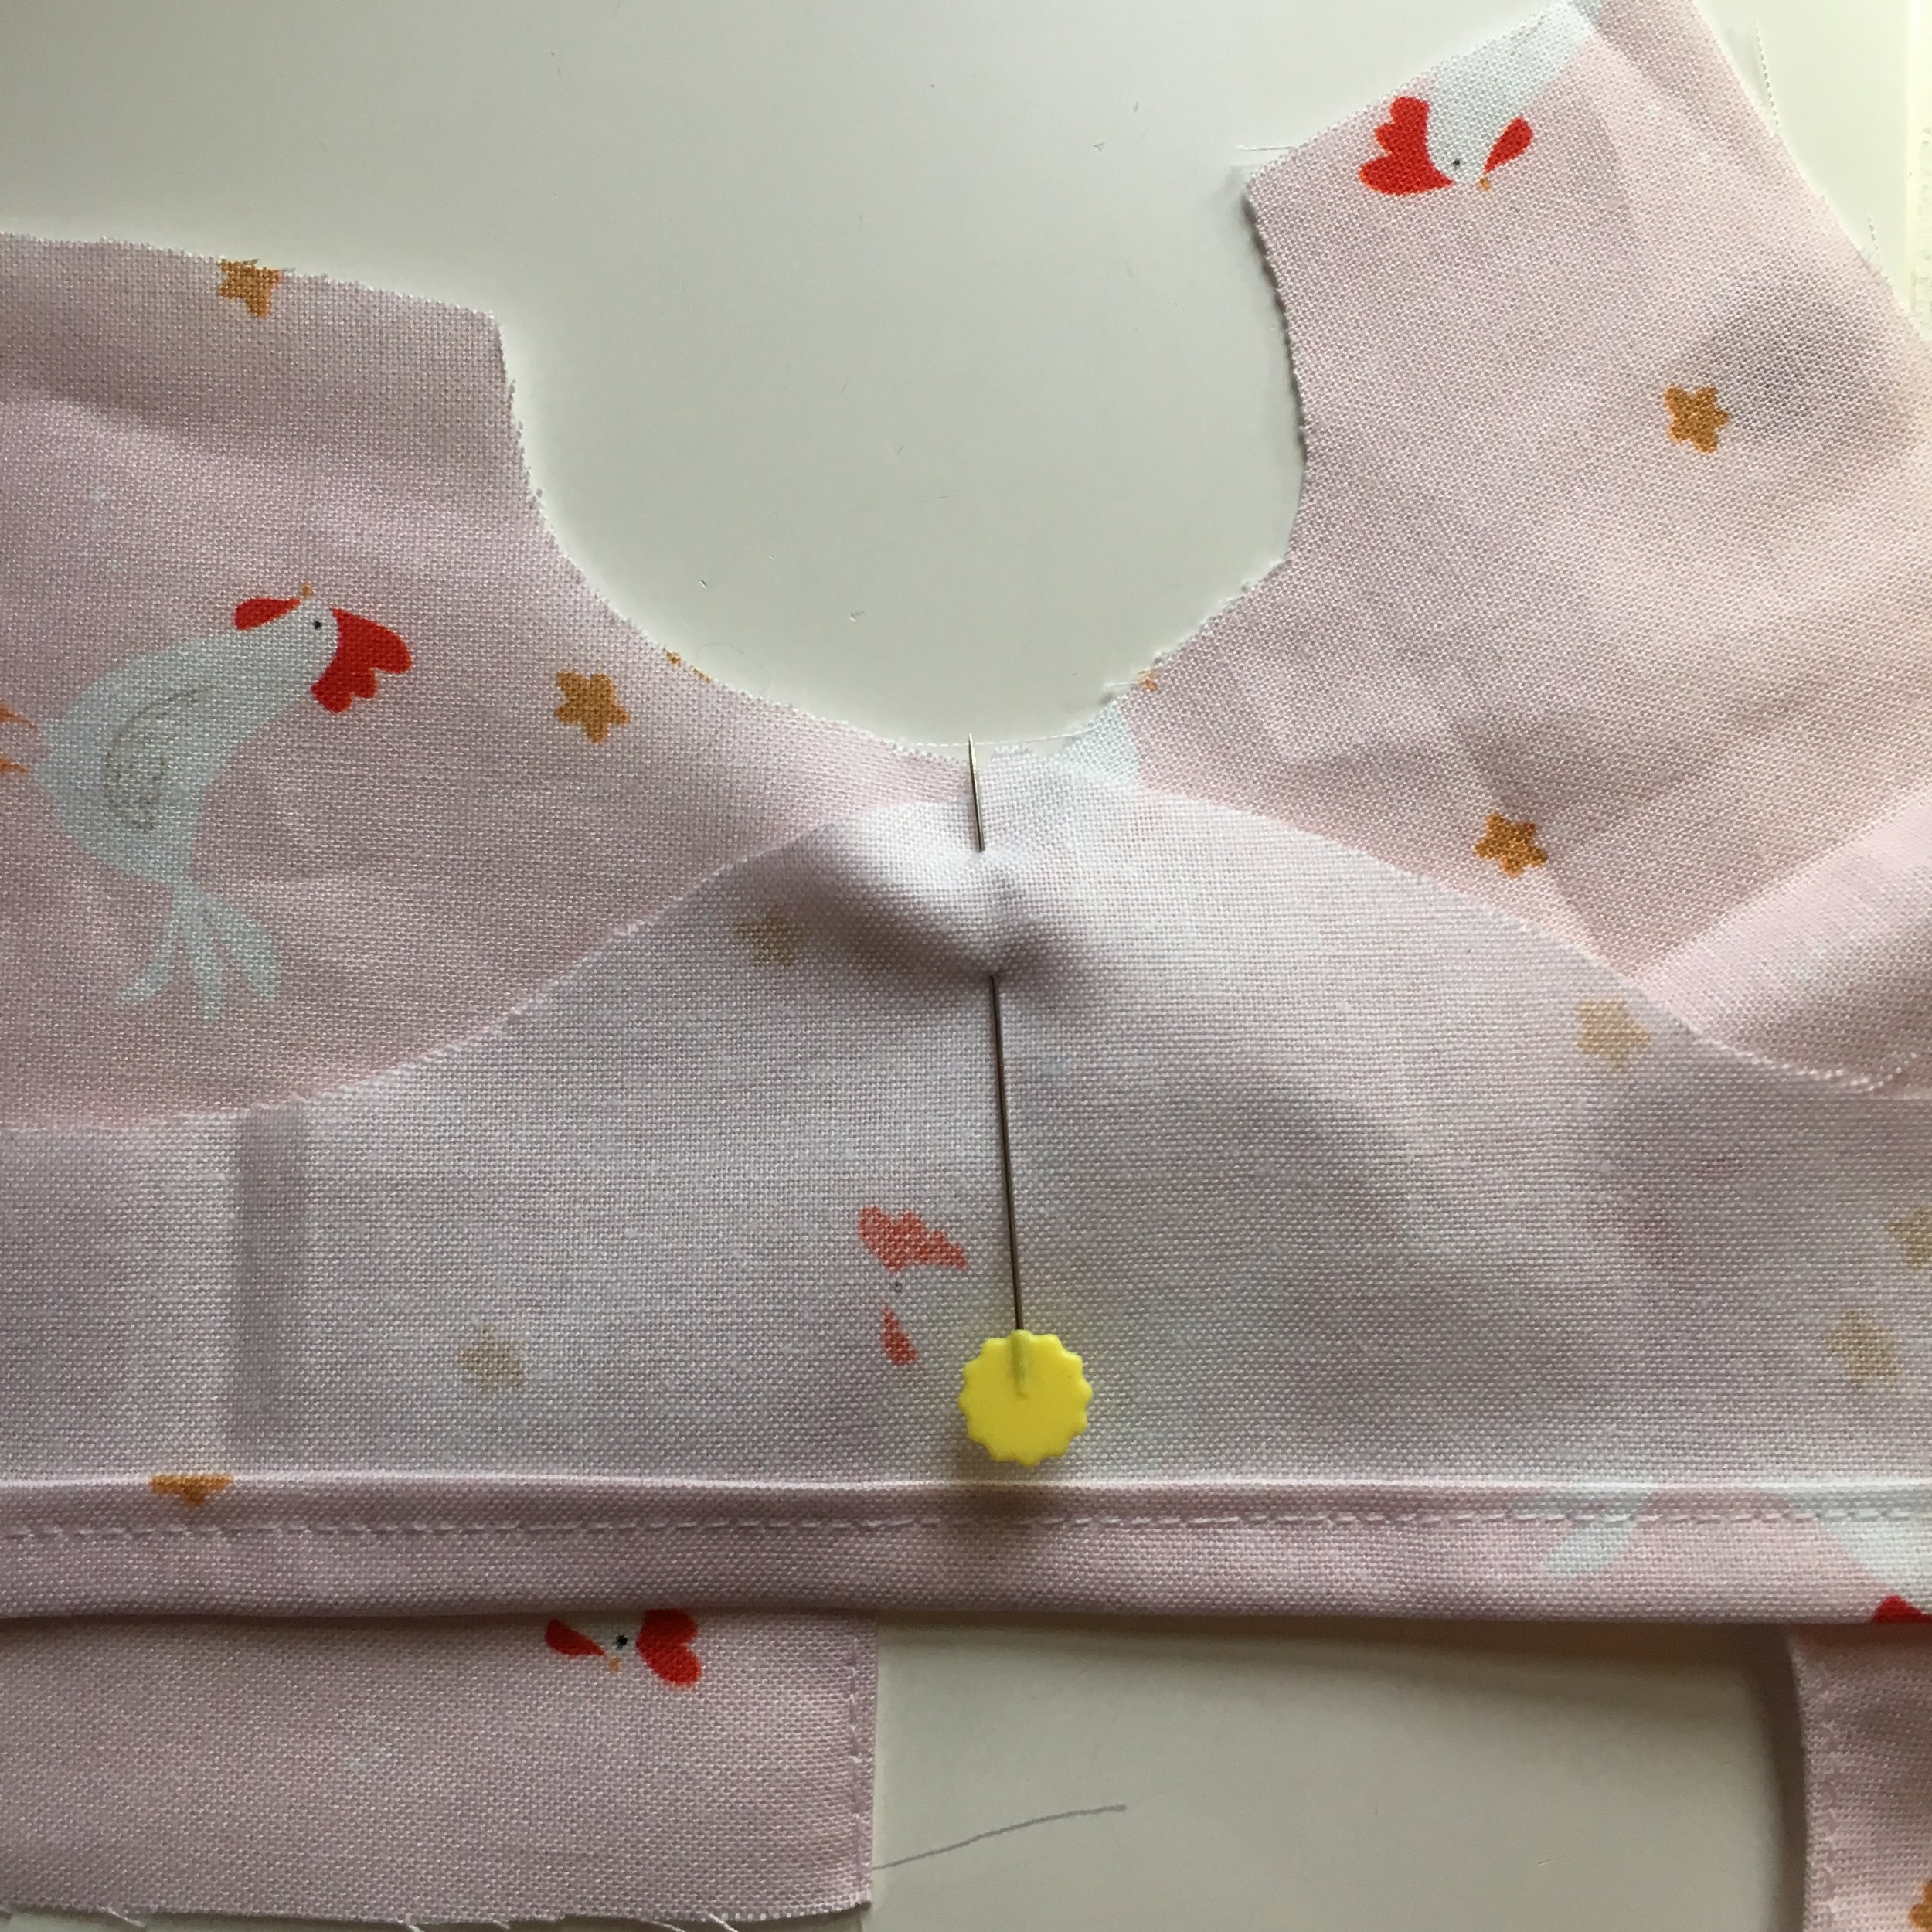
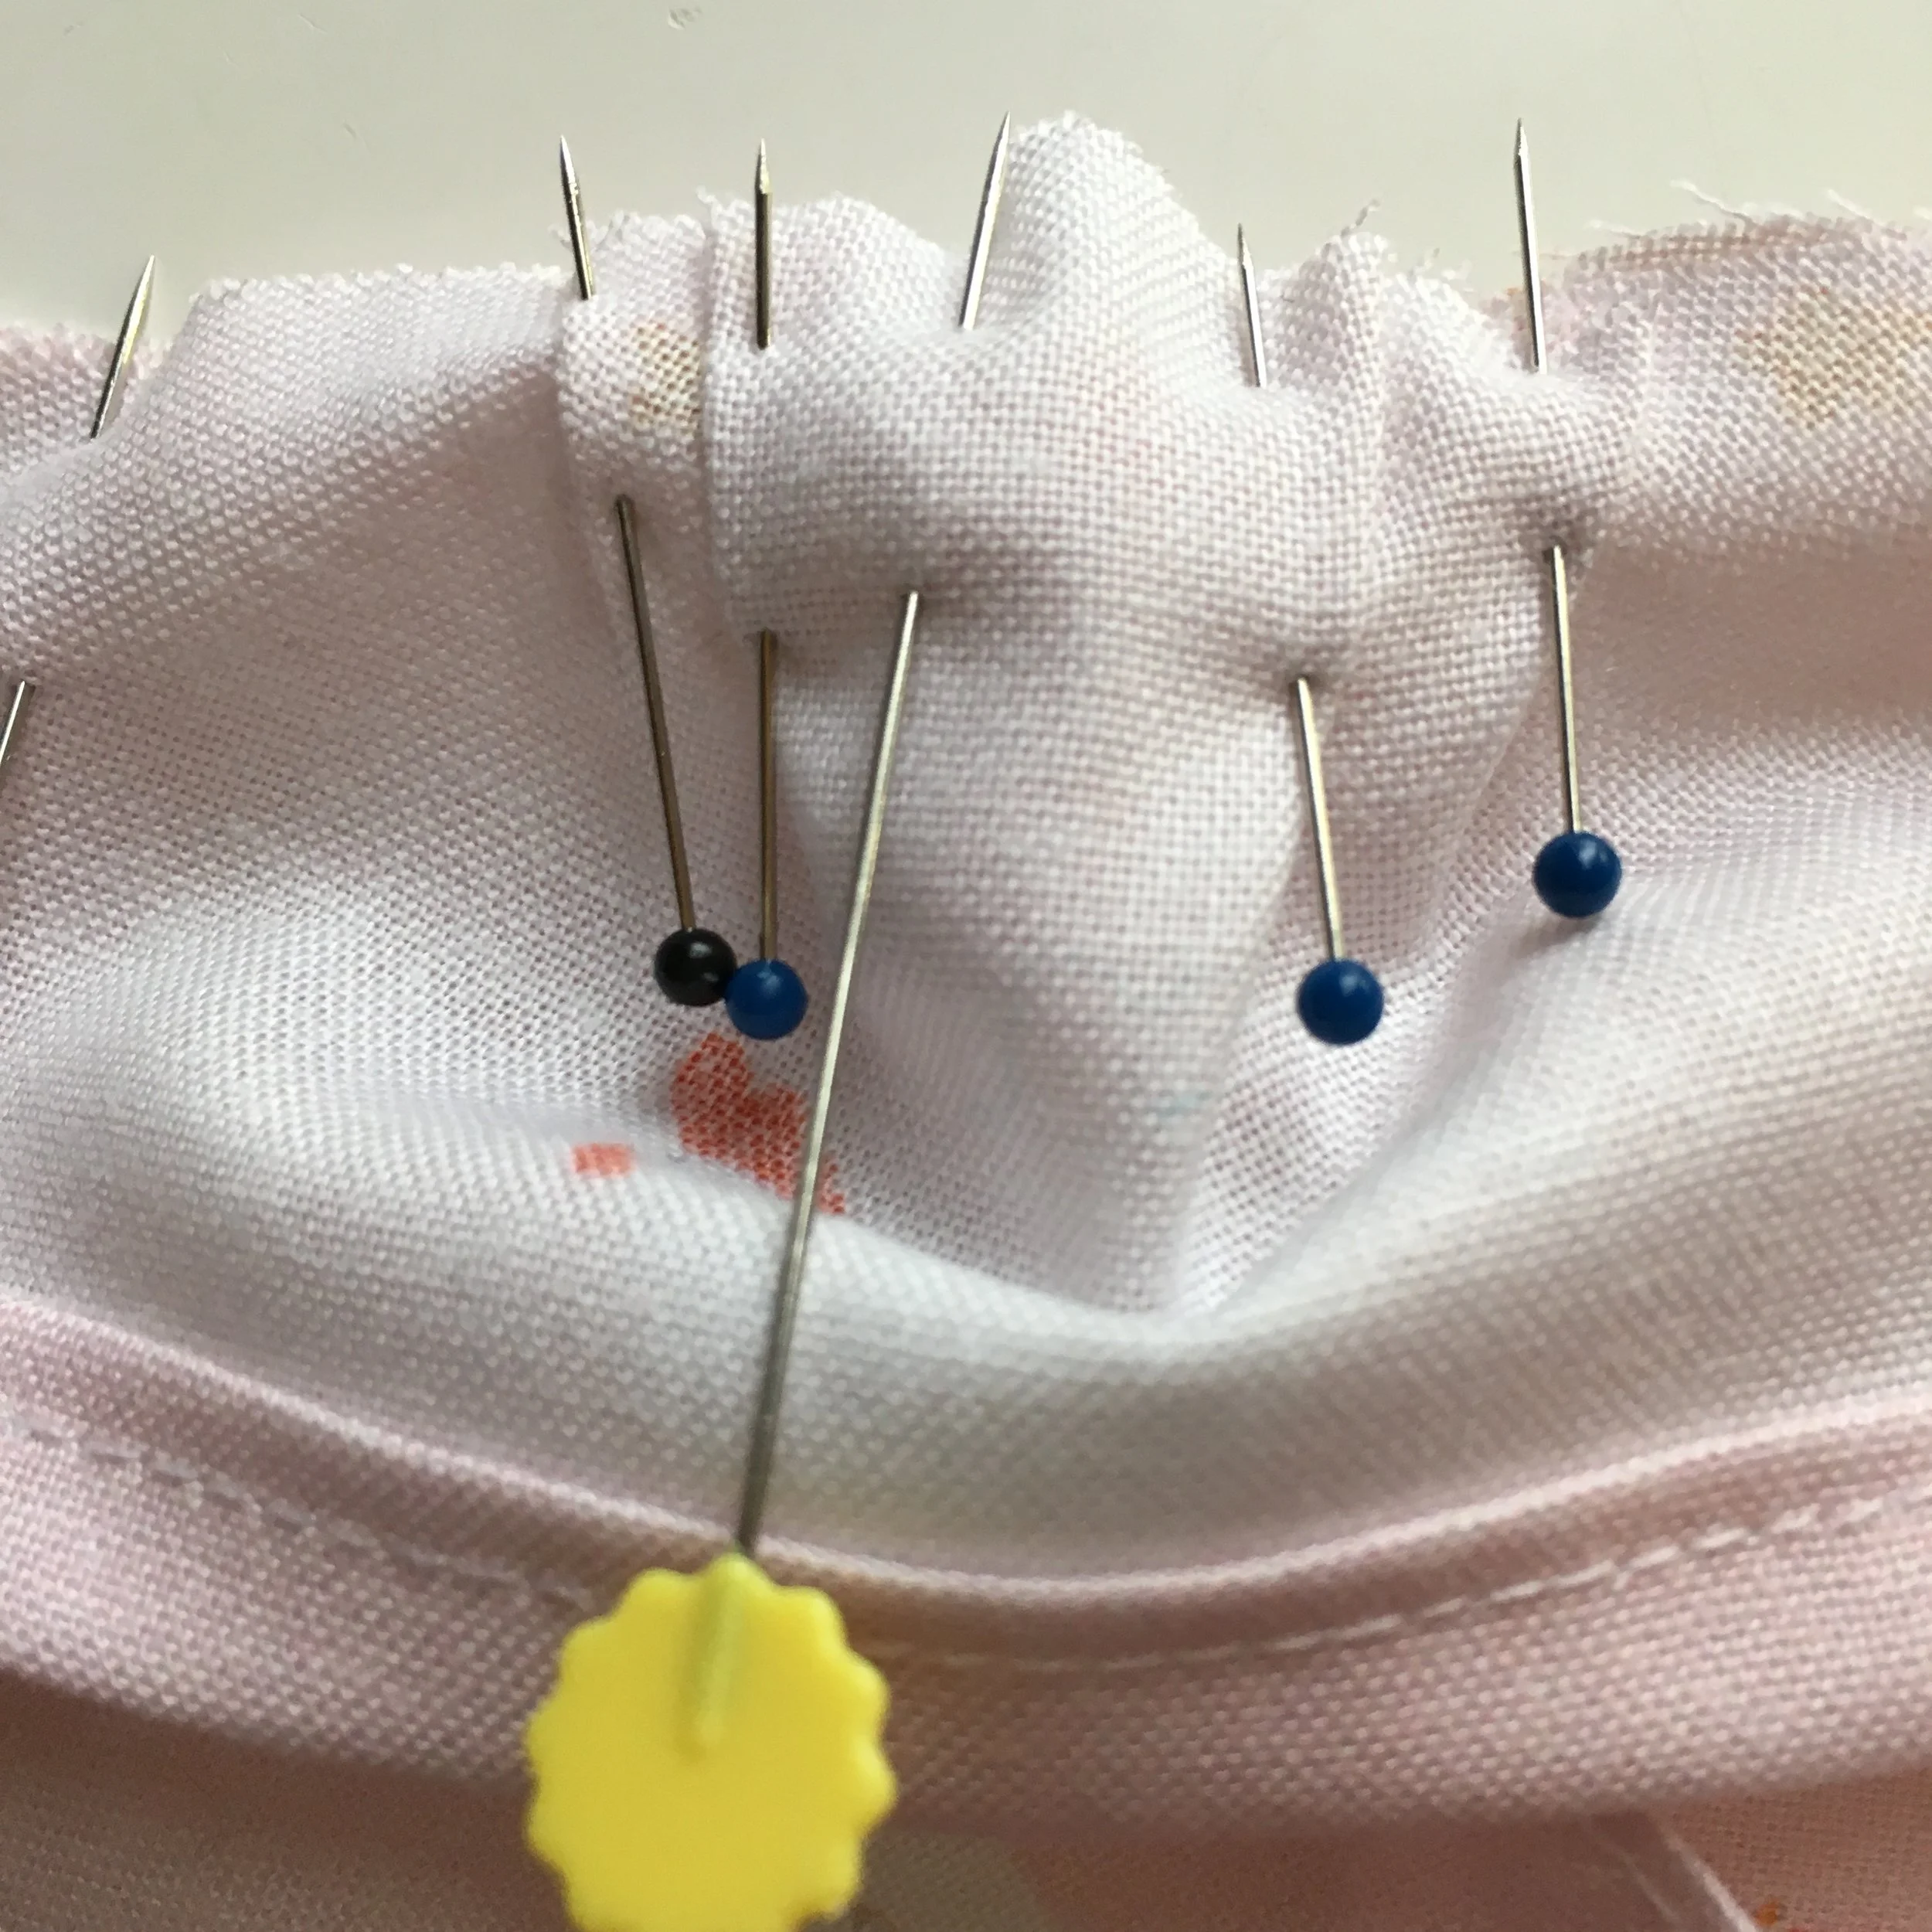
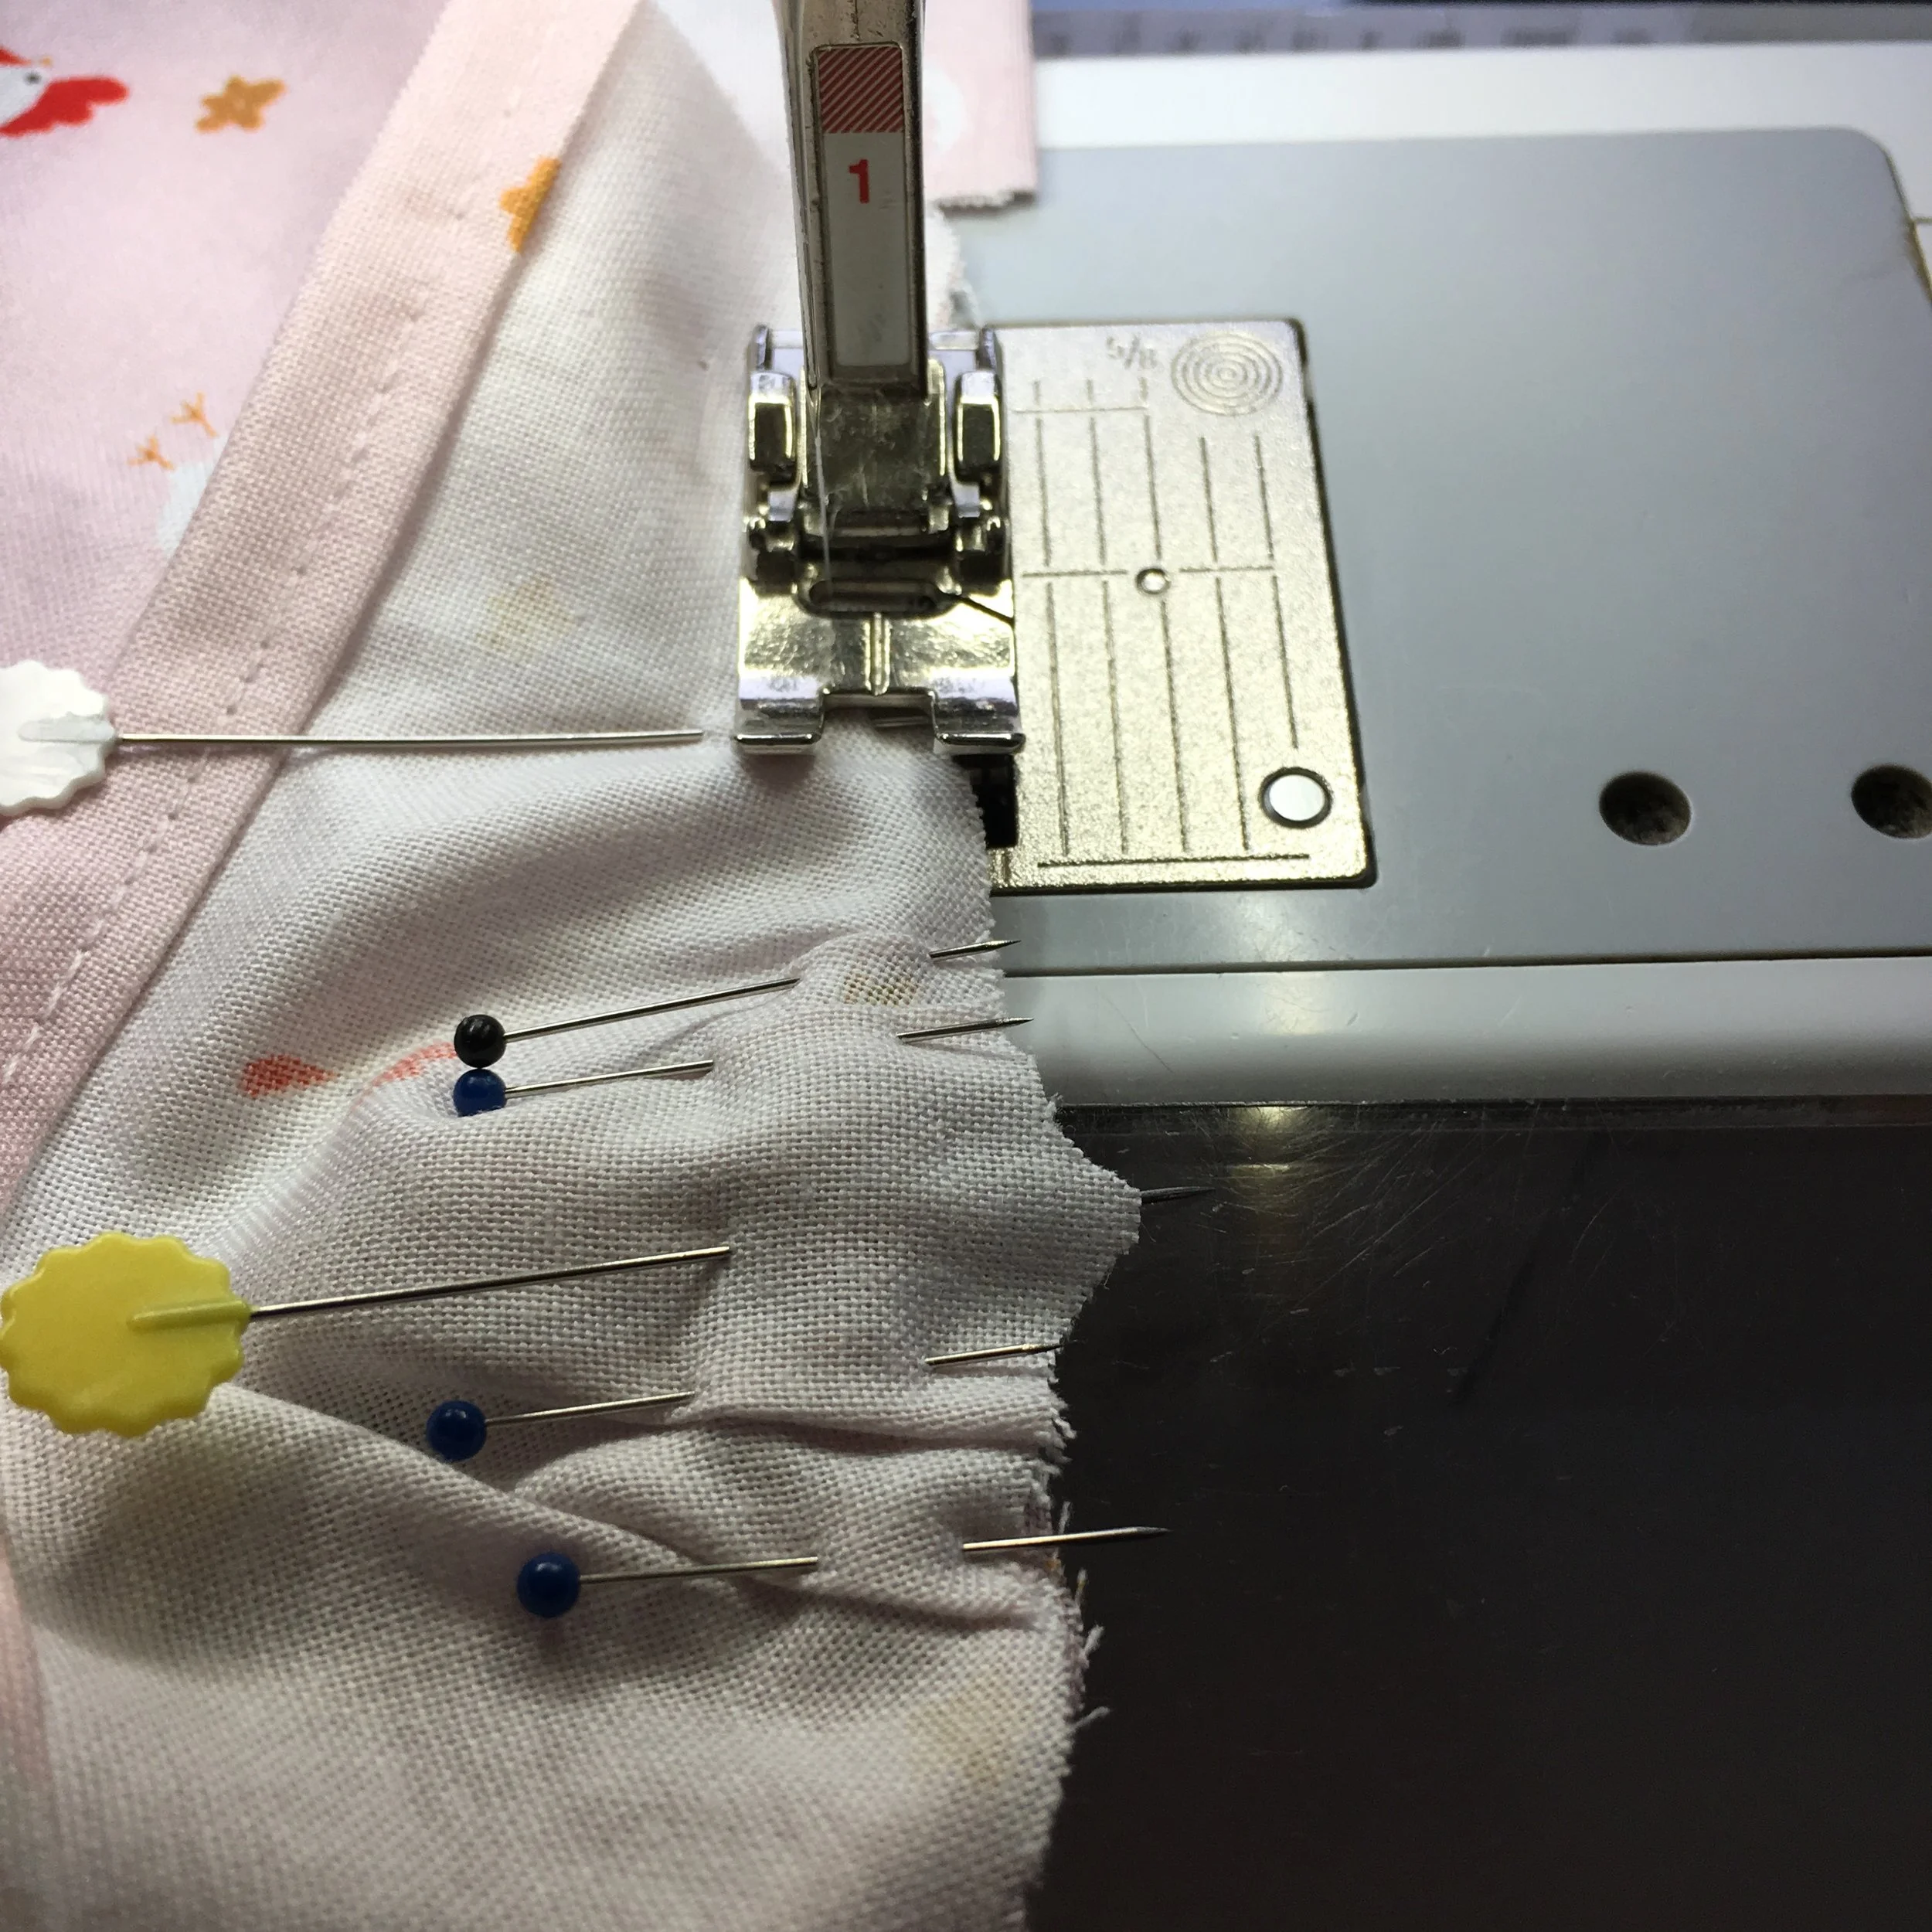
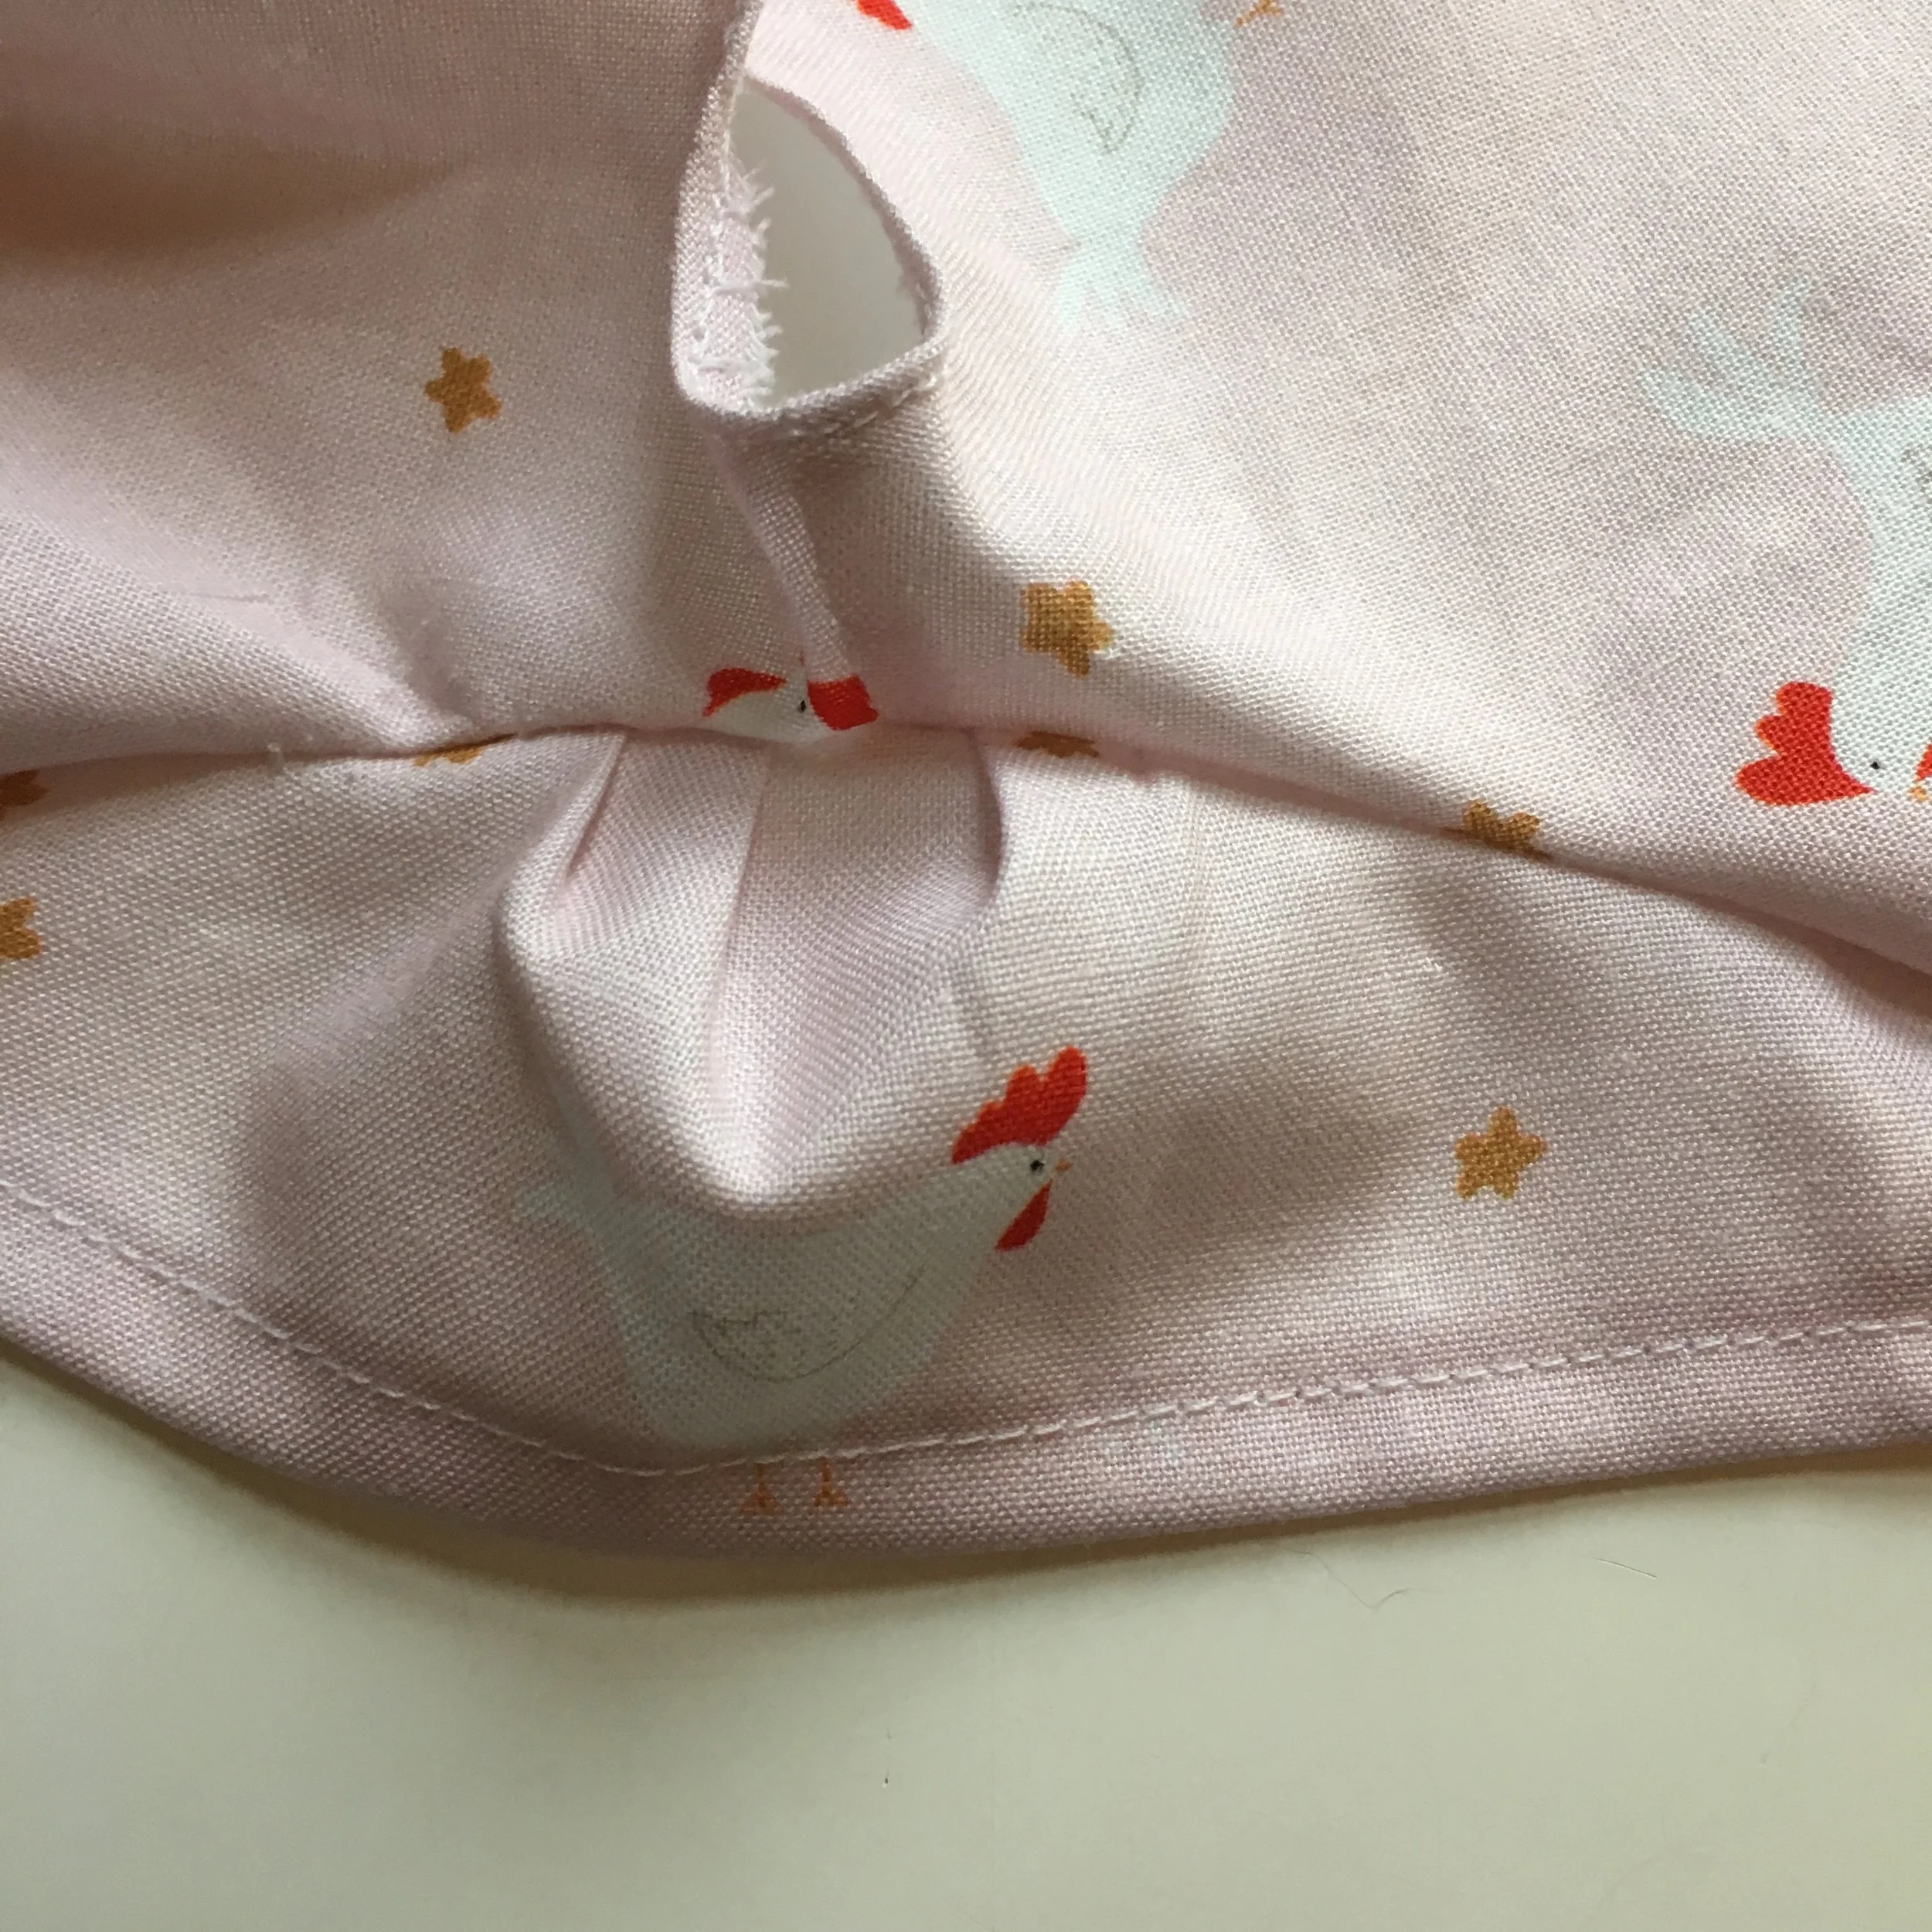
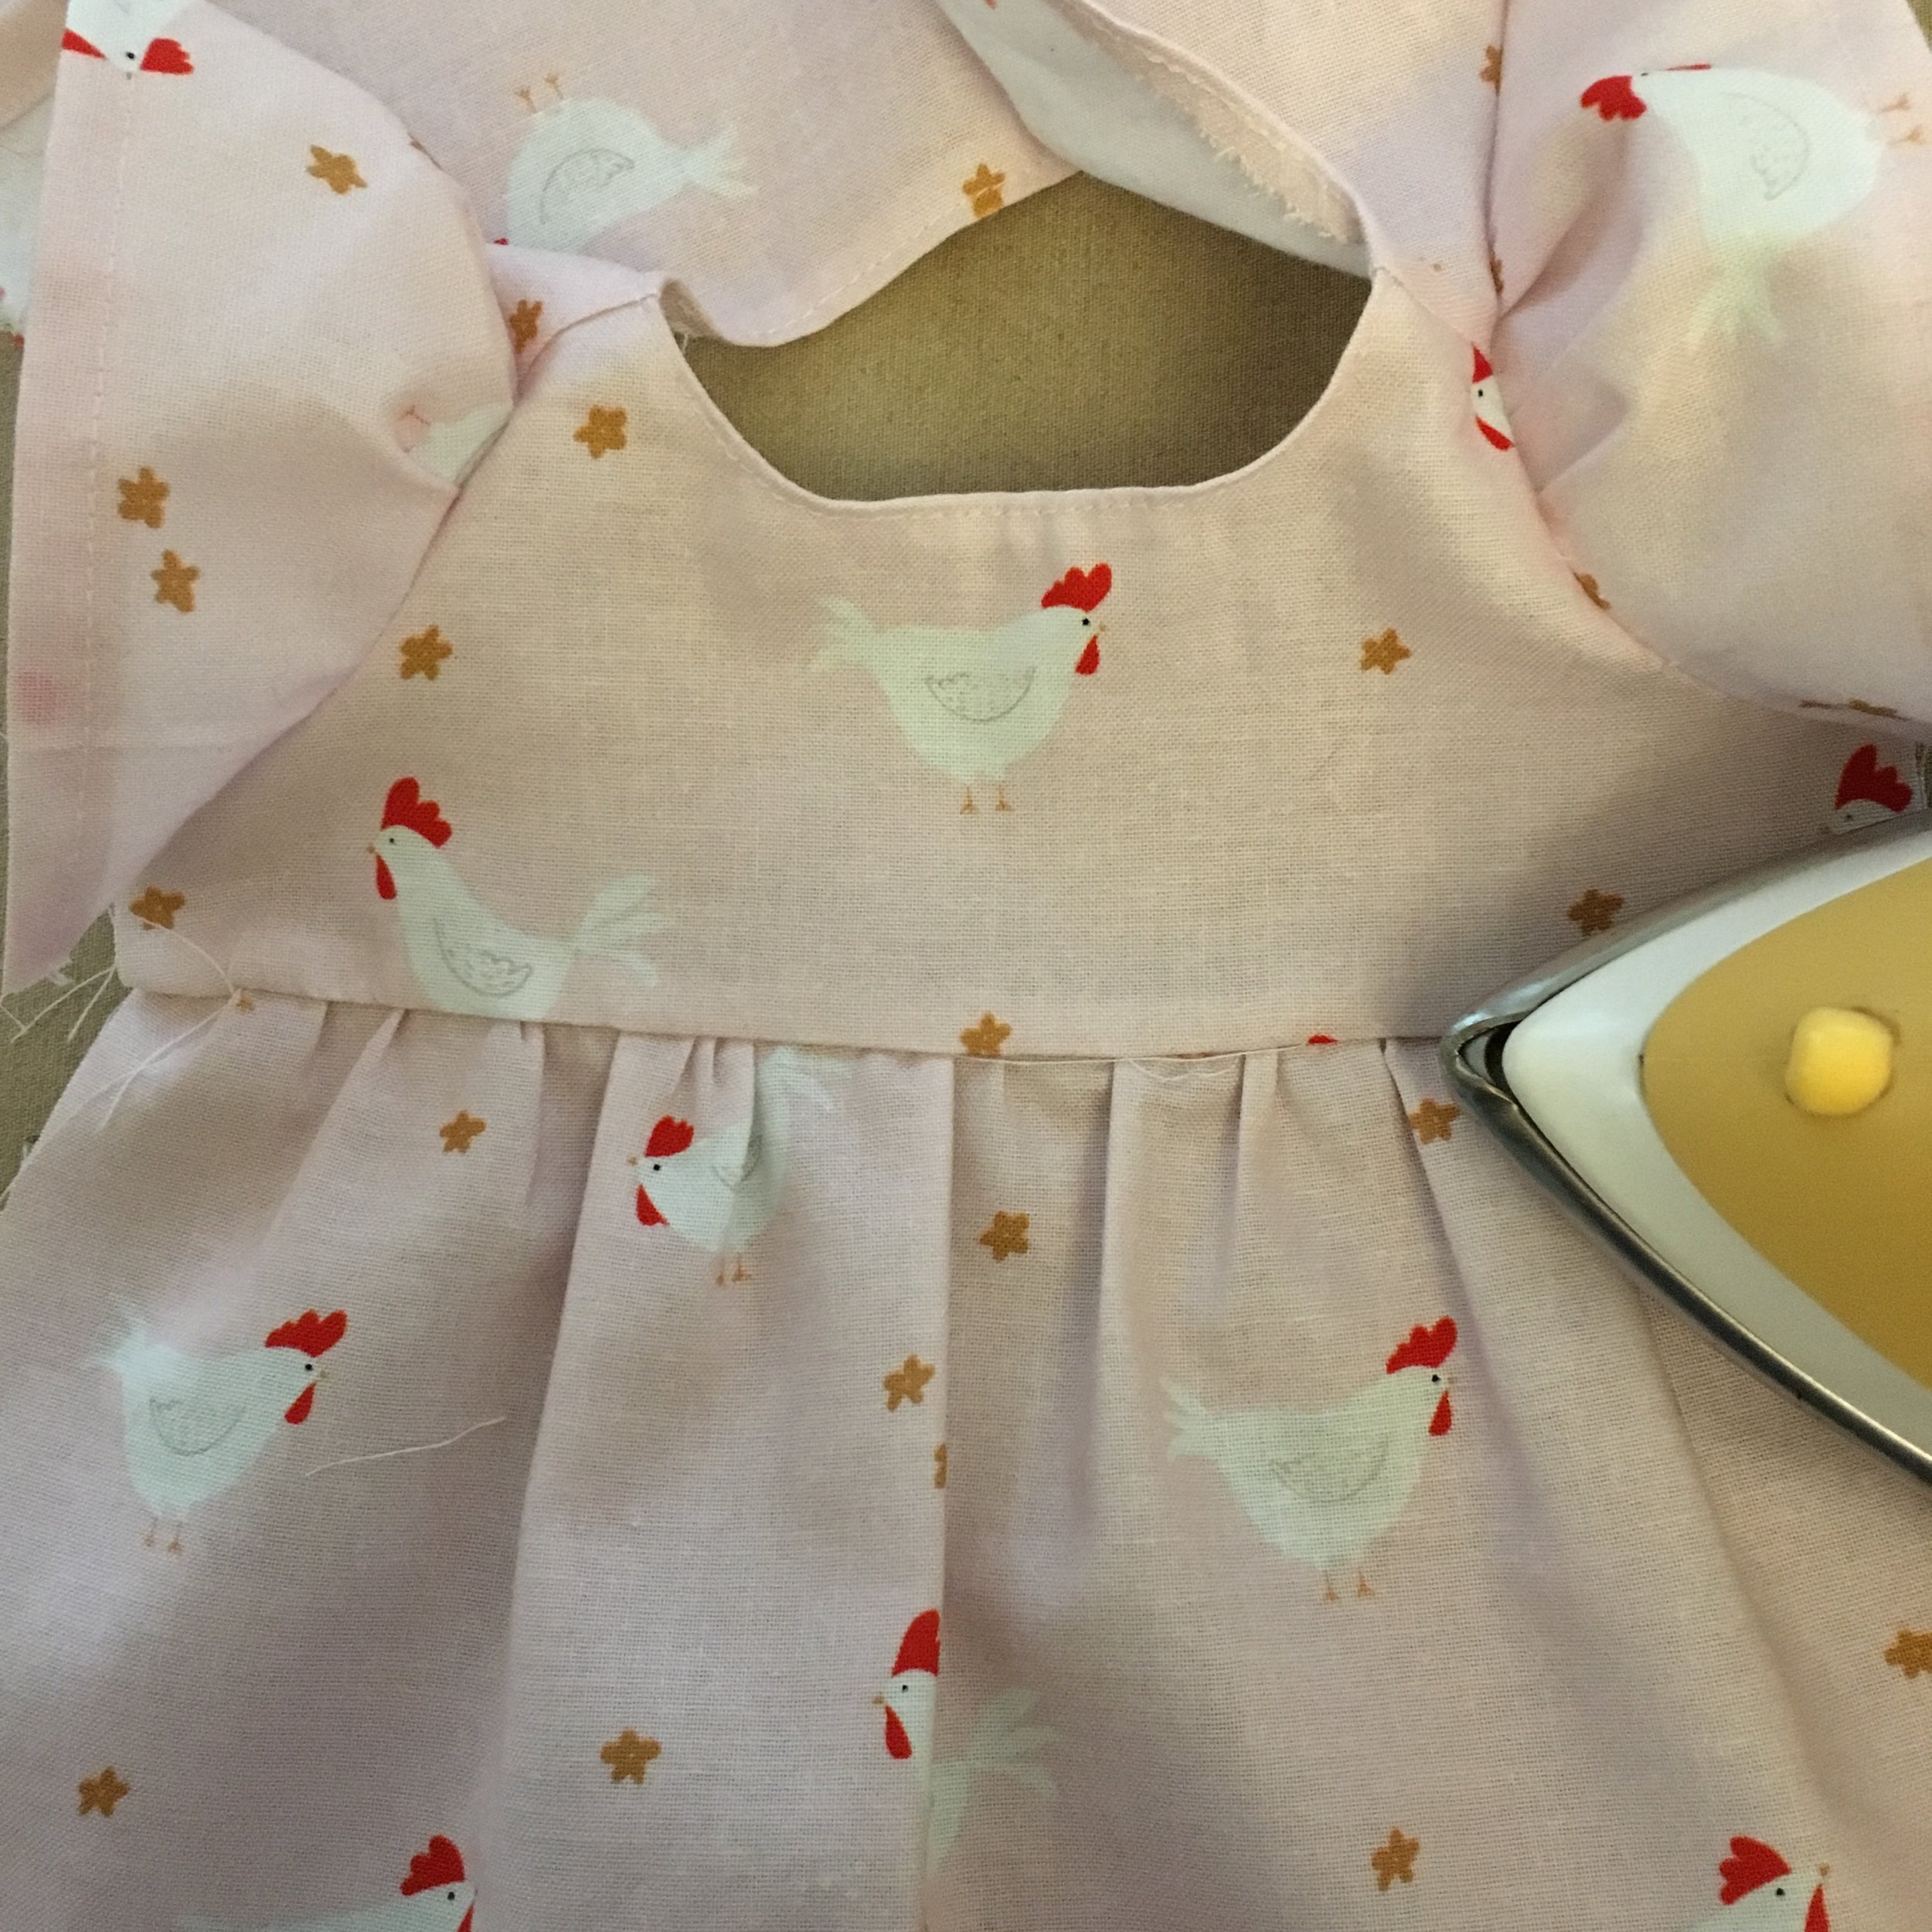
12. With RIGHT sides together, pin the front skirt to the lower edge of the bodice. Pull in gathering stitch thread on the wrong side of the skirt until the skirt measures the same width as the bodice. Even out the gathers and pin. Stitch the top the skirt to the bodice. A straight stitch is fine, but using an overlock stitch is better if your machine has one.
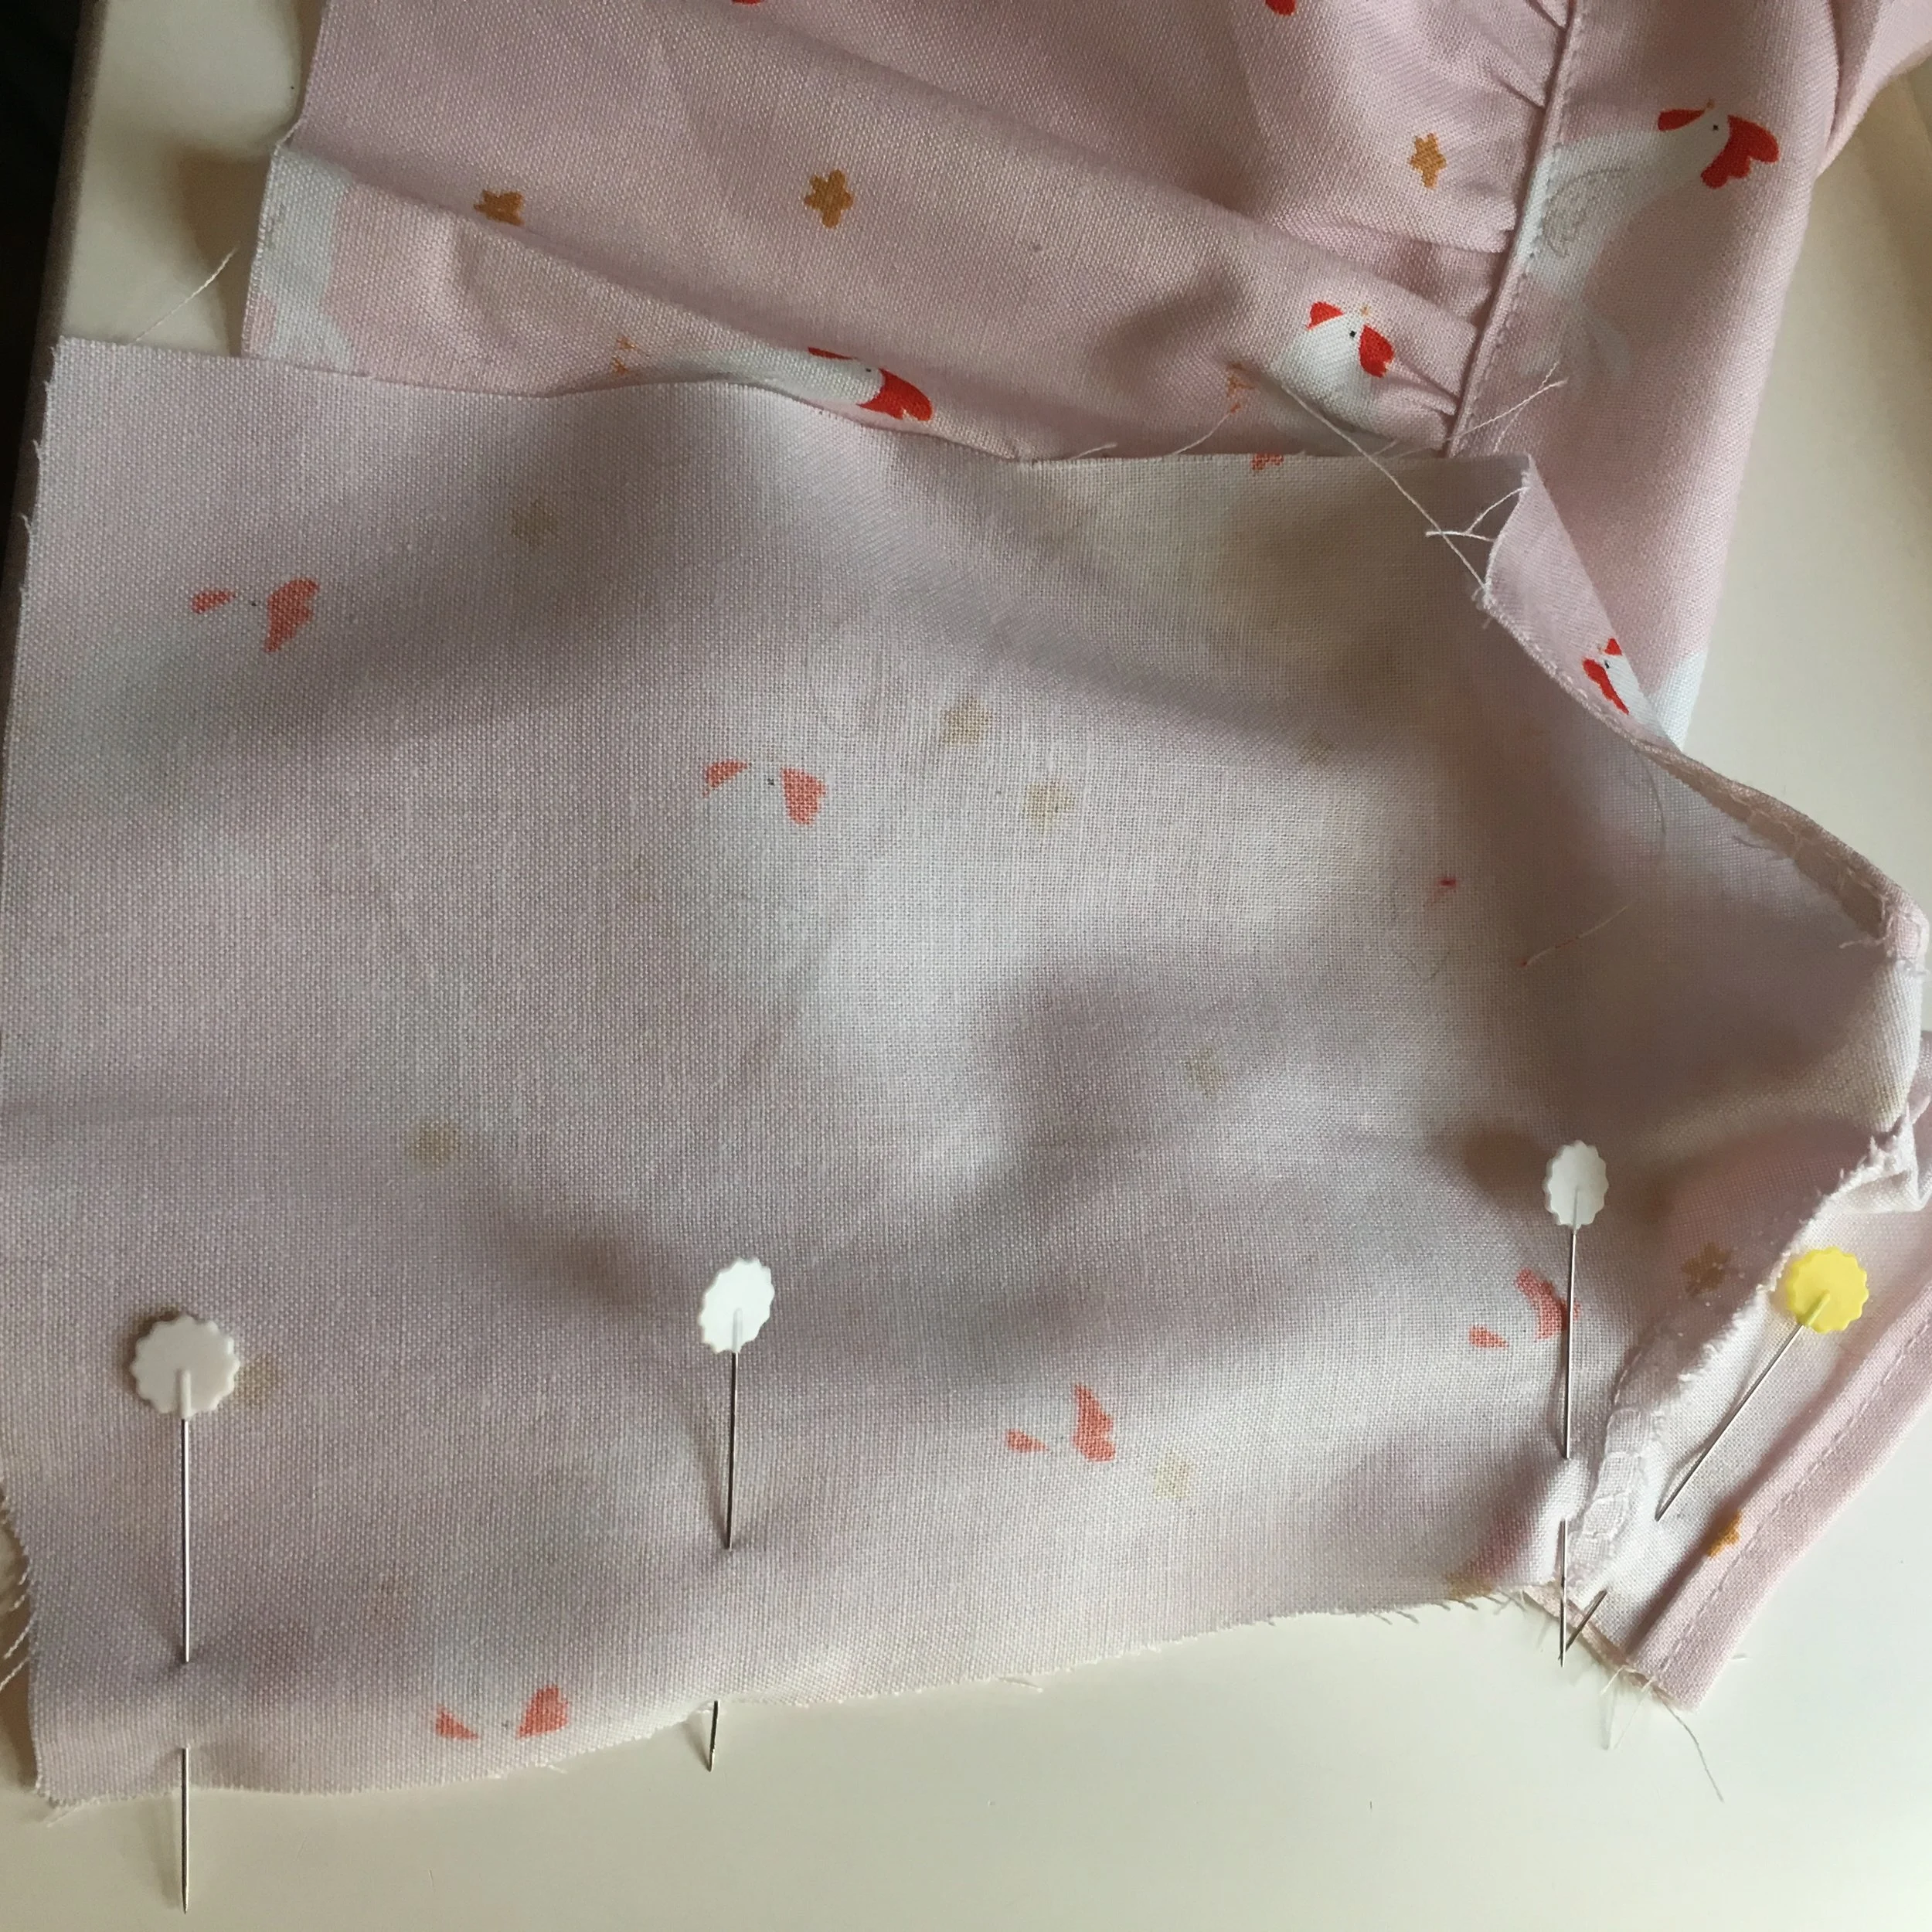
13. With RIGHT sides together, fold the sleeve in half. Pin at the sleeve edge. Match the side seams of the skirt with the side seams of the back pieces. Pin. Sew with a straight stitch or an overlock stitch.
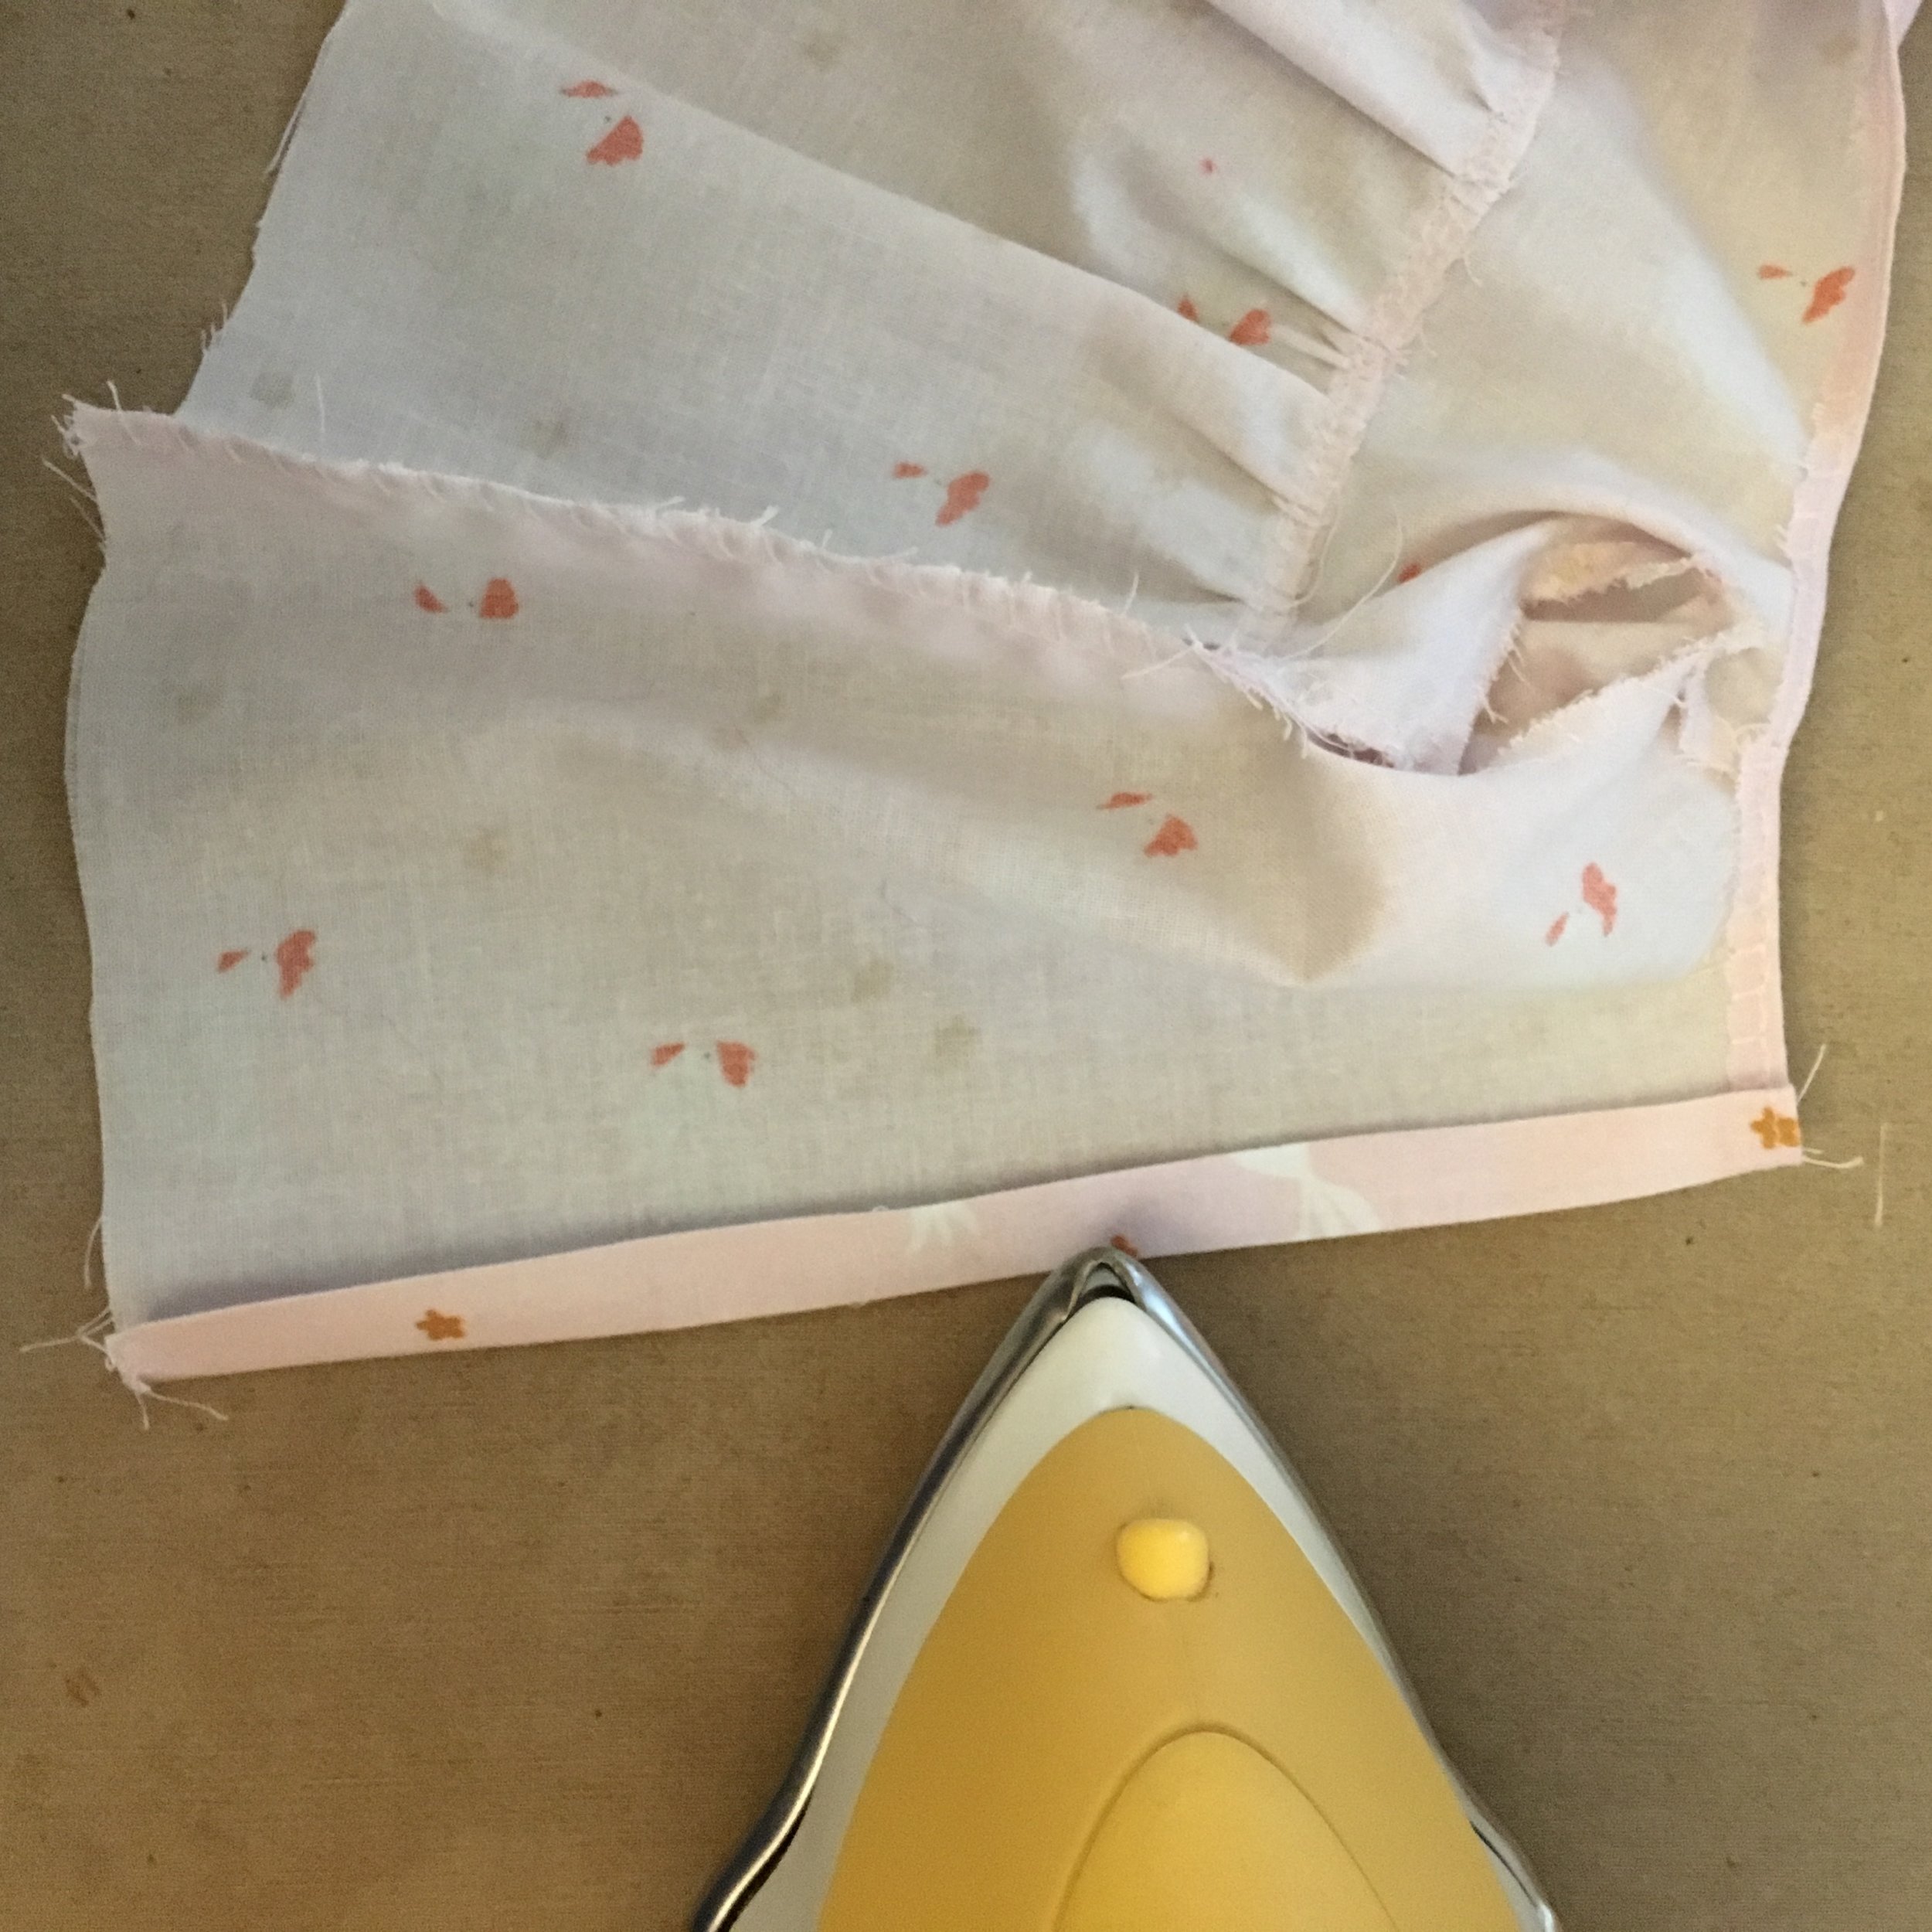
14. Fold the raw edges of the dress back under 1/4 inch, then 3/8 inch. Press. Pin. Stitch along in inner fold on both back pieces.
15. Turn up the hem 1/4 inch. Repeat doing another 1/4 inch fold. Press. Pin. Sew the hem along the folded edge of the hem.
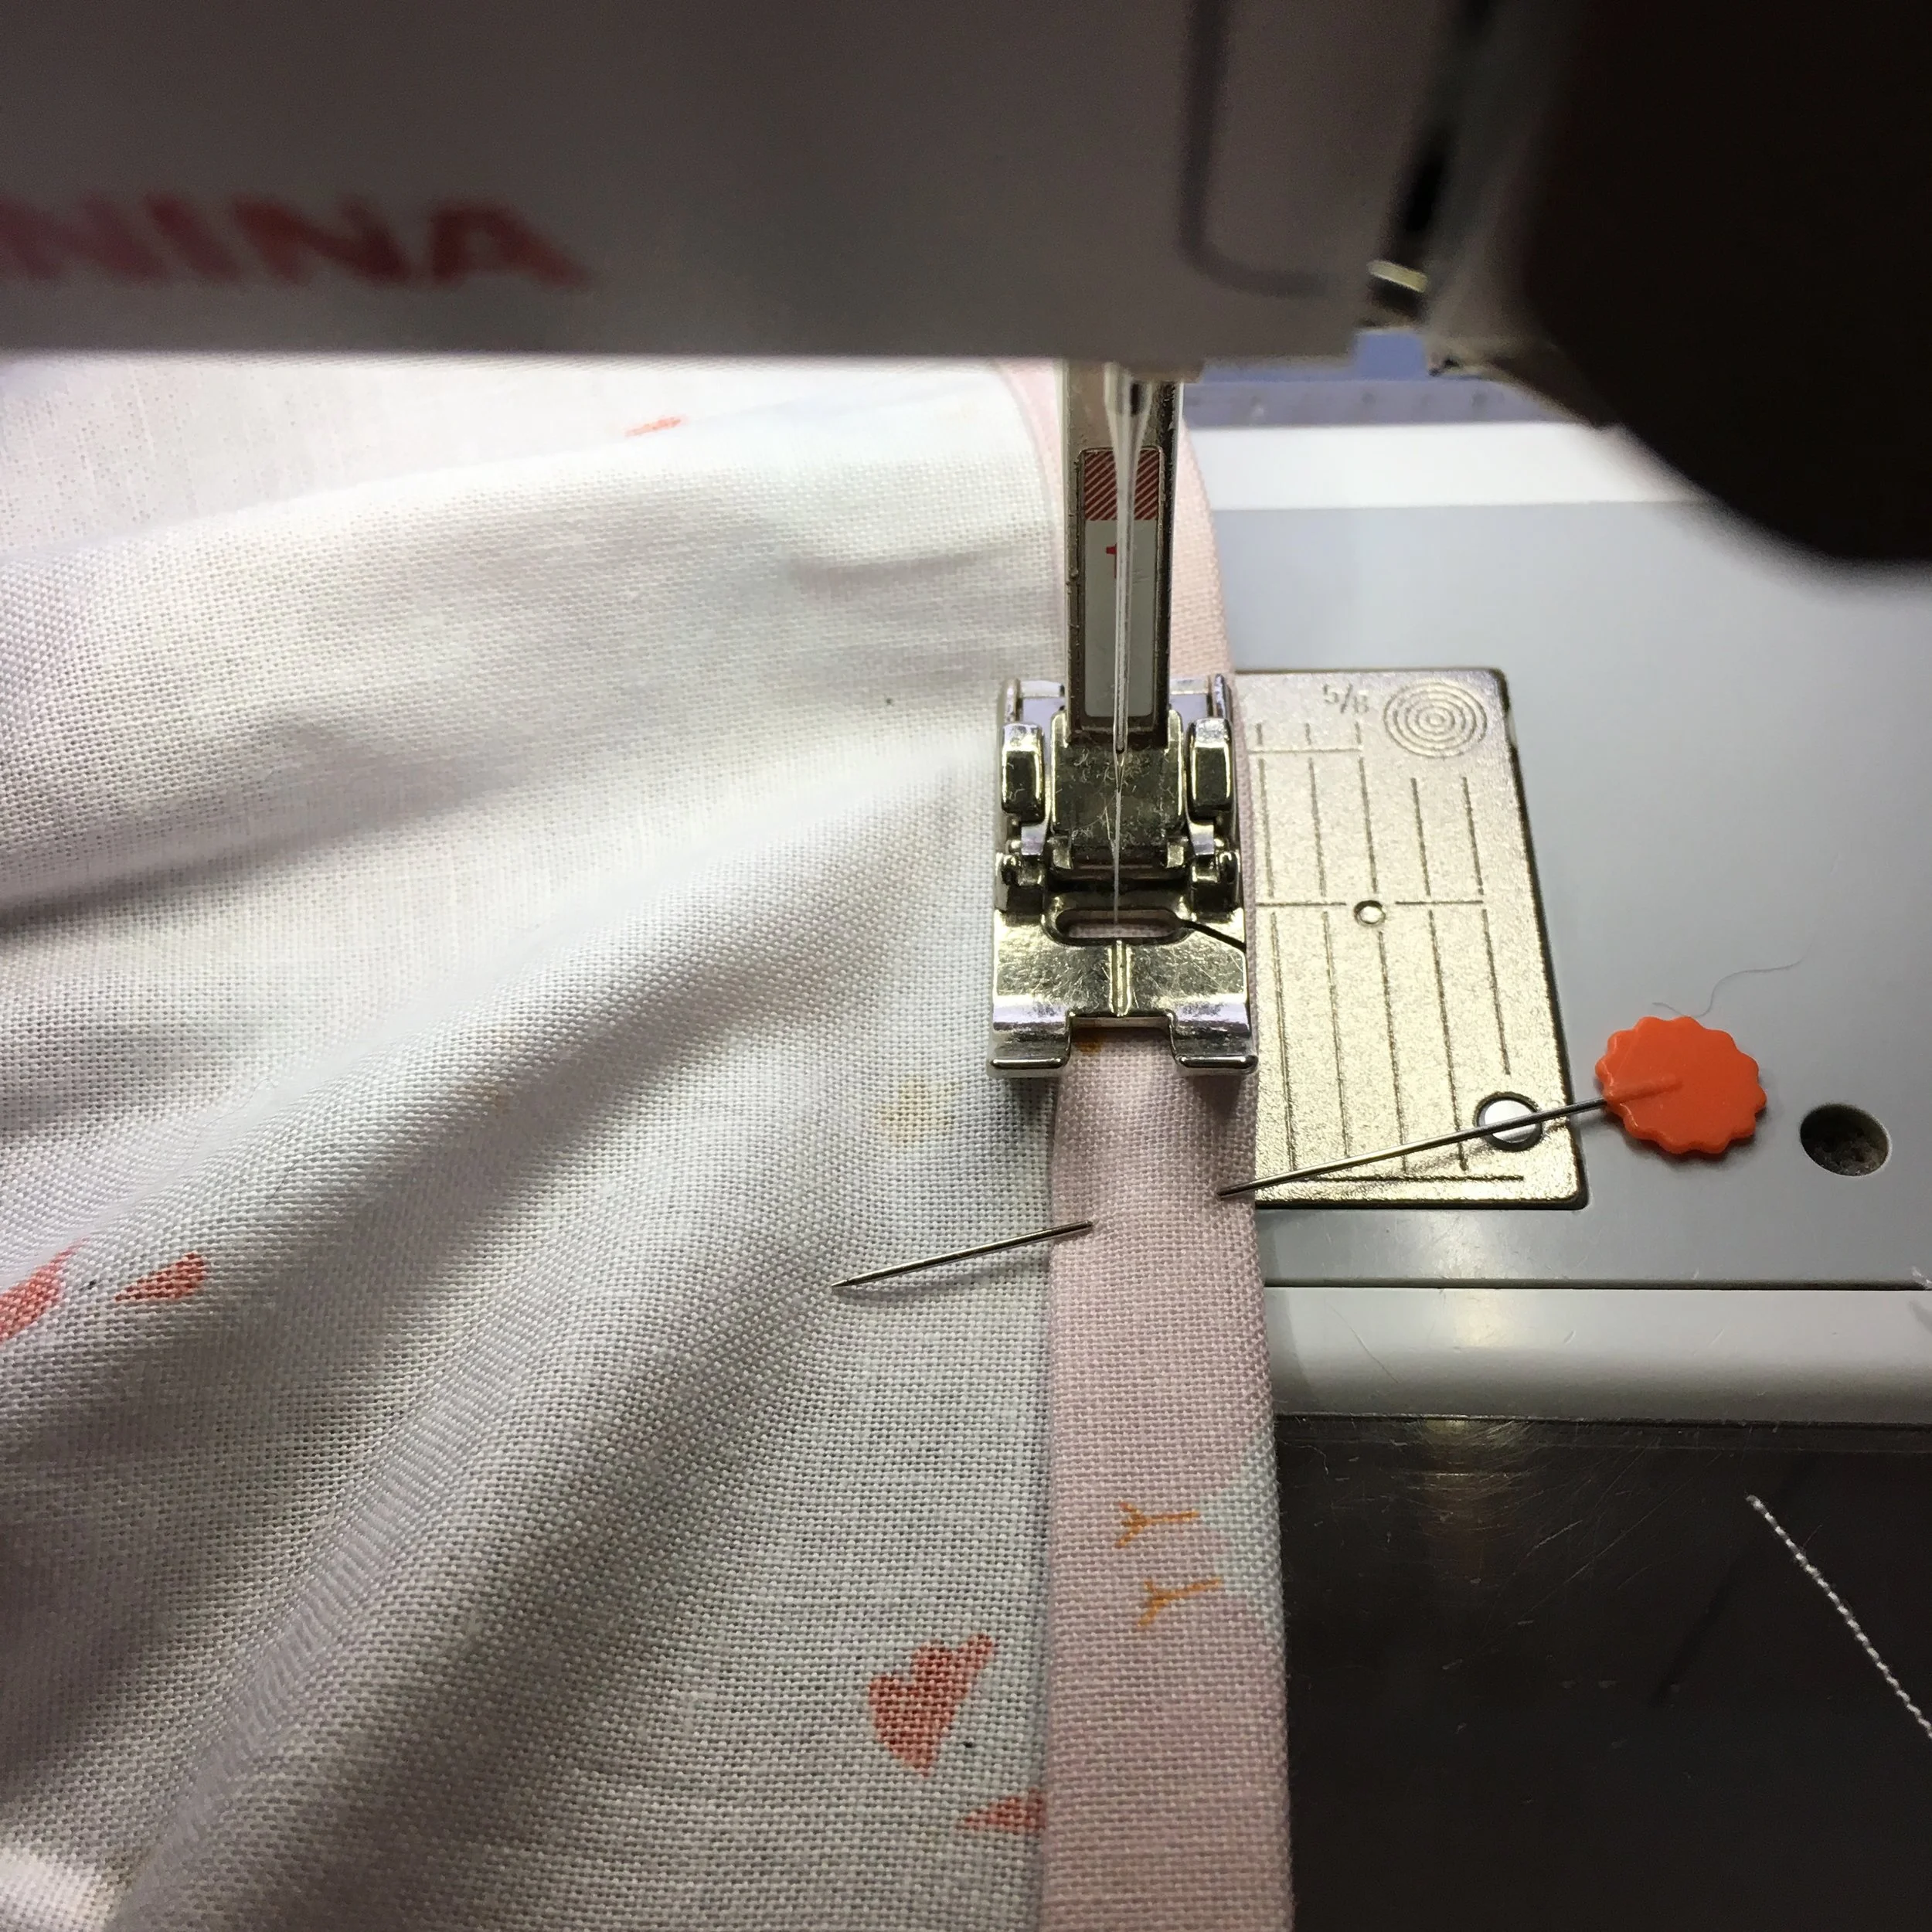
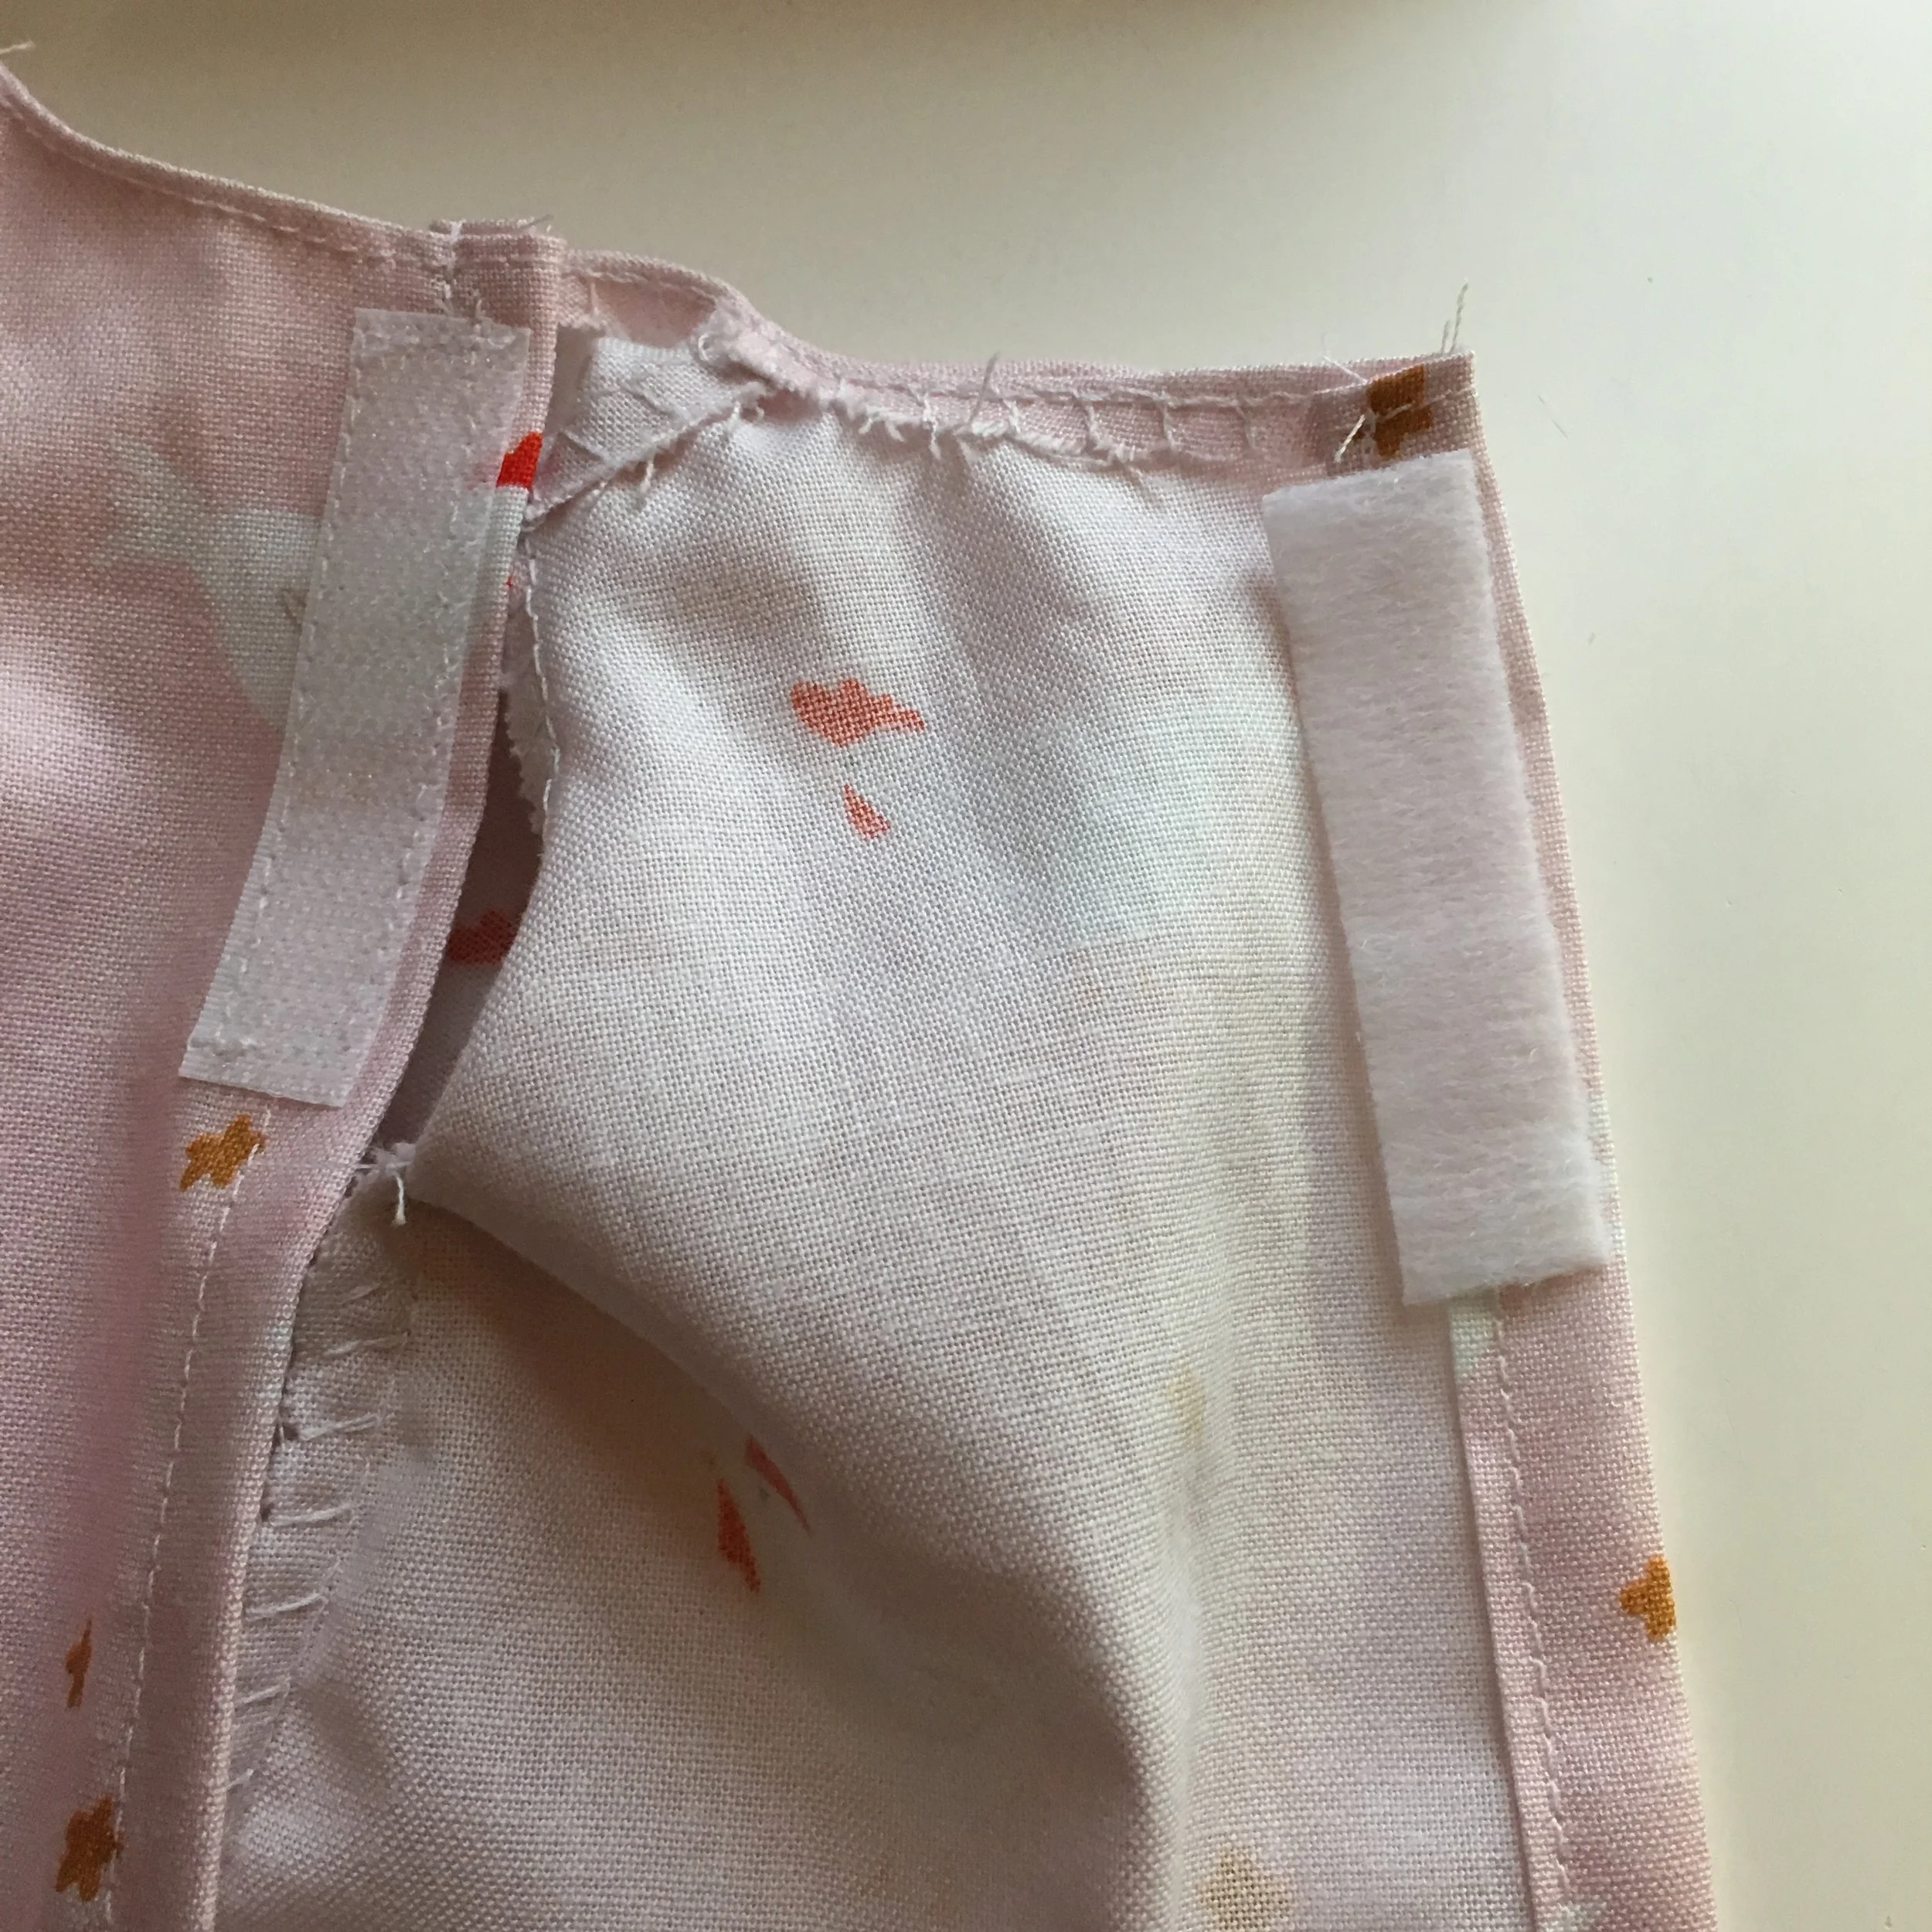
16. Cut a 1 1/2 inch piece of the 3/4 inch hook and loop fastener. Trim the WIDTH down to 1/2 inch. Sew the rough hook piece to the upper edge of the LEFT back on the RIGHT SIDE of the fabric. Then sew the soft loop piece to the upper edge of the RIGHT back on the WRONG side of the fabric. An adult should sew on the hook and loop tapes.
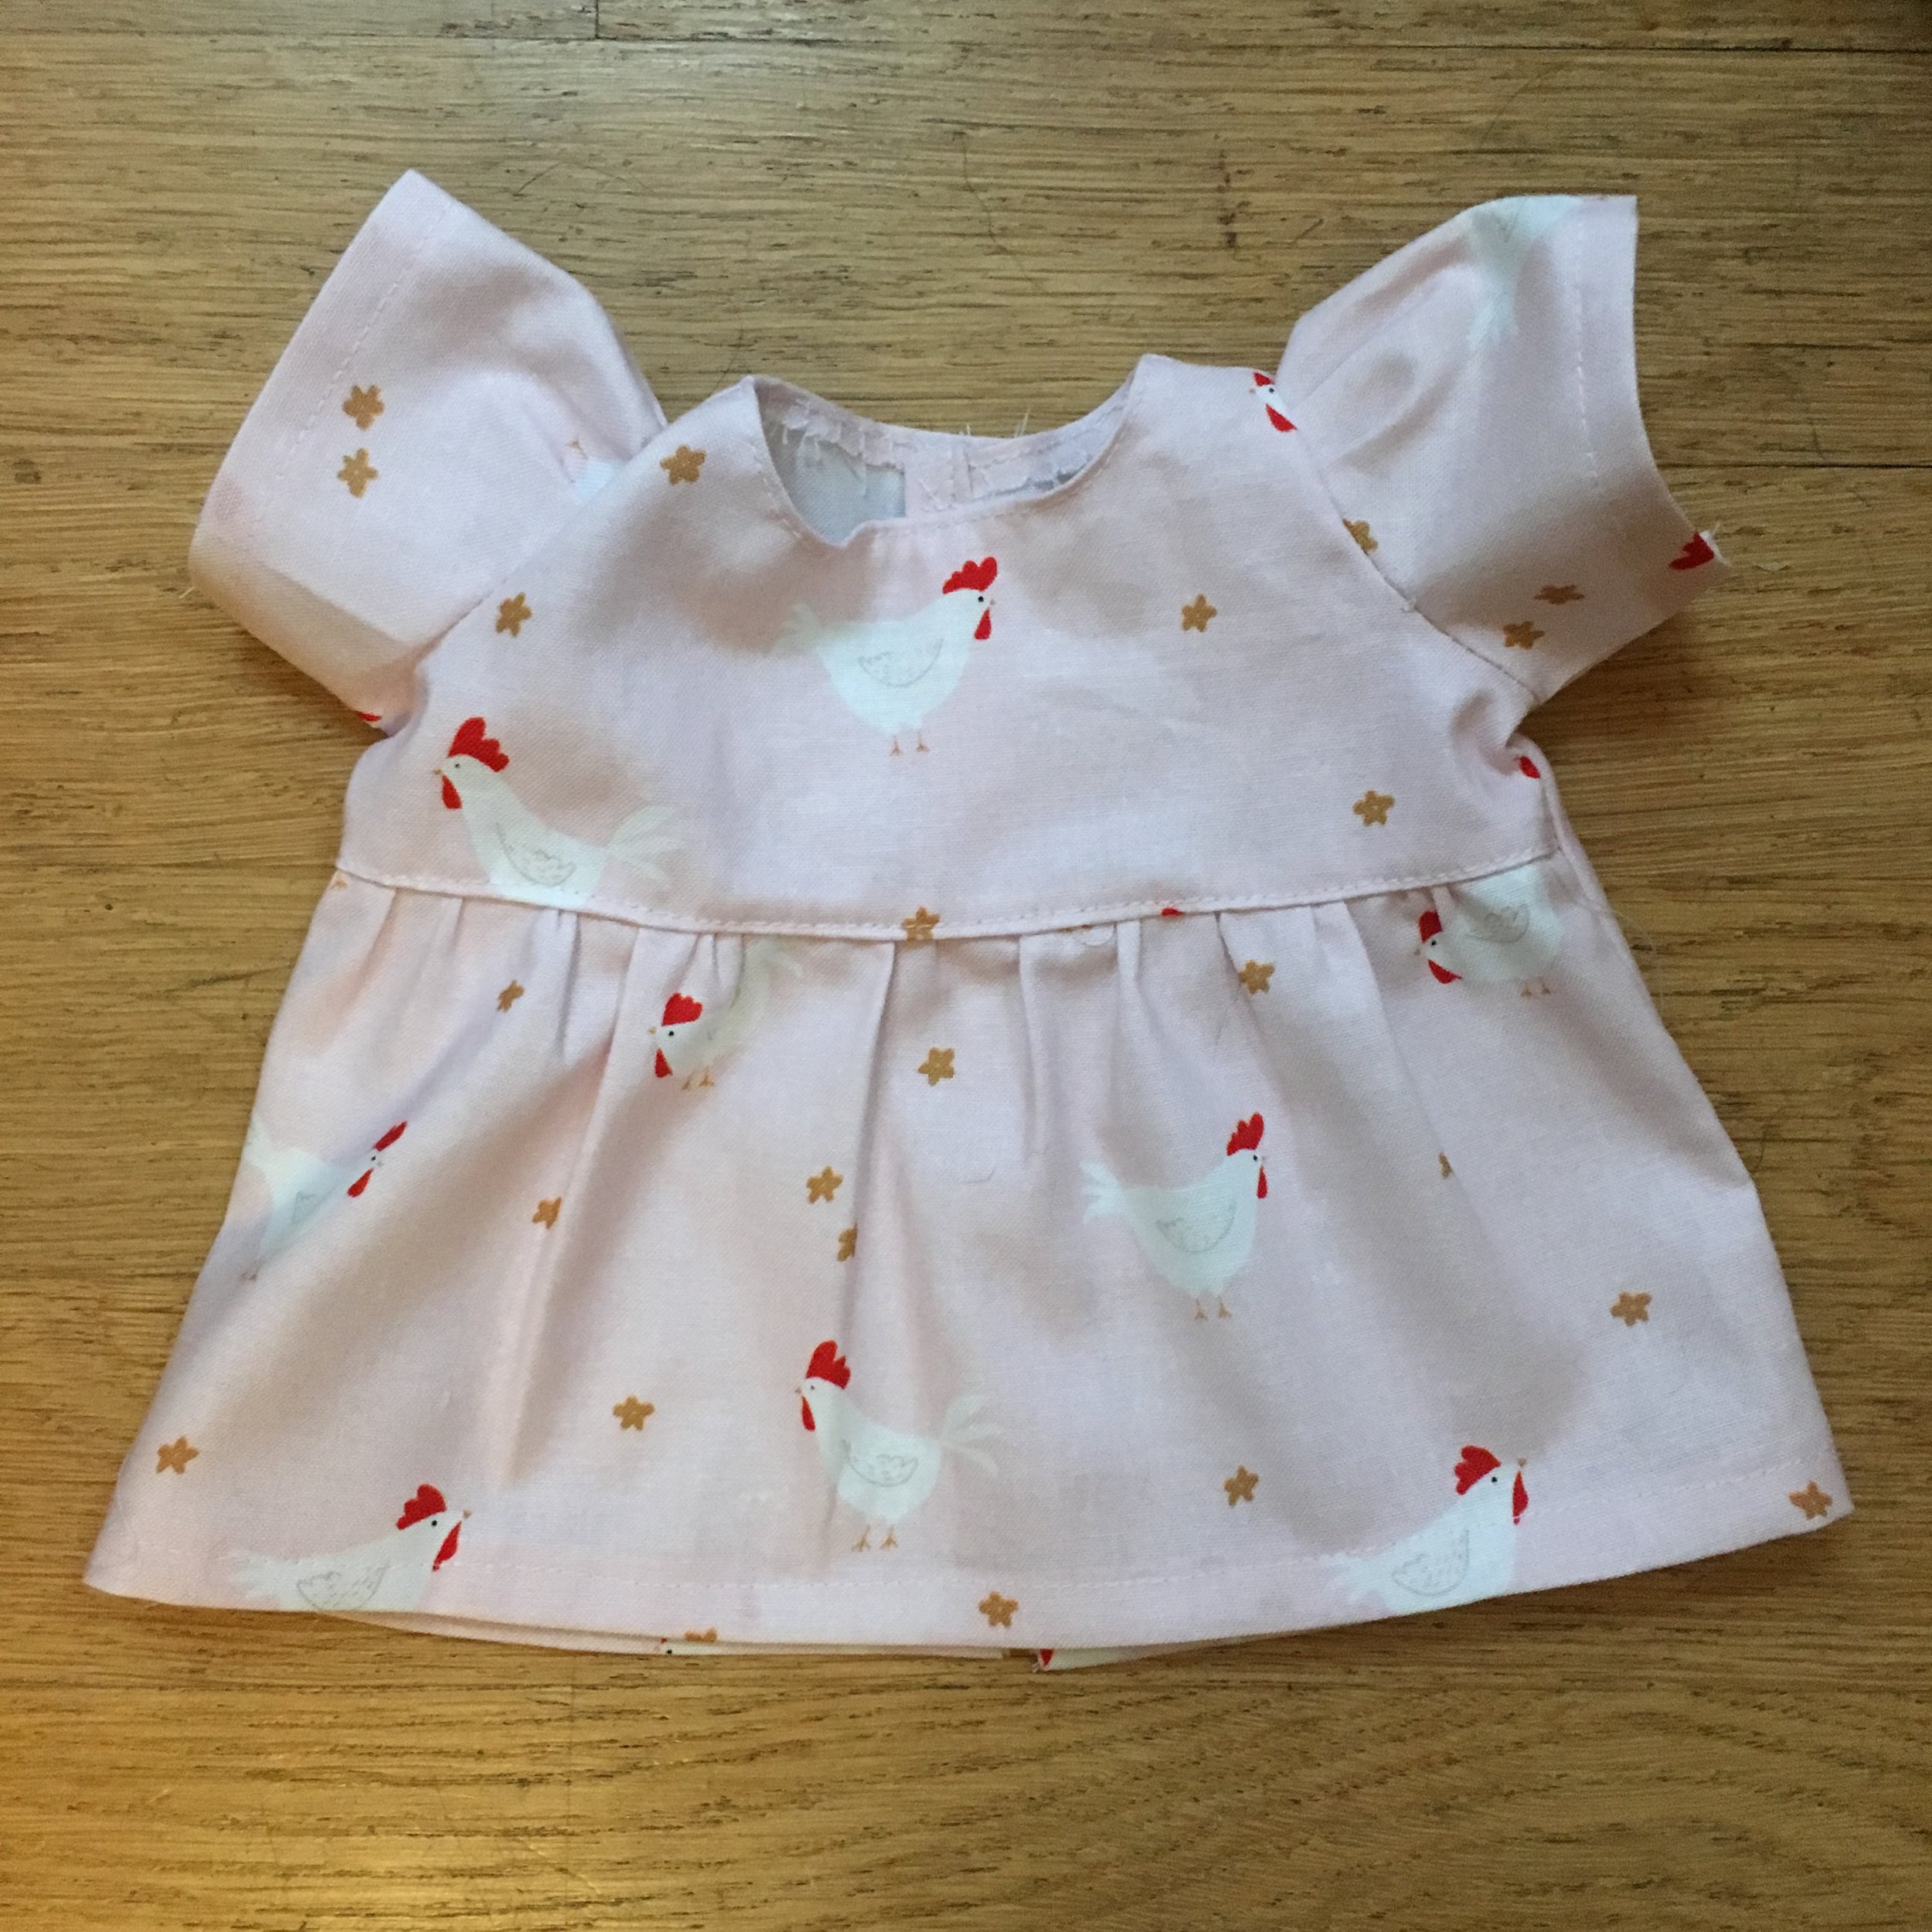
All done! Great job! Hope your Bamboletta Baby loves her new dress.
Click on this link to download a PDF of the free Bamboletta Baby Doll Dress Pattern.
NOTE: This pattern is for individual use only. Feel free to sell dresses you make at small craft fairs. Doll clothes made with this pattern are NOT for commercial use nor for sale on sites like Etsy.com without my permission. Please do NOT copy and SELL this pattern but feel free to share it with your doll friends. Thanks.
This dress has a ribbon sewn on the edge of the bodice. If you wish to do this, sew on the ribbon before sewing the side seams of the dress.
Notice: This blog is not monetized: I do not use affiliate links. When there are links in a post, they are to give credit to another creative person, because I like or have used a product, or to help the reader easily find supplies for a project.
