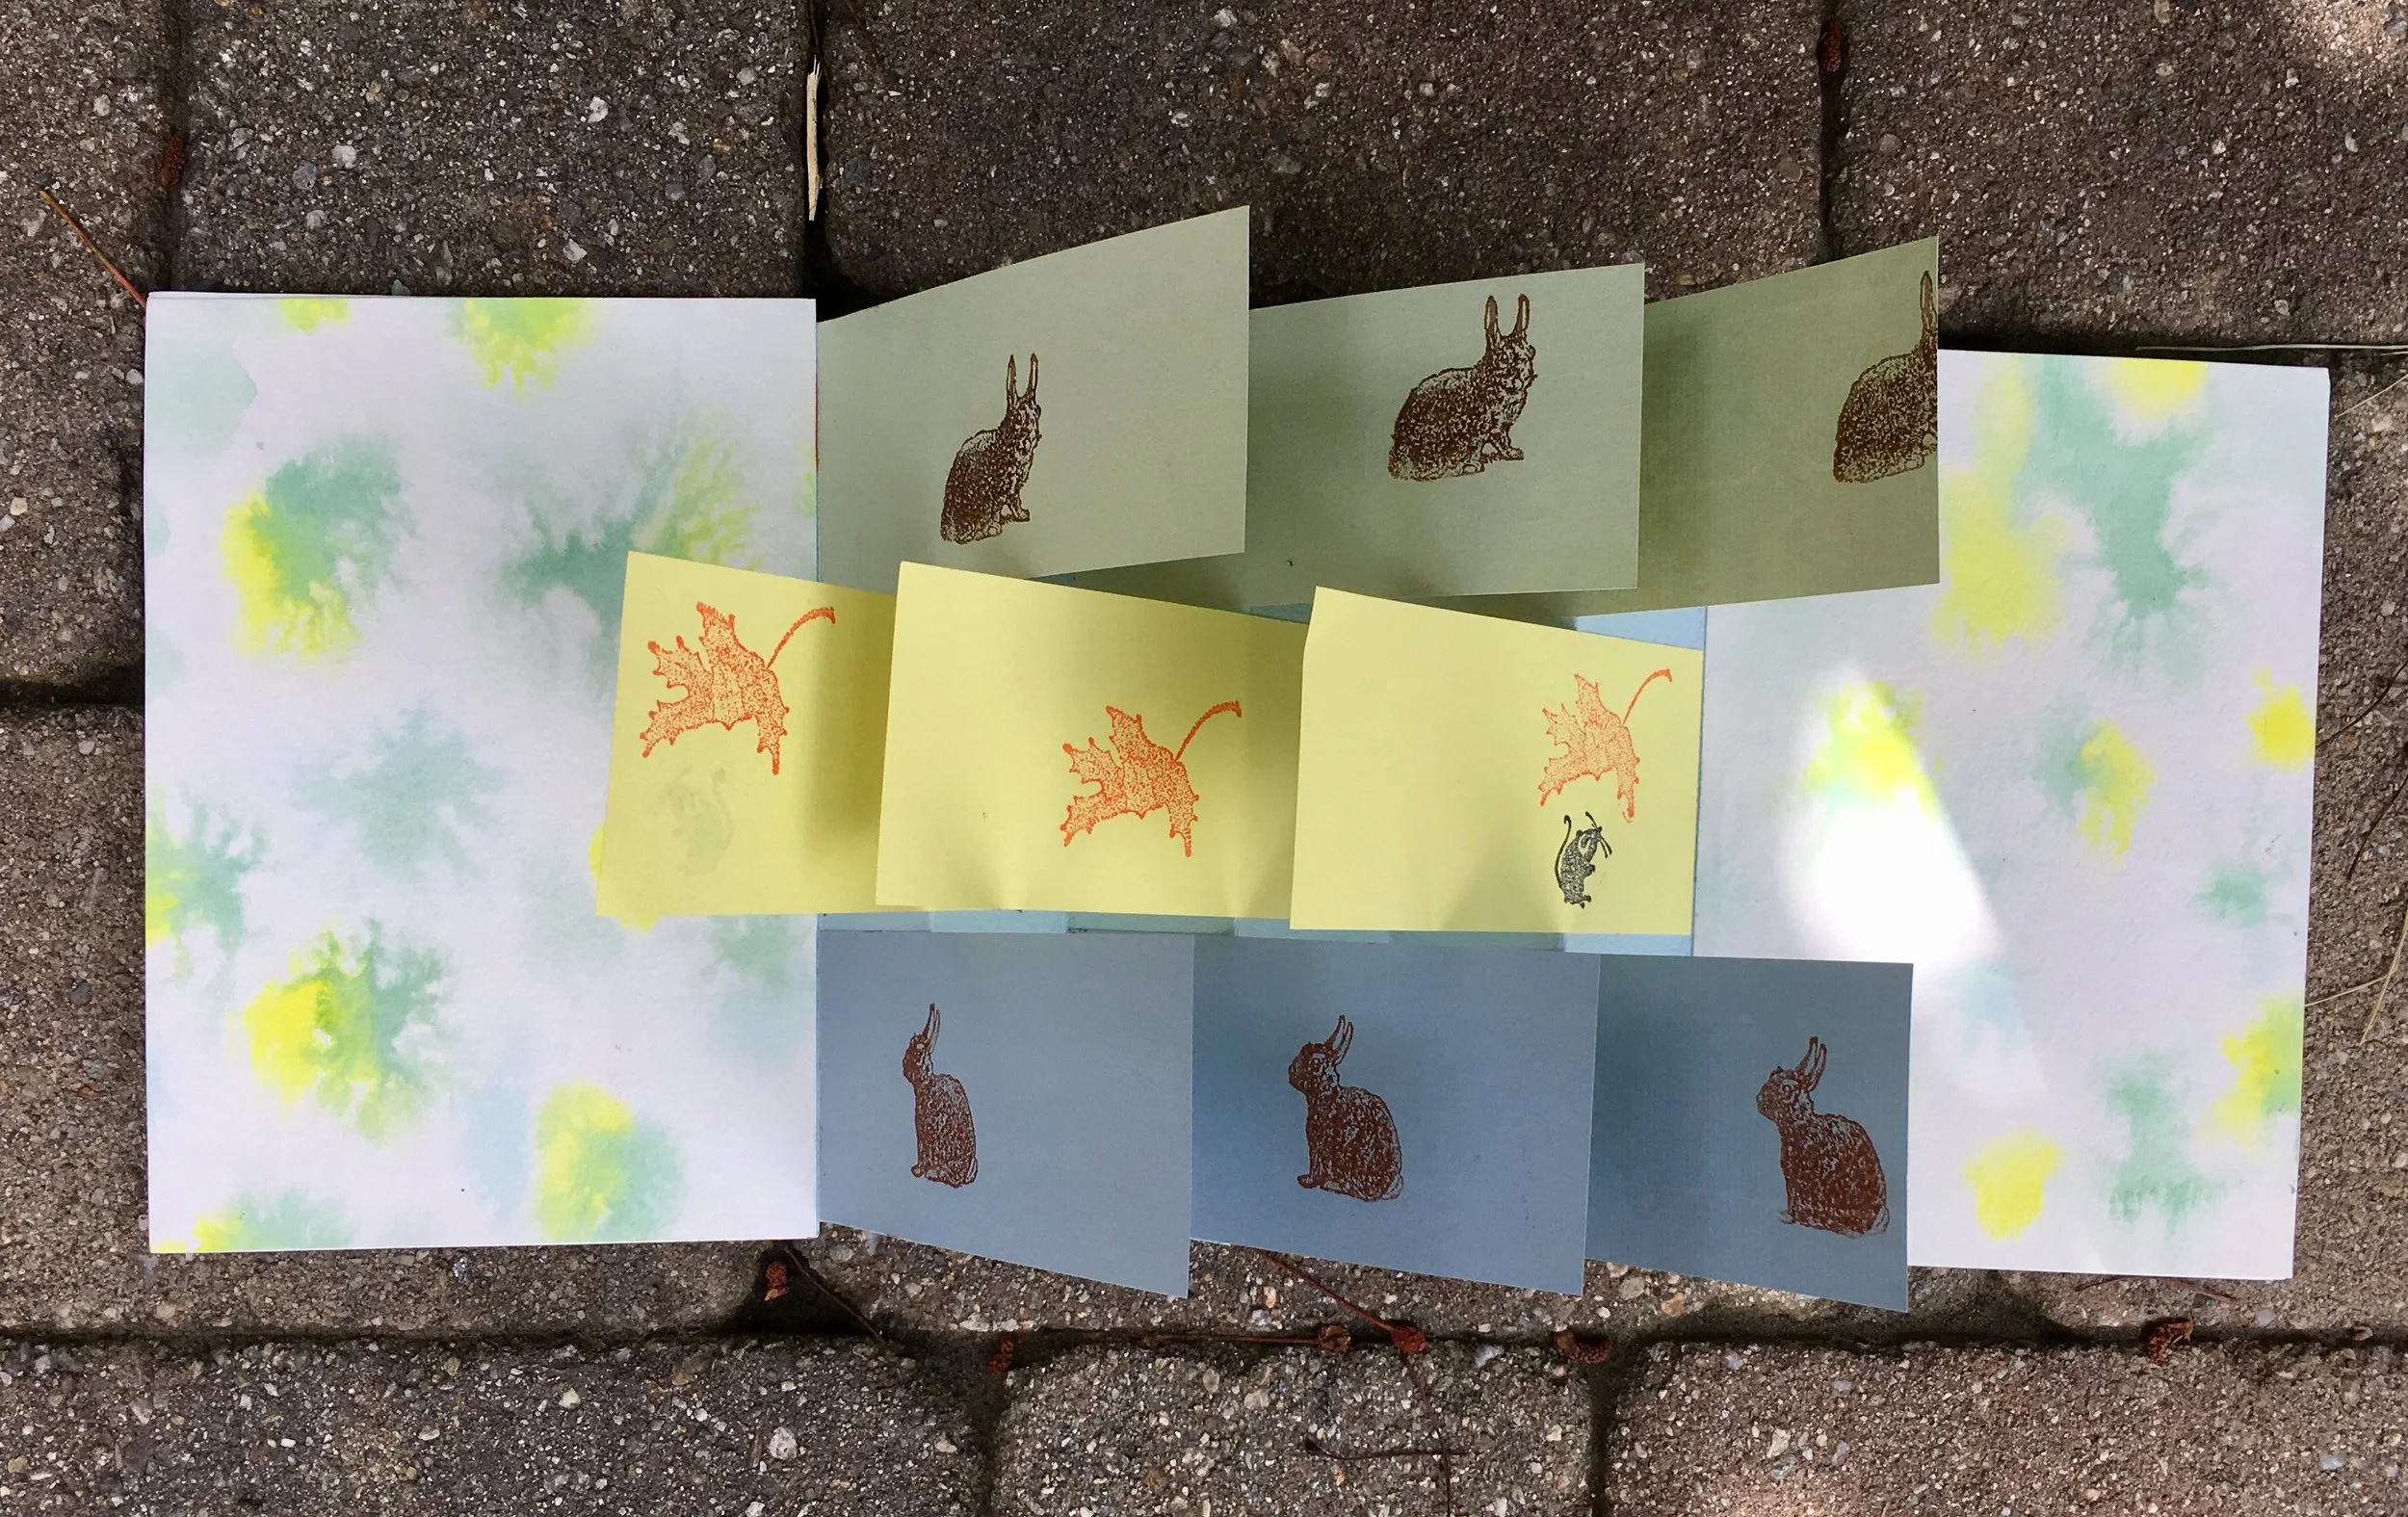
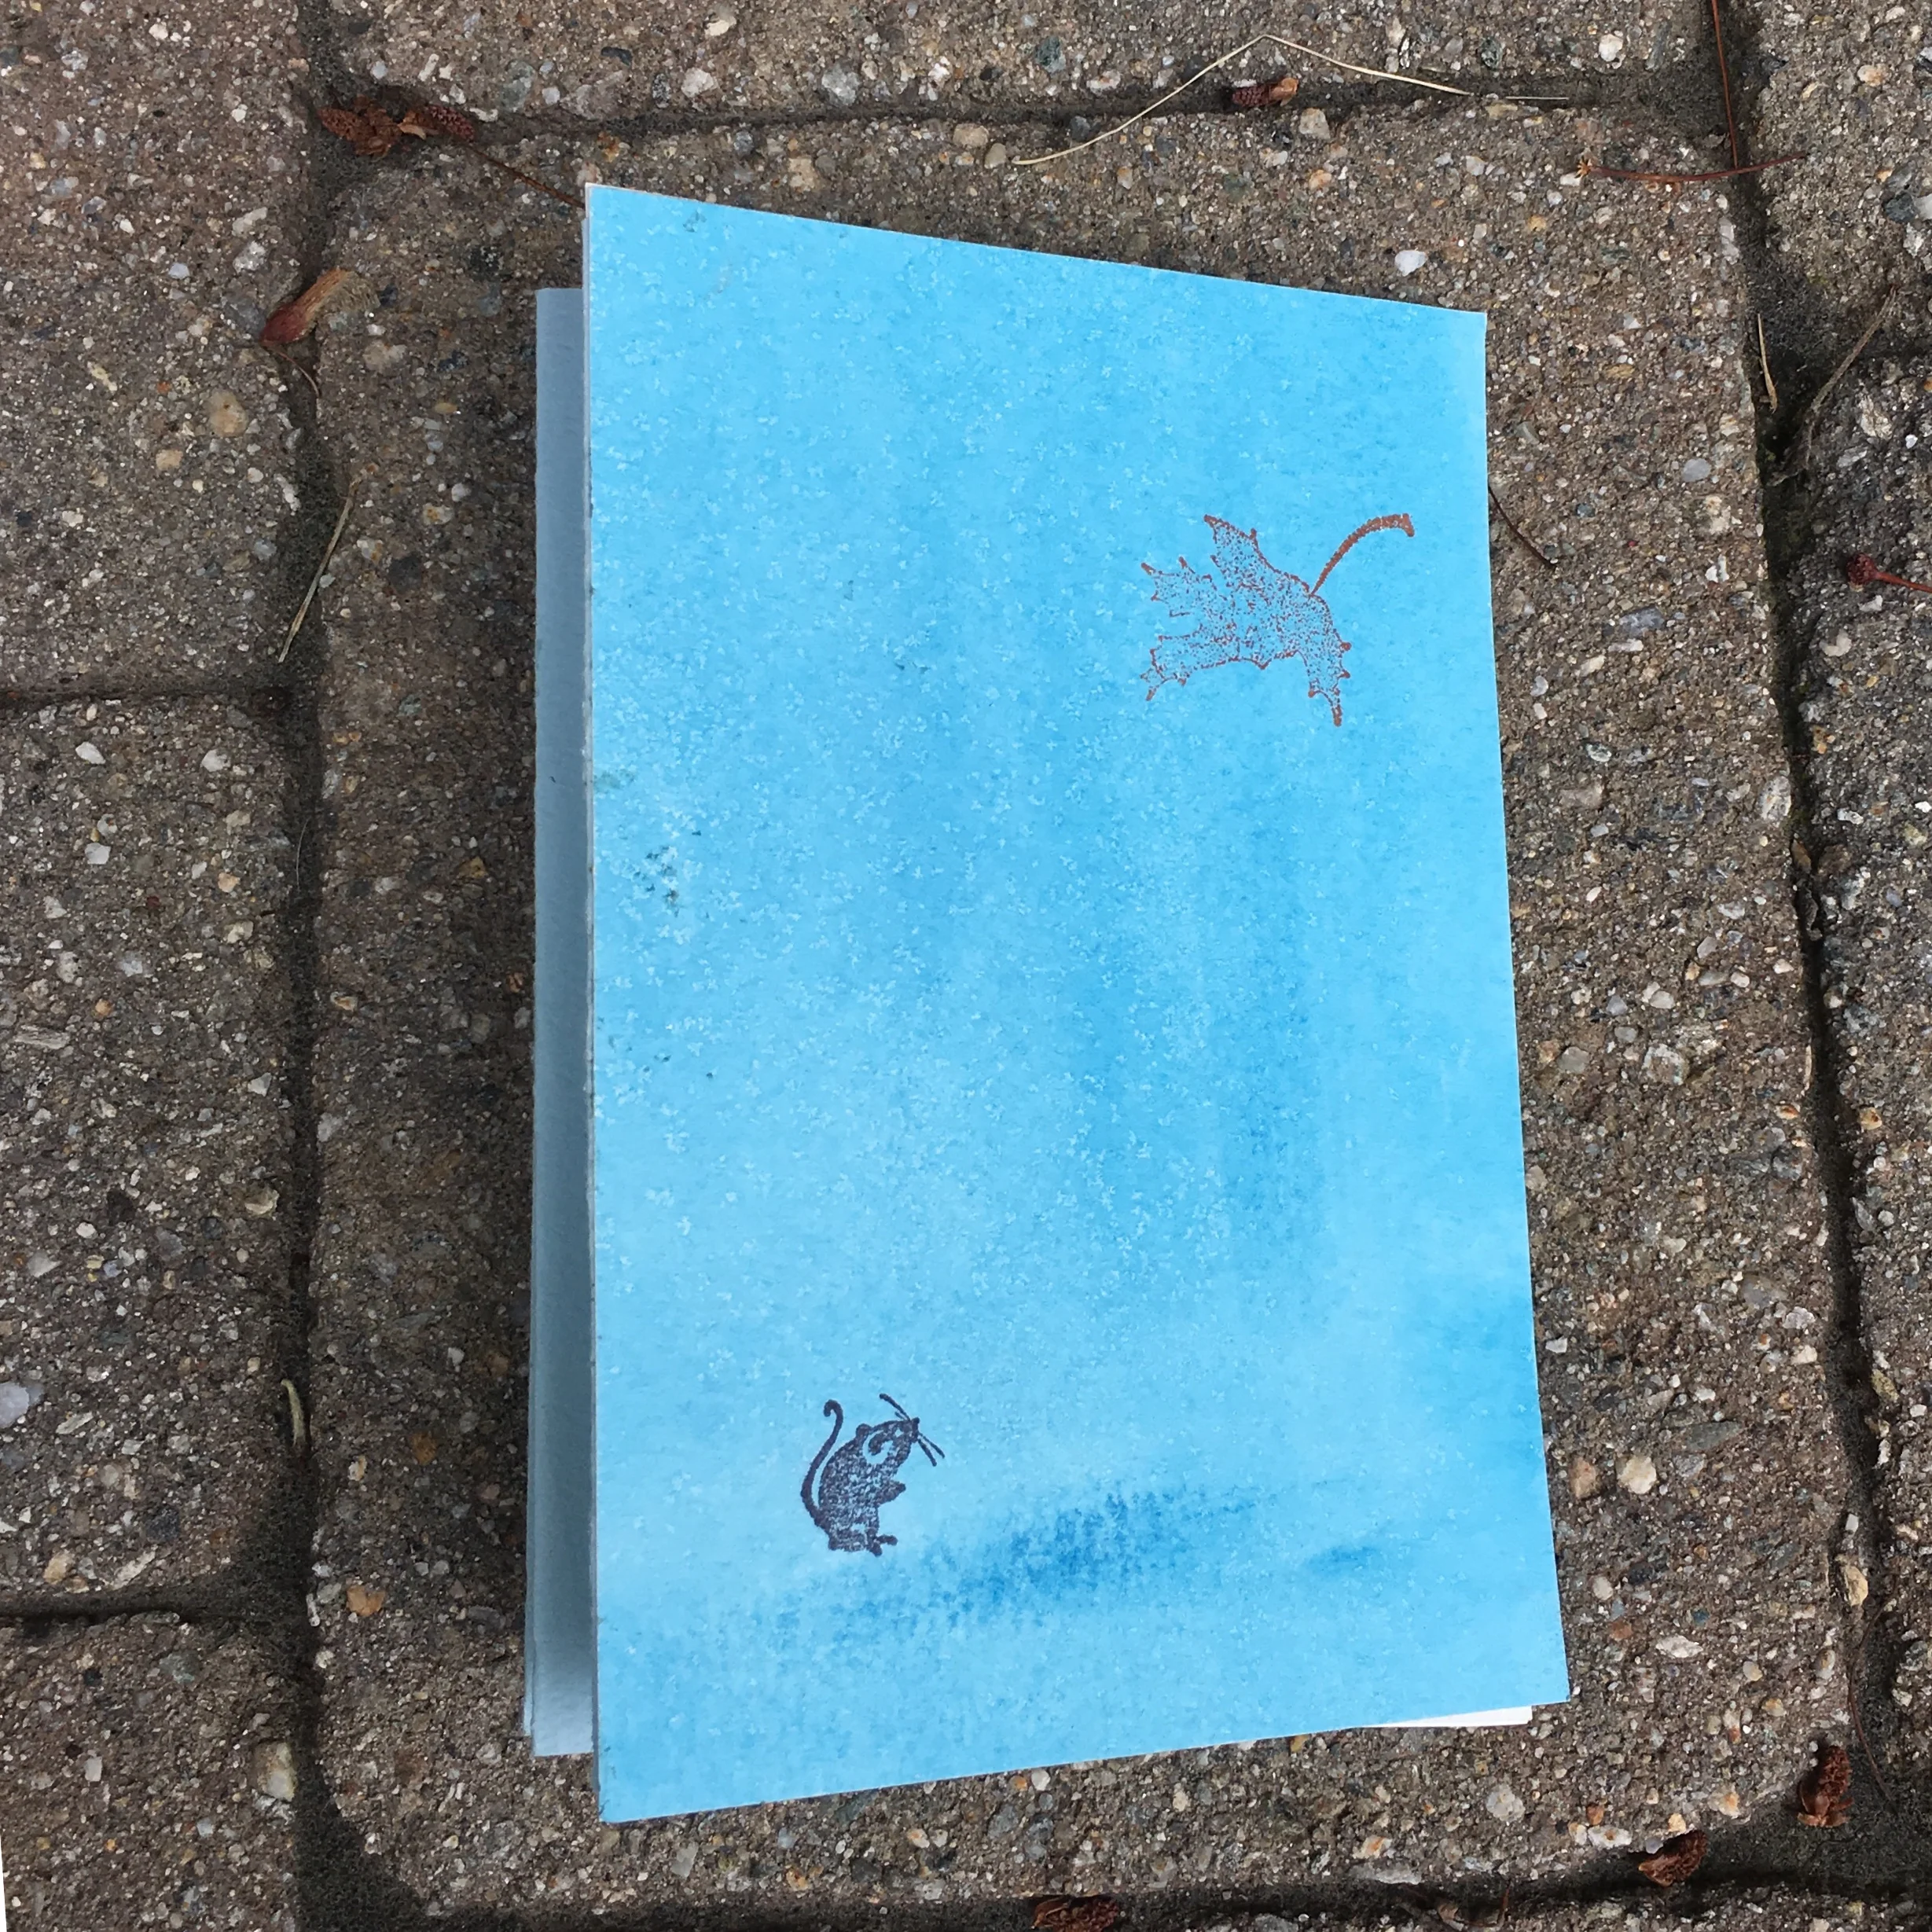
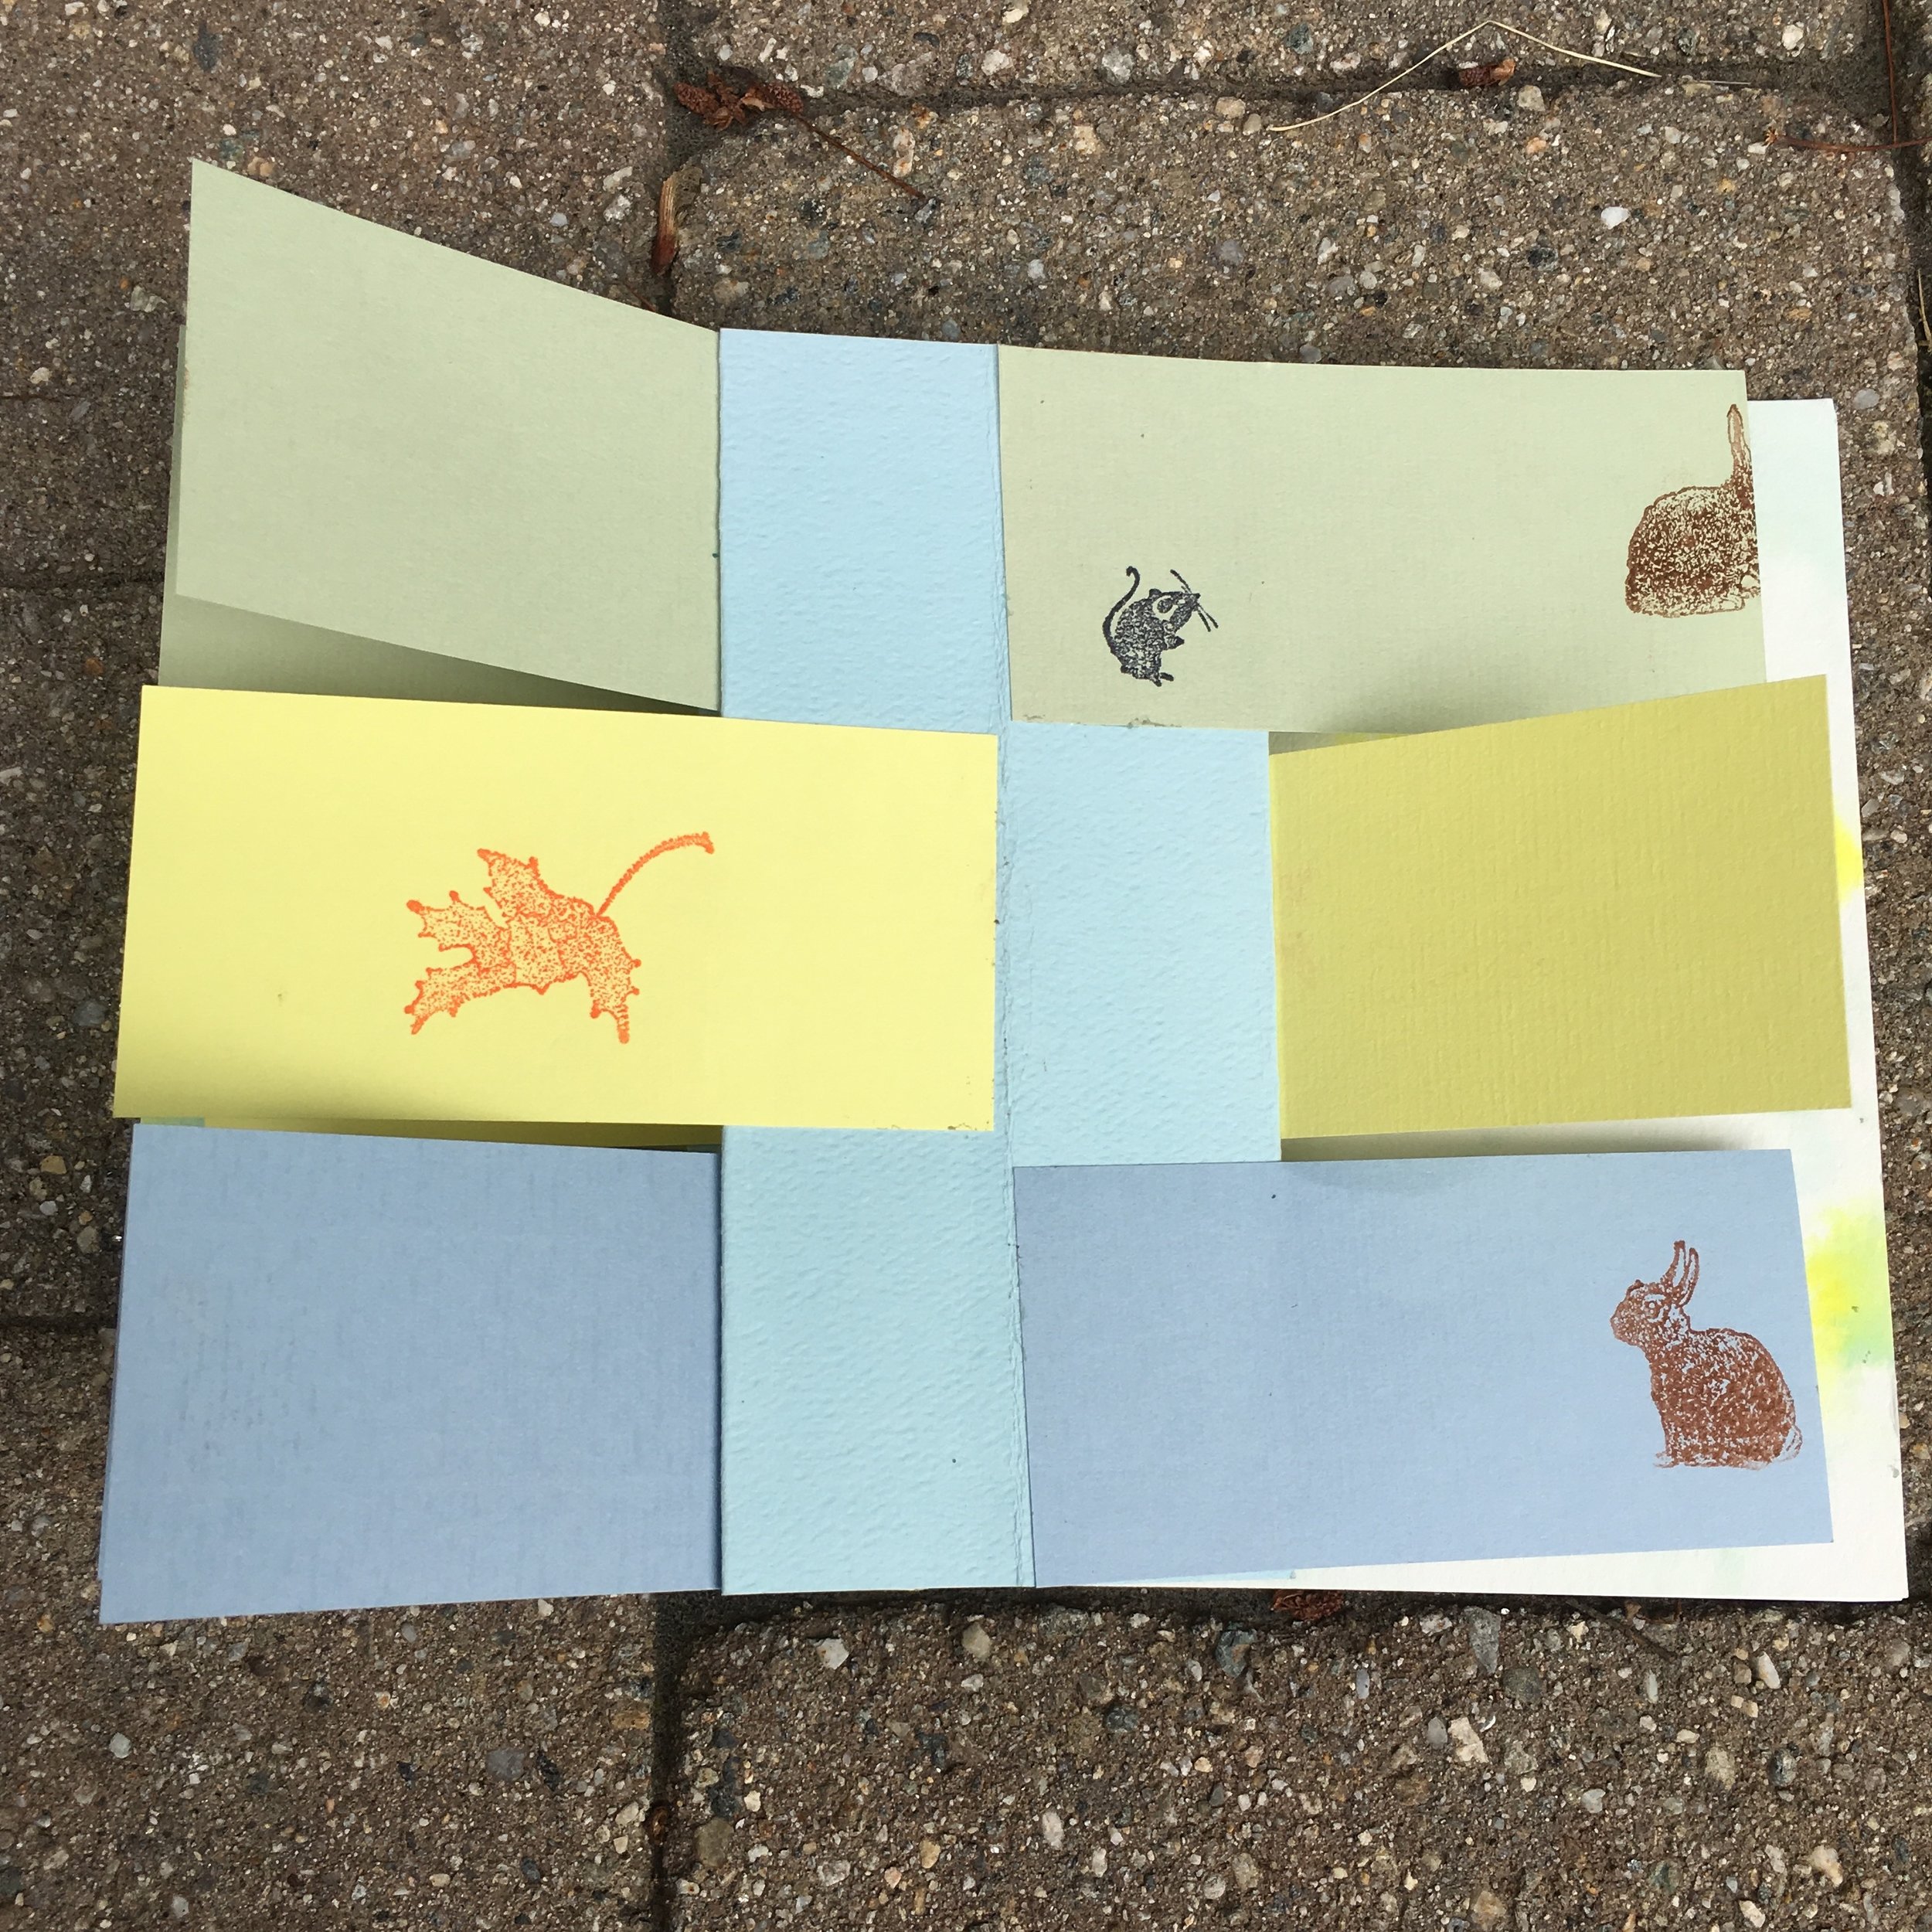
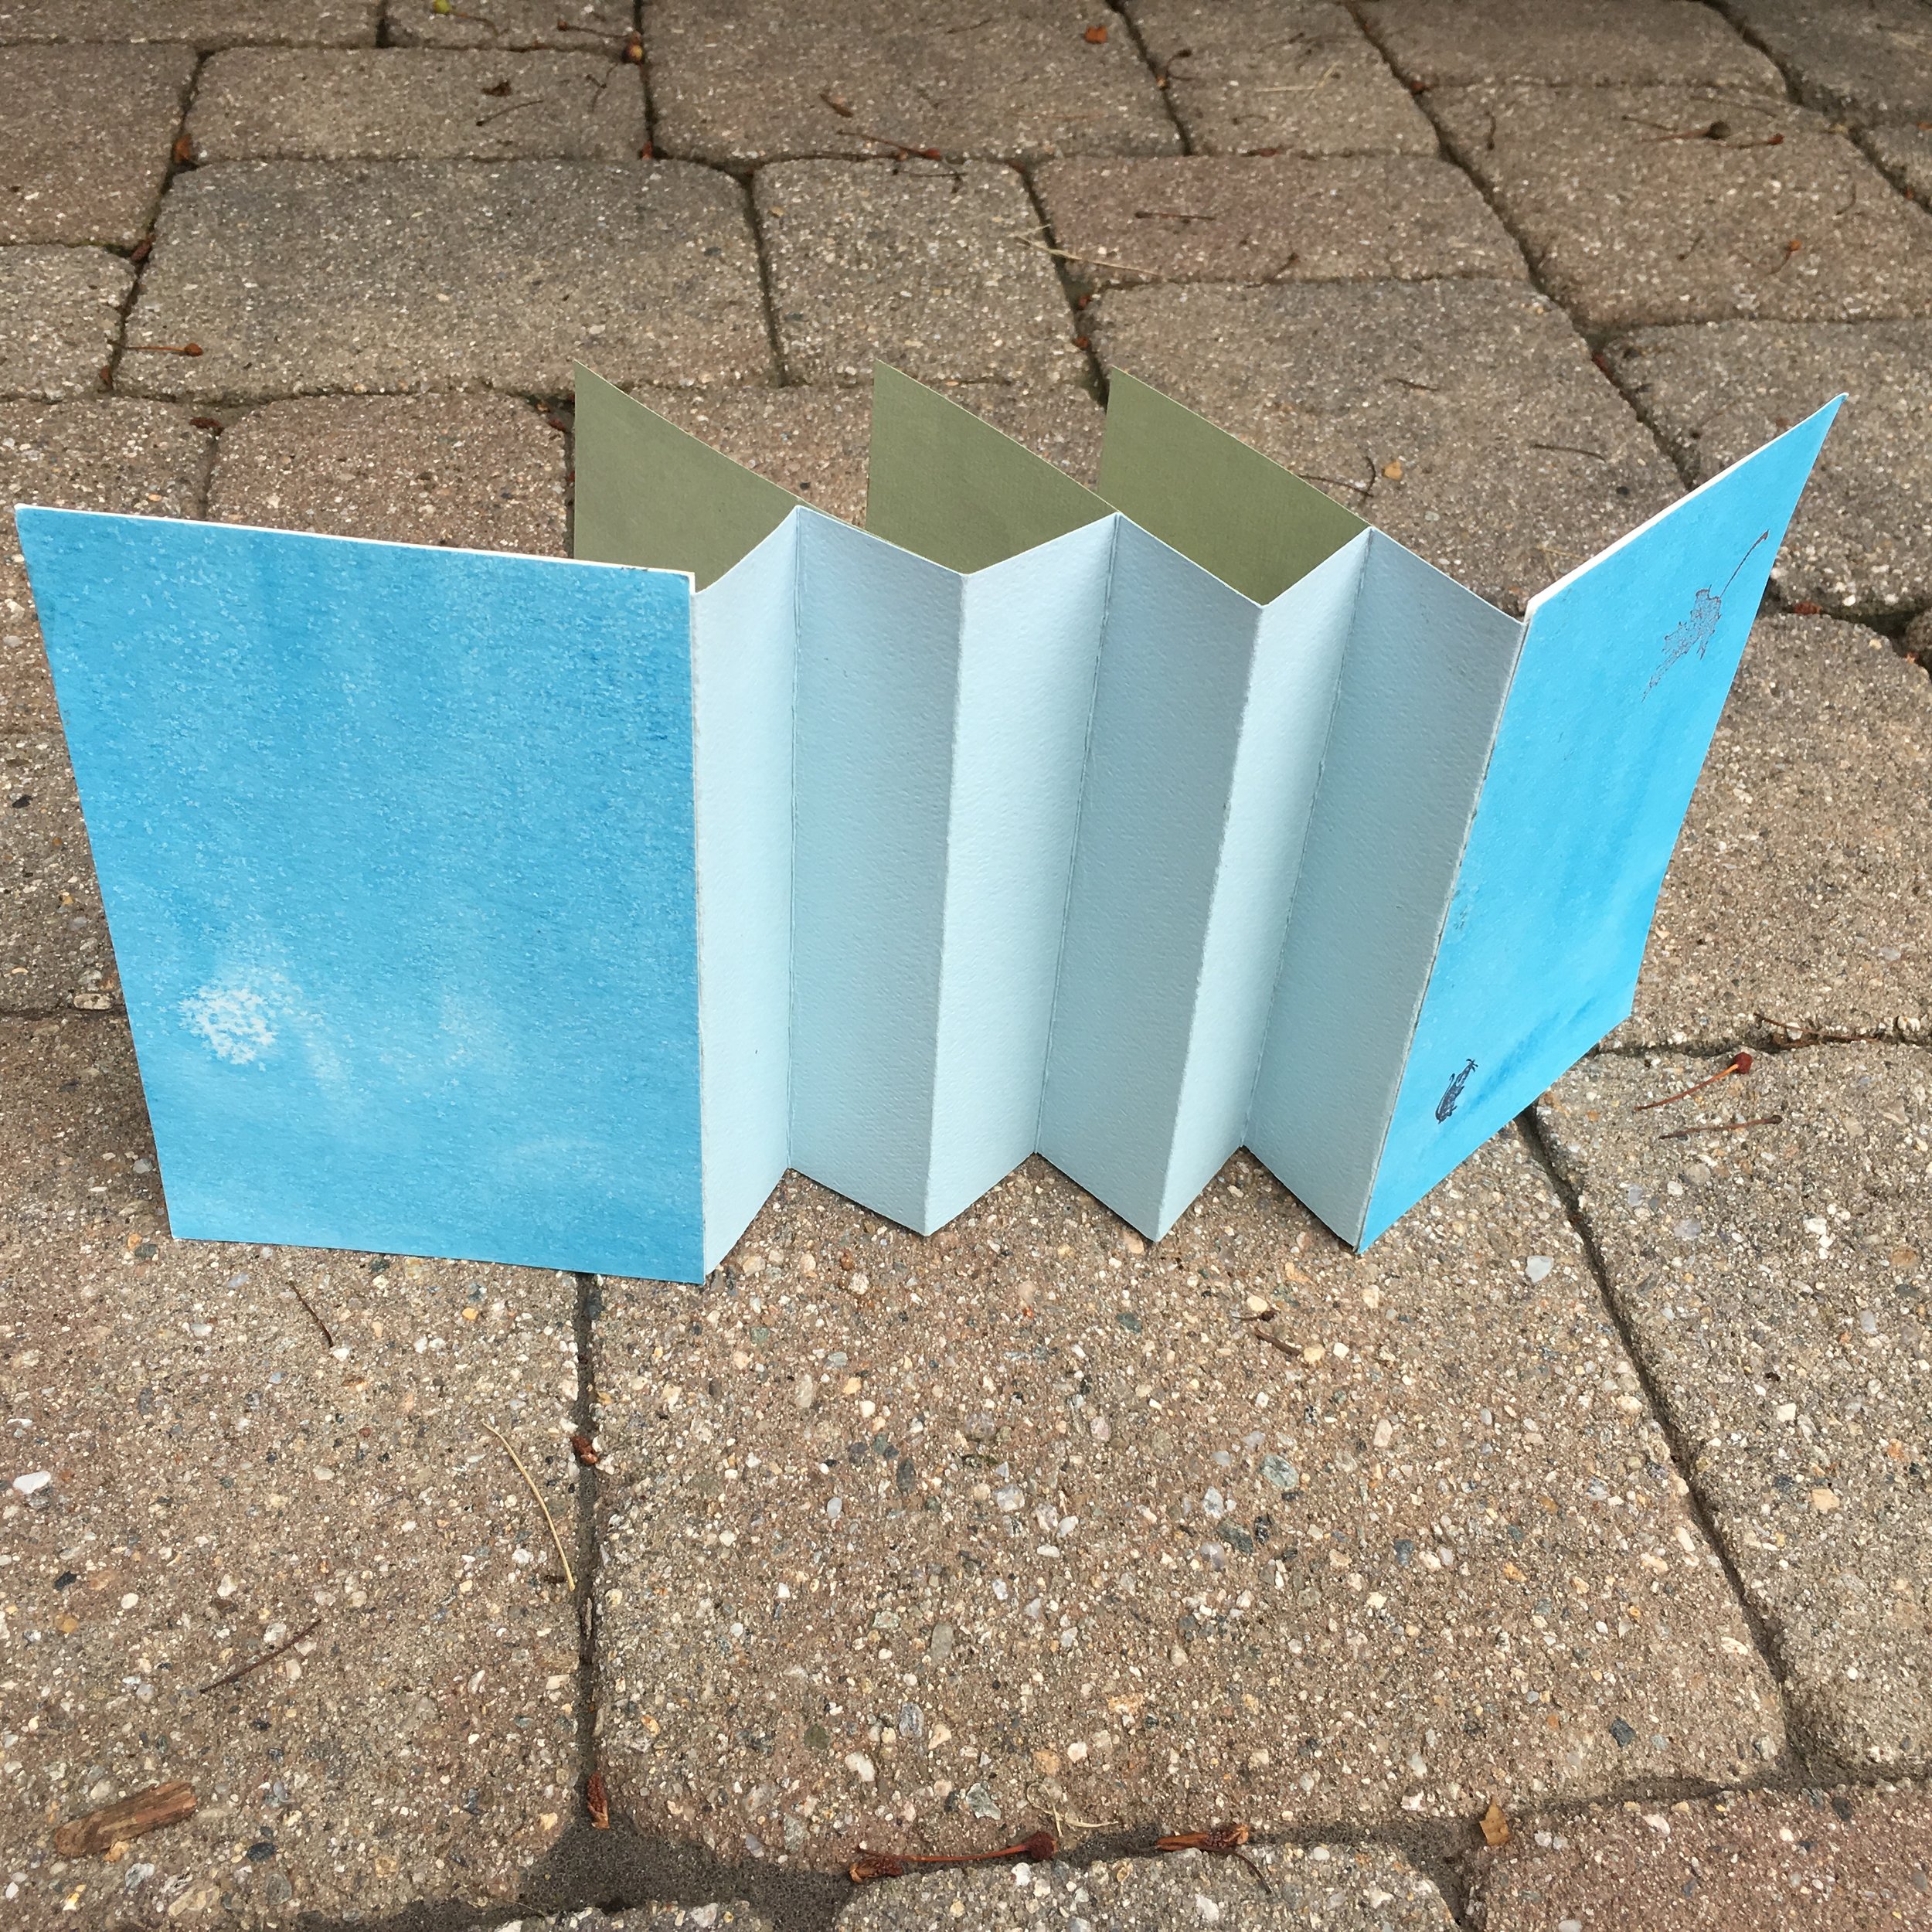
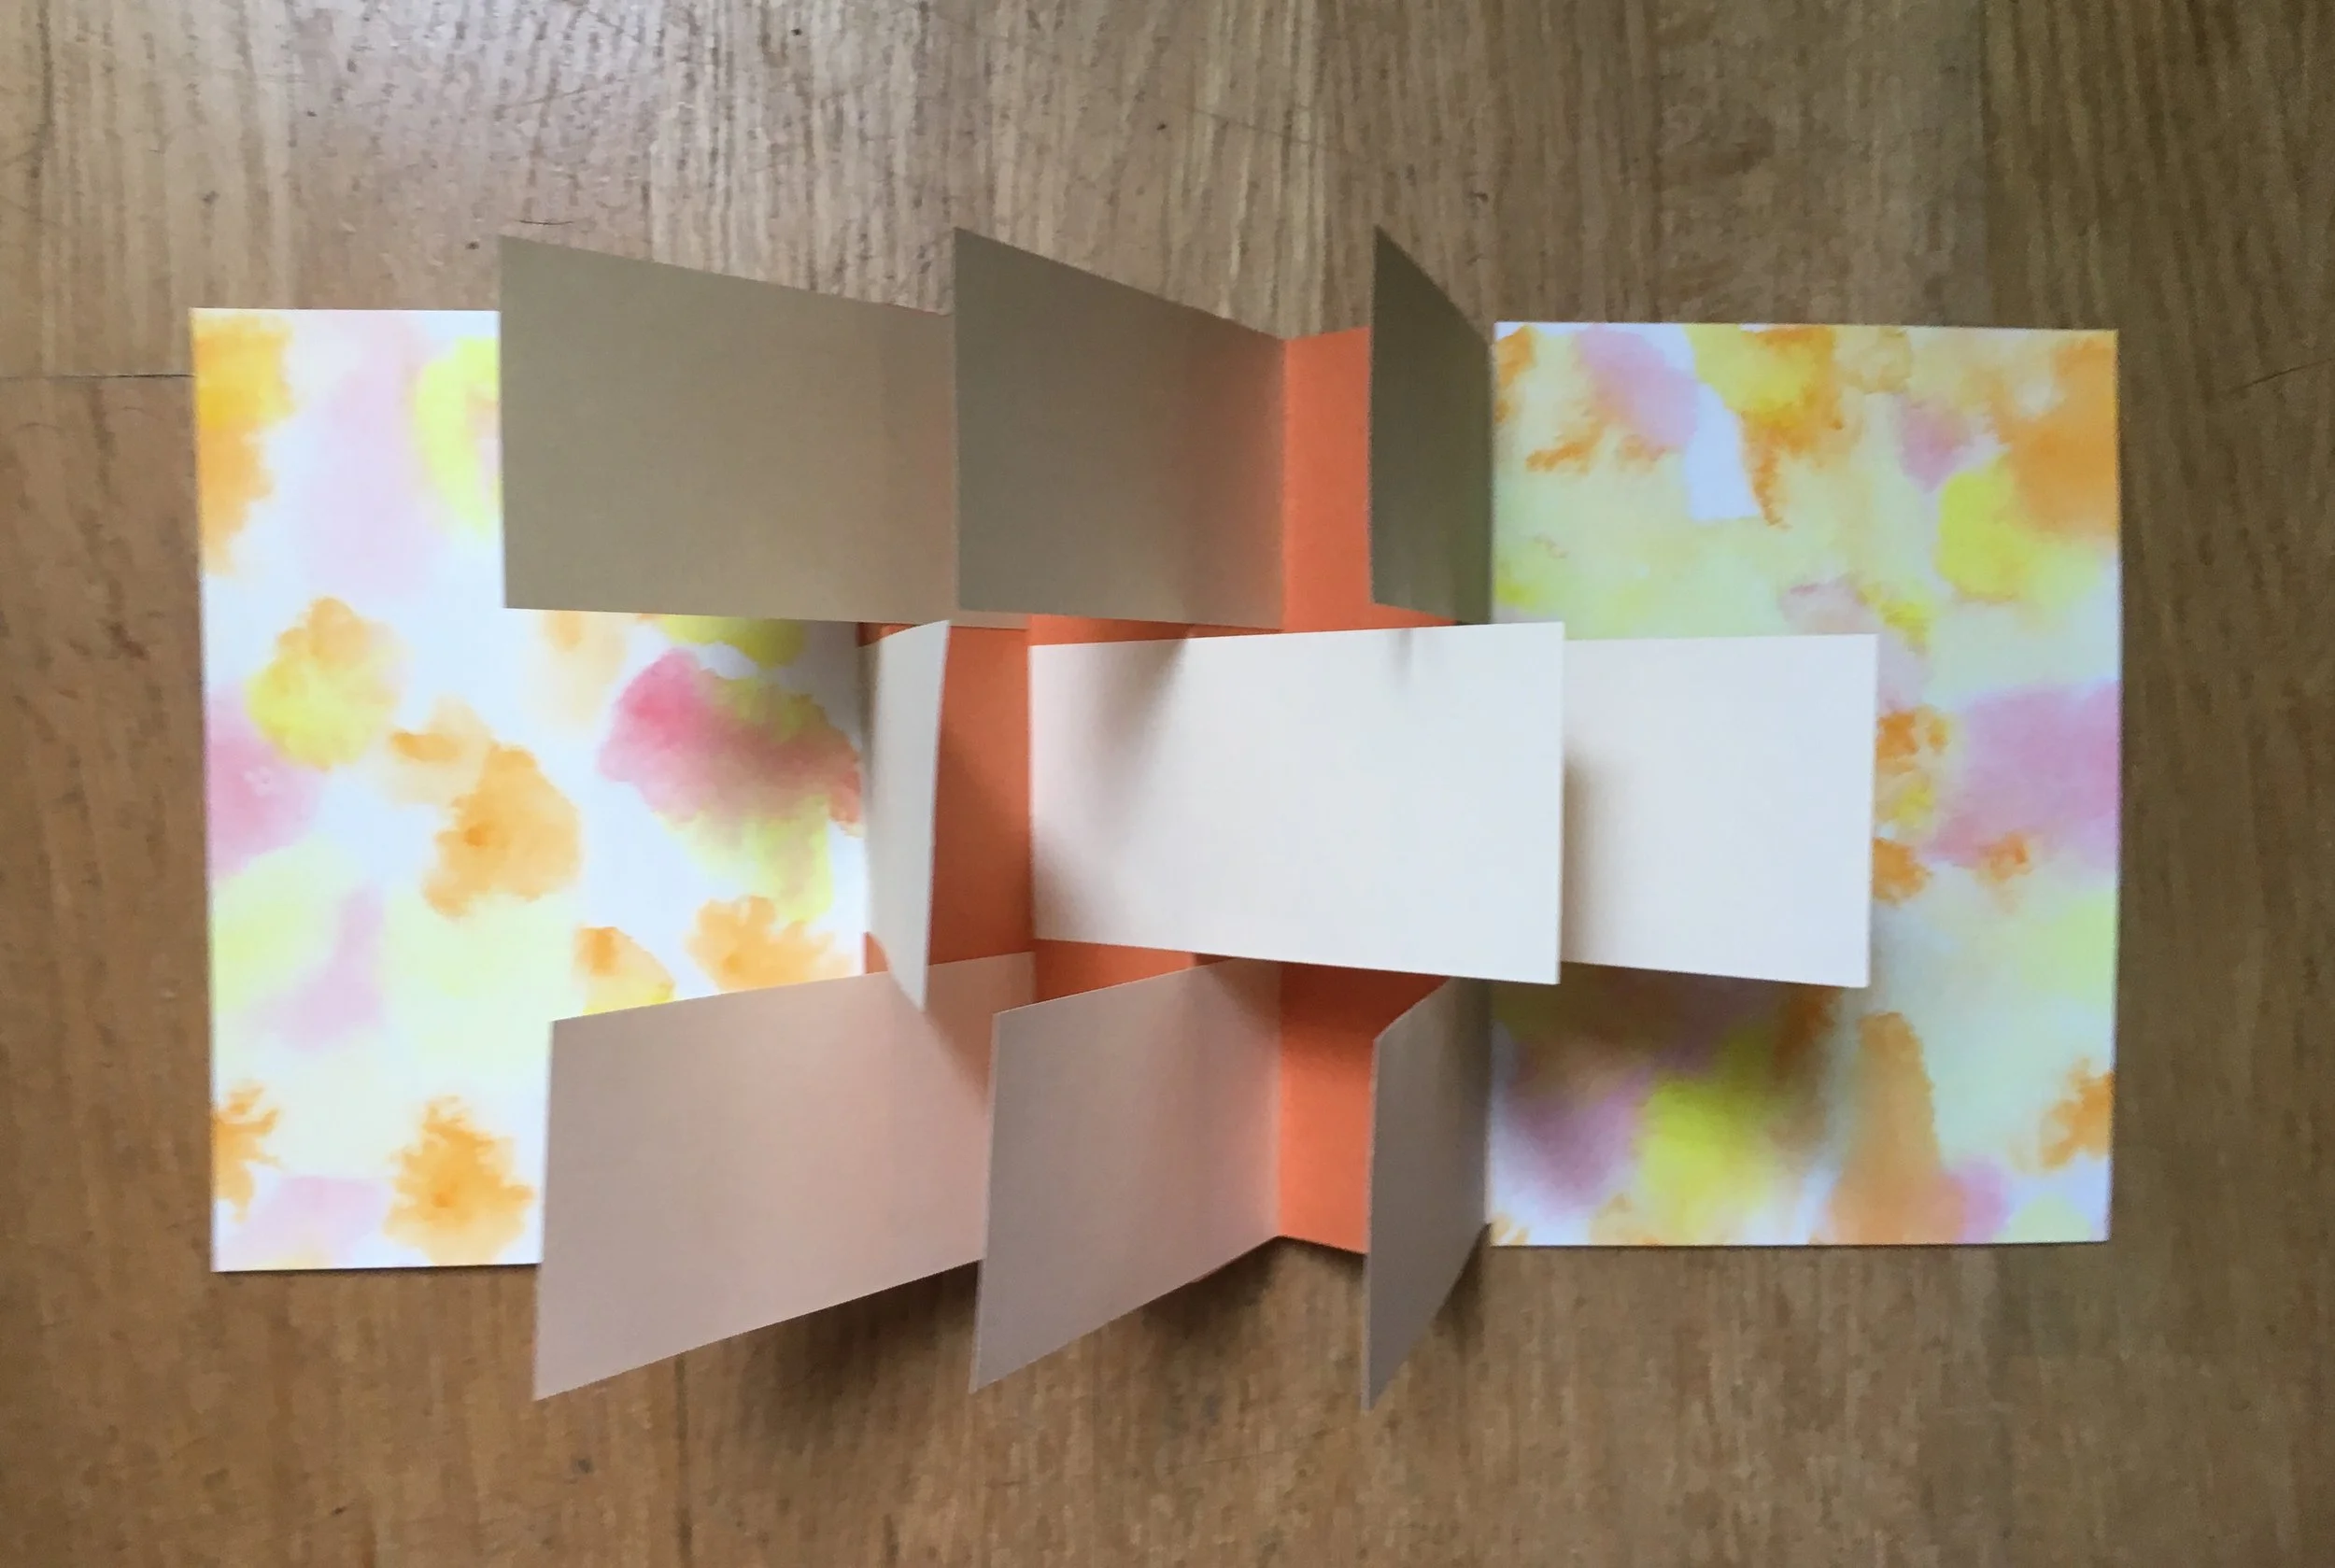
Three page flag book with soft covers
While the appliance repairman was working on my washing machine the other day, I picked up my copy of the beautiful book, The Art of the Fold - How to Make Innovative Books and Paper Structures by Hedi Kyle and Ulla Warchol. The flag book chapter caught my eye. Making a flag book has been on my project bucket list for a while. The instructions in the book are excellent. I also googled some sources online and I watched the flag book segment of Faith Hale’s “innovative Book Structures” on Creativebug.com. Faith’s demonstration is excellent and definitely worth watching.
I used the book dimensions from Faith’s video but ended up modifying the flag book to have just 3 pages ( 9 flags) and soft covers. If an adult pre-cut the paper (you really need to use a paper cutter), a child could happily fold and assemble this simplified three page flag book. The final size is 6 1/4 x 4 1/4 inches.
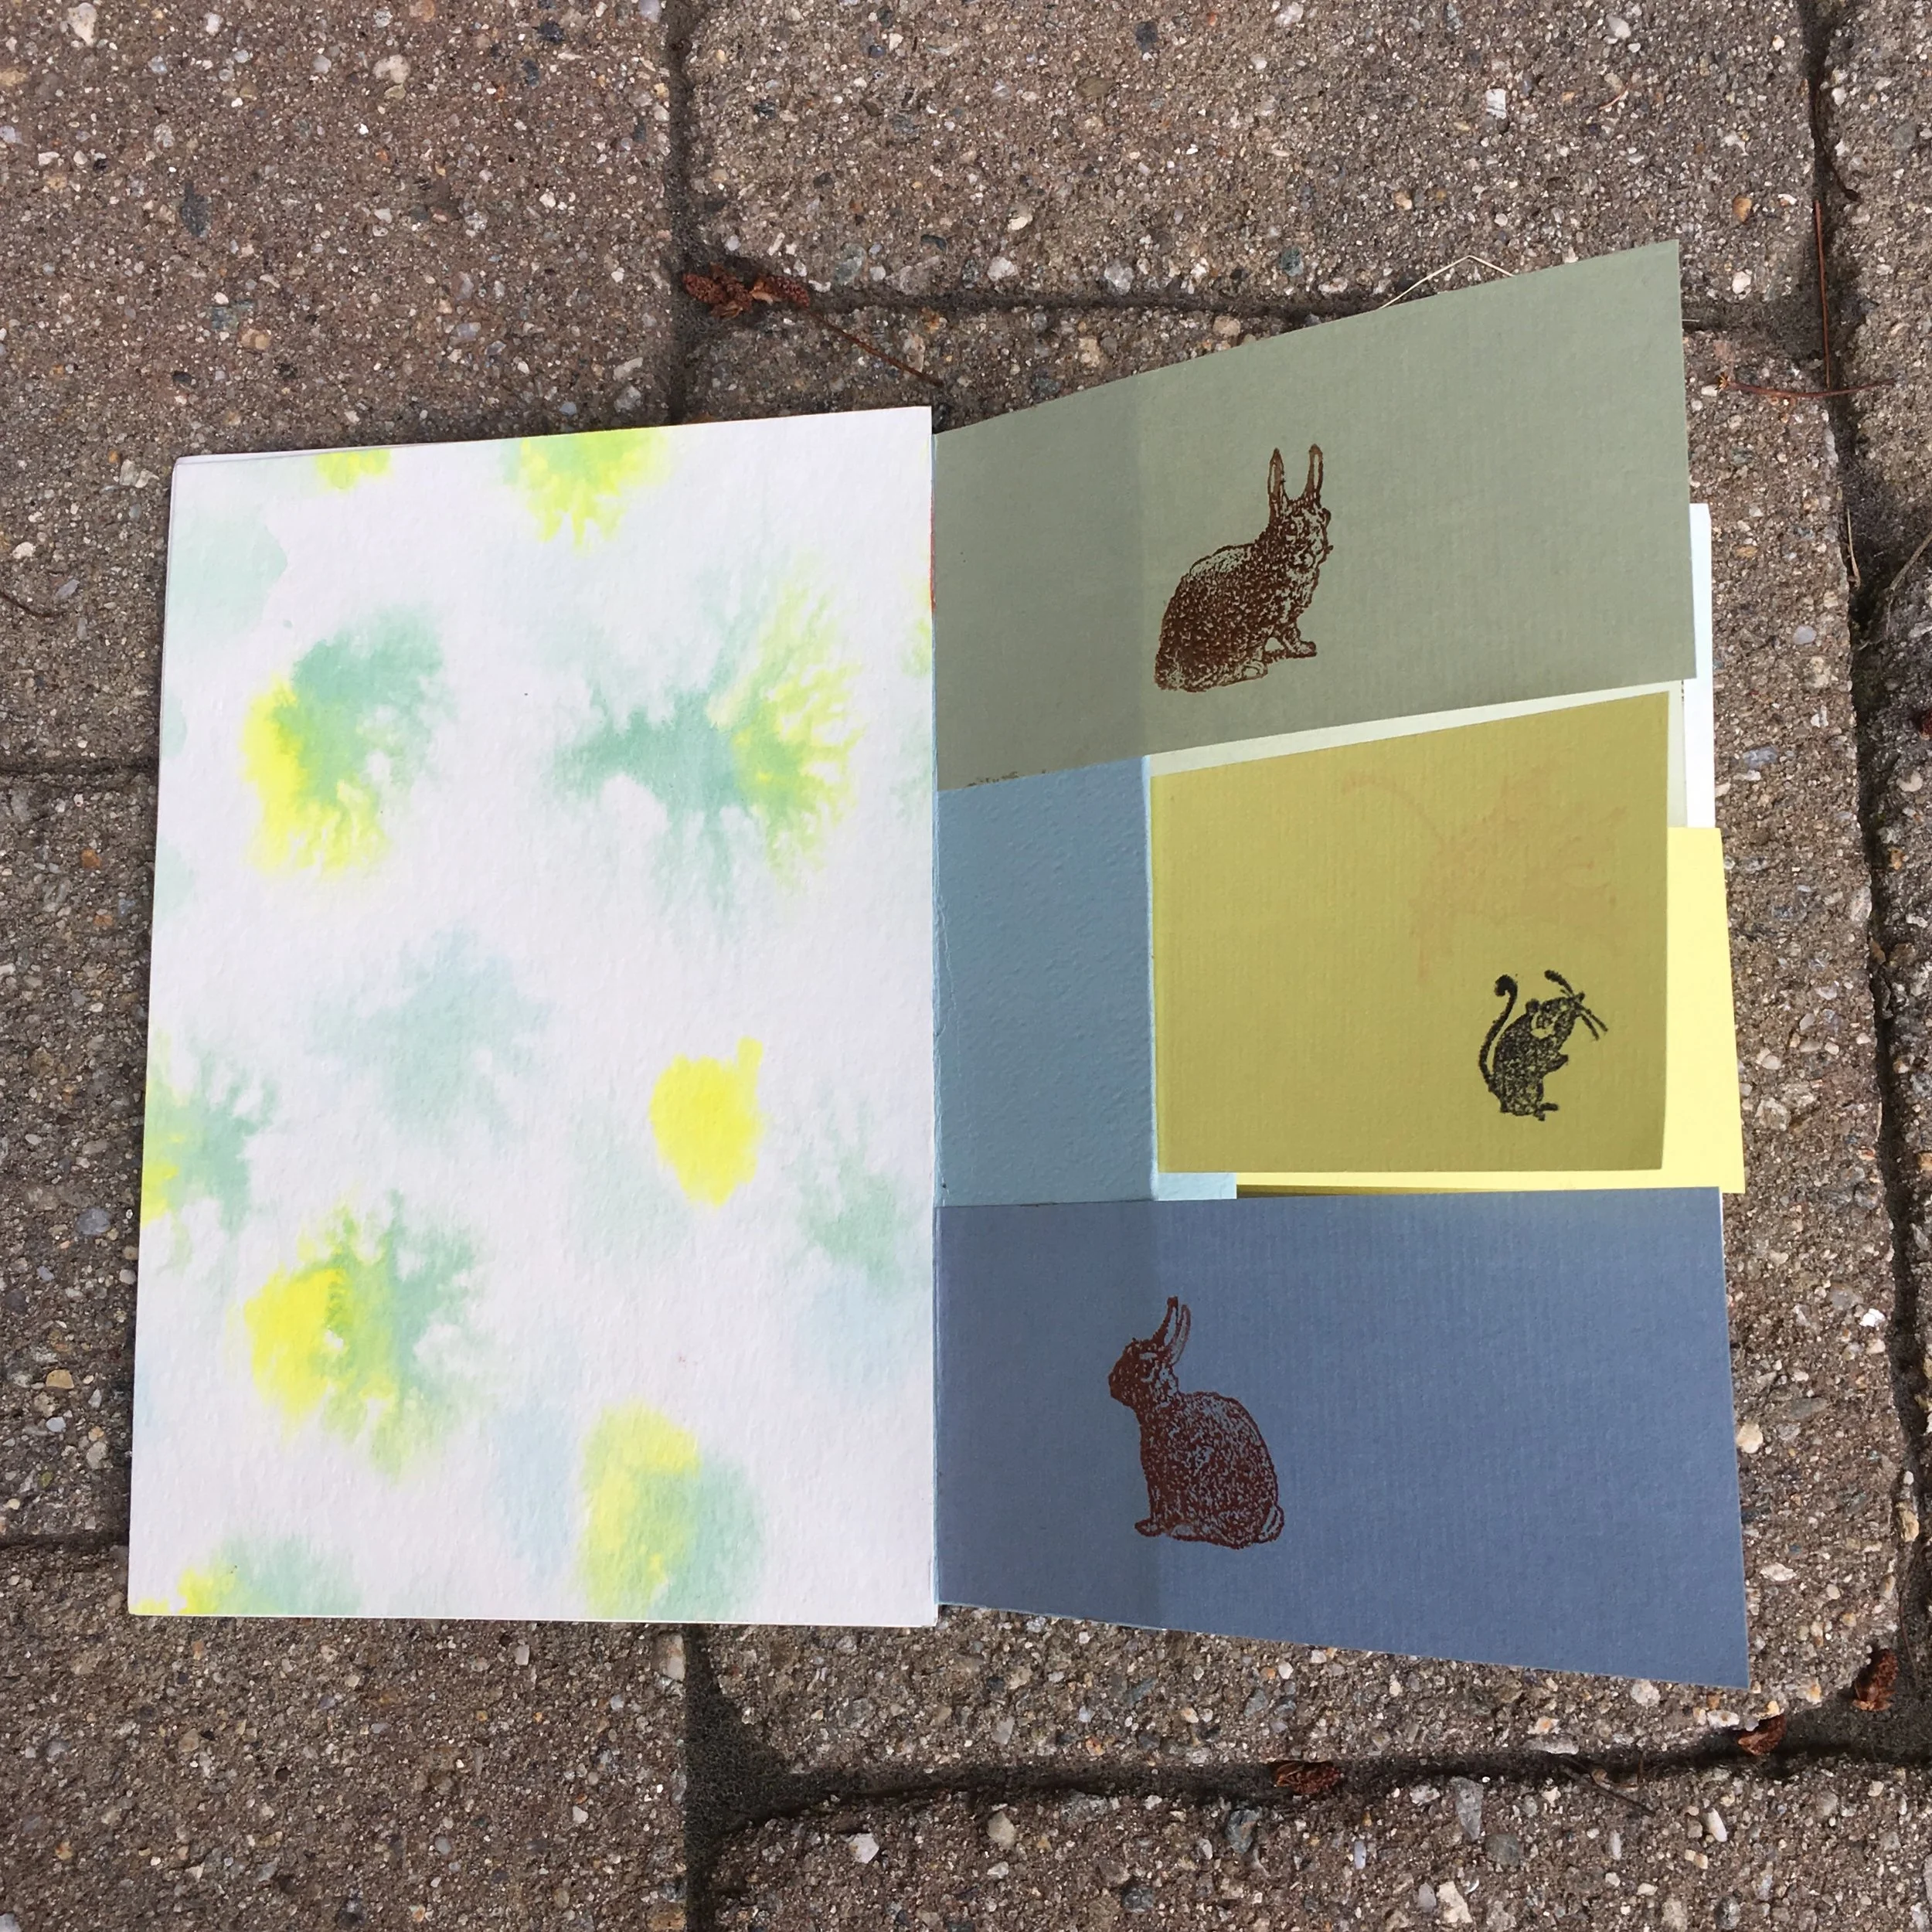
I used paper from a book of printer’s samples for the book’s pages and spine and water color paper for the covers. I used water colors treated with salt to decorate the covers and end pages. It’s so easy and really fun to make.
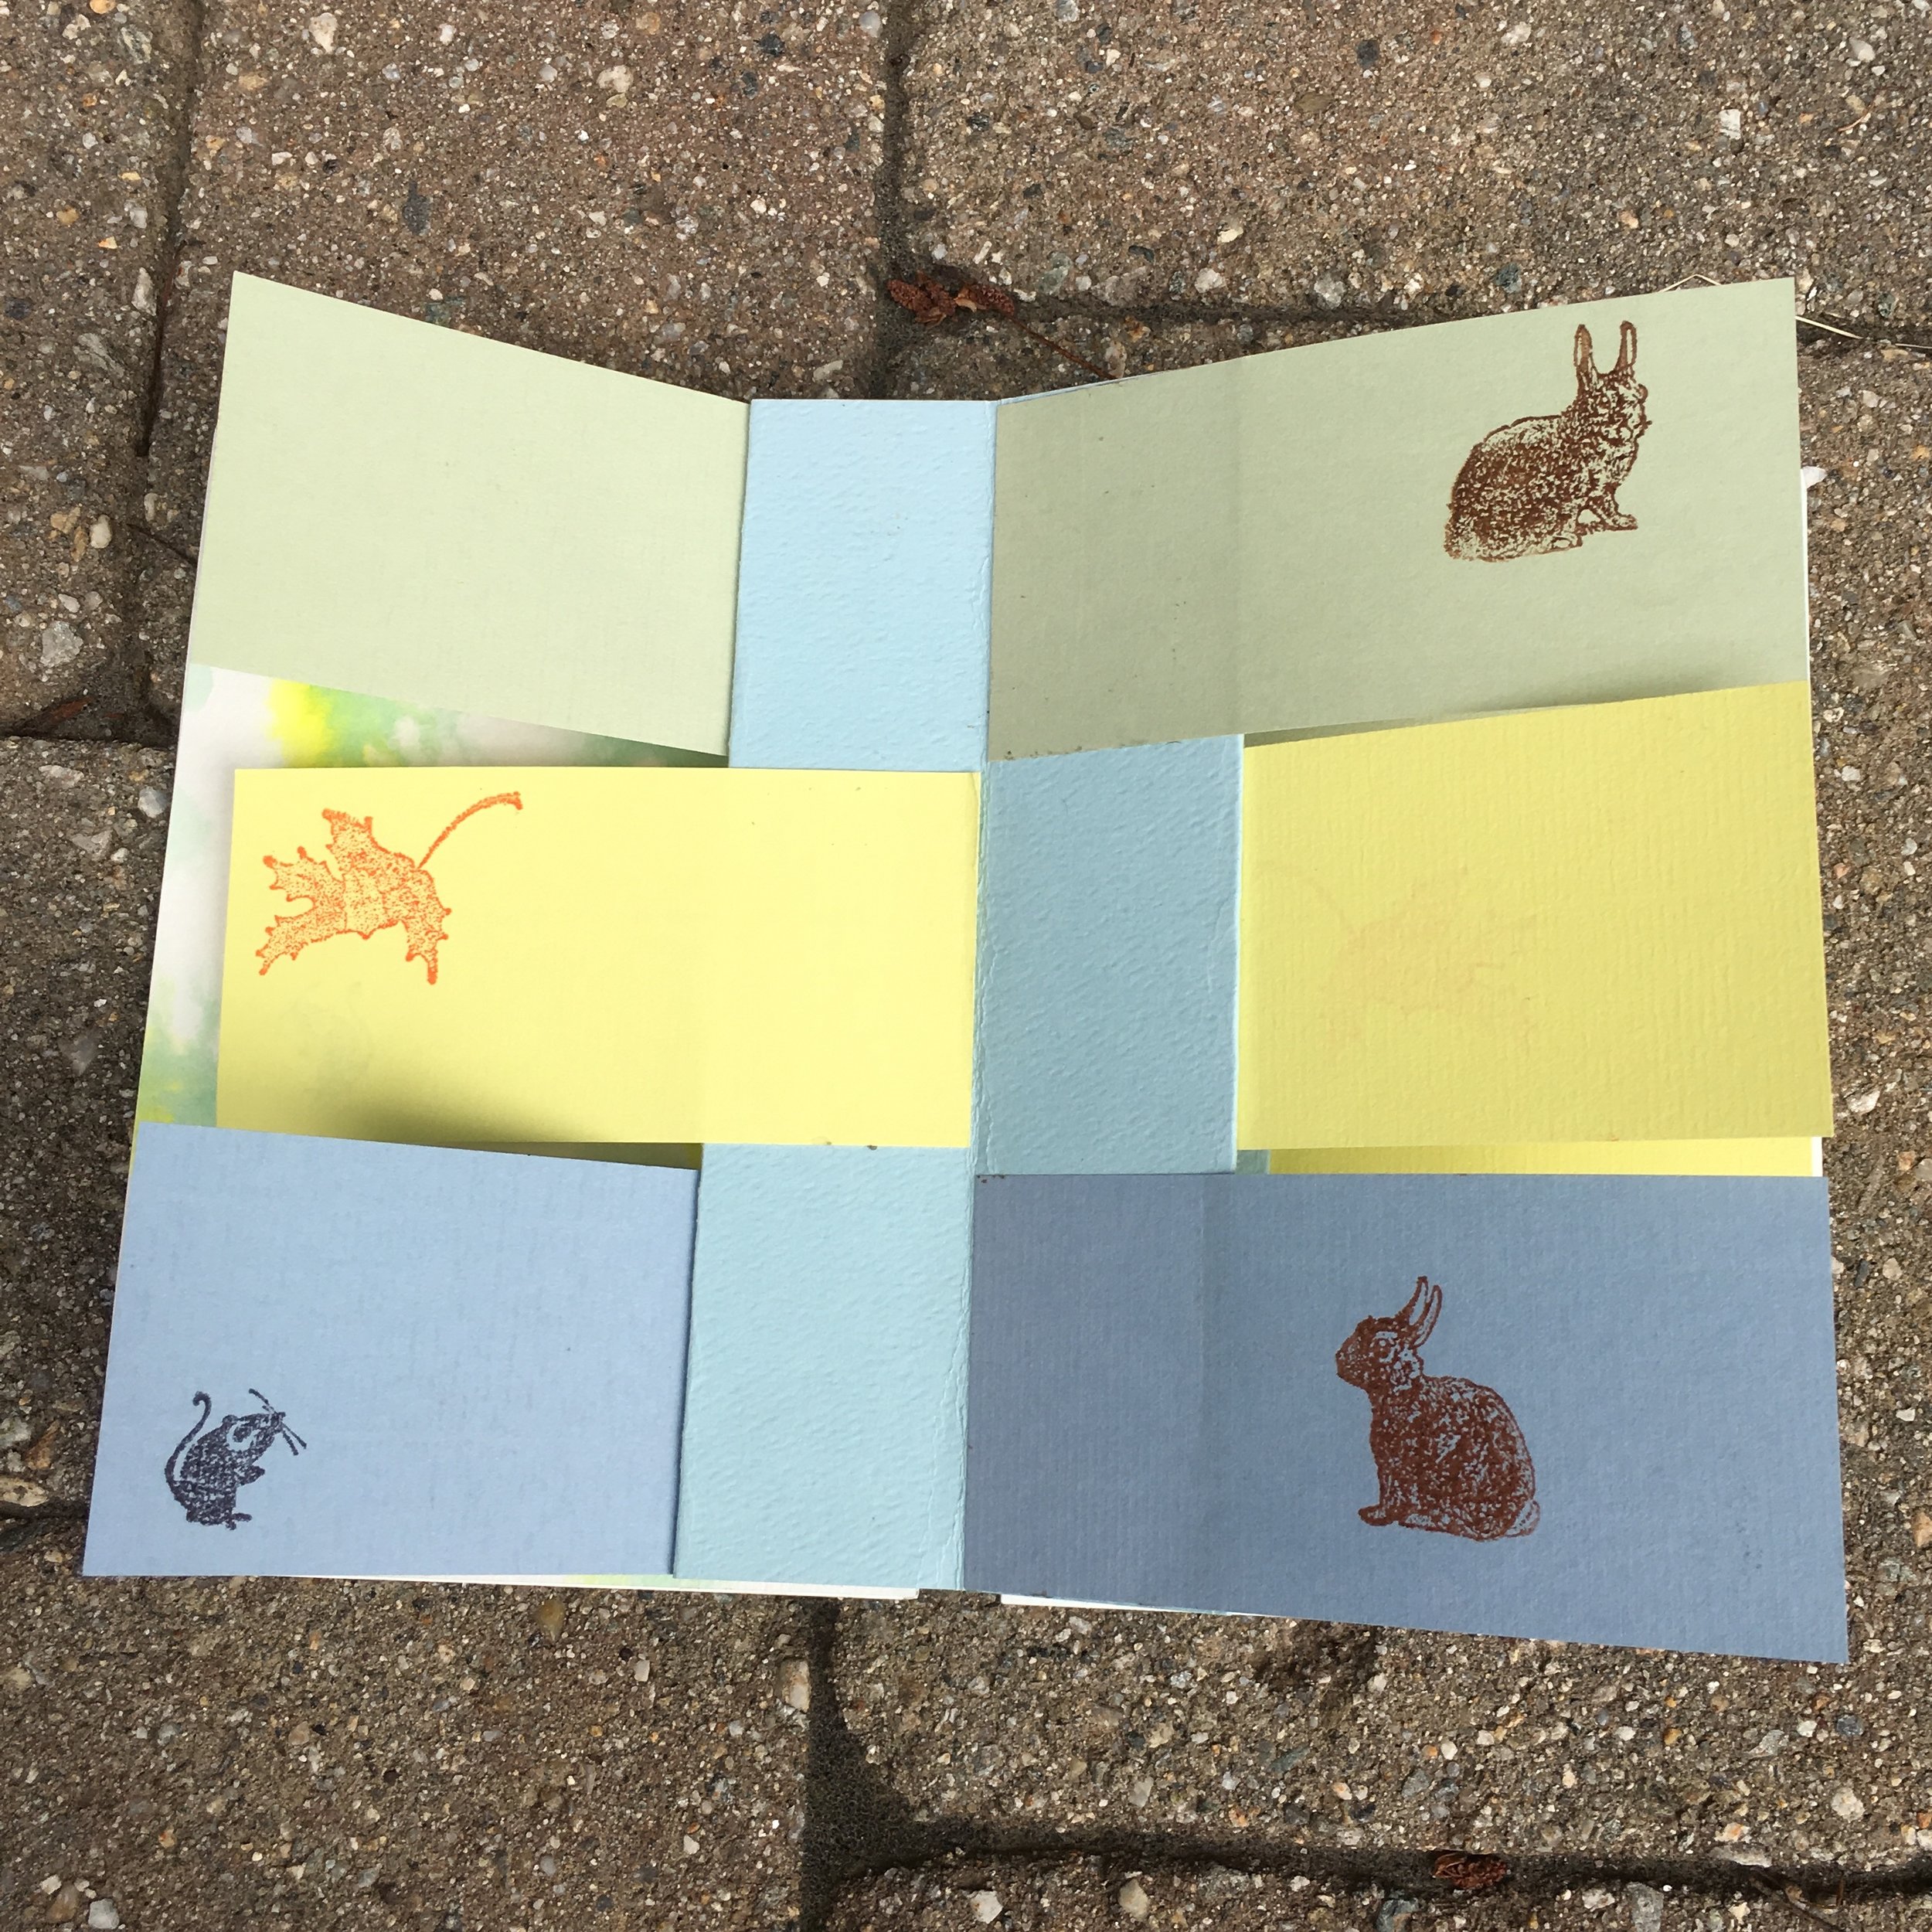
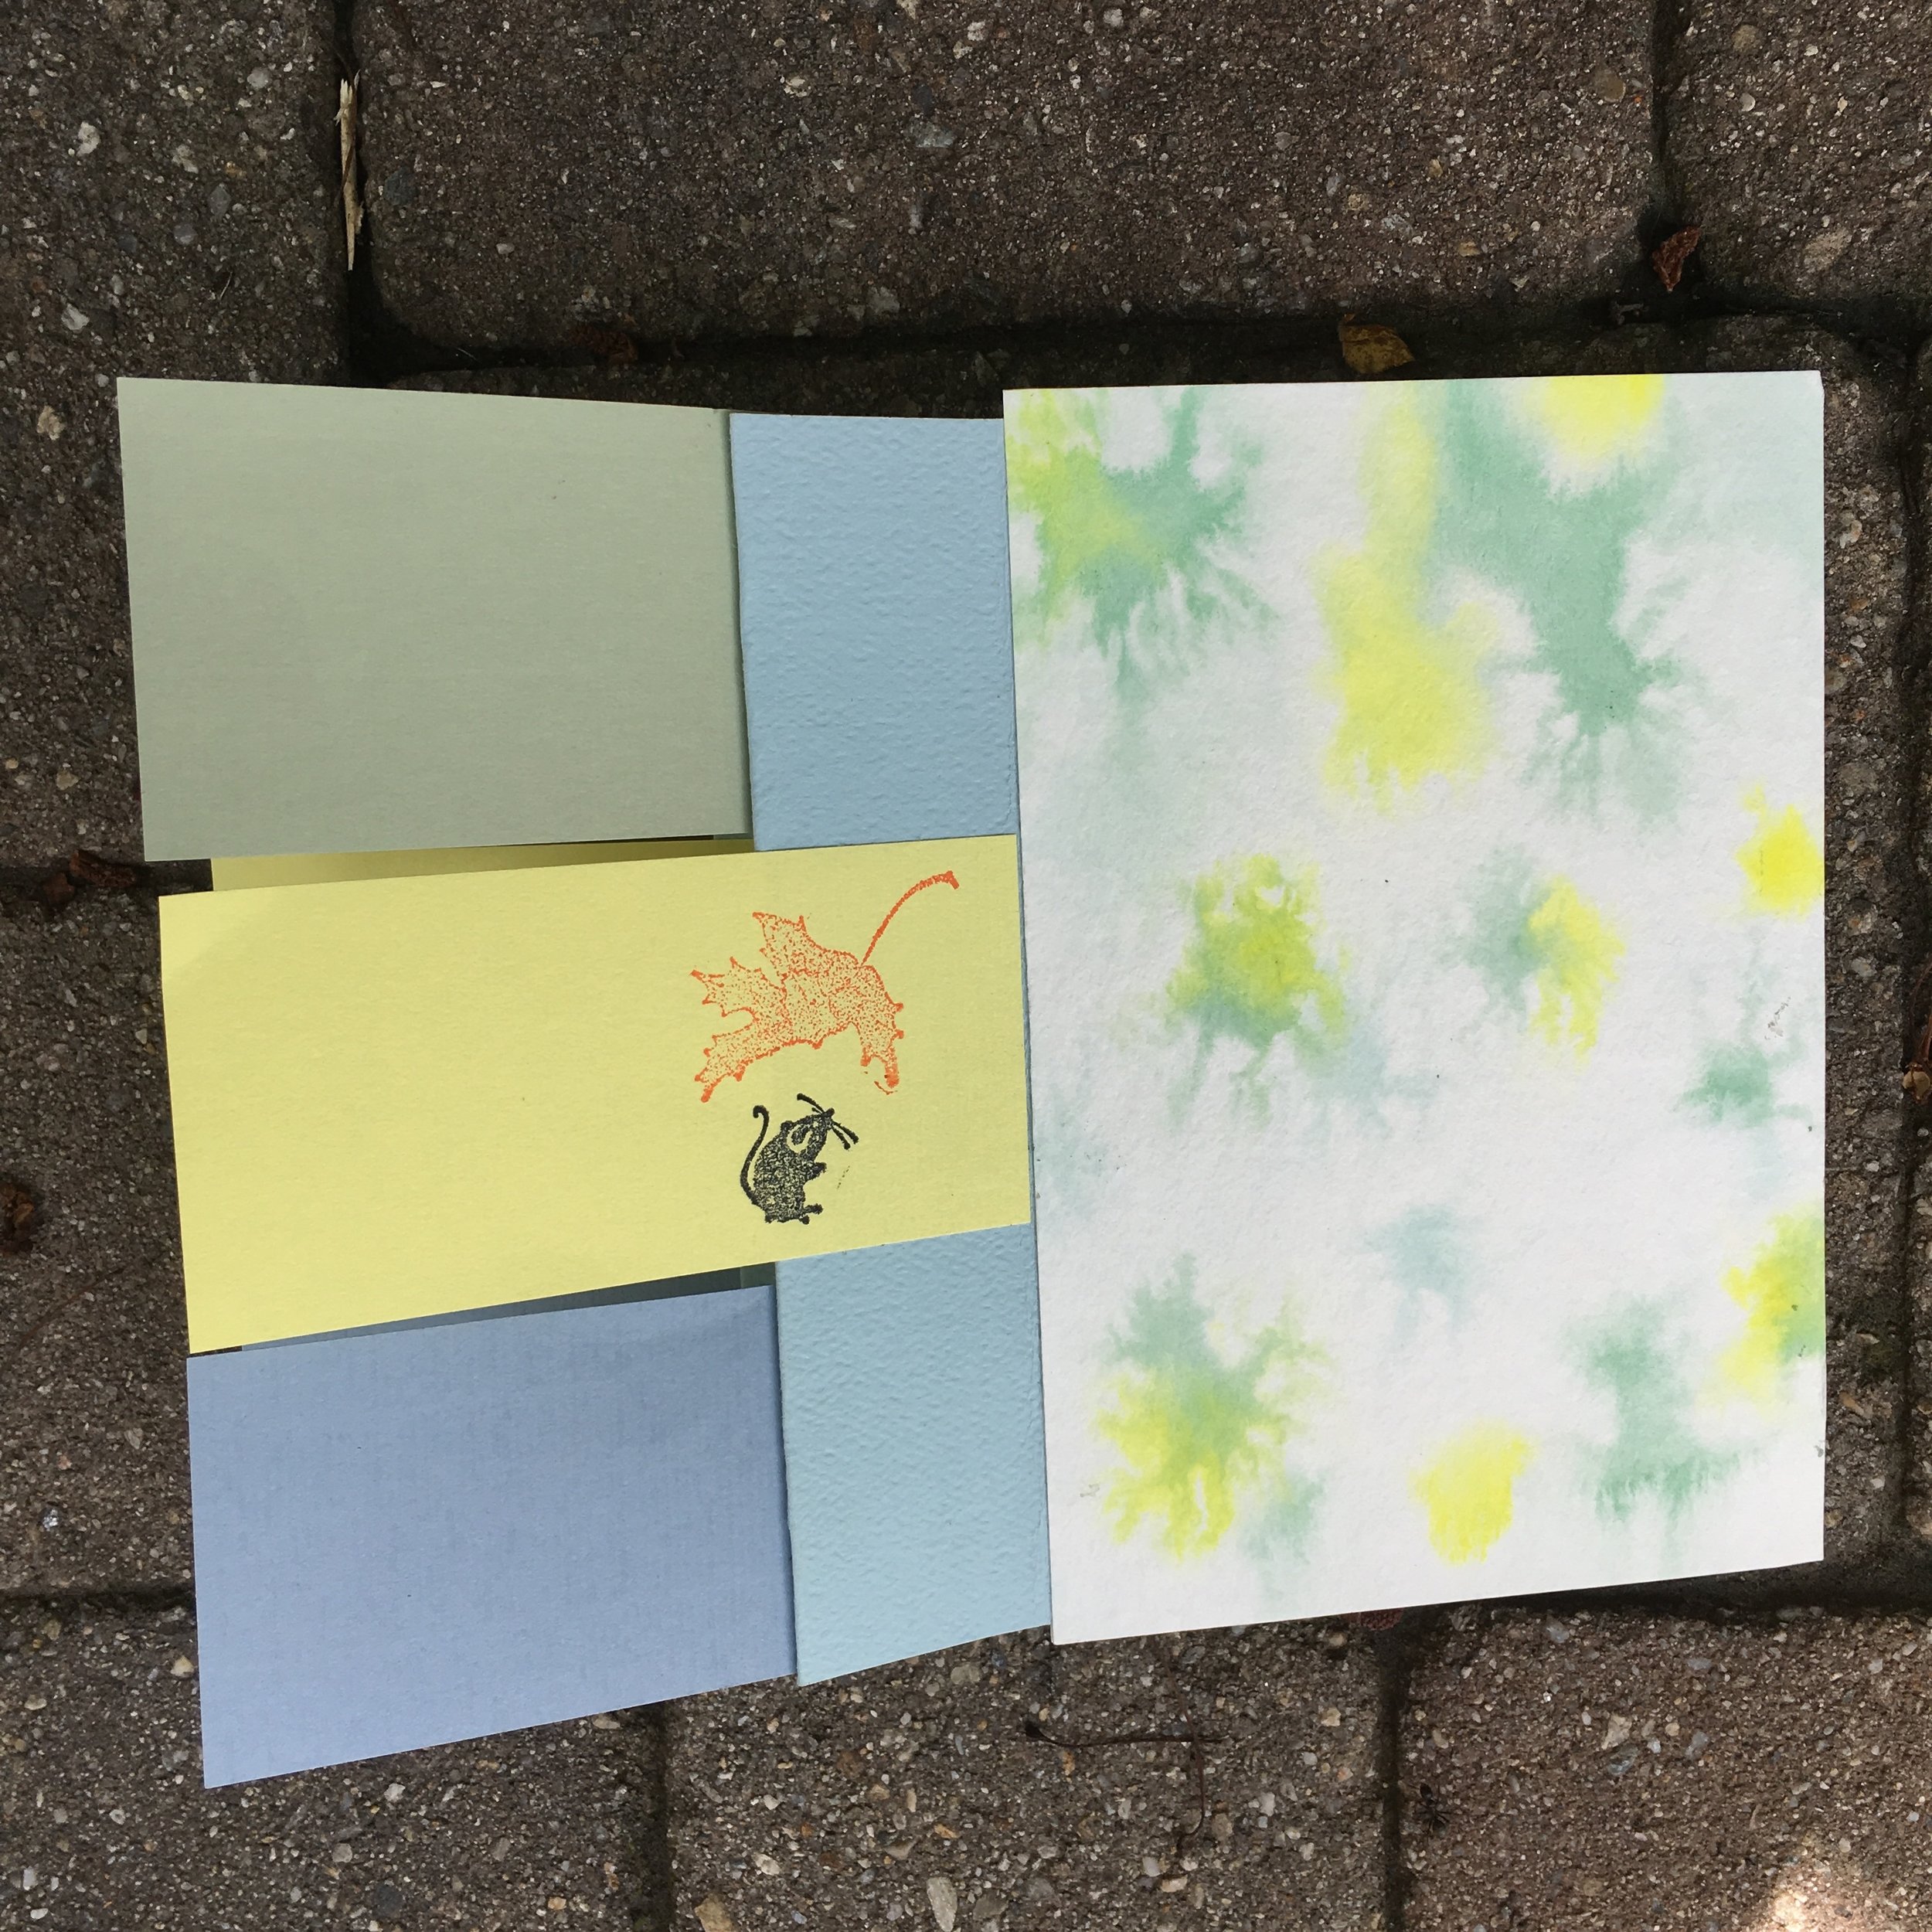
Here are the pages in the book above. The book can be read conventionally, page by page, or pulled open as seen above. I used rubber stamps to illustrate my pages.
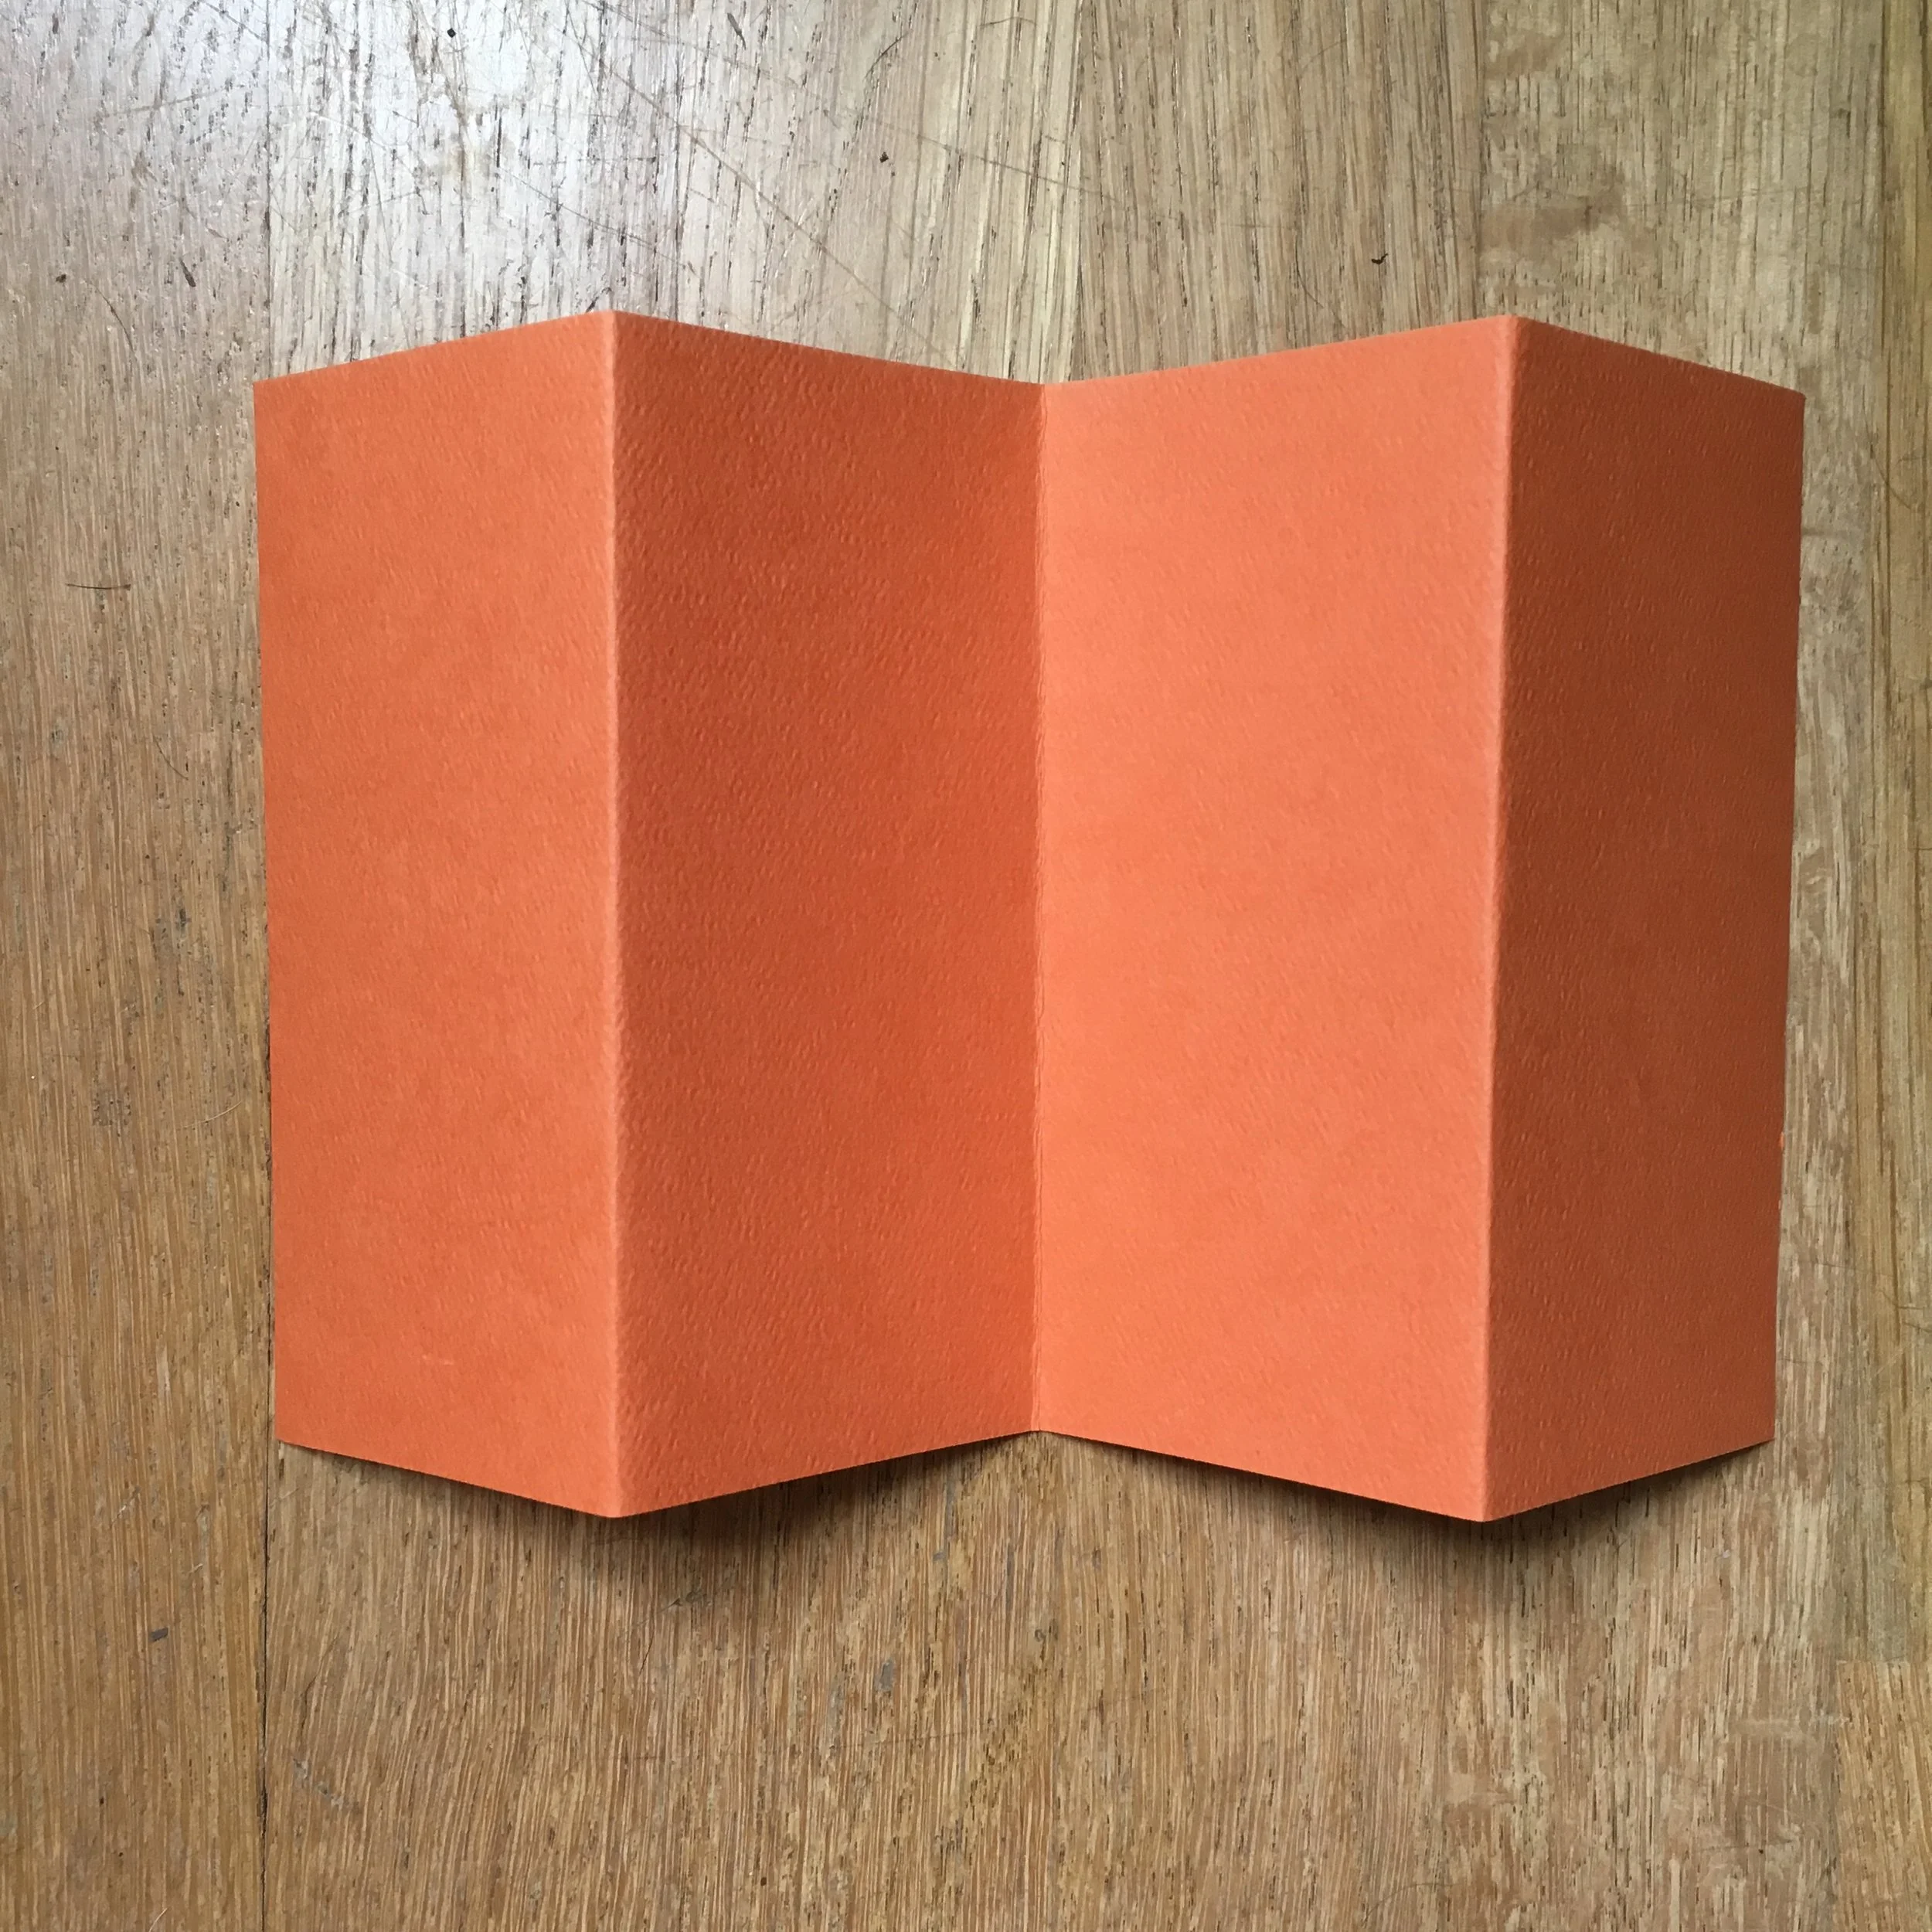
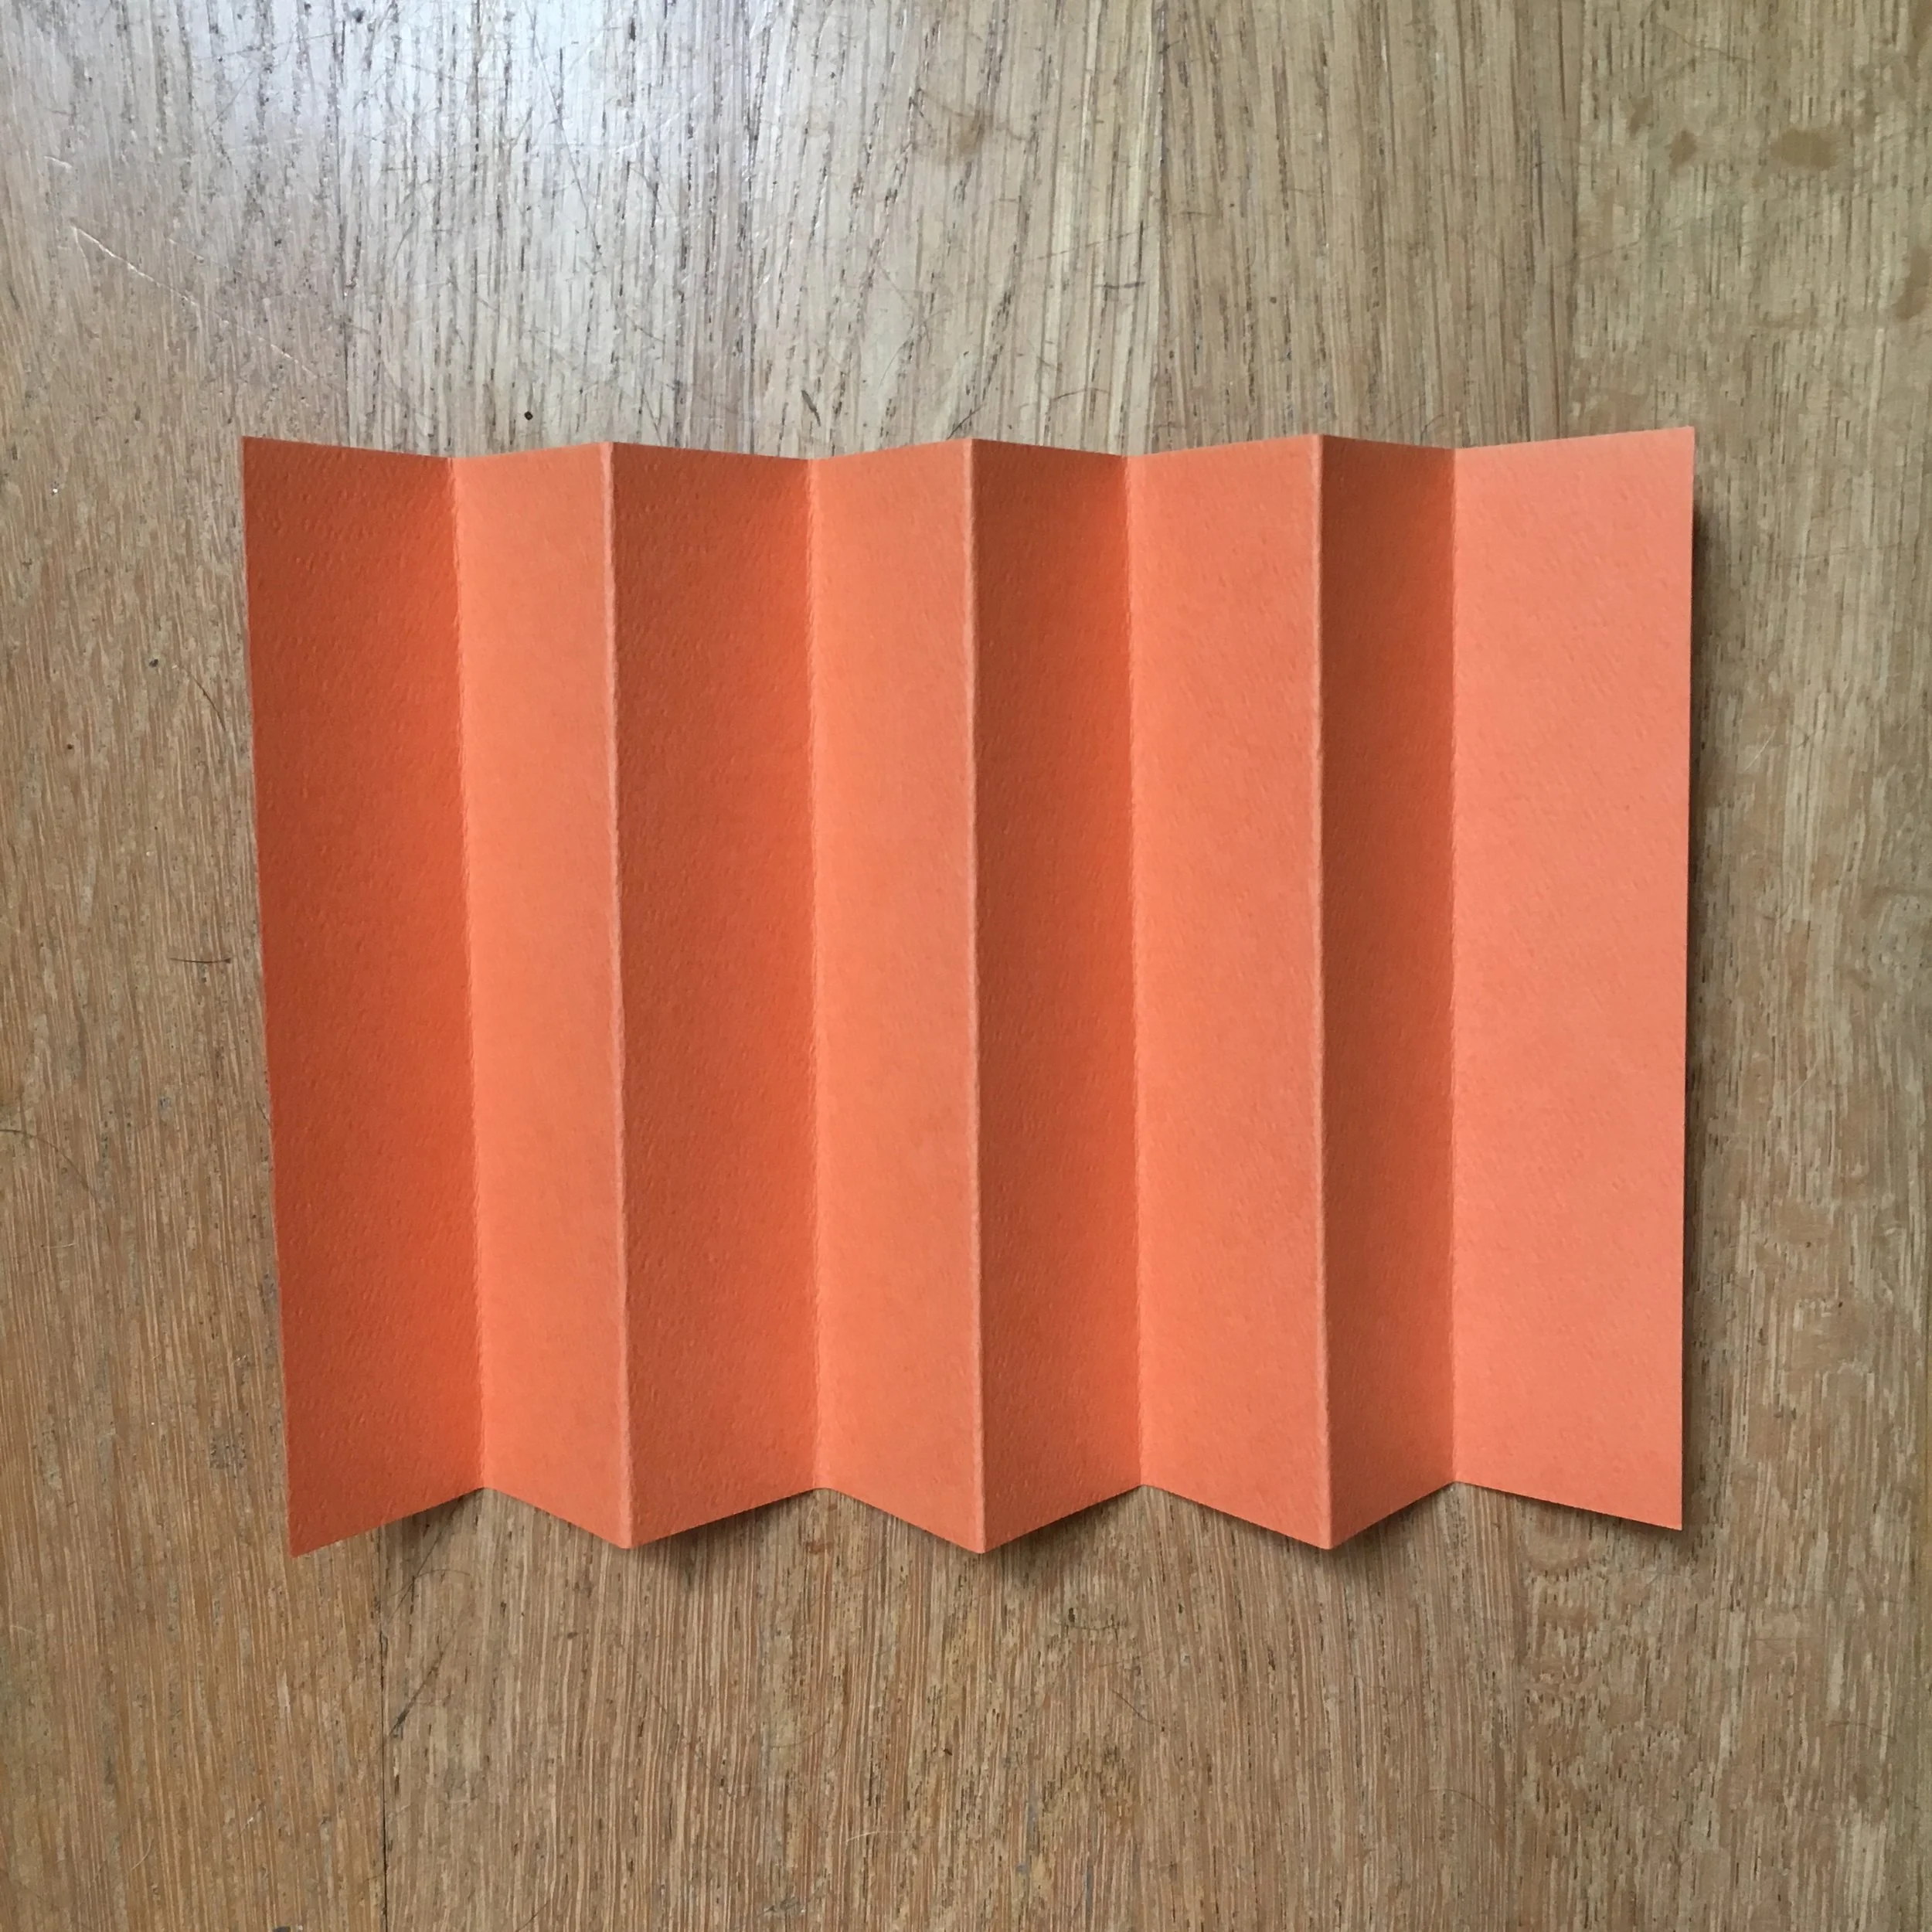
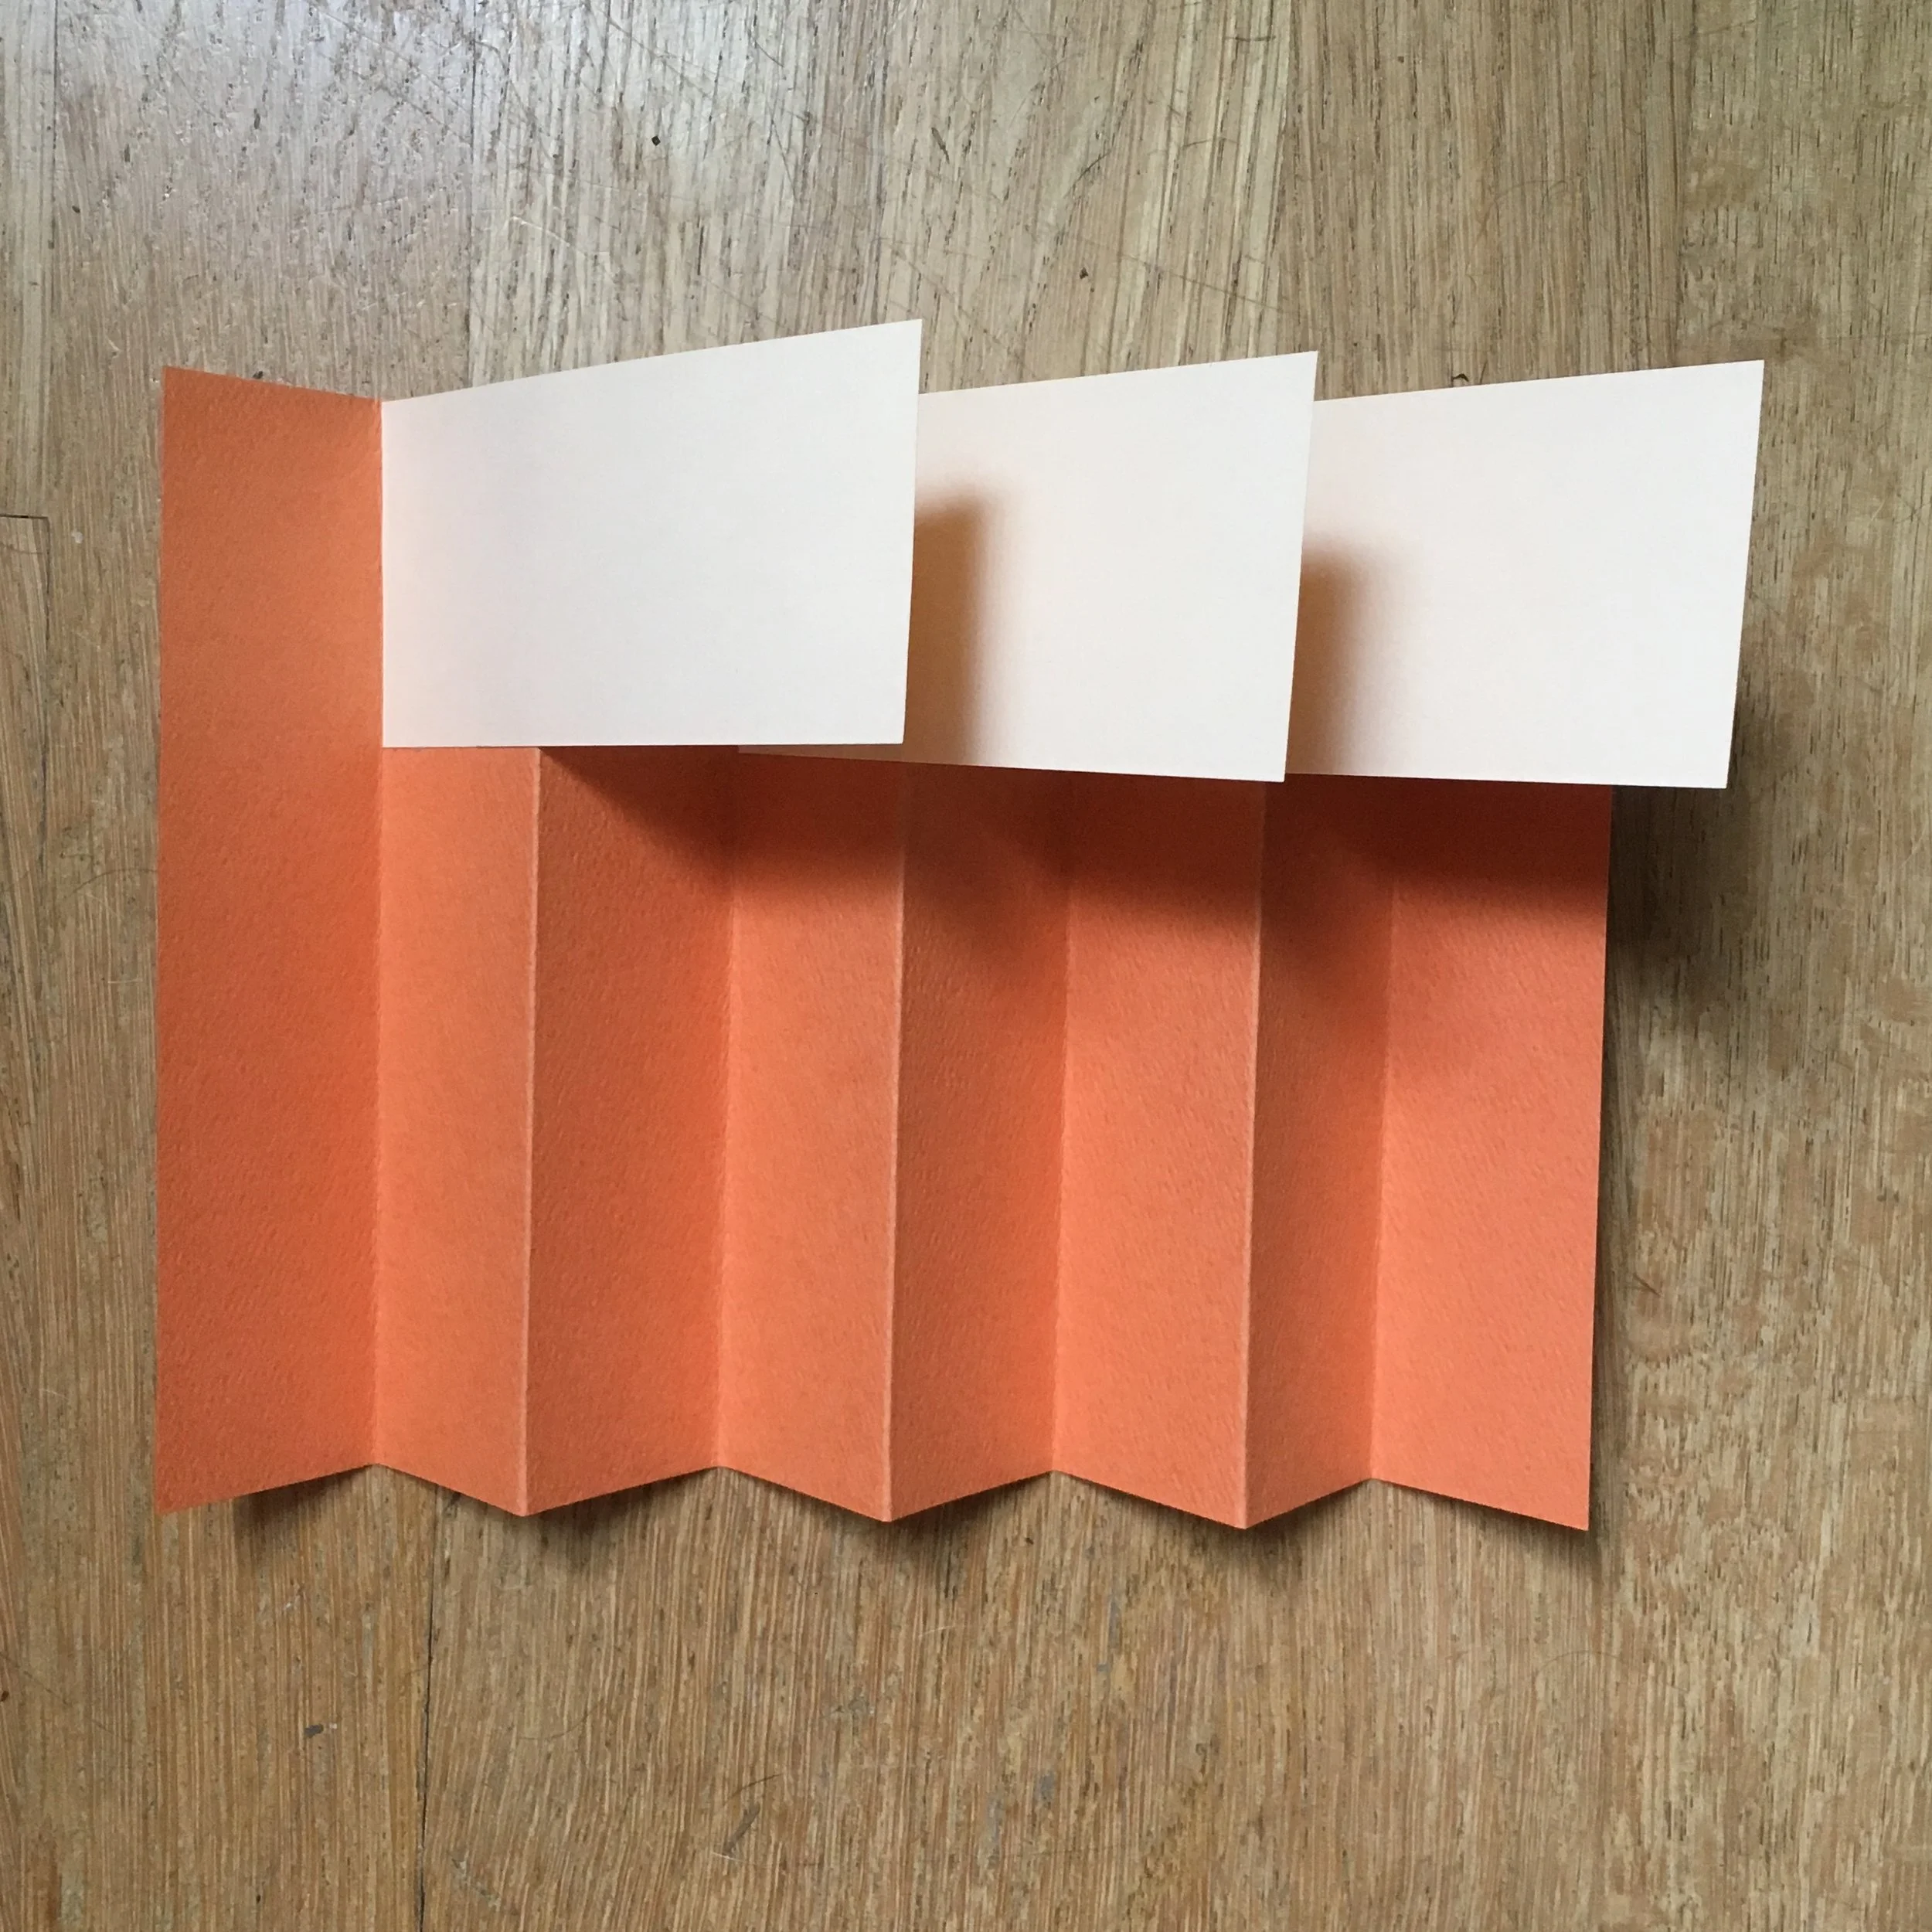
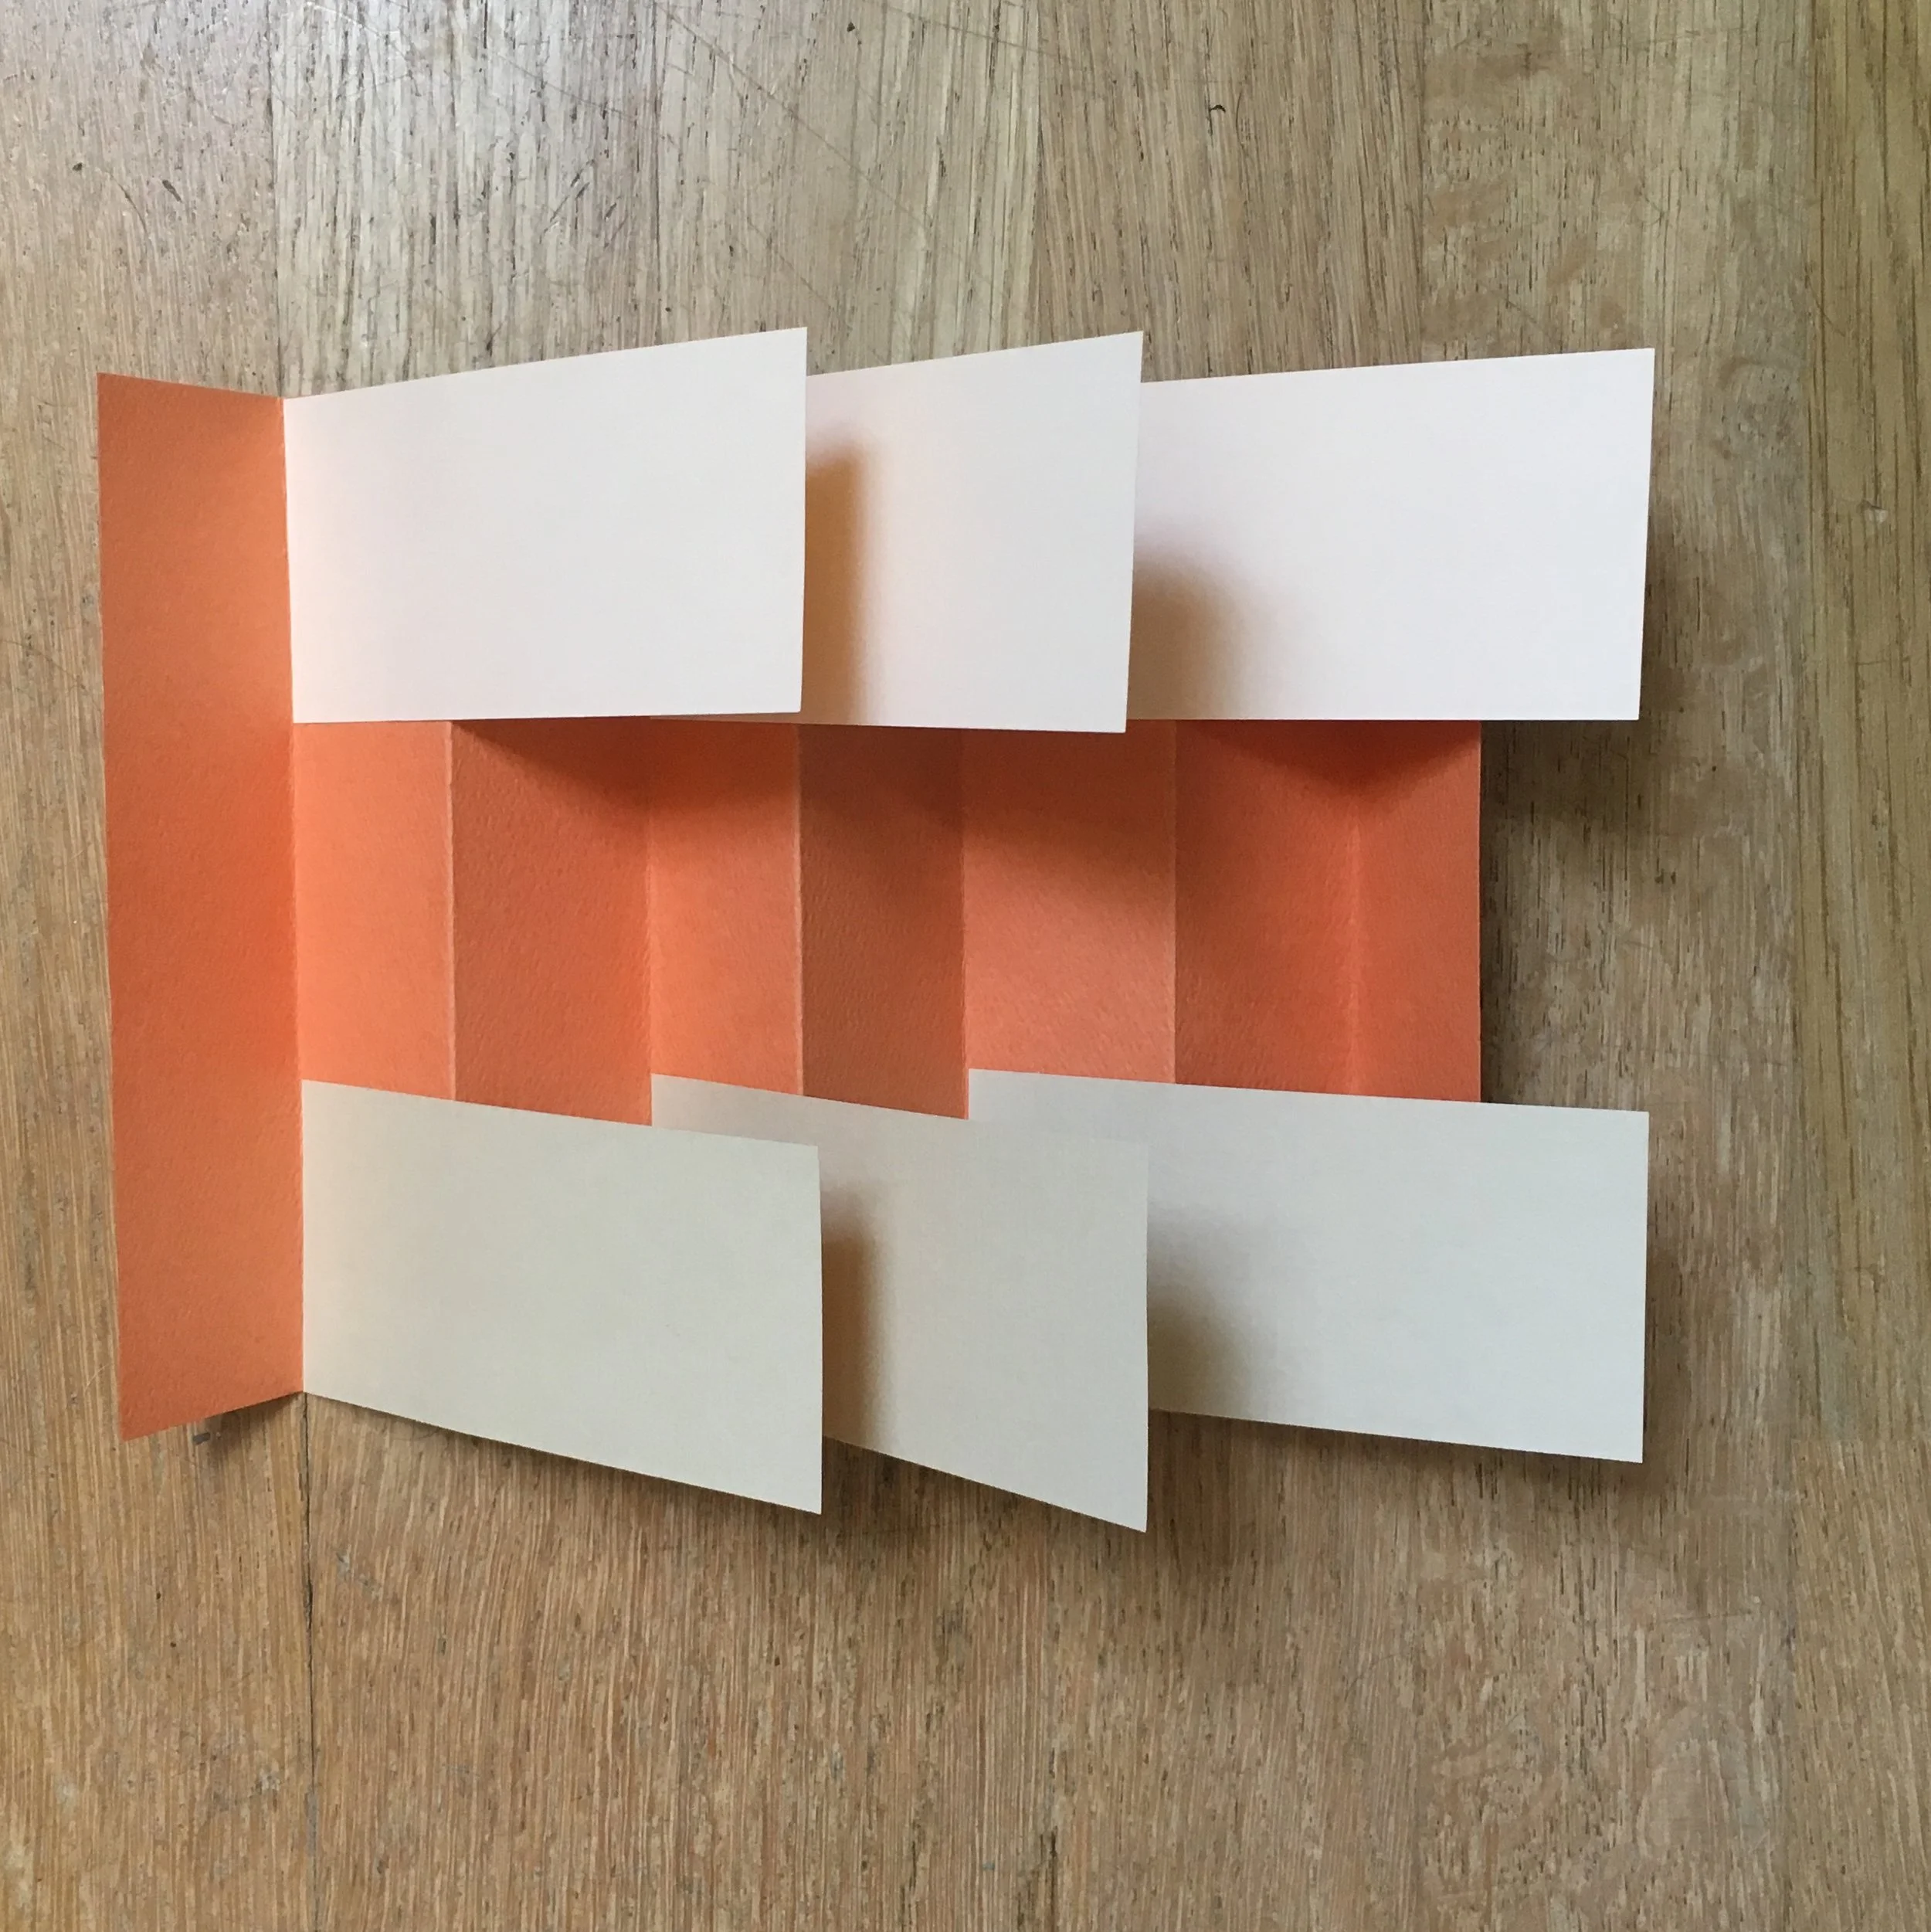
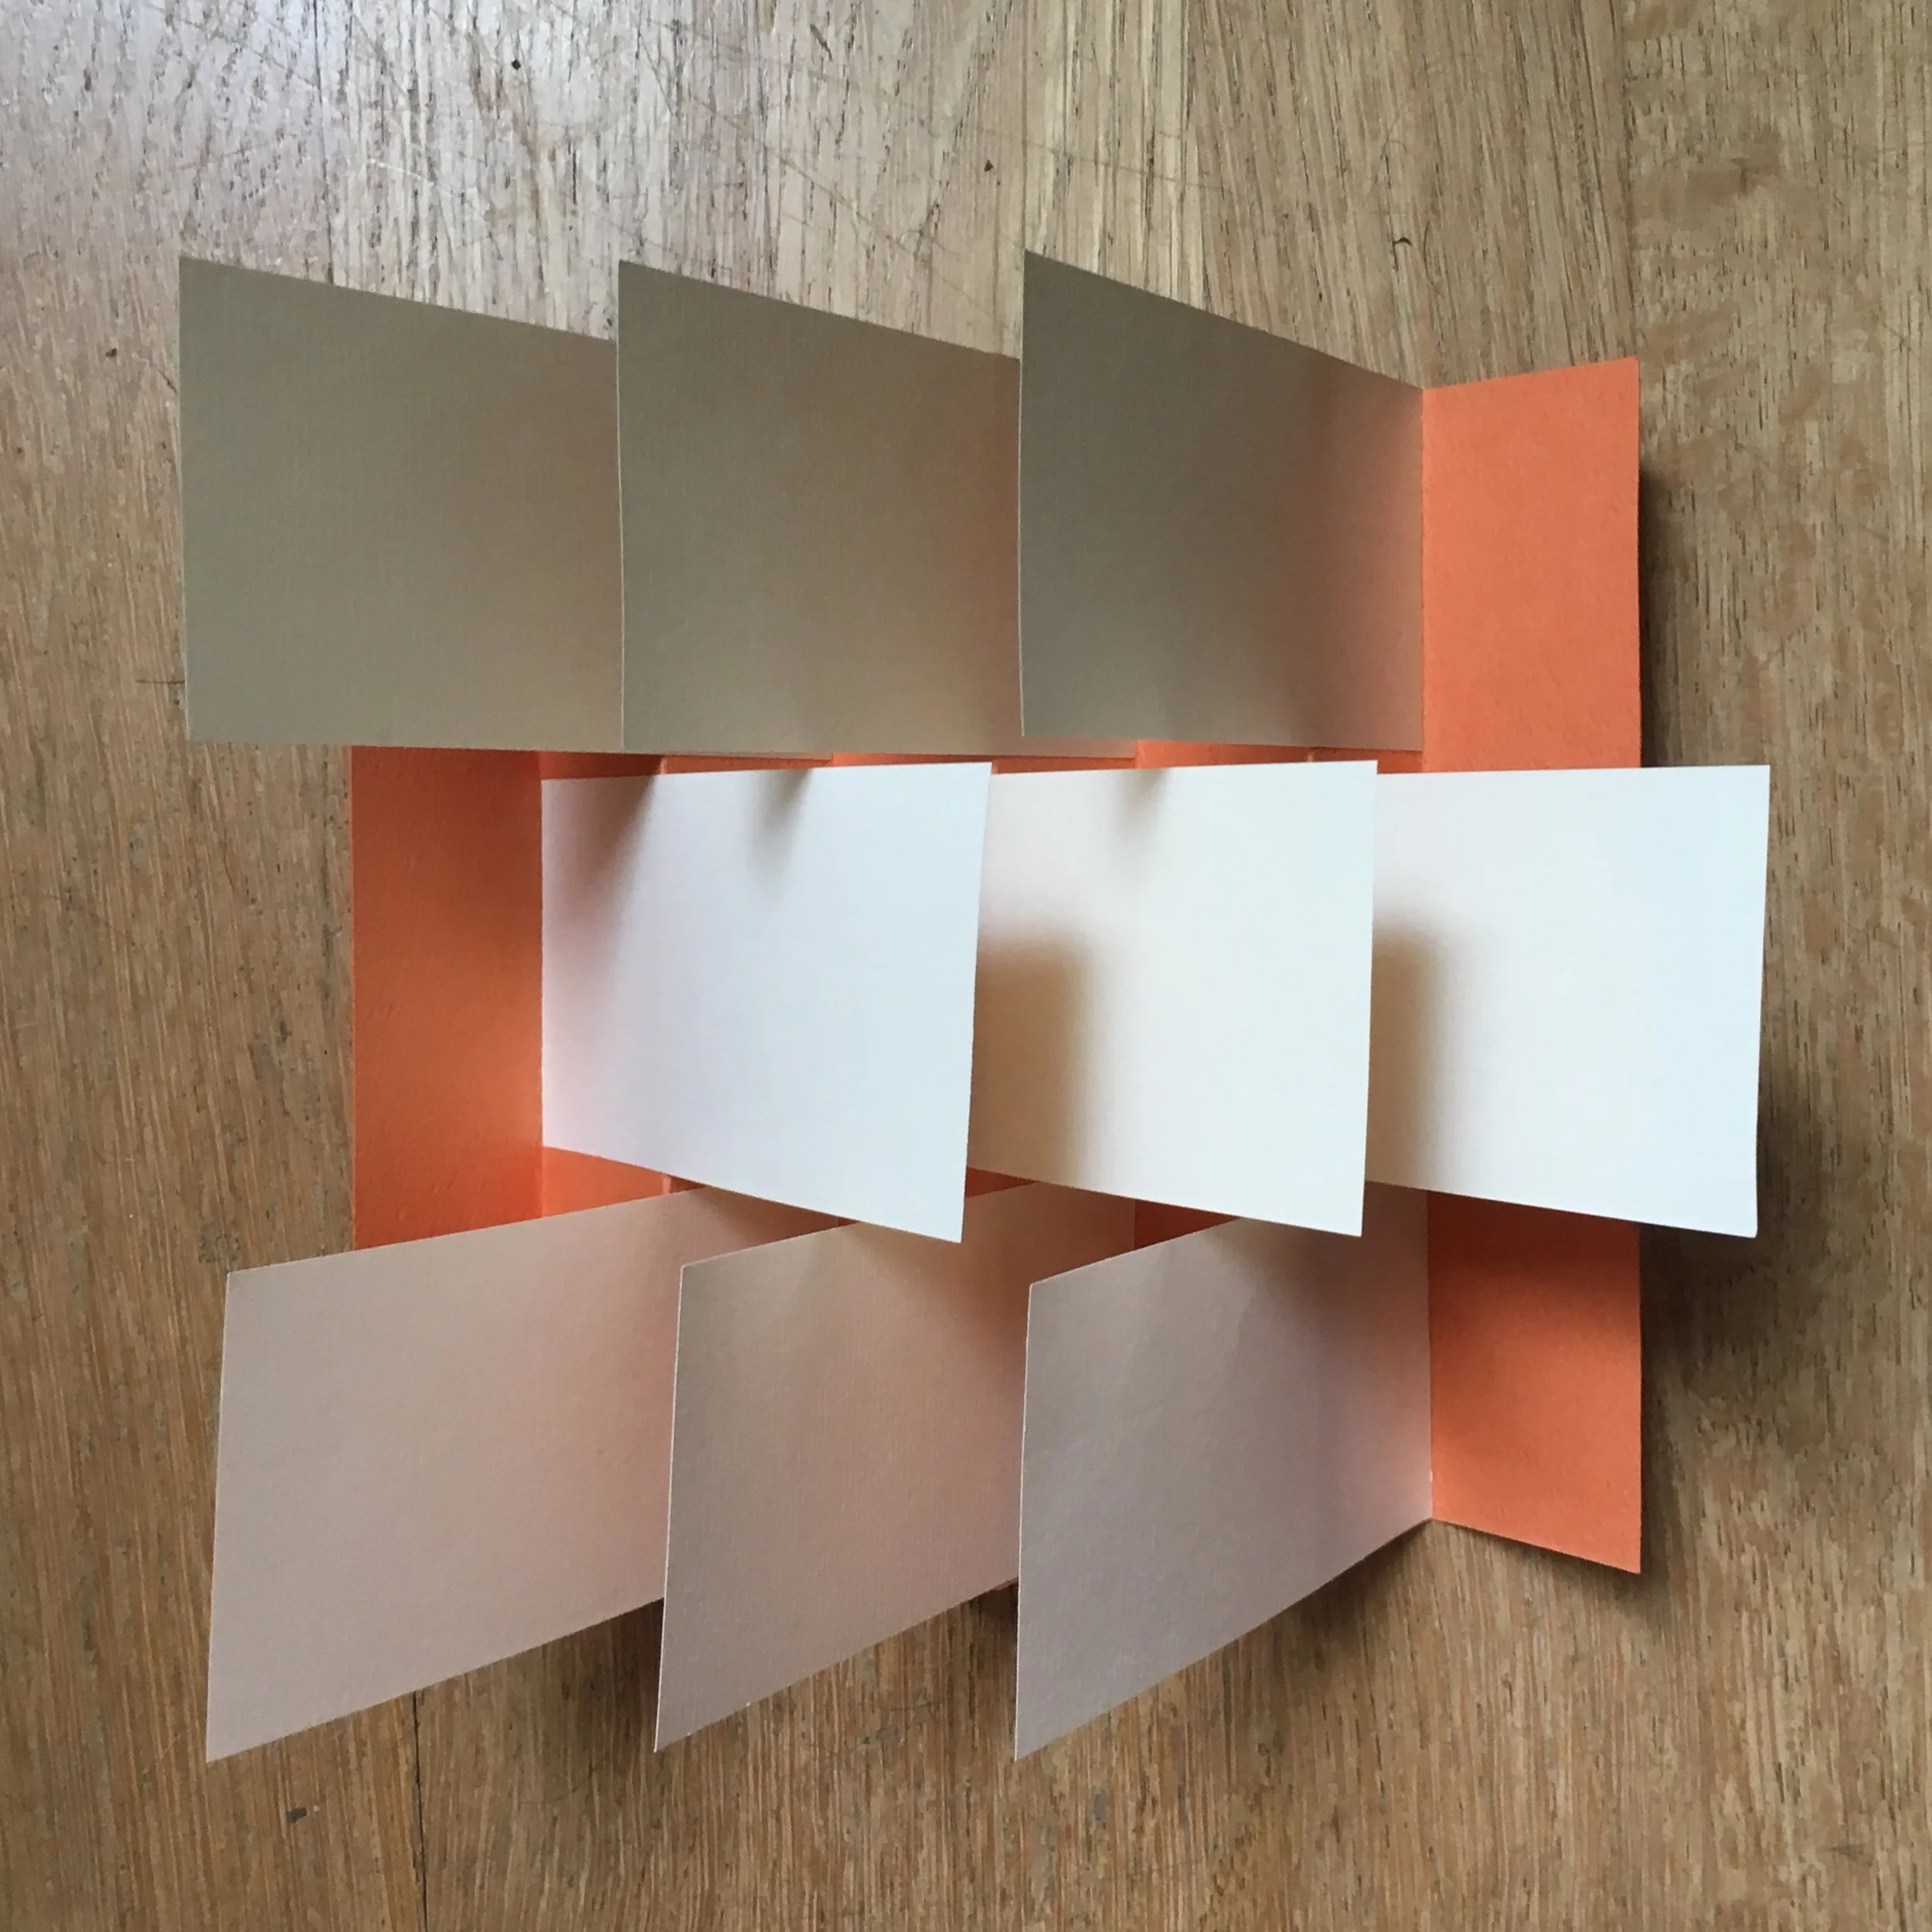
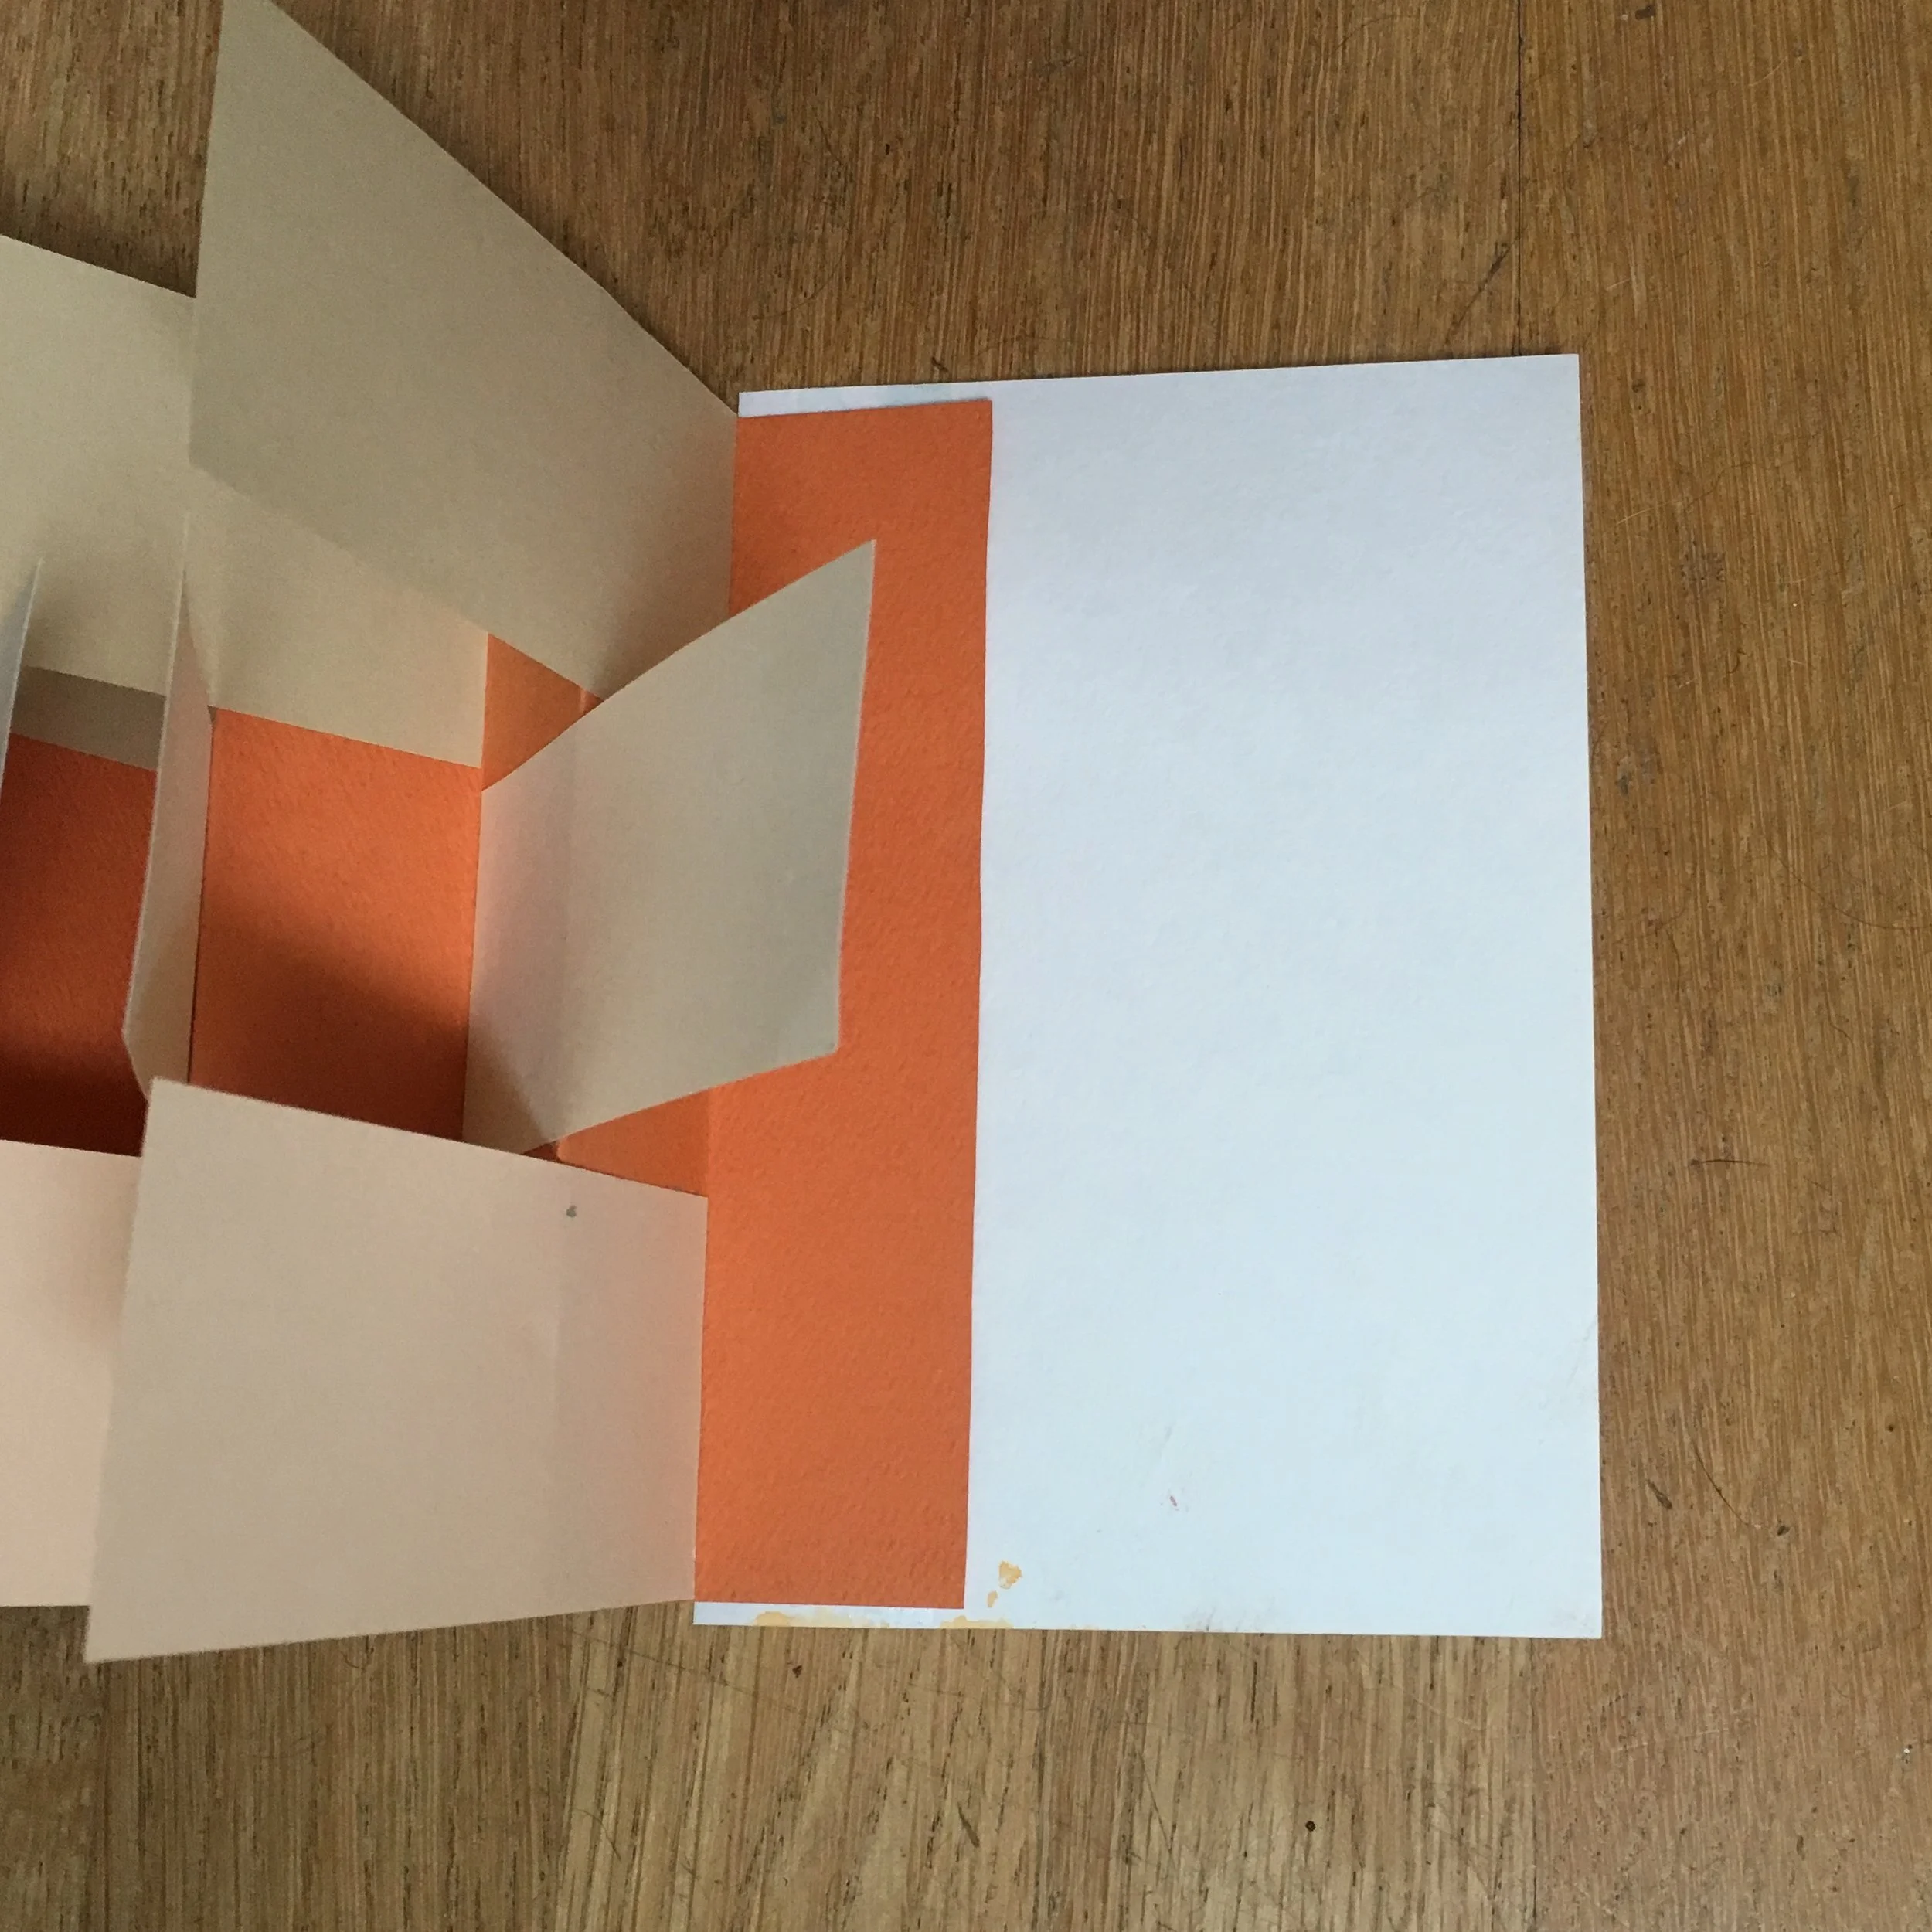
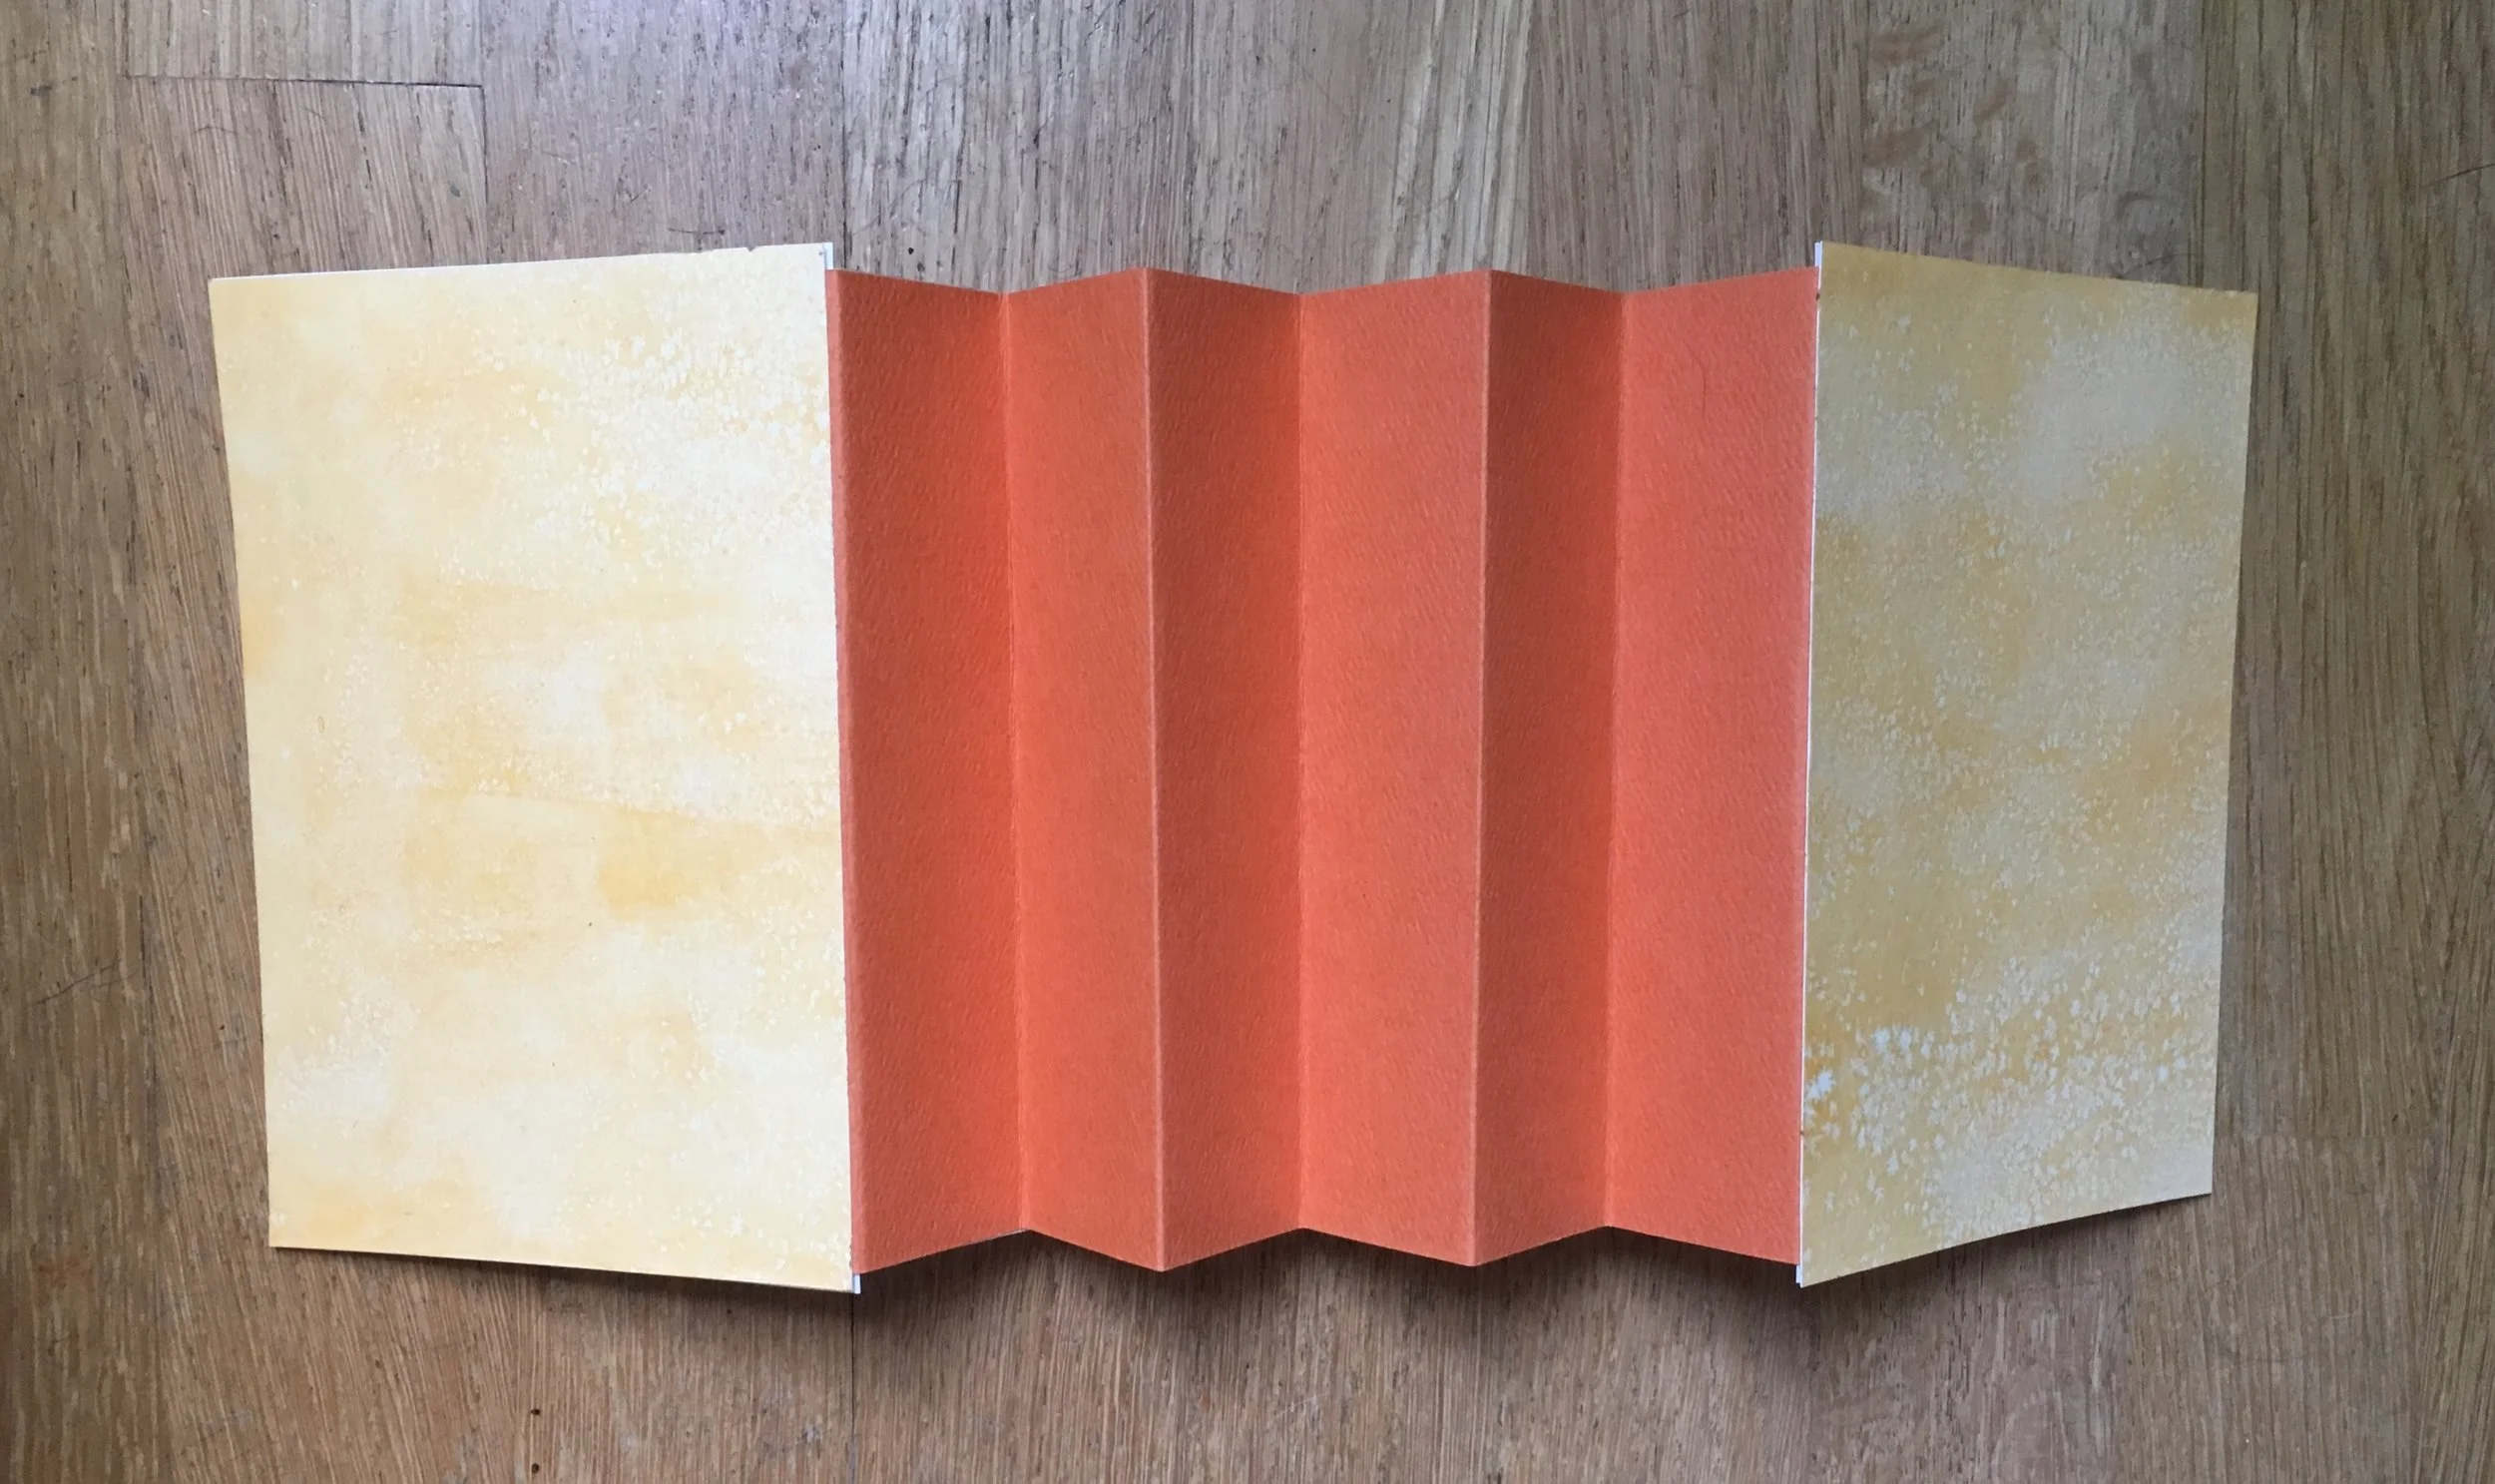
Here are photos of the process of assembling a flag book. Because I used Faith’s instructions to cut the papers for this book, I’m not going to do a tutorial. She’s already done it beautifully! But here are my variations—my spine has half the number of folds as hers so mine only 3 has pages (9 flags in total) , while hers has 7 pages (21 flags). If are making a flag book using Faith’s video, but you want to use soft covers like mine, cut 2 pieces of heavy paper 4 1/4 x 6 1/4 inches for the front and back covers, and 2 end papers of the same size. (I used the heavy watercolor paper for both). The cover is glued on first, and then the end pages are glued to the covers on the inside of the book. I find this soft cover to be totally satisfactory. It also skips the step of covering book board with paper so the project can be completed in just a couple hours.
The first time I illustrated my pages and then glued them into the book. That really complicated the book assembly and I found that the animals didn’t always have the best placement on a page. I actually removed the illustrated last page in the book and re-did it. What looked good as a page lying flat on the table wasn’t as great as a page in the book.
So I recommend illustrating the pages after the book has been assembled. I used rubber stamps, but drawings, photos and stickers would all make fun illustrations for a flag book.
Give it a try! It looks more complicated than it actually is. It really is such a great project.
