Free Motion Flower Design
I’ve just finished quilting the “Triple Barnstar” queen size quilt. I used my walking foot and did a lot of linear quilting, But this quilt has a number of large 9 inch blocks and large triangle blocks. Those blocks were still empty when I finished the linear echo stitching around the 3 stars in this quilt.
It’s a bit unconventional to mix walking foot quilting with free motion quilting but it was the right answer for this quilt. (In fact, I often mix these two methods of quilting).
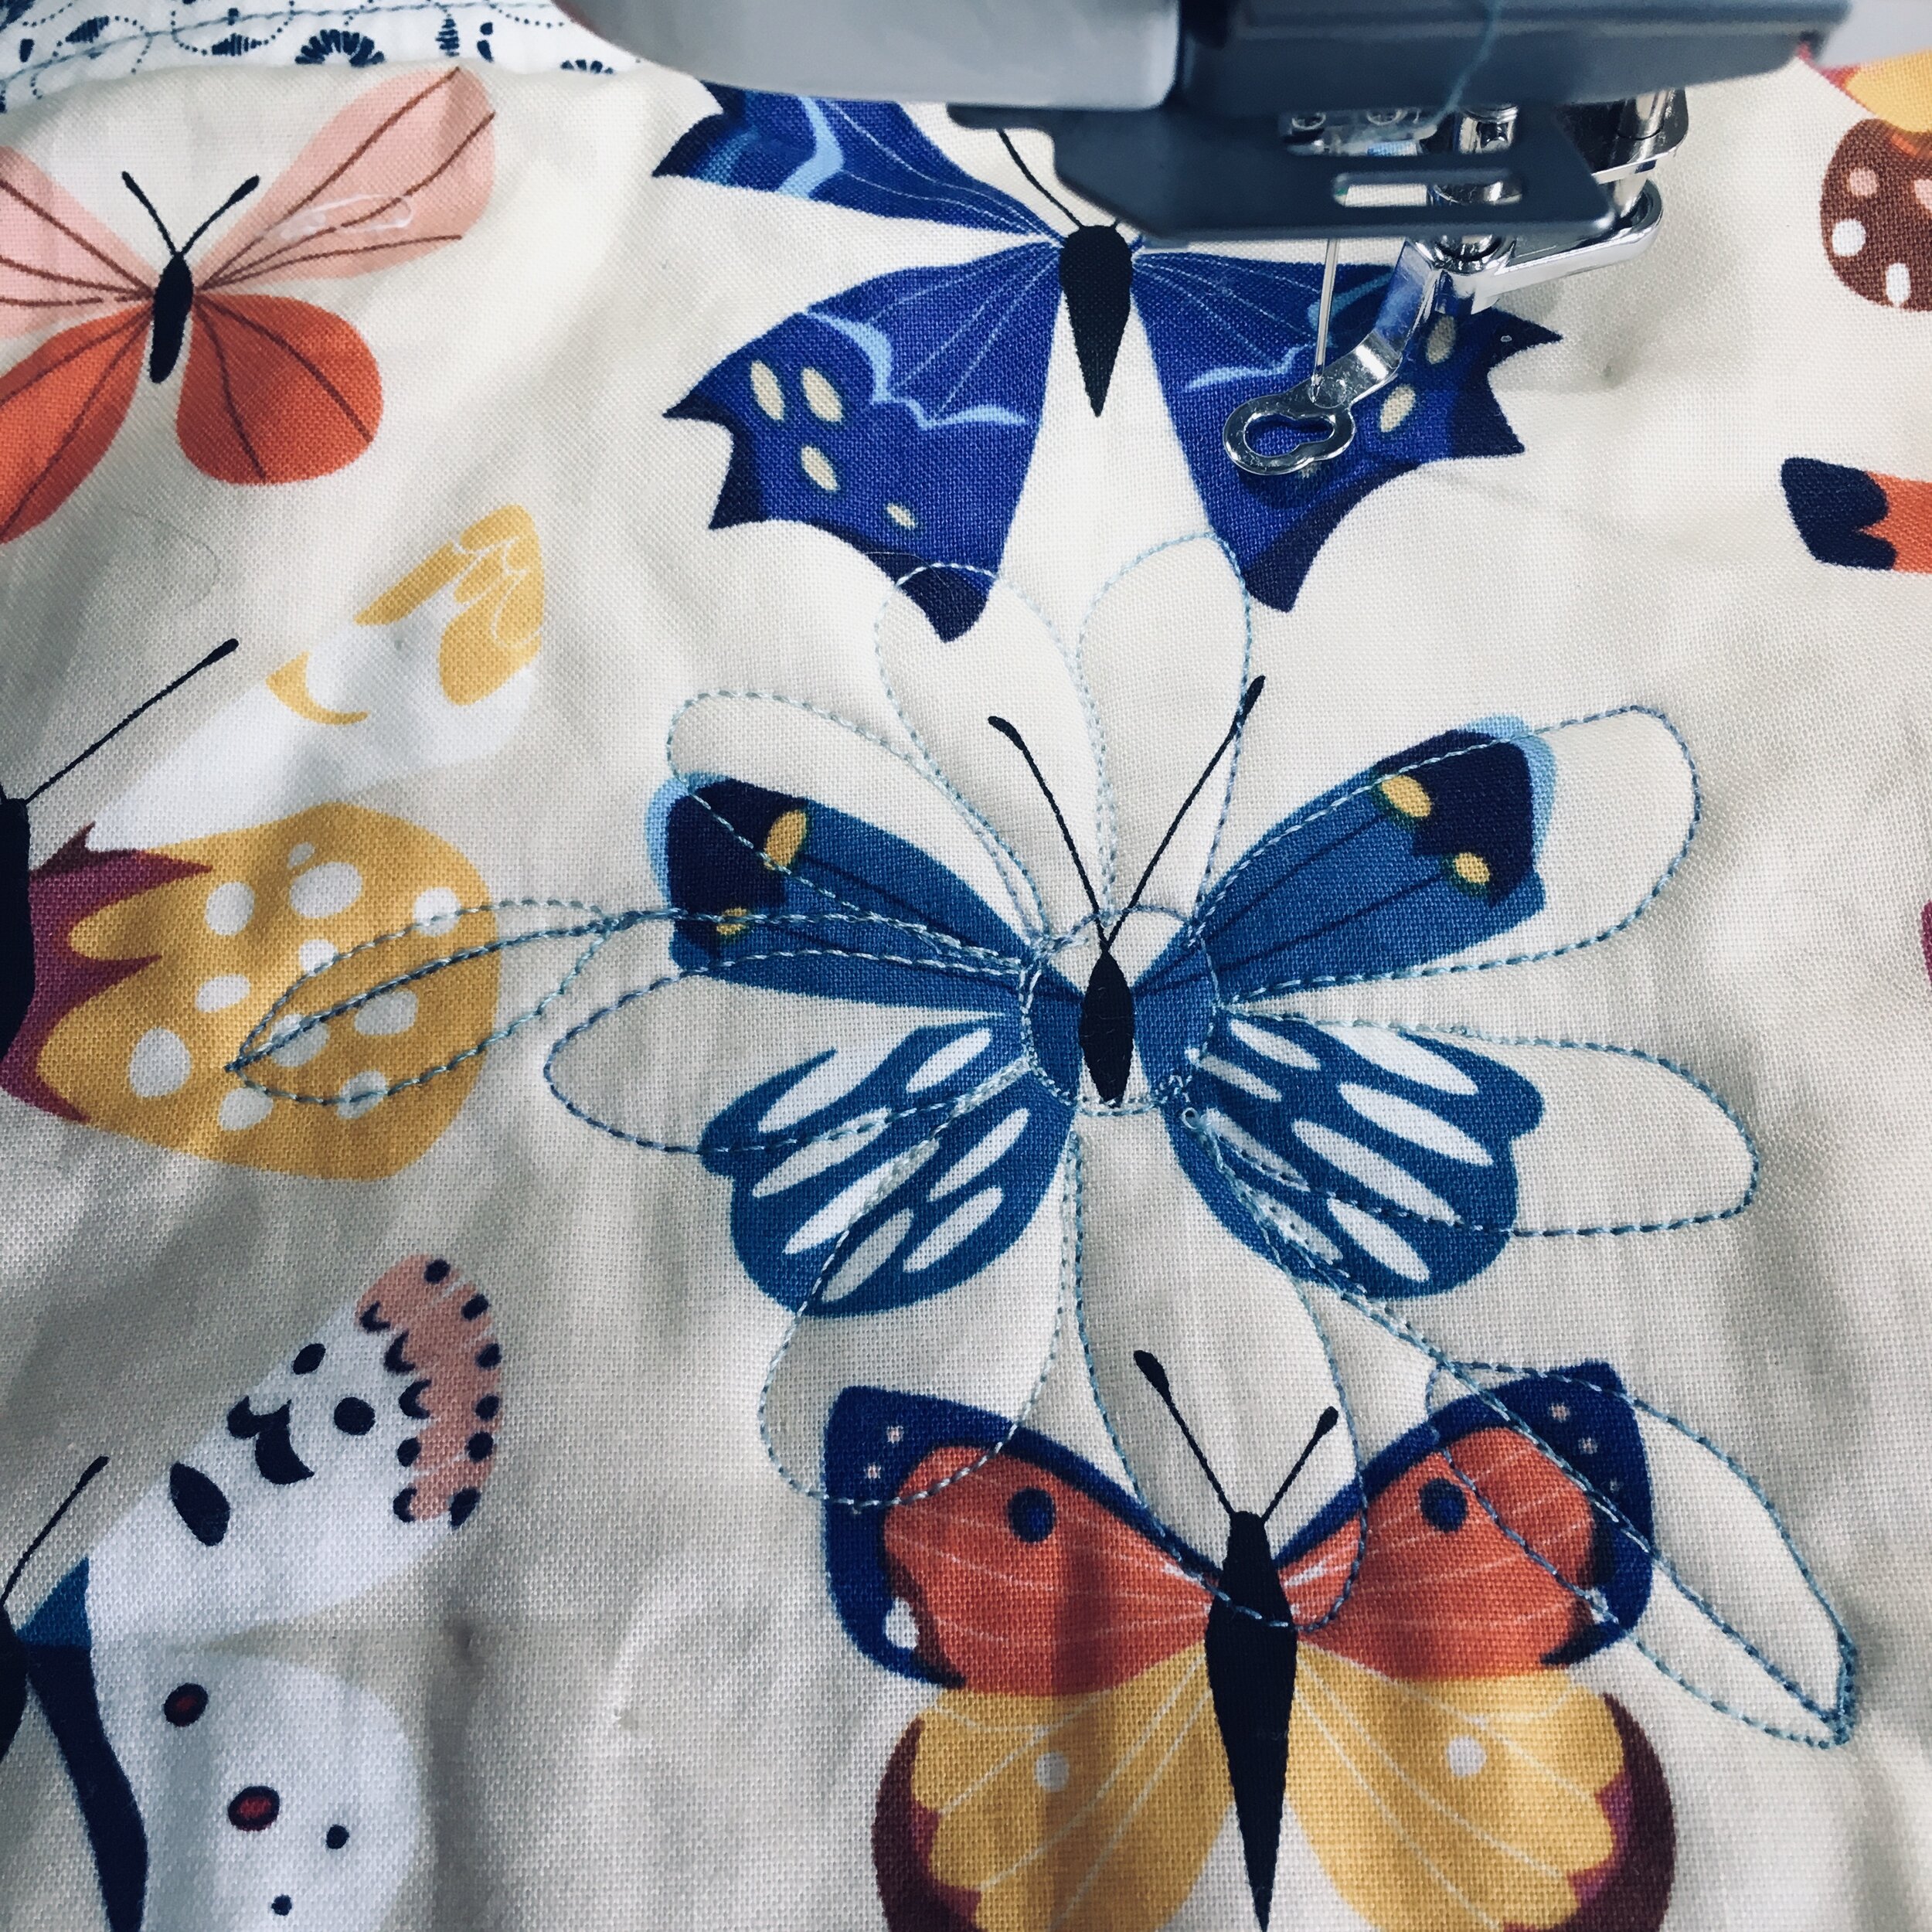
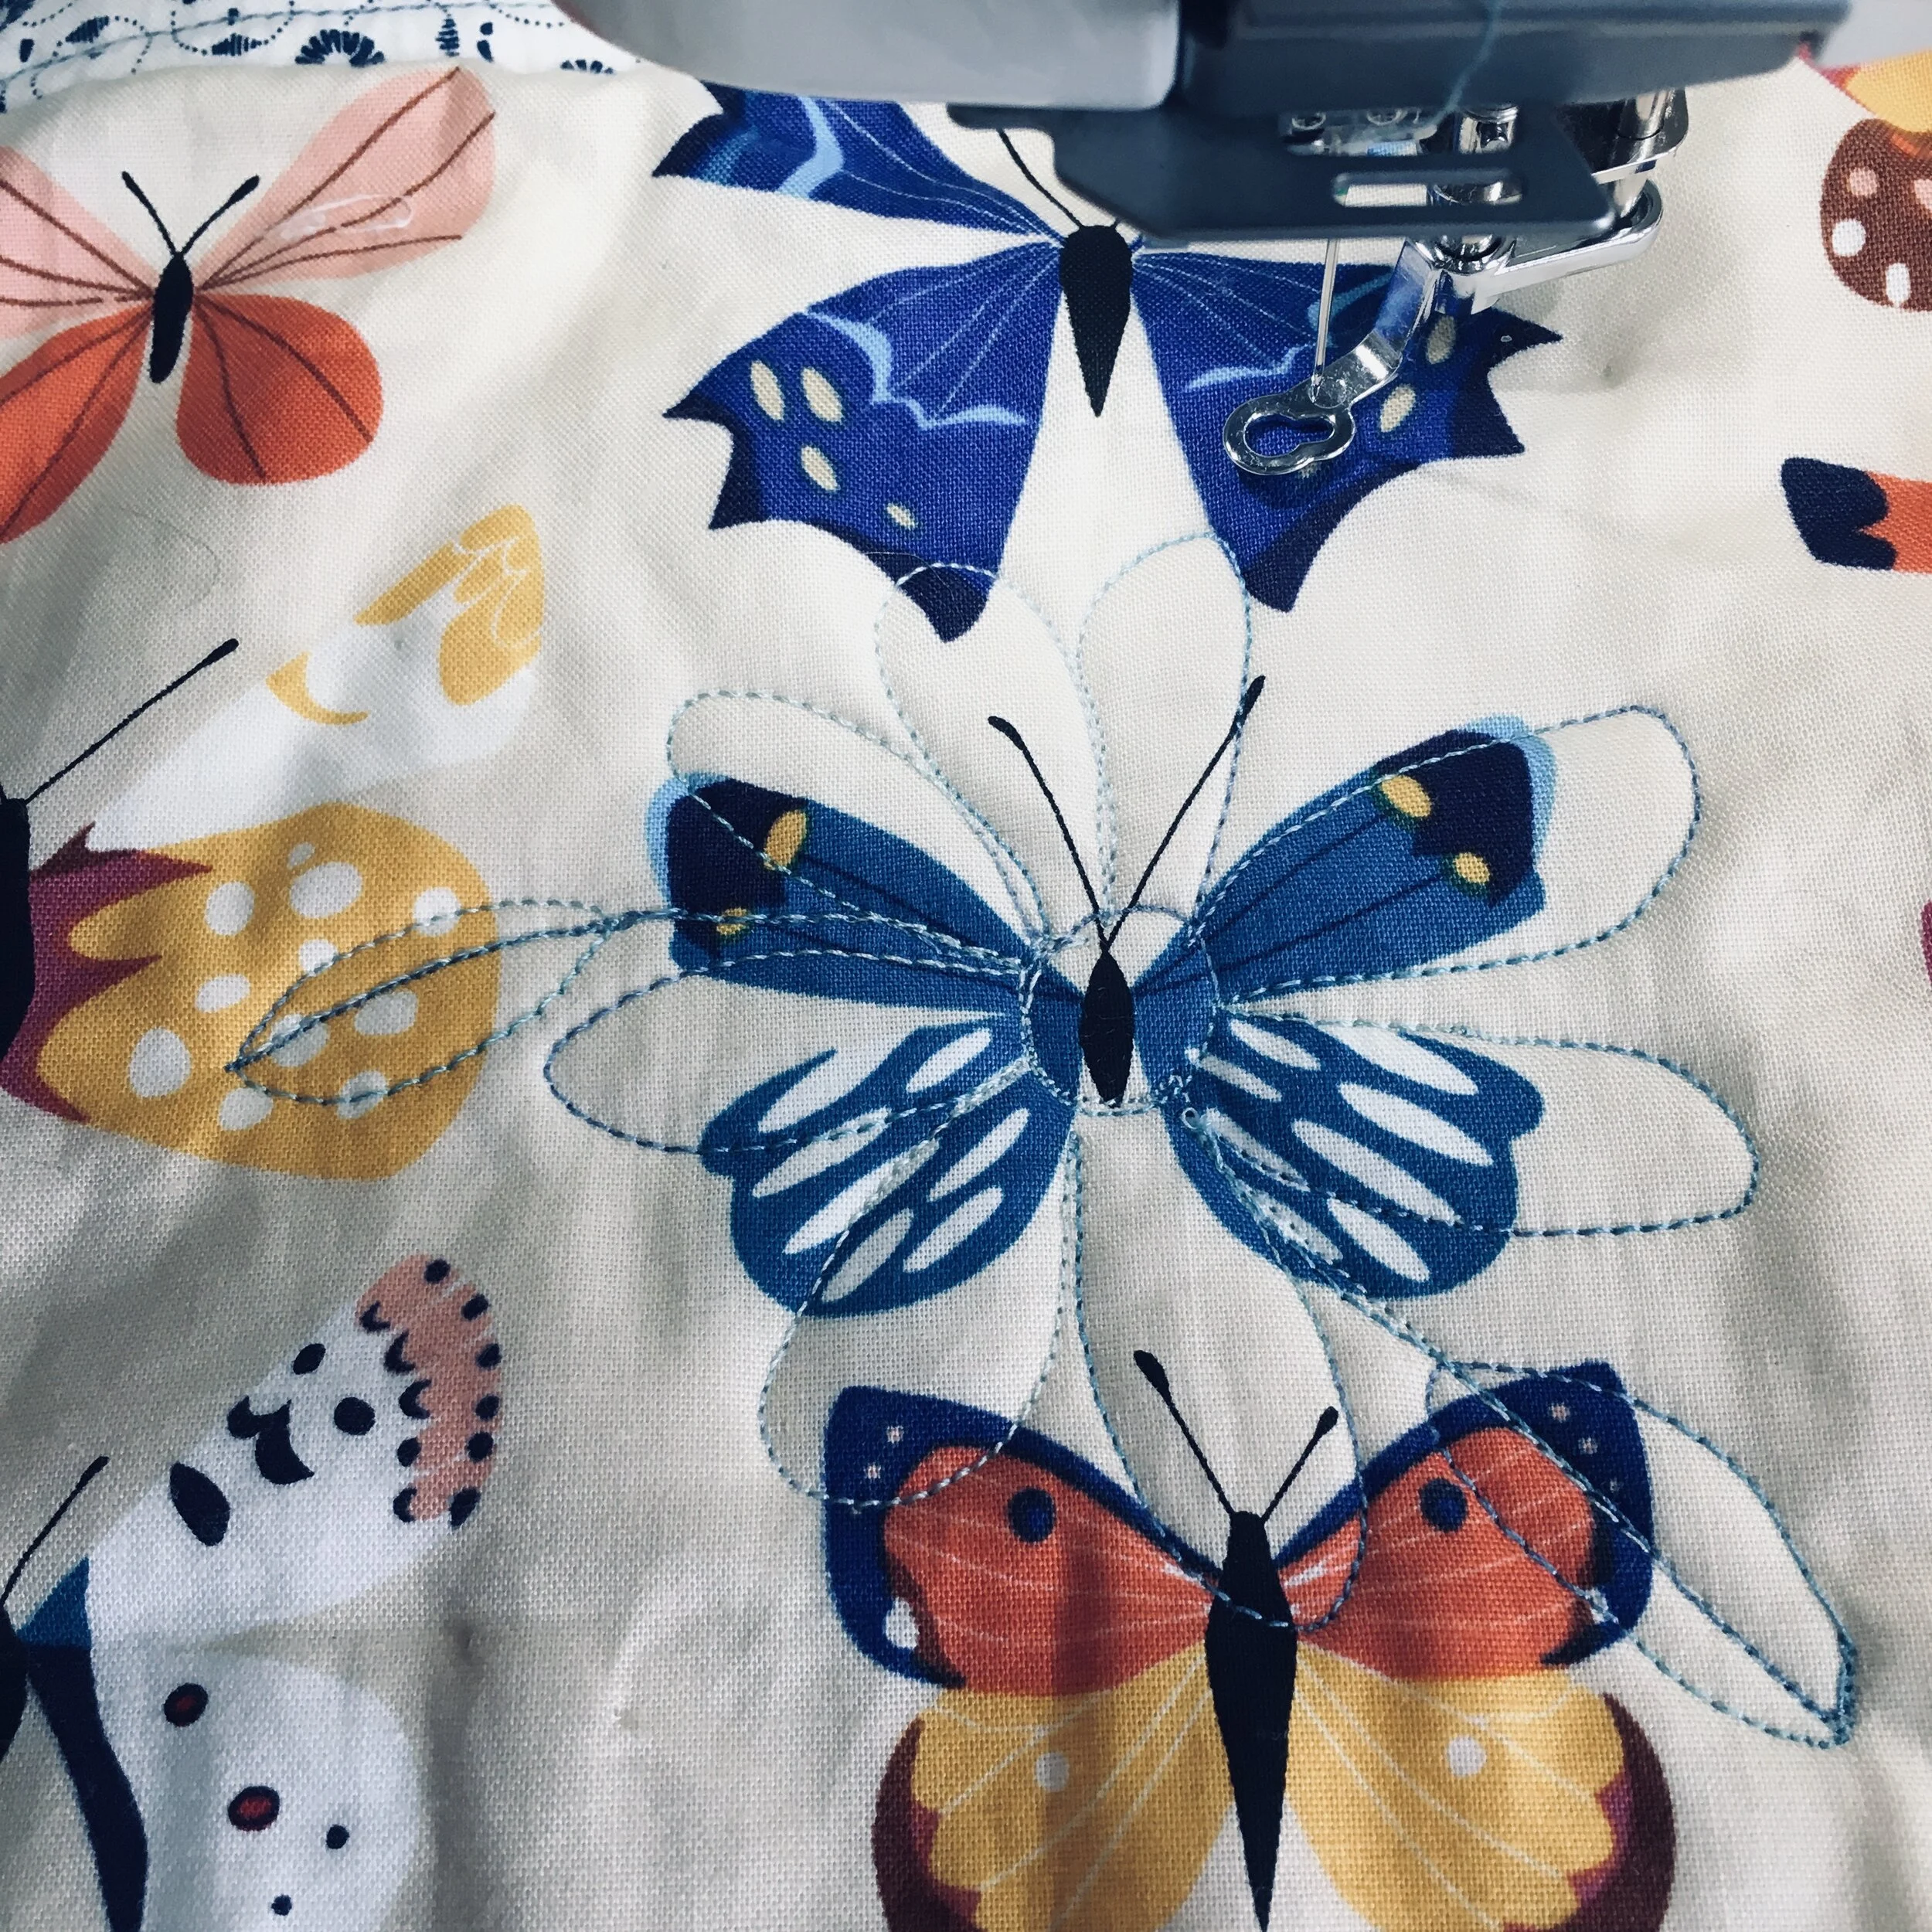
I picked up the aster-like floral design from my background fabric and modified it to get a large daisy flower. You can see that little blue flower in the right hand upper corner of the photo below.
Here is how I stitched out my flower.
Set up your machine for free motion quilting. Drop the feed dogs on your machine and attach the darning foot. Make sure you are using a sewing machine needle meant to be used for quilting. It helps to have a low friction mat (I use a the regular Supreme Slider), on the table of your machine under the quilt, and pair of quilting gloves or clean gardening gloves with gripper dots to help move the quilt as you stitch. (The bright yellow gloves that you can see in one of the photos below are Dritz Fons and Porter Quilting Gloves. I also really like Machingers Quilting Gloves).
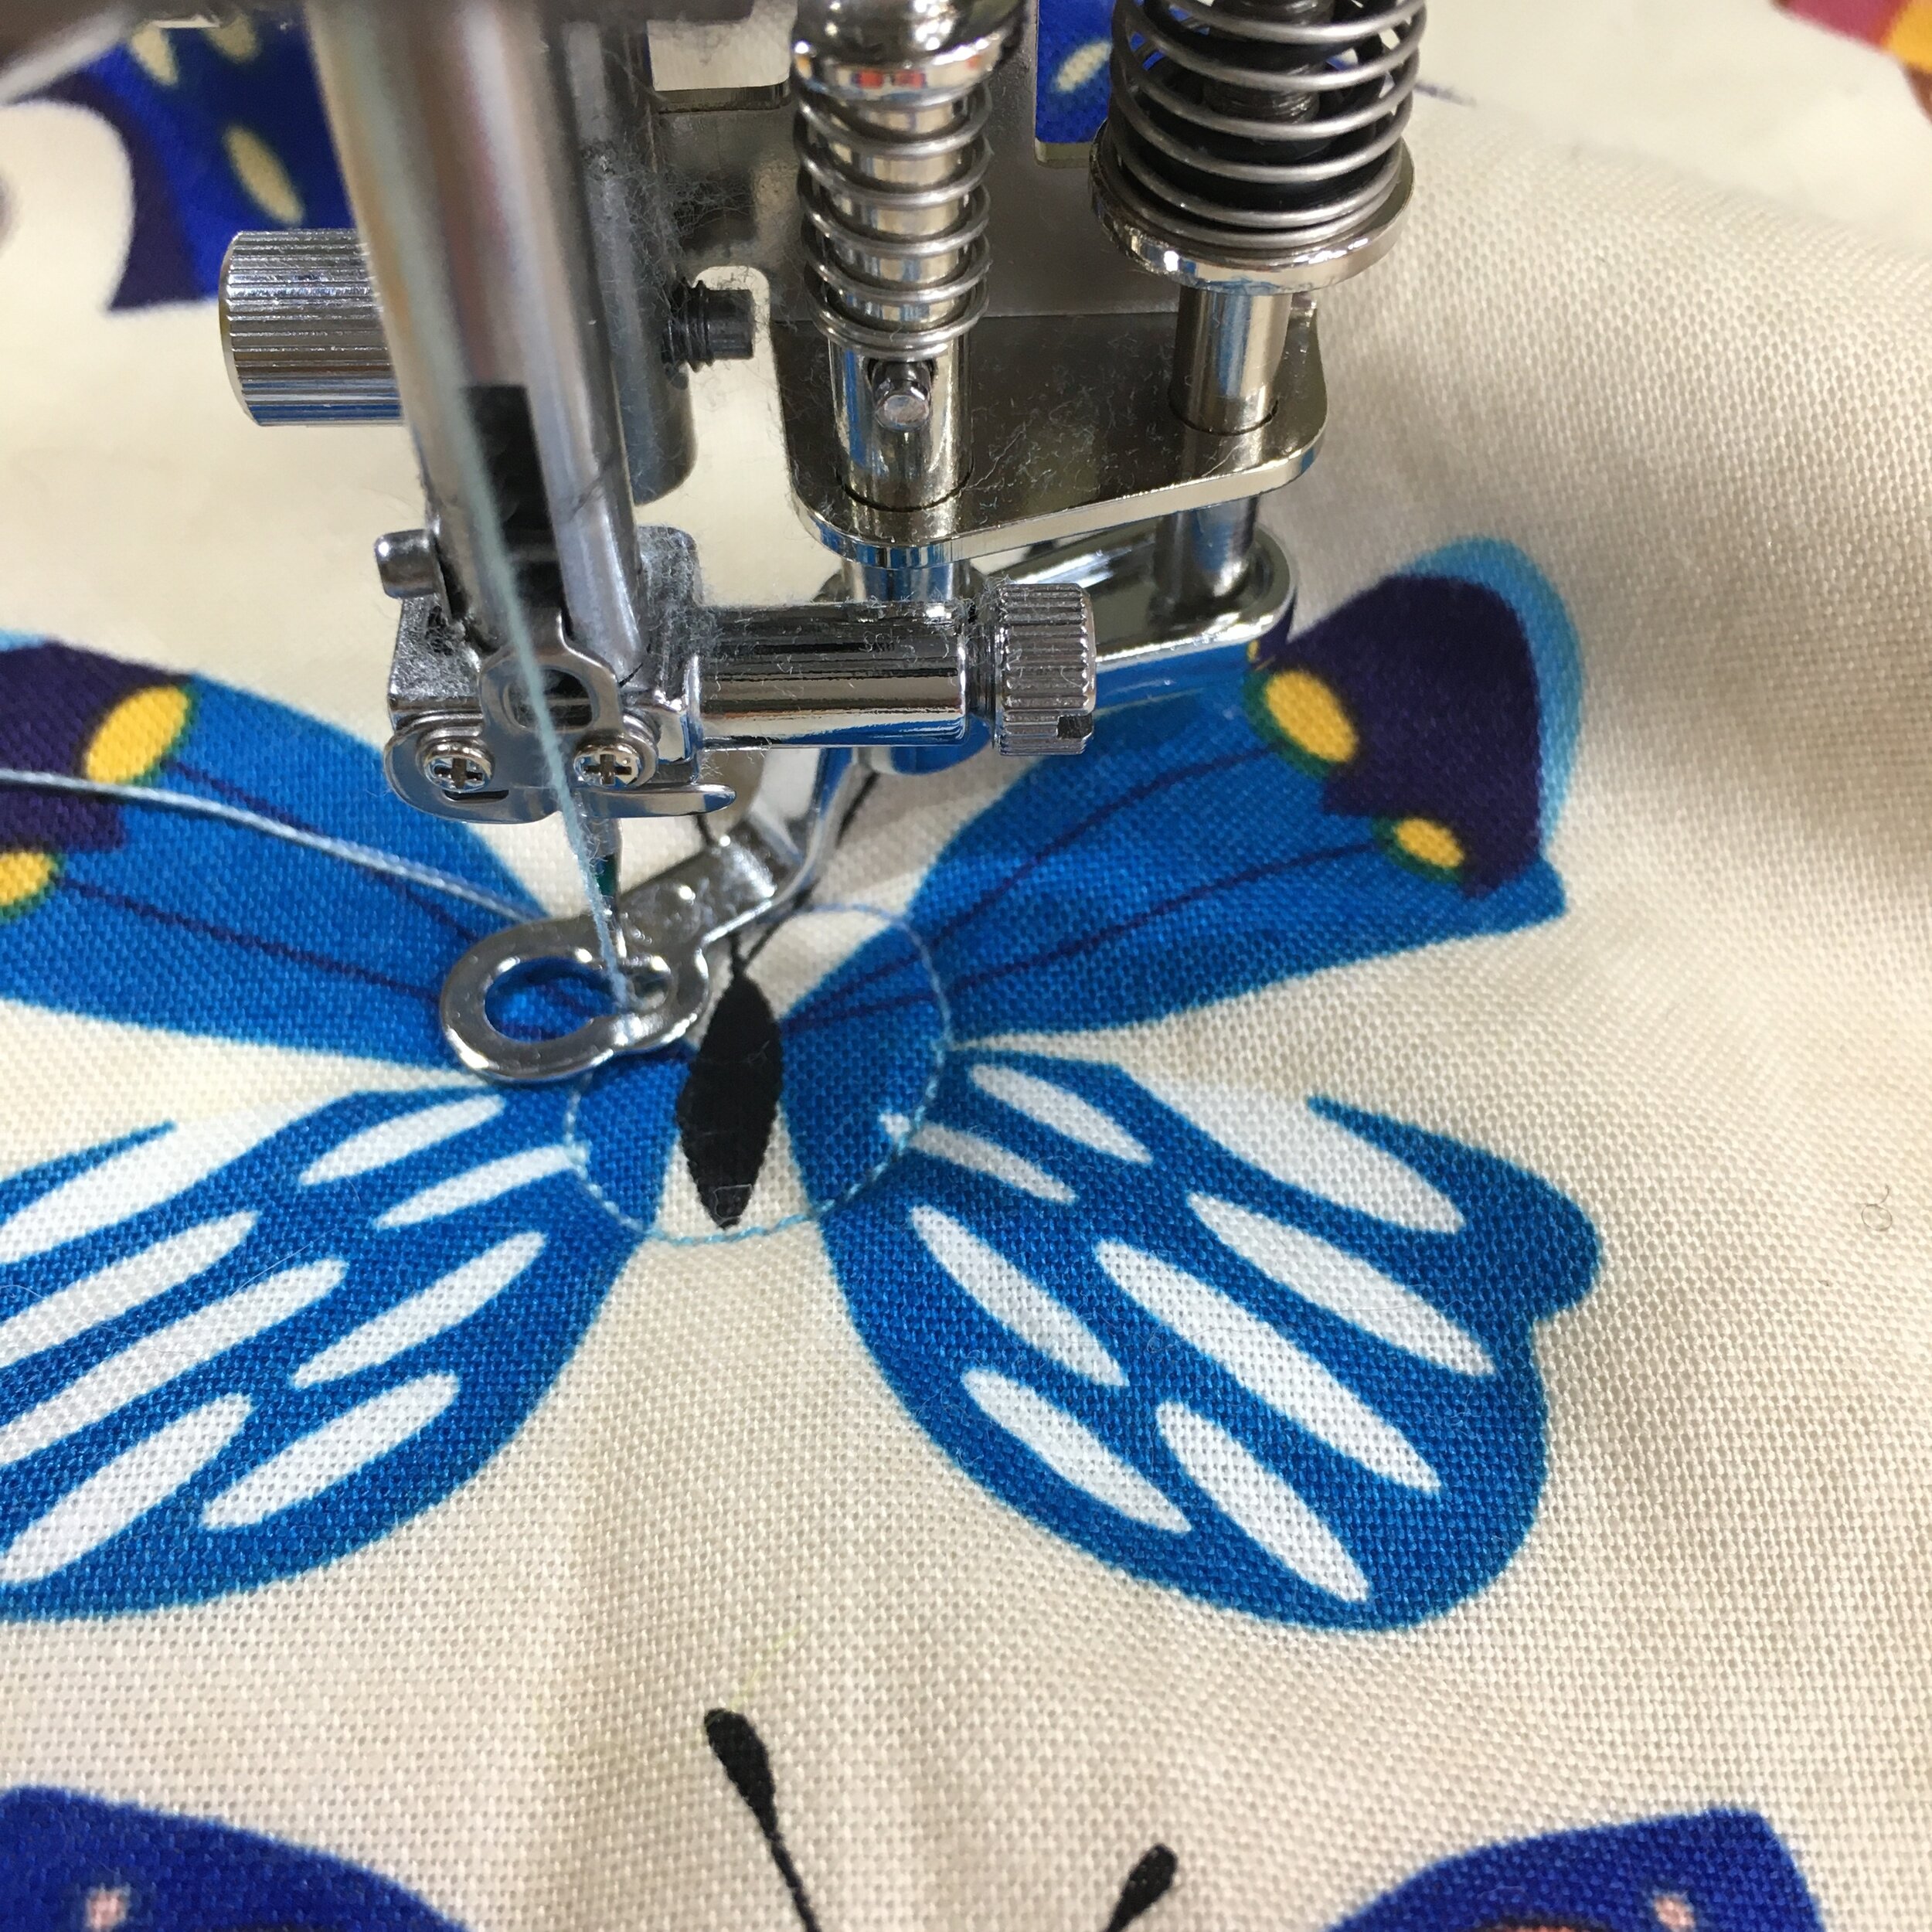
Start in the center of the block. Using the up-down needle needle function on your machine, pull the the bobbin thread from the back of the quilt. Put the needle in the down position.
Bobbin thread has been pulled up from the back of the quilt. Needle is down, reading to start quilting
Grab the tails of the two threads and stitch a circle, ending a couple stitches over your start point. I clipped the two threads now. If you are quilting a quilt for a show or as an heirloom, you should use a sewing needle to bury the thread ends in the middle of the quilt sandwich.
Stitch loops around the circle, creating the flower petals. Stitch at an even speed, slower than you normally would sew. It helps to turn down the stitching speed on your machine if you have that option. The slower speed helps to keep your stitch length regular and helps to prevent pulling on the back creating eyelash stitches. They eyelash stitches look like eyelashes. You’ll know them immediately if you see them. Eyelash stitches should be removed and resewn because the stitches aren’t anchored.
Sewing loops off the central circle to make lower petals
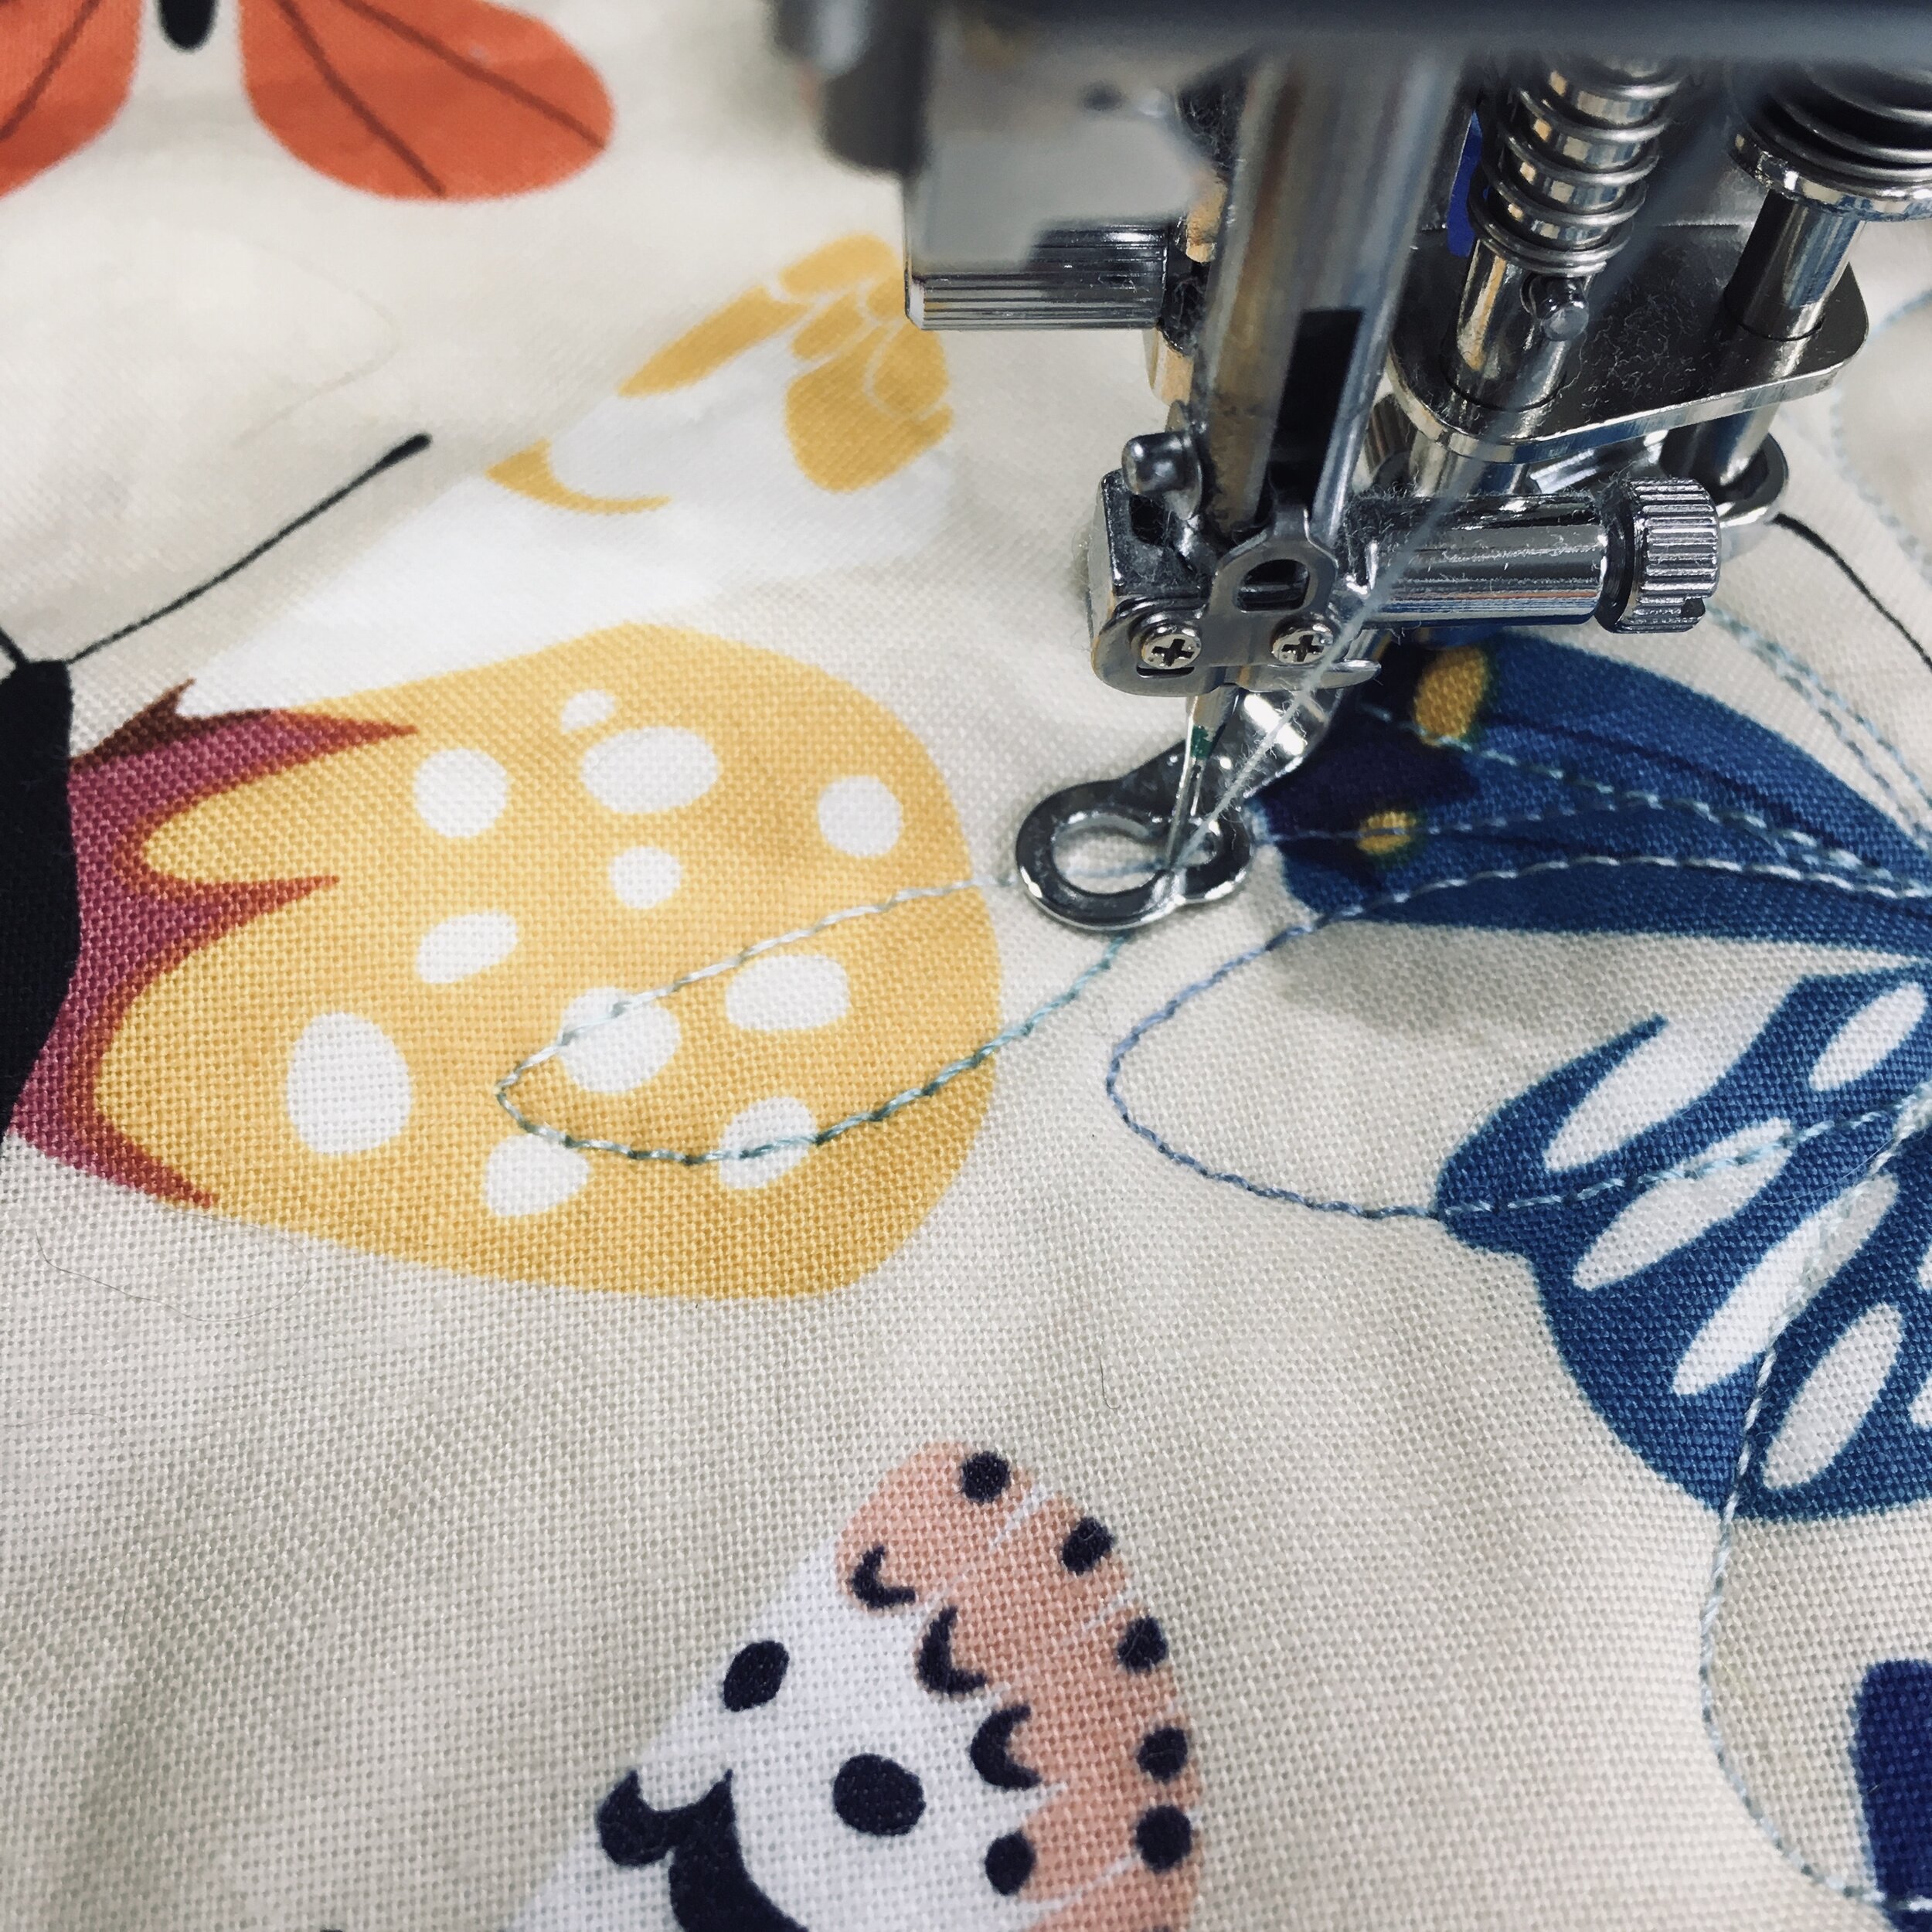
Once you have petal stitched all the way around the central circle, stitch a line between two to the petals to create a stem for a leaf.
Starting to stitch a stem for a leaf
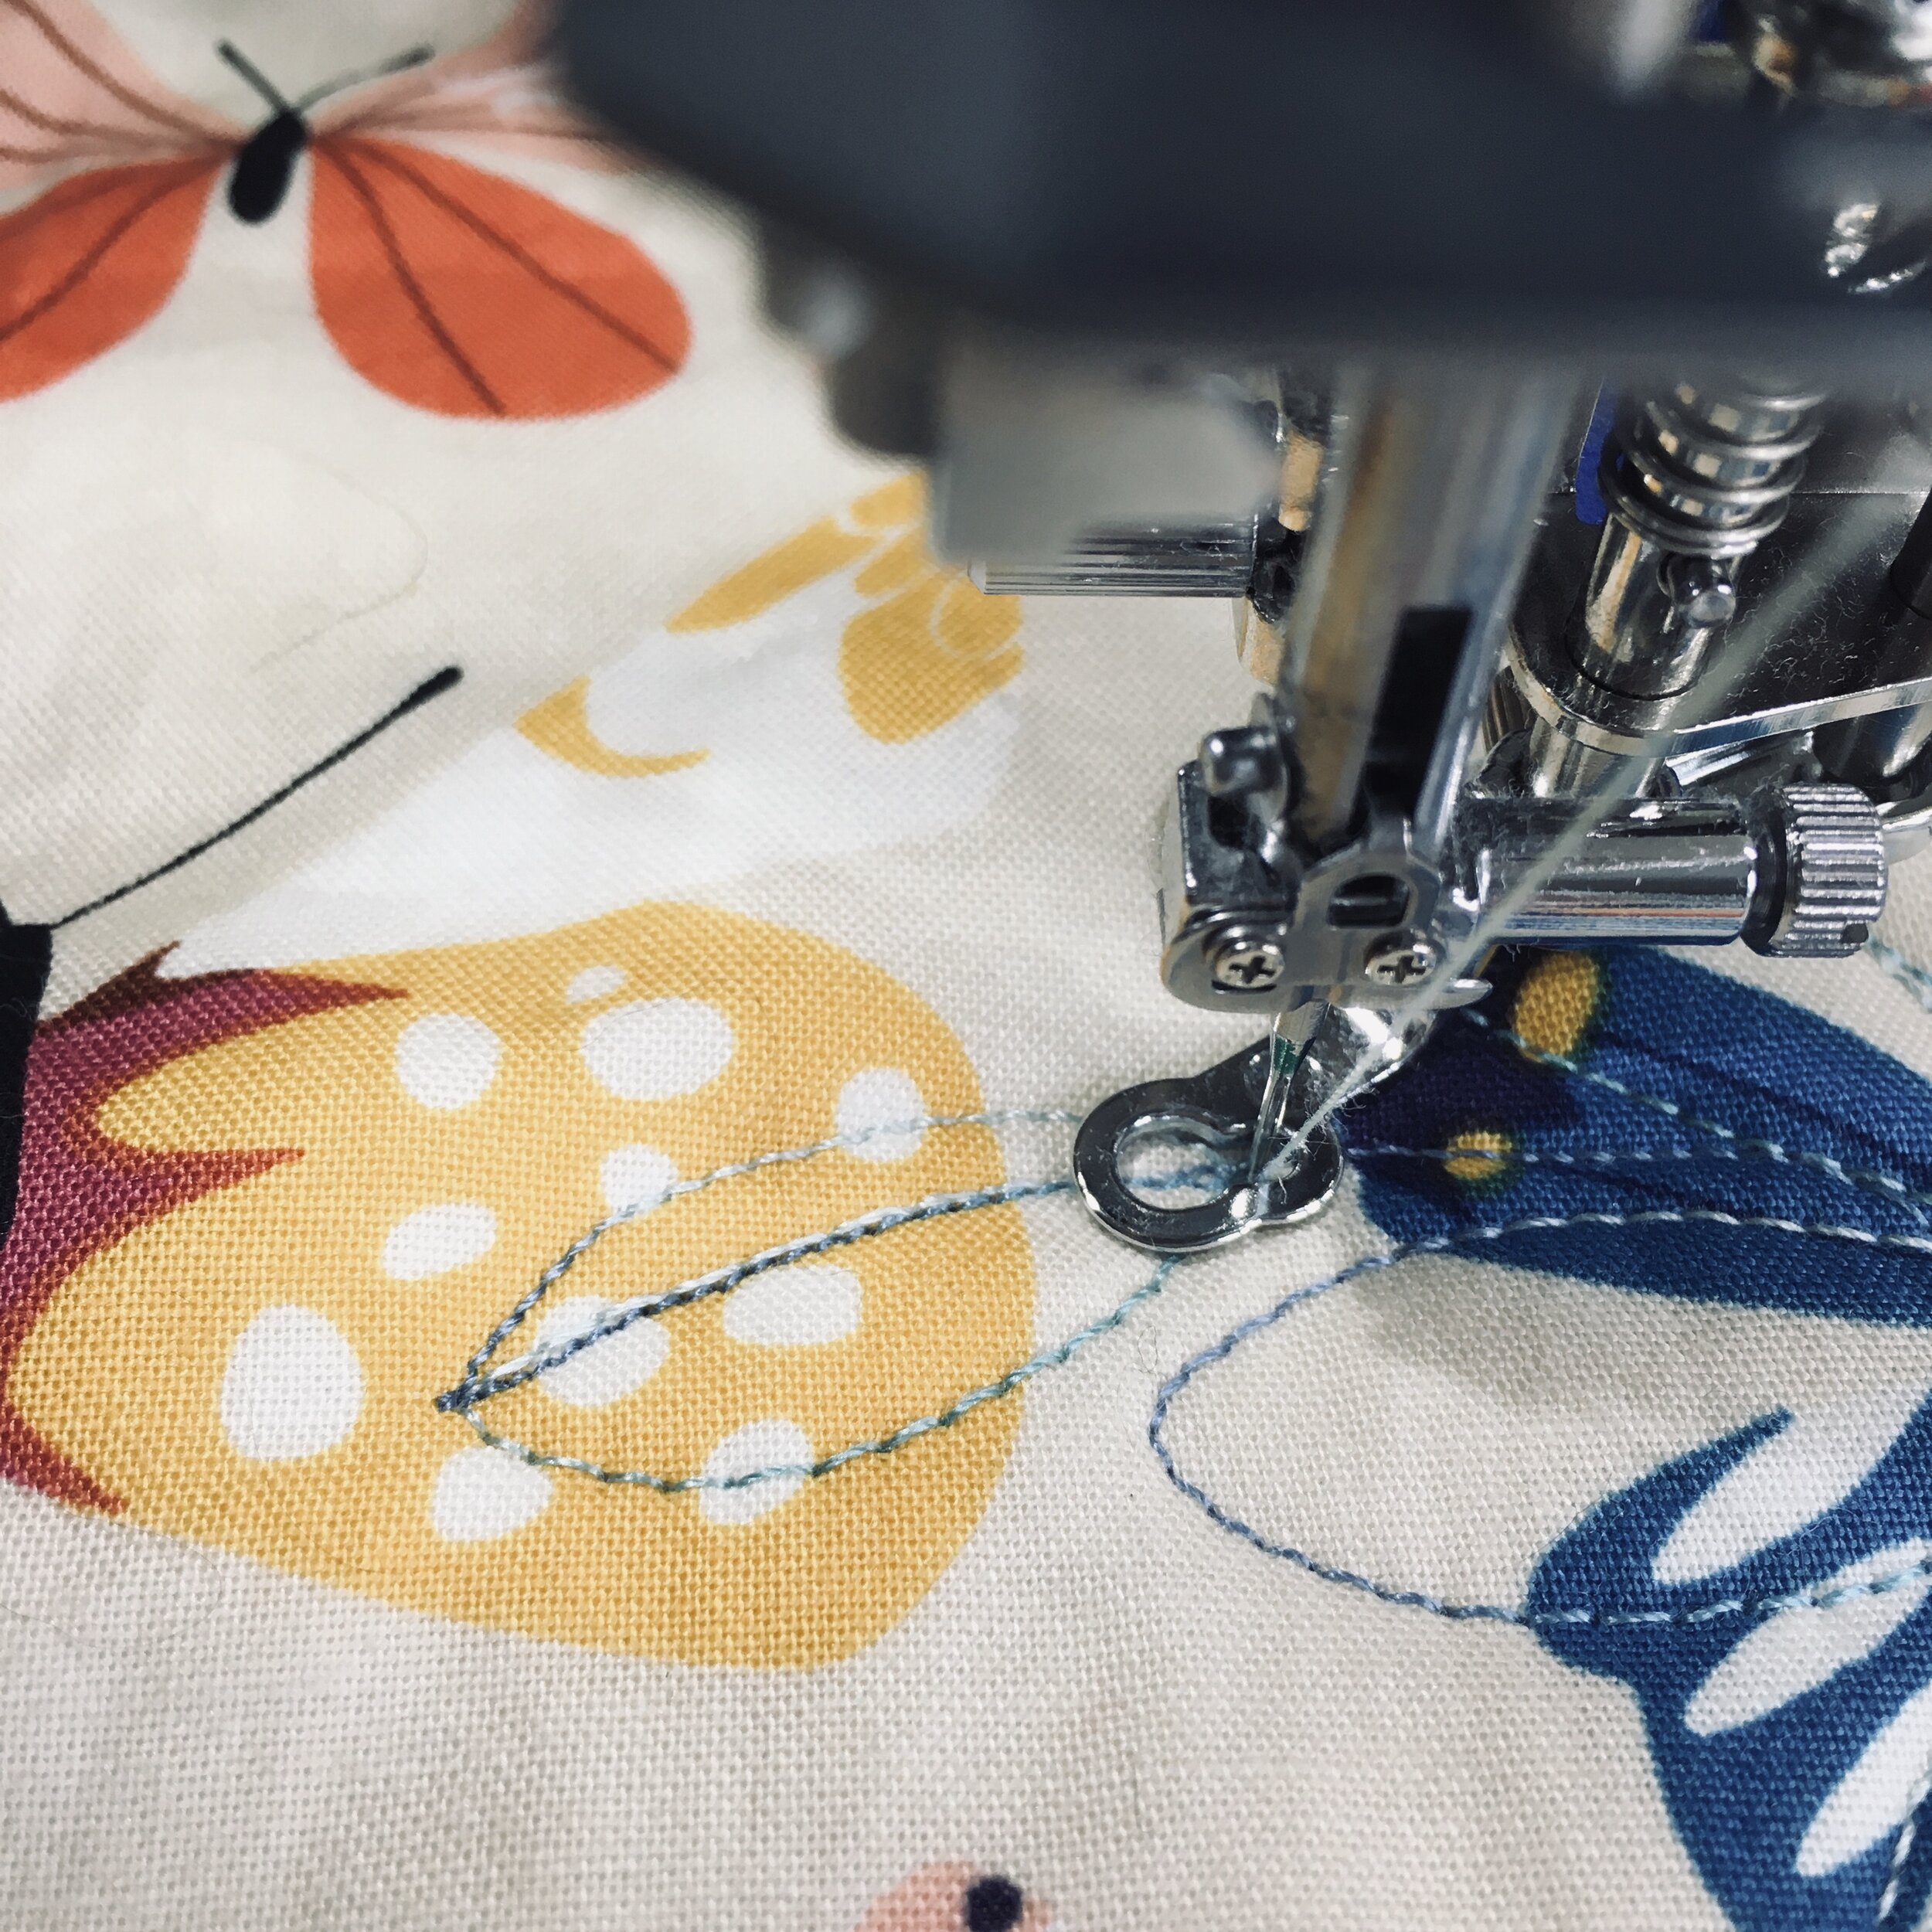
Once the stem is the length you want, stop stitching. This will allow you to get a point on the end of your leaf. Then stitch a curve that will be half the leaf back to the stem stitching.
First half of the leaf
Now stitch the the other side of the leaf by sewing a loop on the other side of the stem, ending at the tip of the leaf. Then travel stitch back down the center of the leaf, on top of your initial line of stitches. And the end of the leaf, I usually stop travel stitching and stitch a couple of millimeters away from the first stem stitches to create a more realistic looking stem.
Travel stitching back along the stitches in the center of the leaf
I only made a wider stem on side of this flower. After you reach the center of the flower, travel stitch around the circle and out between two other petals to make another leaf if you want to do that. I initially quilted two flower with 4 leaves each, but then decided I preferred the 2 leaf design better.
Free motion quilting uses “motor memory”—your muscles working with your brain. It takes practice. Some designs, like these flowers come easily to me. Some I really struggle with. I have a friend who loves stitching a paisley pattern. Please don’t ask me to do a paisley design! I’ve learned to stitch what feels right to me, not what someone else can do. And it’s totally fine to create your own designs. In fact, with free motion quilting, I think that stitching designs that come naturally to you is the best way to go.
Notice: This blog is not monetized: I do not use affiliate links. When there are links in a post, they are to give credit to another creative person, because I like or have used a product, or to help the reader easily find supplies for a project.
