I taught a Beyond Beginner Quilting class at JP Knit & Stitch last week. This class focussed on accurate piecing.
I sew up demonstration blocks and/or quilts to use in my classes. So last week I sat down to sew some demo components for this precision piecing class. I cut out the yellow 2 1/2 inch squares from yardage. I had some commercially cut left over jelly roll strips (2 1/2 inch x width of fabric strips) on the table next to my cutting board. One of them was a perfect shade of blue for my project! So I cut my 2 1/2 inch blue blocks from the the strip. Don't you love it when you can find a short cut?
Except that's not how it turned out.
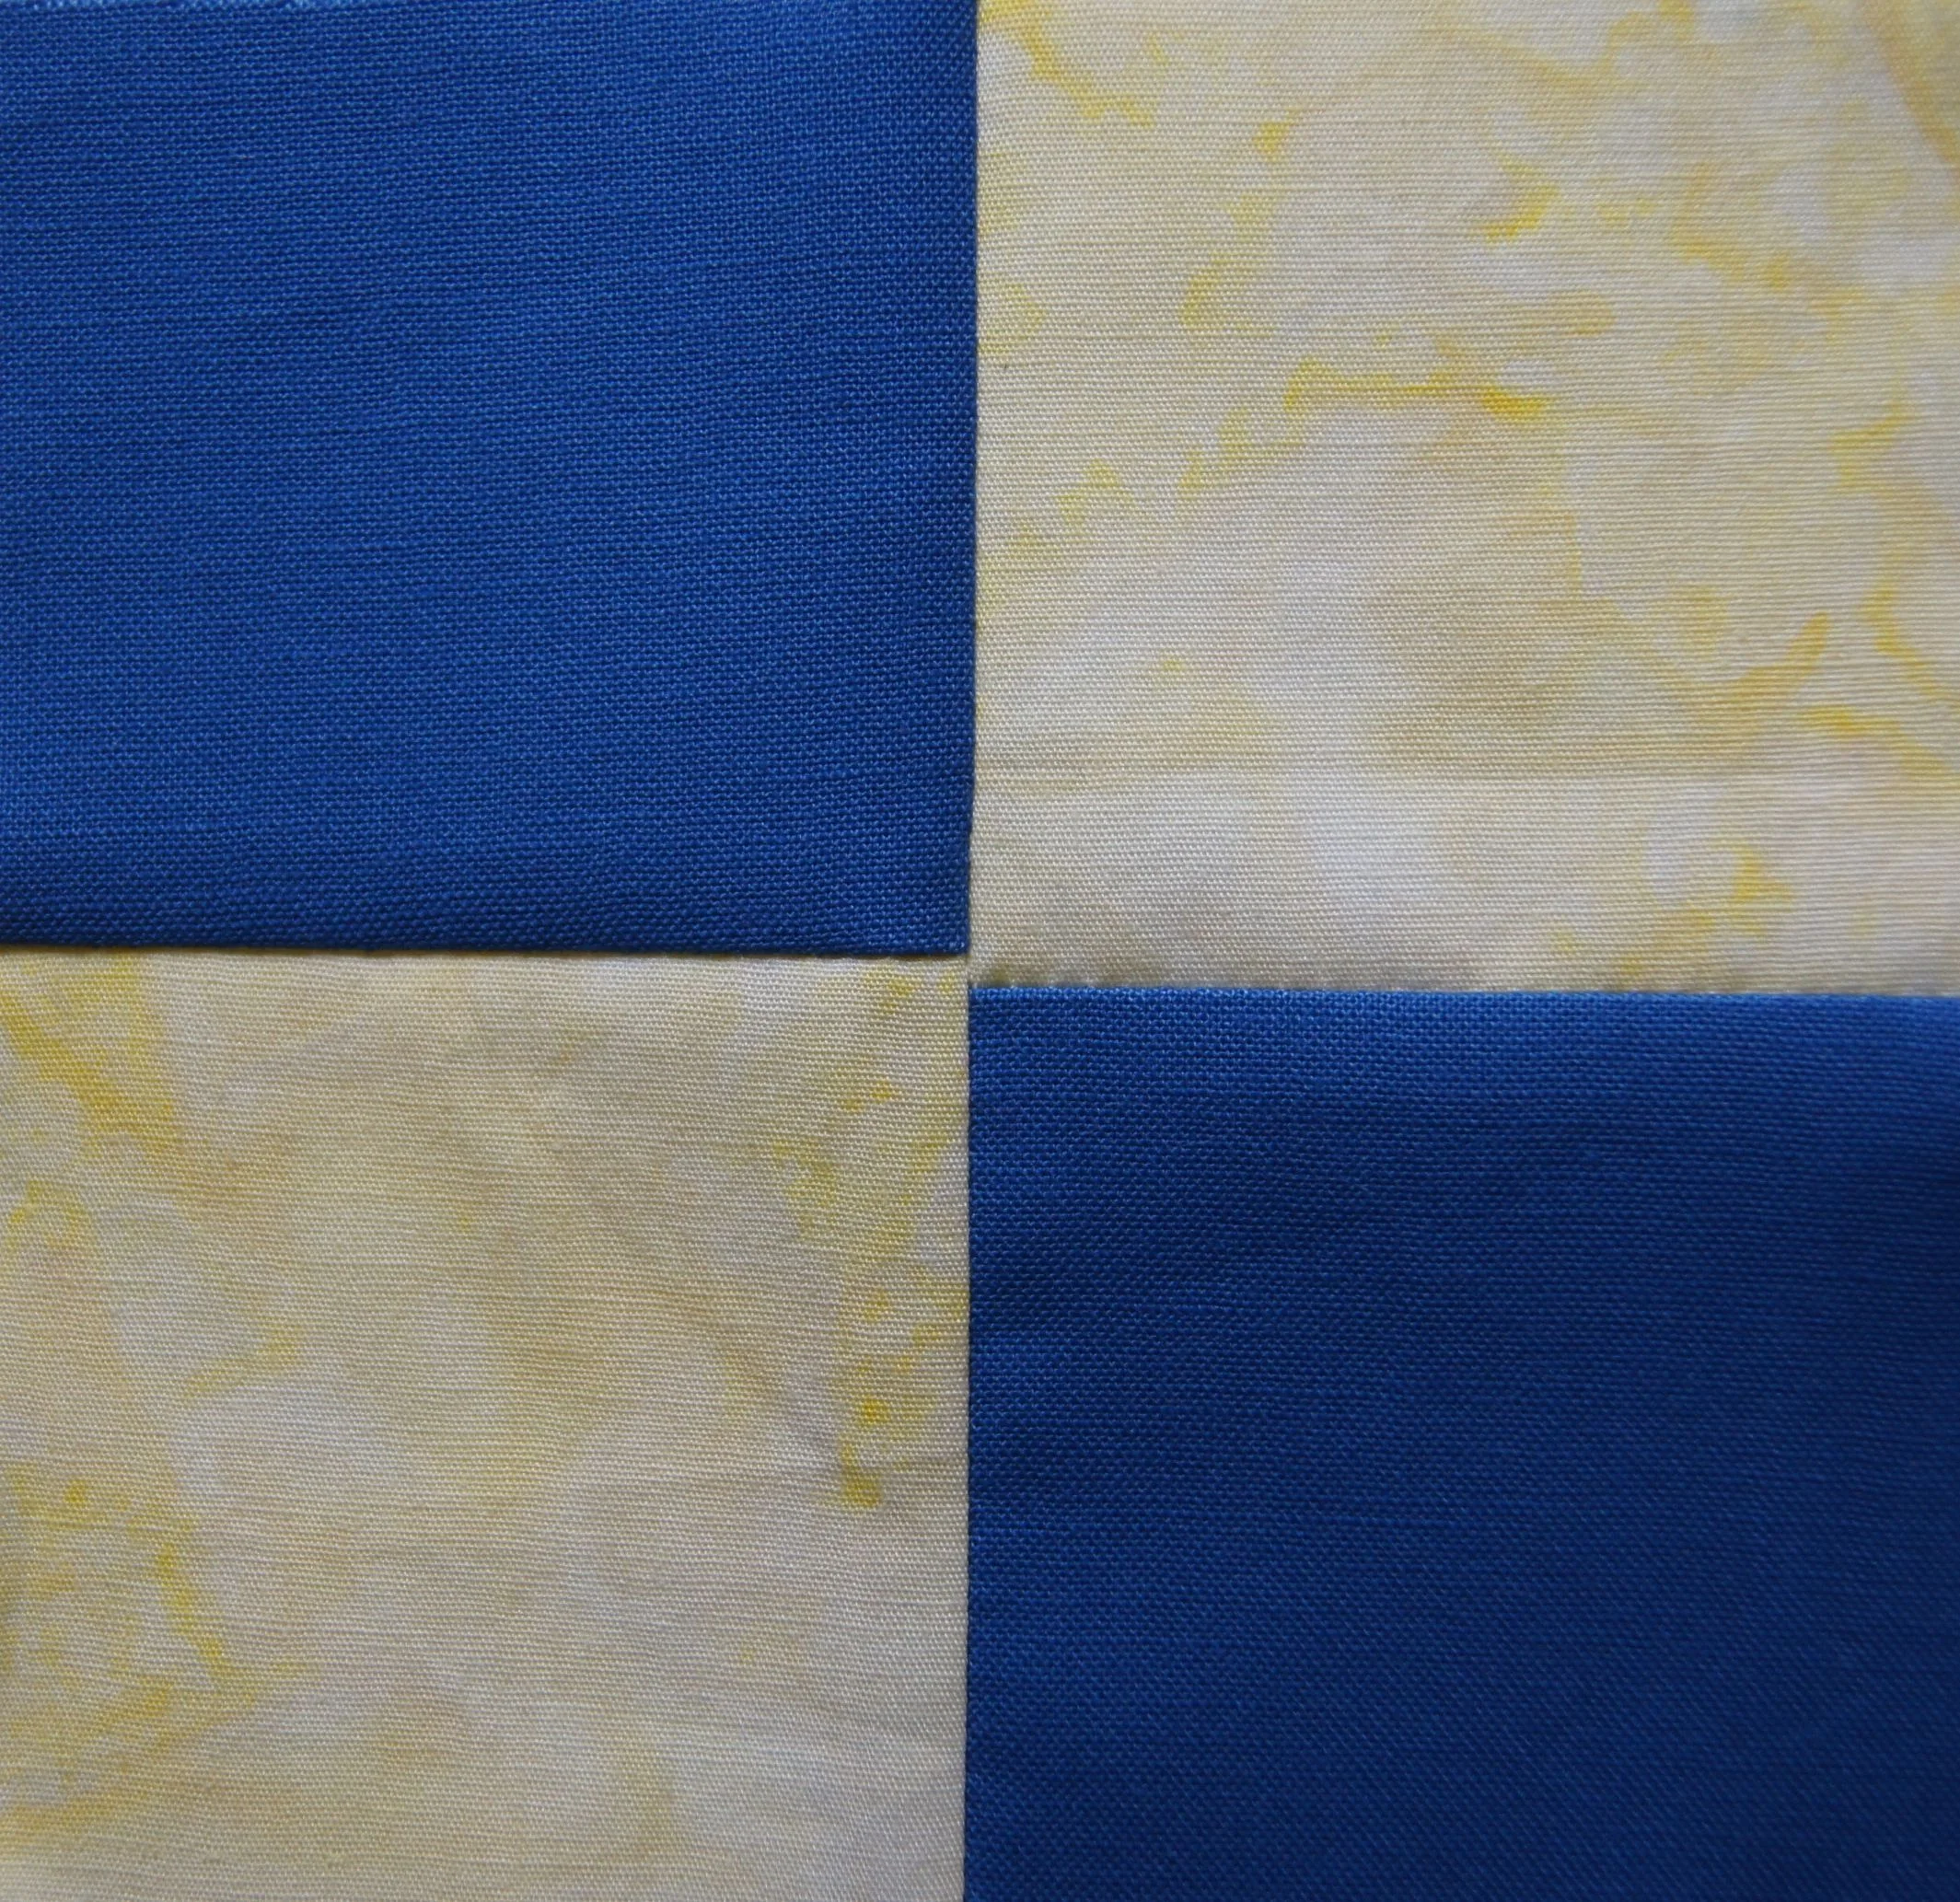
When I started to sew my 4 patch blocks, I noticed that the blue squares didn't match up with the yellow ones very well, as you can see on the patch below on the left. I put a blue block under my ruler. The width of the commercially cut strip was between 1/16 and 1/8 inch too narrow which you can see on the bottom edge of the blue square.
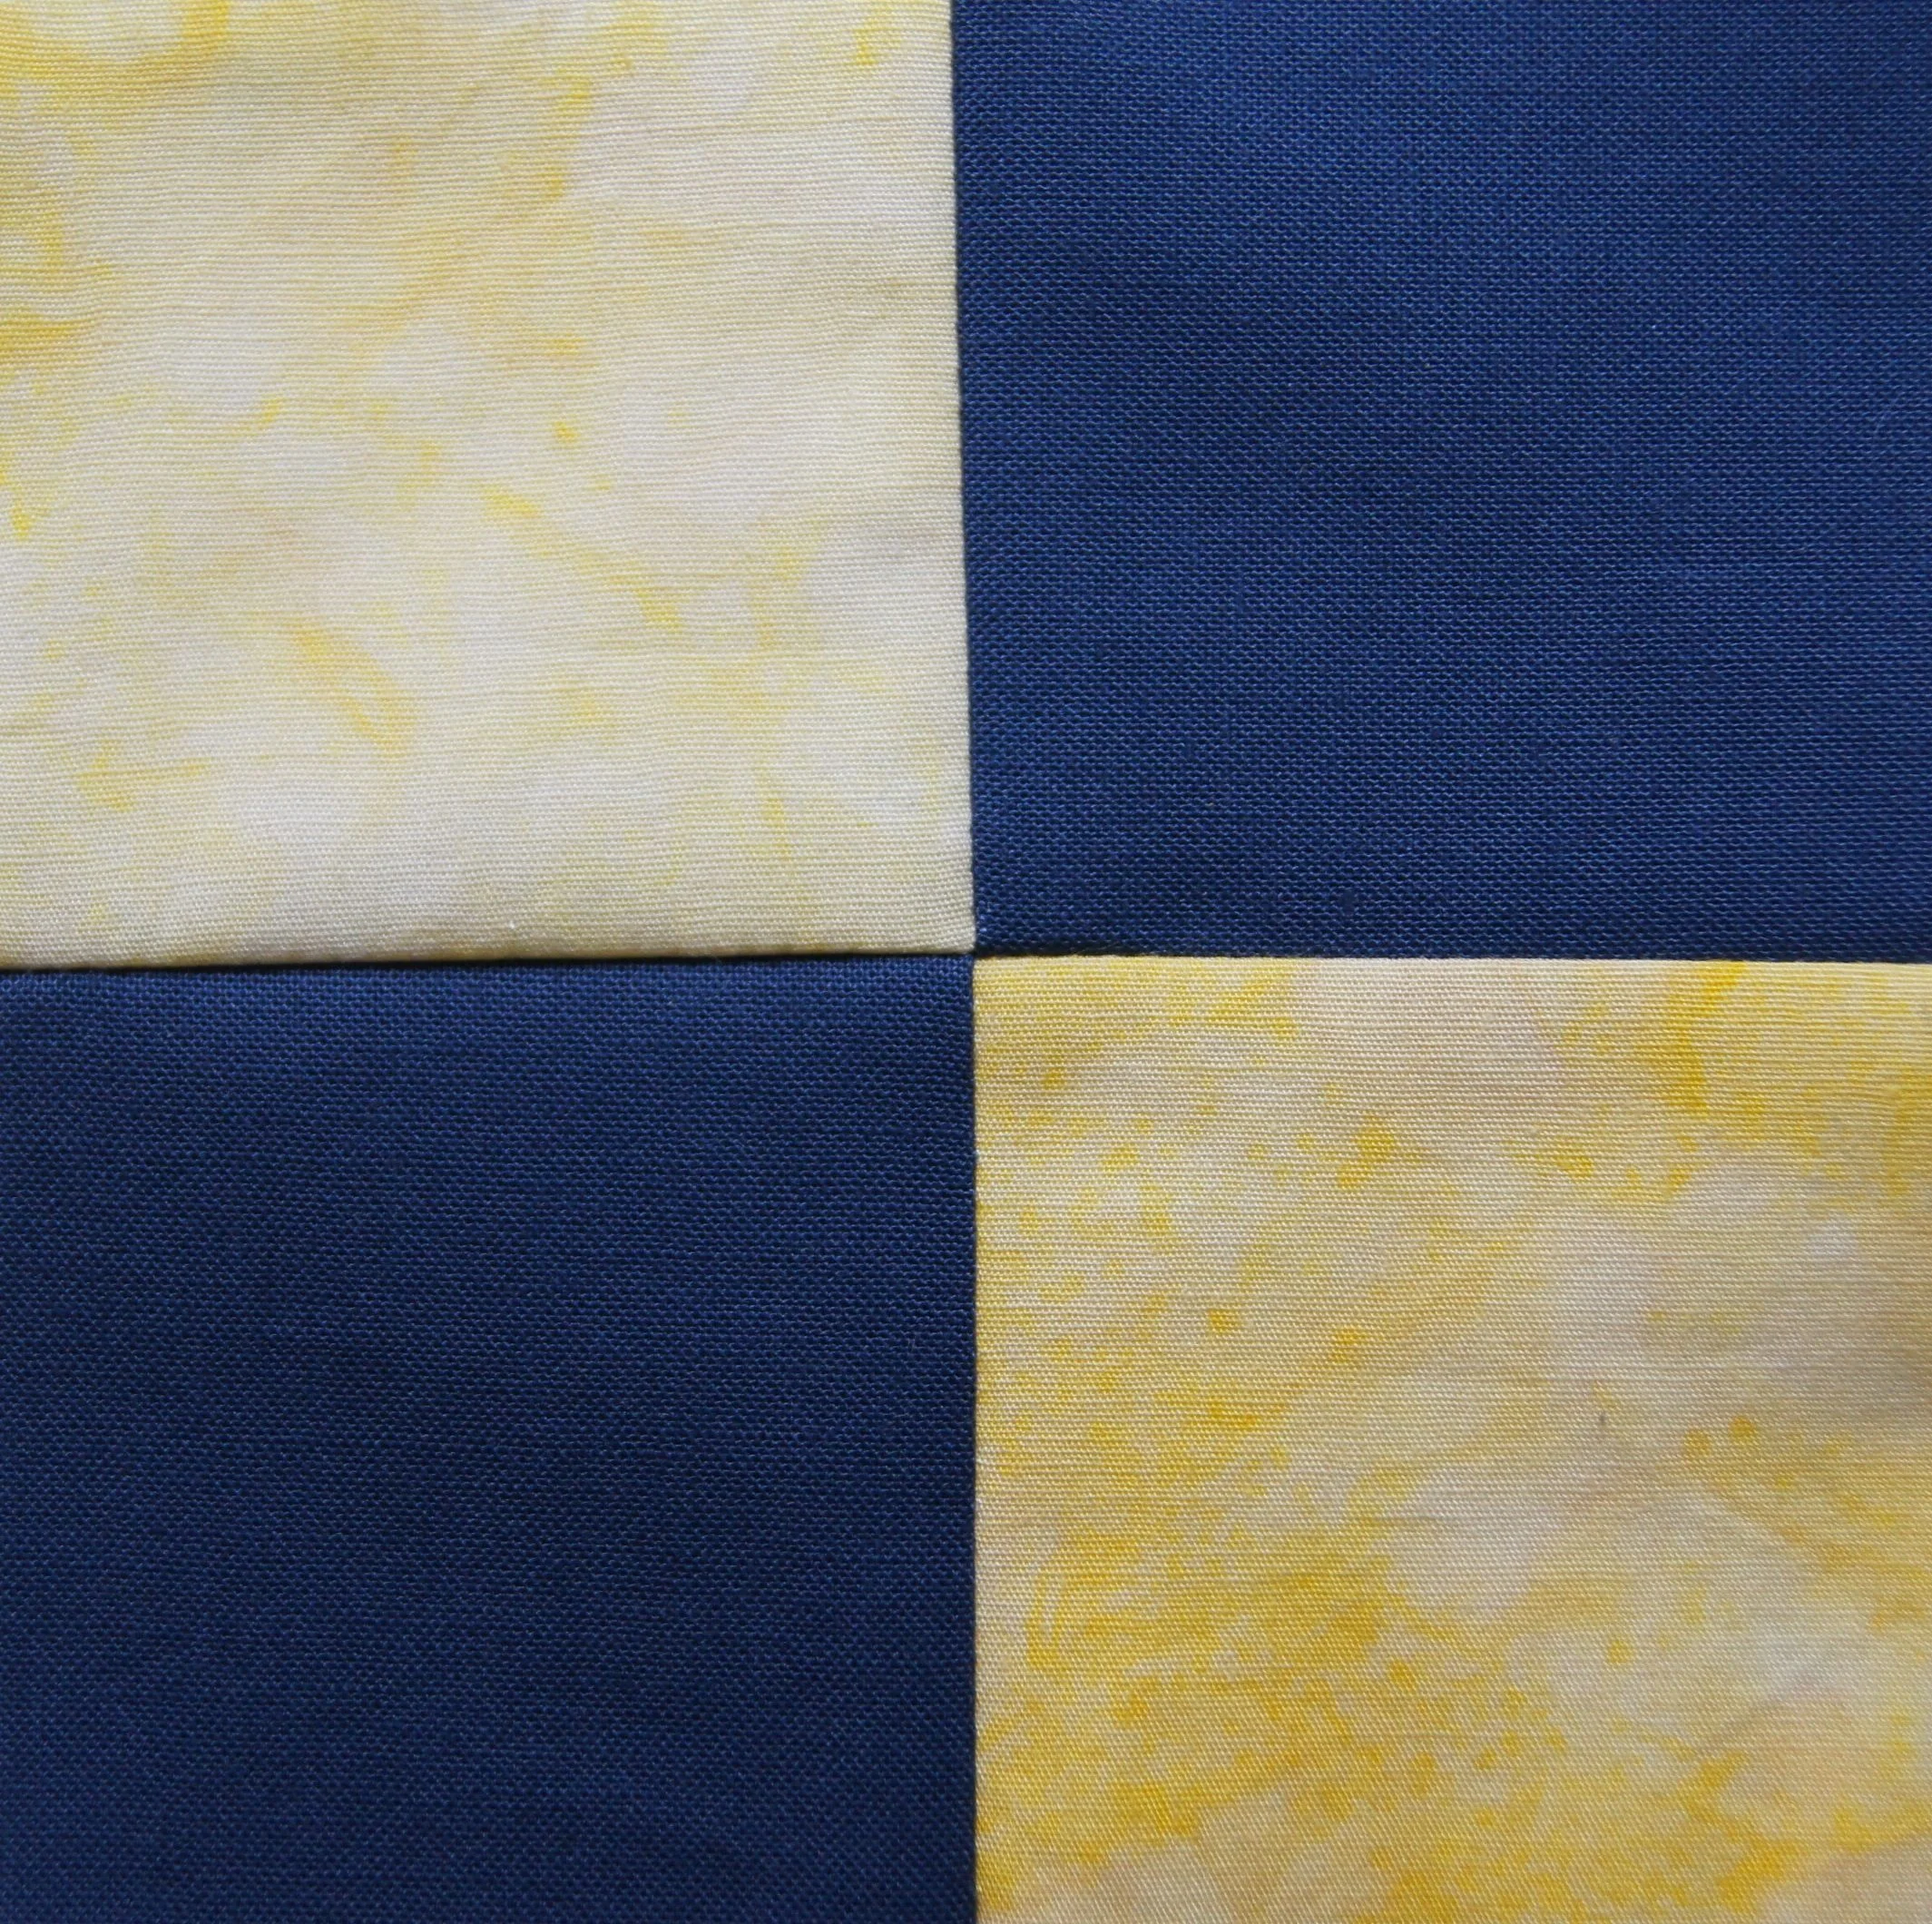
Did that really matter? Yes. Note the 2 blocks at the top of the post. The block on left was sewn from pieces from the inaccurately cut strip. The block on the right was sewn from new pieces which I cut from yardage. While you could probably stretch the fabric a bit to make the block on the left work better, it will never be as good as the bock with accurately cut pieces.
I inadvertently created not only "How to" blocks for my students but also a set of problem patches!
Here are some of my tips for accurate piecing:
- Press and starch your fabric prior to cutting. This is particularly important if you will have seams on the bias of the fabric. I like Niagara Spray Starch. Amazon sells it in environmentally friendly non-aerosol spray bottles which usually can't be found in local stores.
- Make sure to cut the fabric on the grain. Fold the piece of yardage in half and holding the selvage edges together at the top. The fabric should hang down smoothly. If it doesn't scoot one edge of the selvage along the other edge until it does. Then lay the fabric, folded in half across the width, on the cutting mat and cut a straight line across top edge. Now you are ready to cut!
- Cut your fabric with a sharp rotary blade! Replace it when it no longer runs smoothly.
- Anchor the ruler with your hand flat on the ruler and always cut away from your body.
- Sew a consistent quarter inch seam. It's fine to use a 1/4 inch sewing machine foot but make sure it really does sew a true 1/4 inch seam. If you have a big project, setting up a fence on your machine will help keep your seams consistent. (Photo and more information about setting up a fence shown half way down my post in the link).
- Set you seam by pressing with a hot iron. Then press you seams either to one side or press them open. Either way is fine.
- Stop and get up when you get tried or hungry. Quilting is supposed to be fun!!
Here are the blocks made by the students in the class this past weekend. They were both still quite new to quilting. They did great work!


