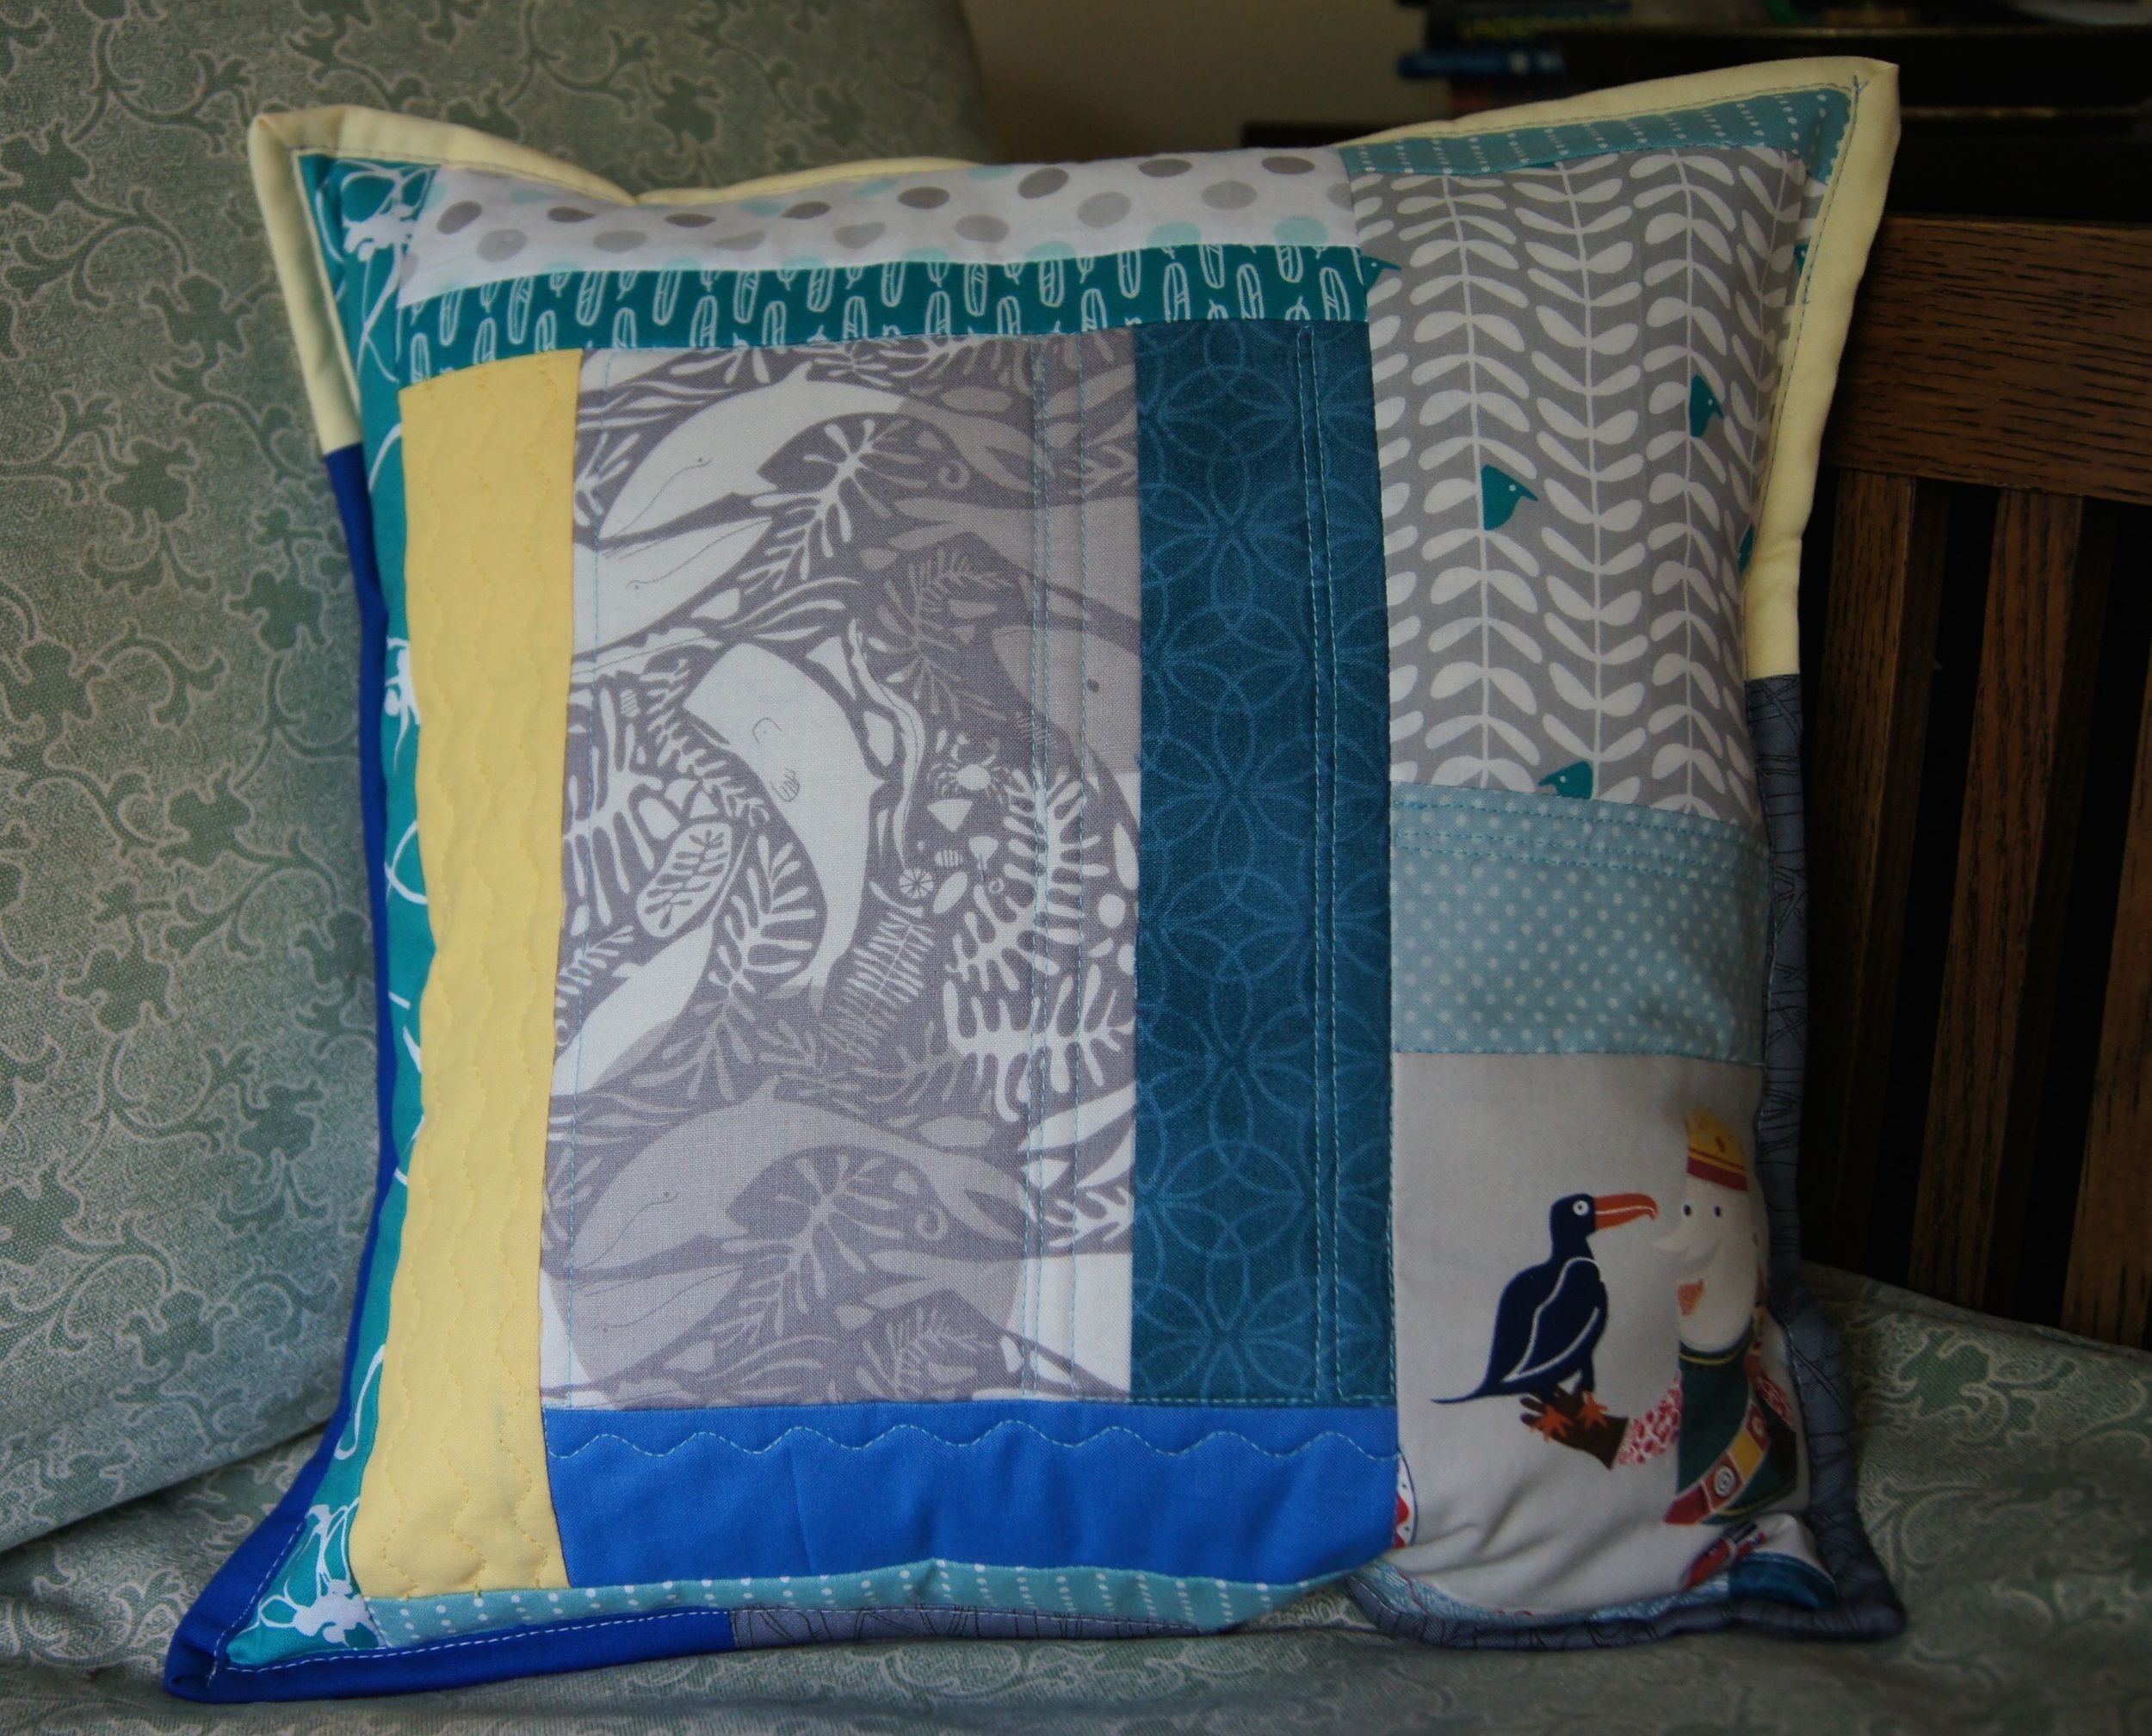
Quilting As You Go Pillow Cover 15 x 15 Inches
My sofa has been in need of a new look. I made a pillow cover as a project for Proper Bostonian Quilters and a couple Quilt-As-You-Go Blocks for a Boston Modern Quilt Guild charity quilt. I realized that a Quilting As You Go Block would make a lovely pillow cover but you could just as well use an orphan block or piece a block by a different method to make a pillow cover this way.
I had a bit of whale fabric from the back of my "Bjorn & Bjorn" Viking quilt, a couple of fussy cut Vikings left over from that quilt, and lots of batting scraps so this pillow cover is a total scrap bag project! Here's how I made my pillow cover.
Notes:
- This post isn't a Quilt-As-You-Go tutorial. If you would like more information about the Quilt-As-You-Go technique, the new book, Quilt-As-You-Go Made Modern by Jera Brandvig is a great resource. Jera has a chapter in the book on making pillow shams using a different final assembly method.
- If you don't know how to bind a quilt, here's a great binding tutorial from Connecting Threads.
Making a Pillow Cover with an Envelope Back and Binding Edge:
- From left over quilt batting, I cut a piece of batting 1 inch larger on all sides than the pillow form. I used a 14" purchased pillow form so I cut a 15 x 15 inch piece of batting.
2. I cut a piece of scrap fabric the same size as the batting. This fabric is inside the pillow, never to be seen. It would be a great way to use up a bit of ugly fabric!
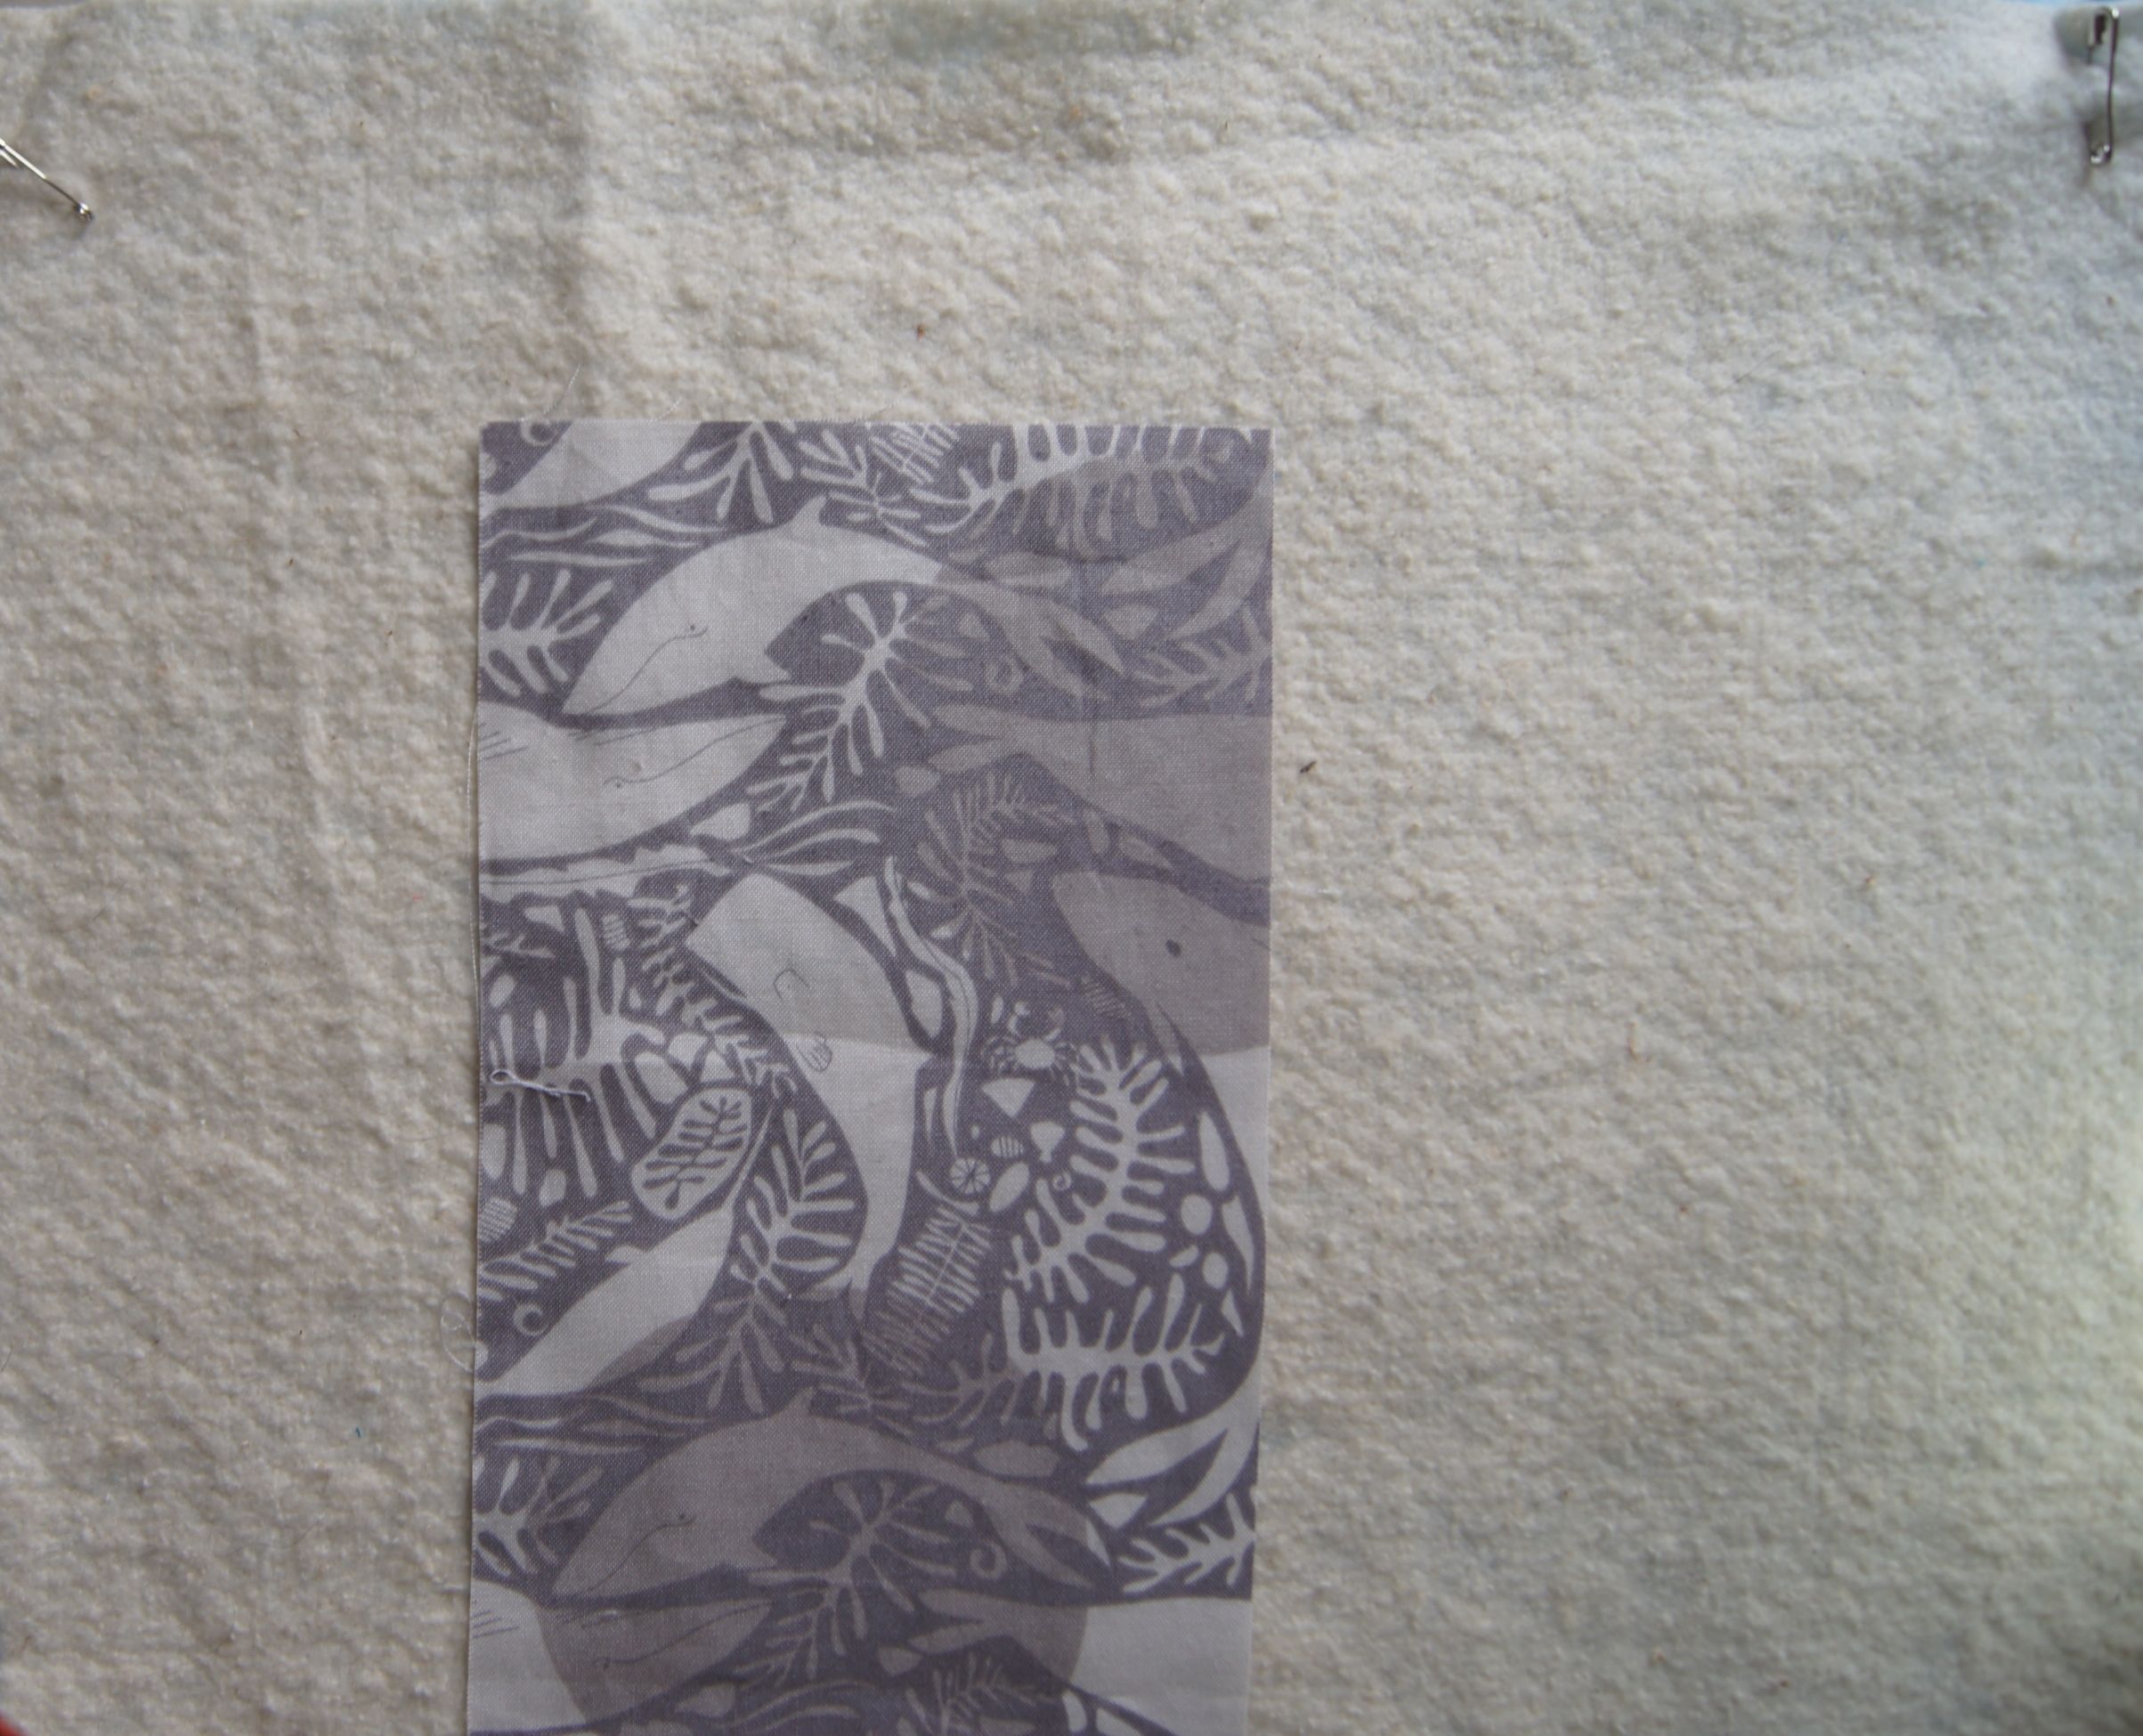
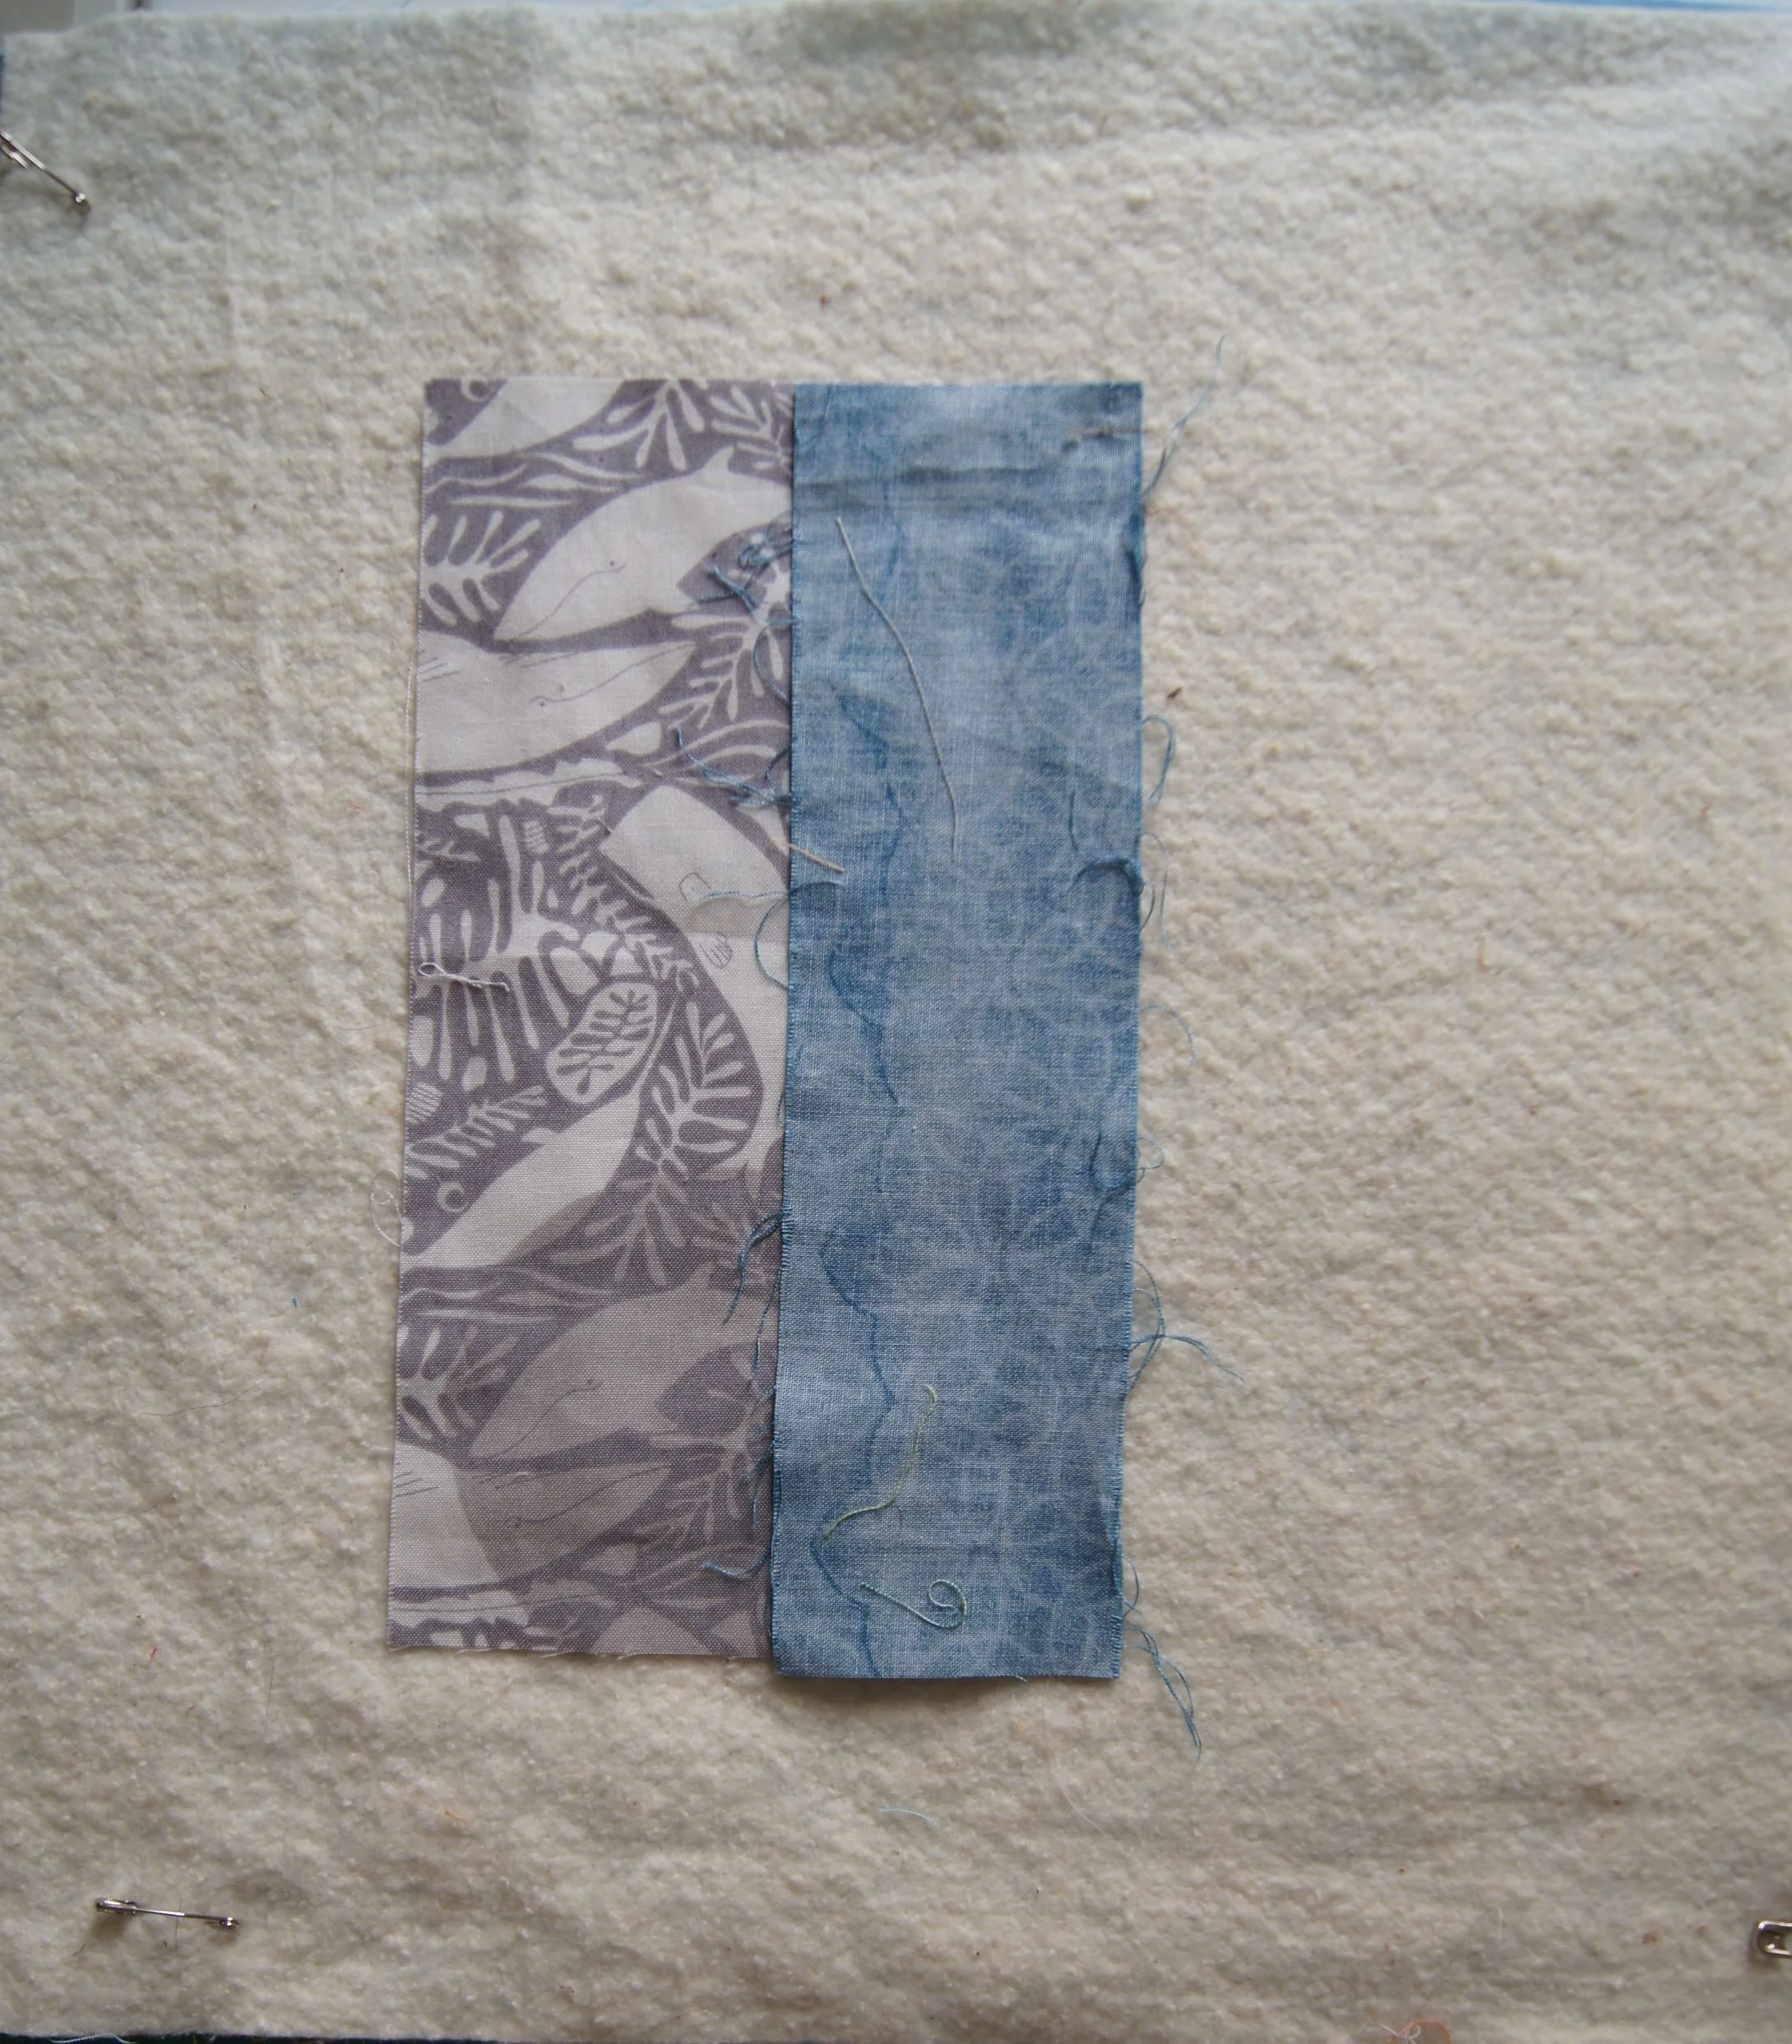
3. A Quilting As You Go Block is built a bit like a Log Cabin block. Each new piece attached has to match the length of the previous piece. I sewed each new section on using a 1/4 inch seam with a walking foot and pressed each piece away from the previous section.
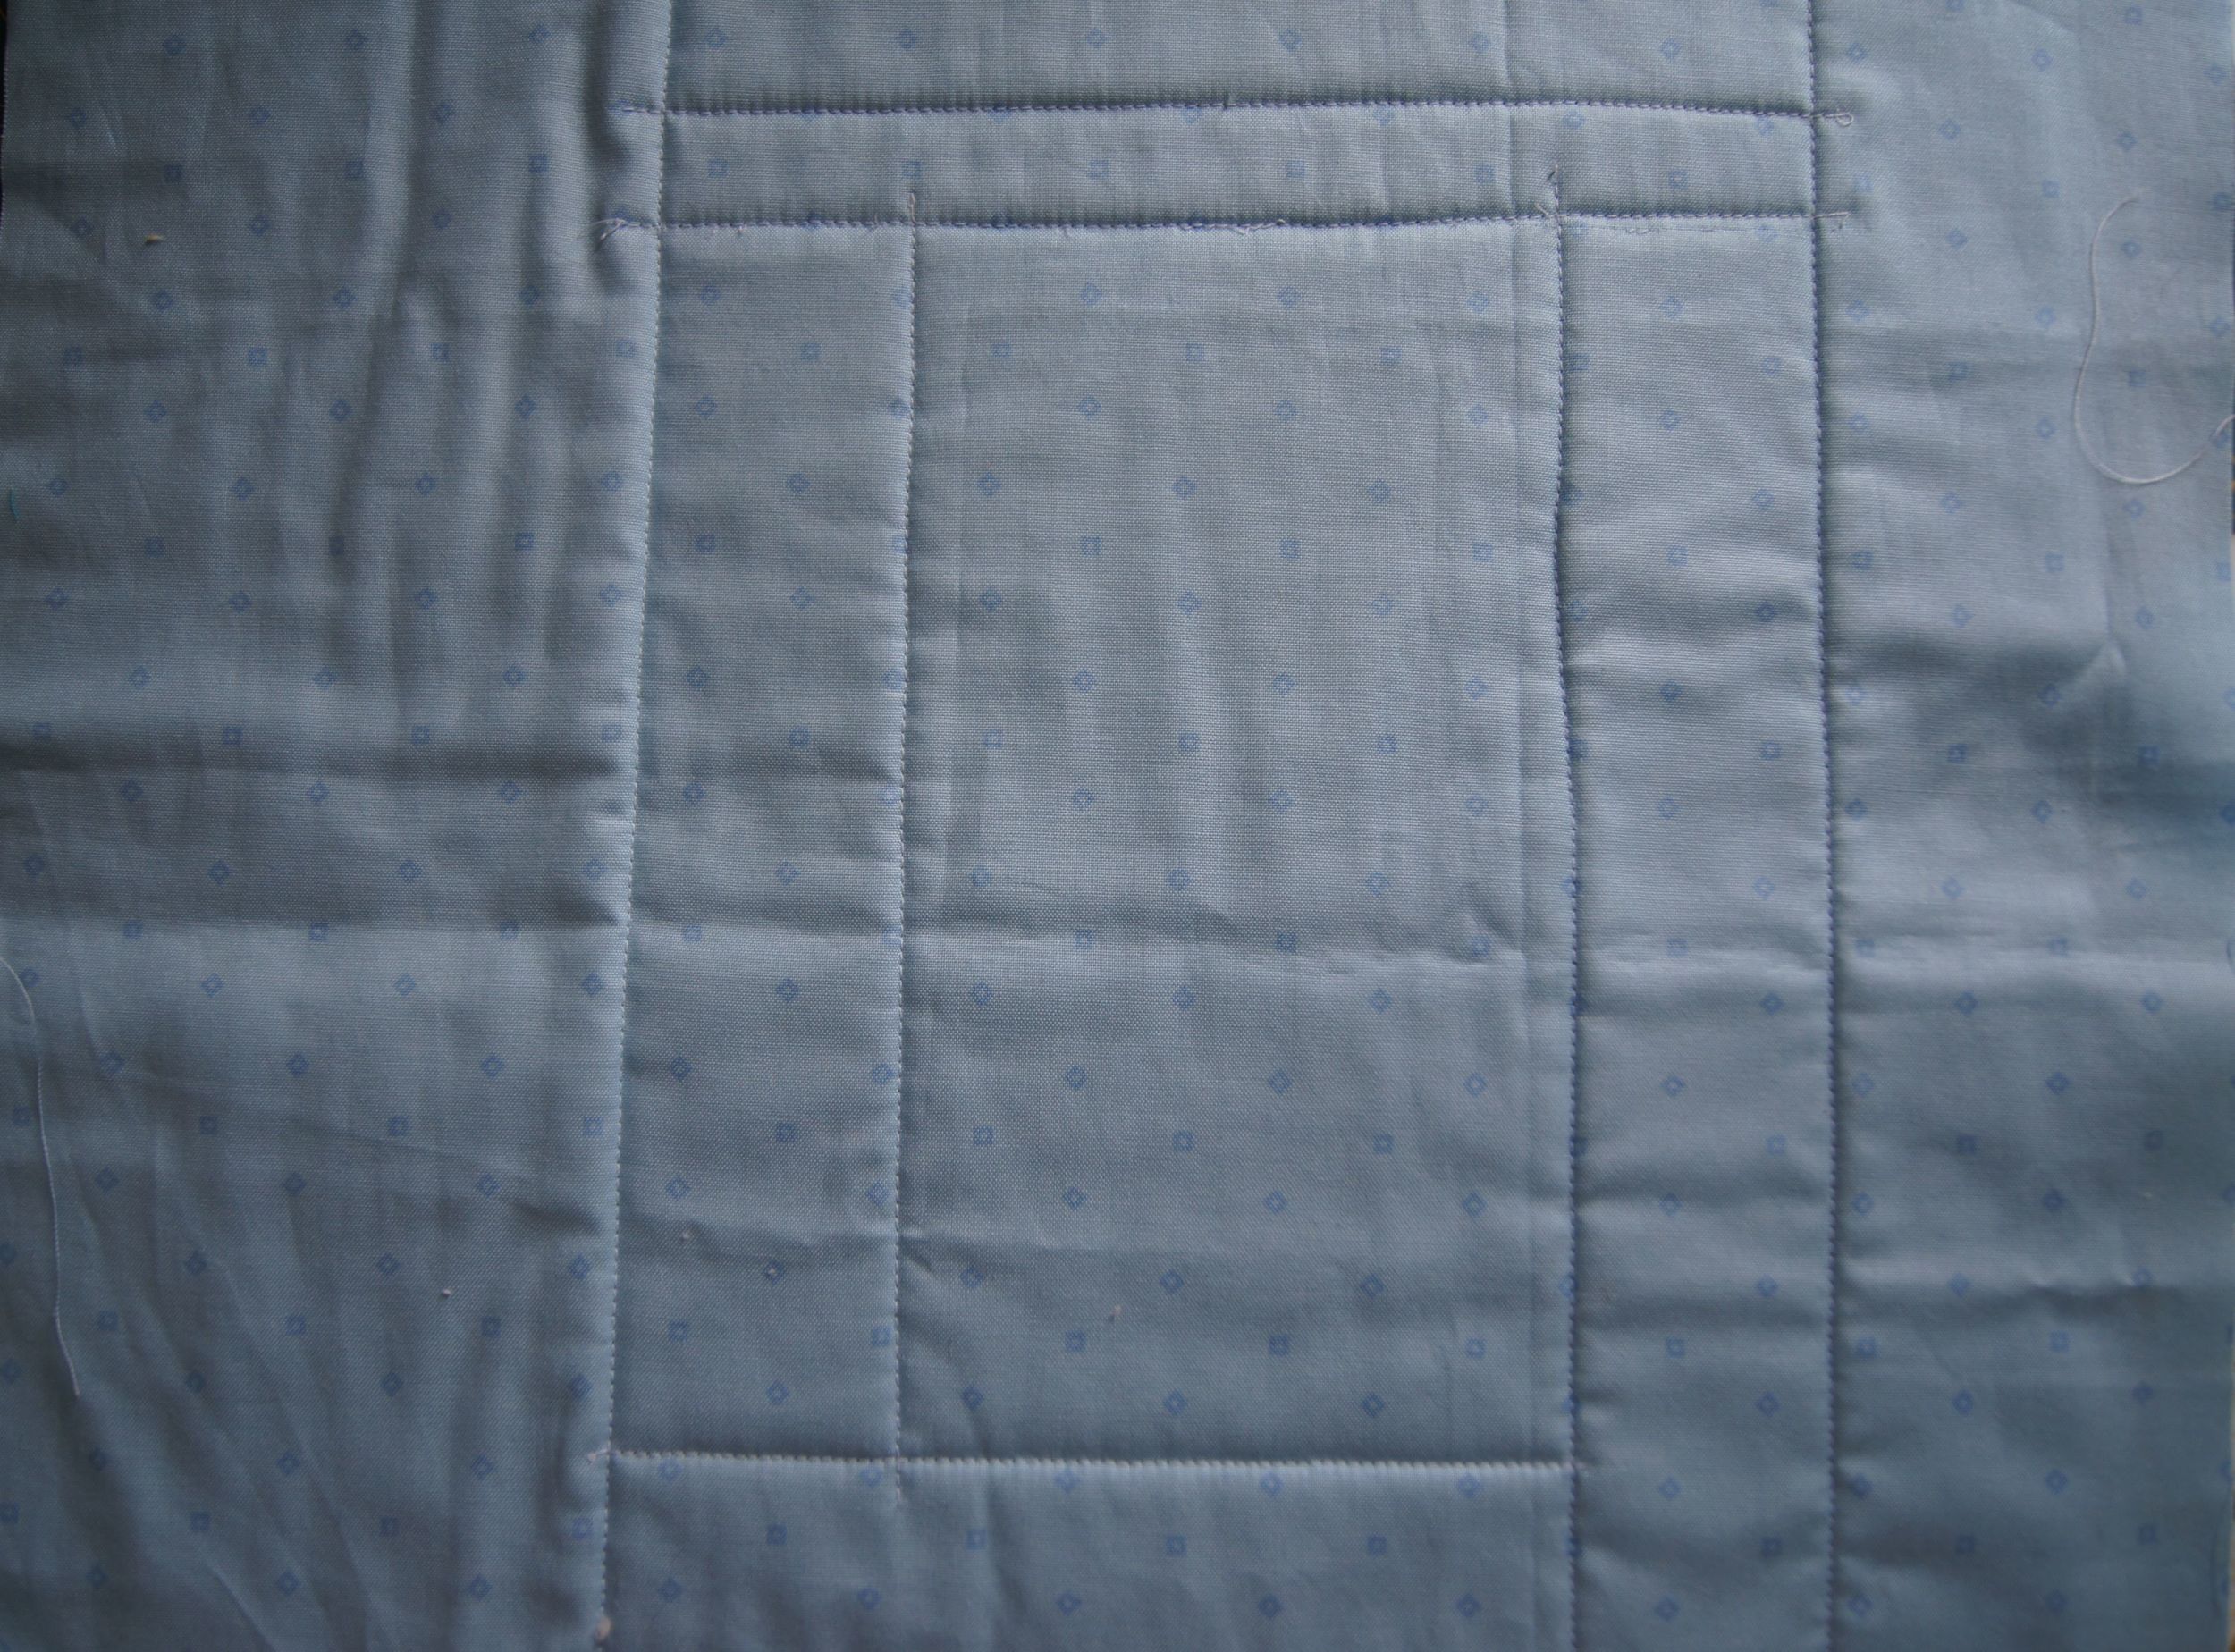
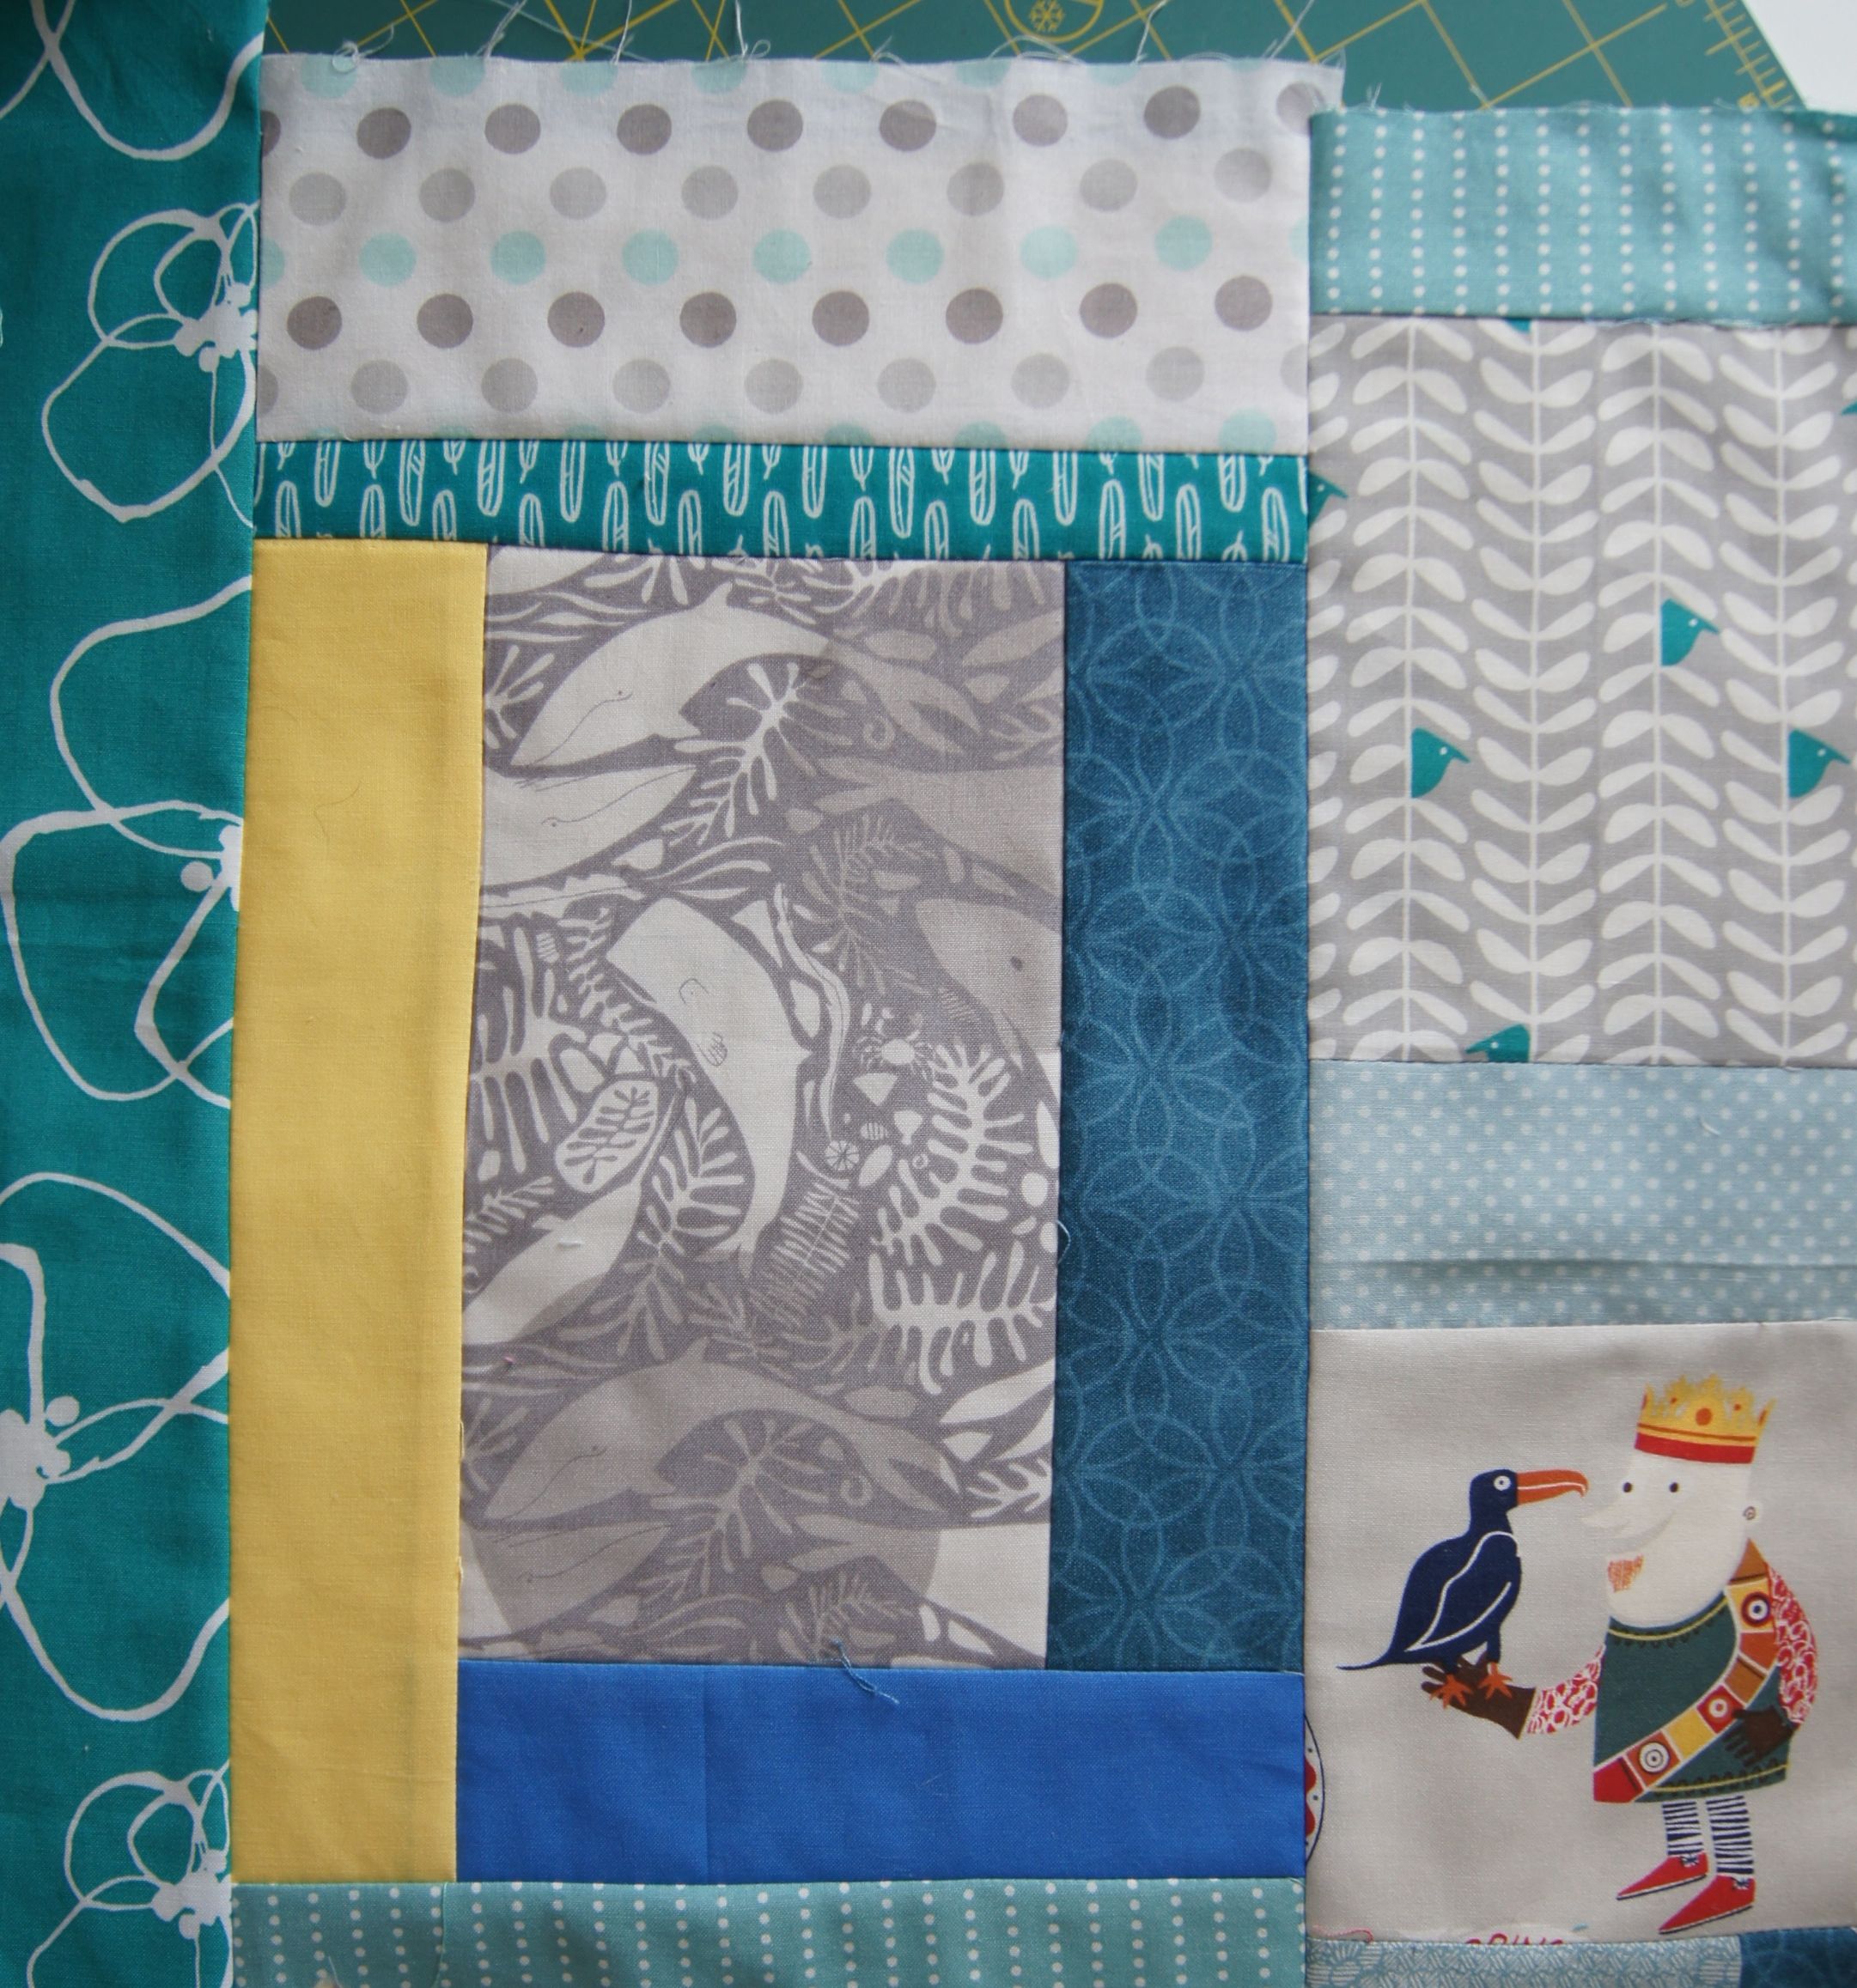
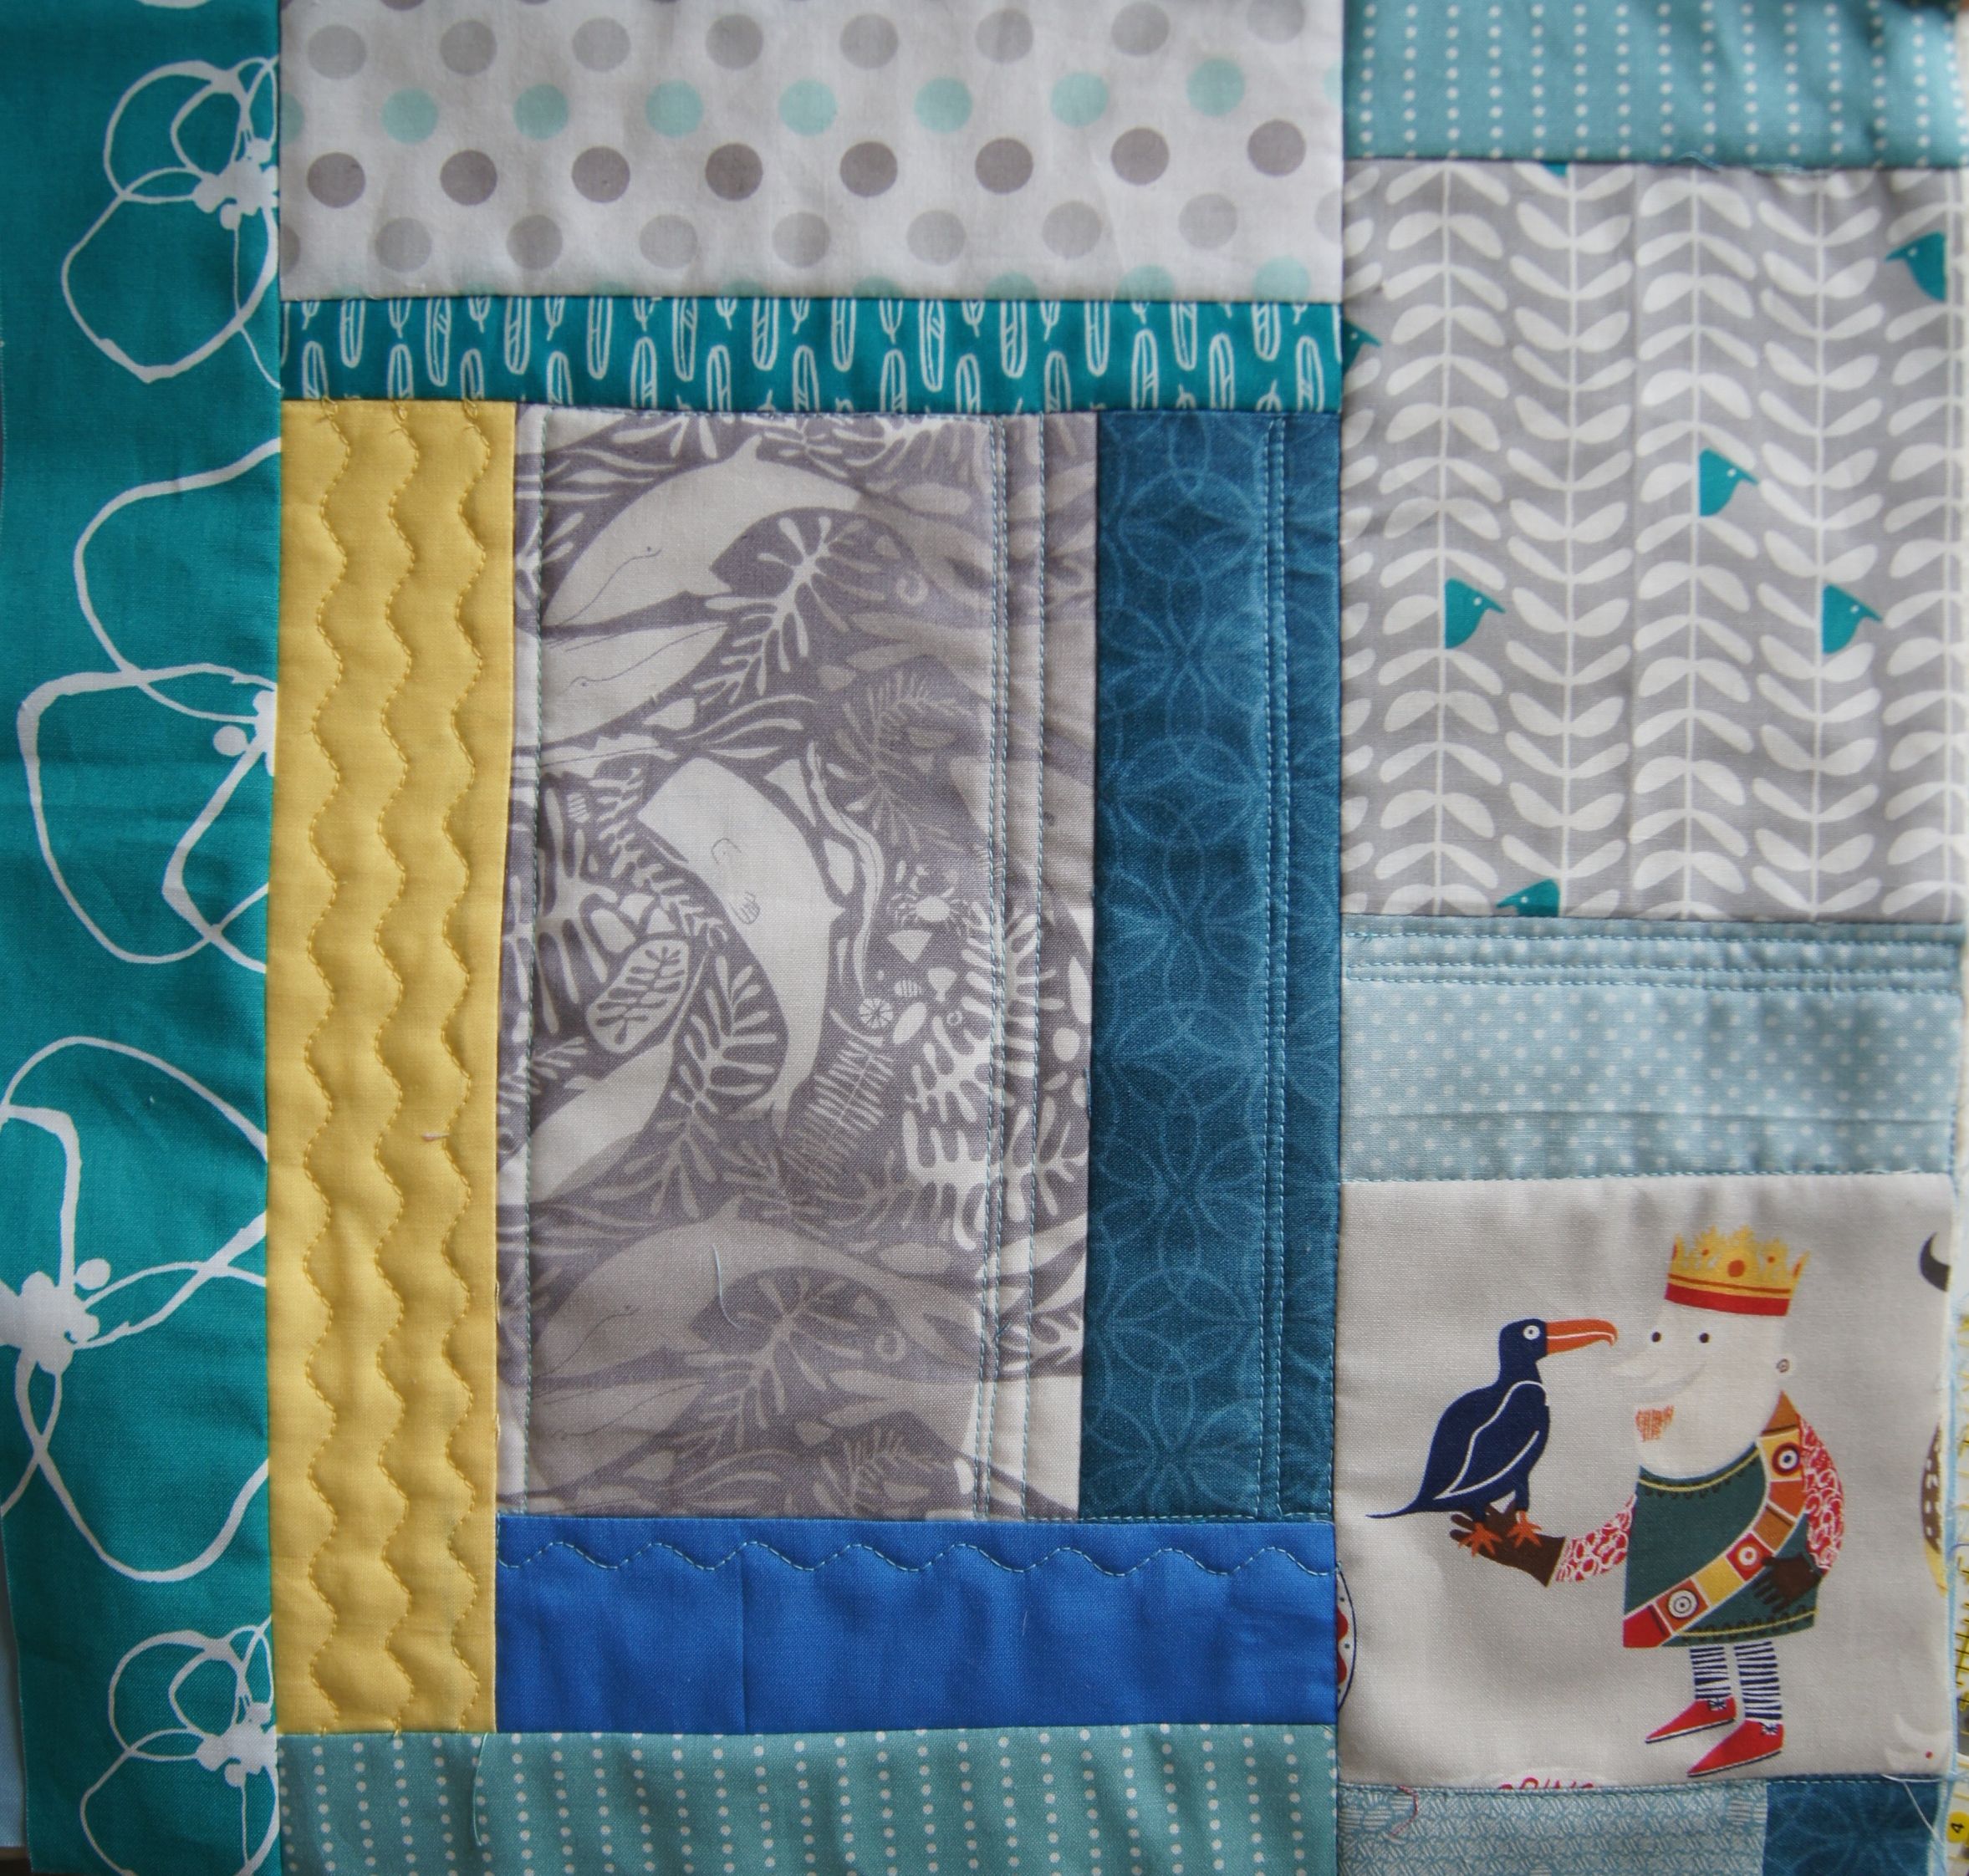
5. Because each new bit of fabric is sewn onto the block through the batting and backing, the completed block already quilted on the back side. I added some straight stitches and some serpentine quilting to the front side of my block to make it more interesting and to give it some extra texture. Here are photos of the back, the block prior to doing any quilting on the front of the block and the front of the block with added quilting.
6. Once it was quilted, I trimmed the block. It ended up a tad smaller than 15 x 15 inches. That's fine because I cut the batting 1 inch larger than the pillow form. Because the pillow cover has a binding my block had to be at least 14 1/2 x 14 1/2 inches which it was.
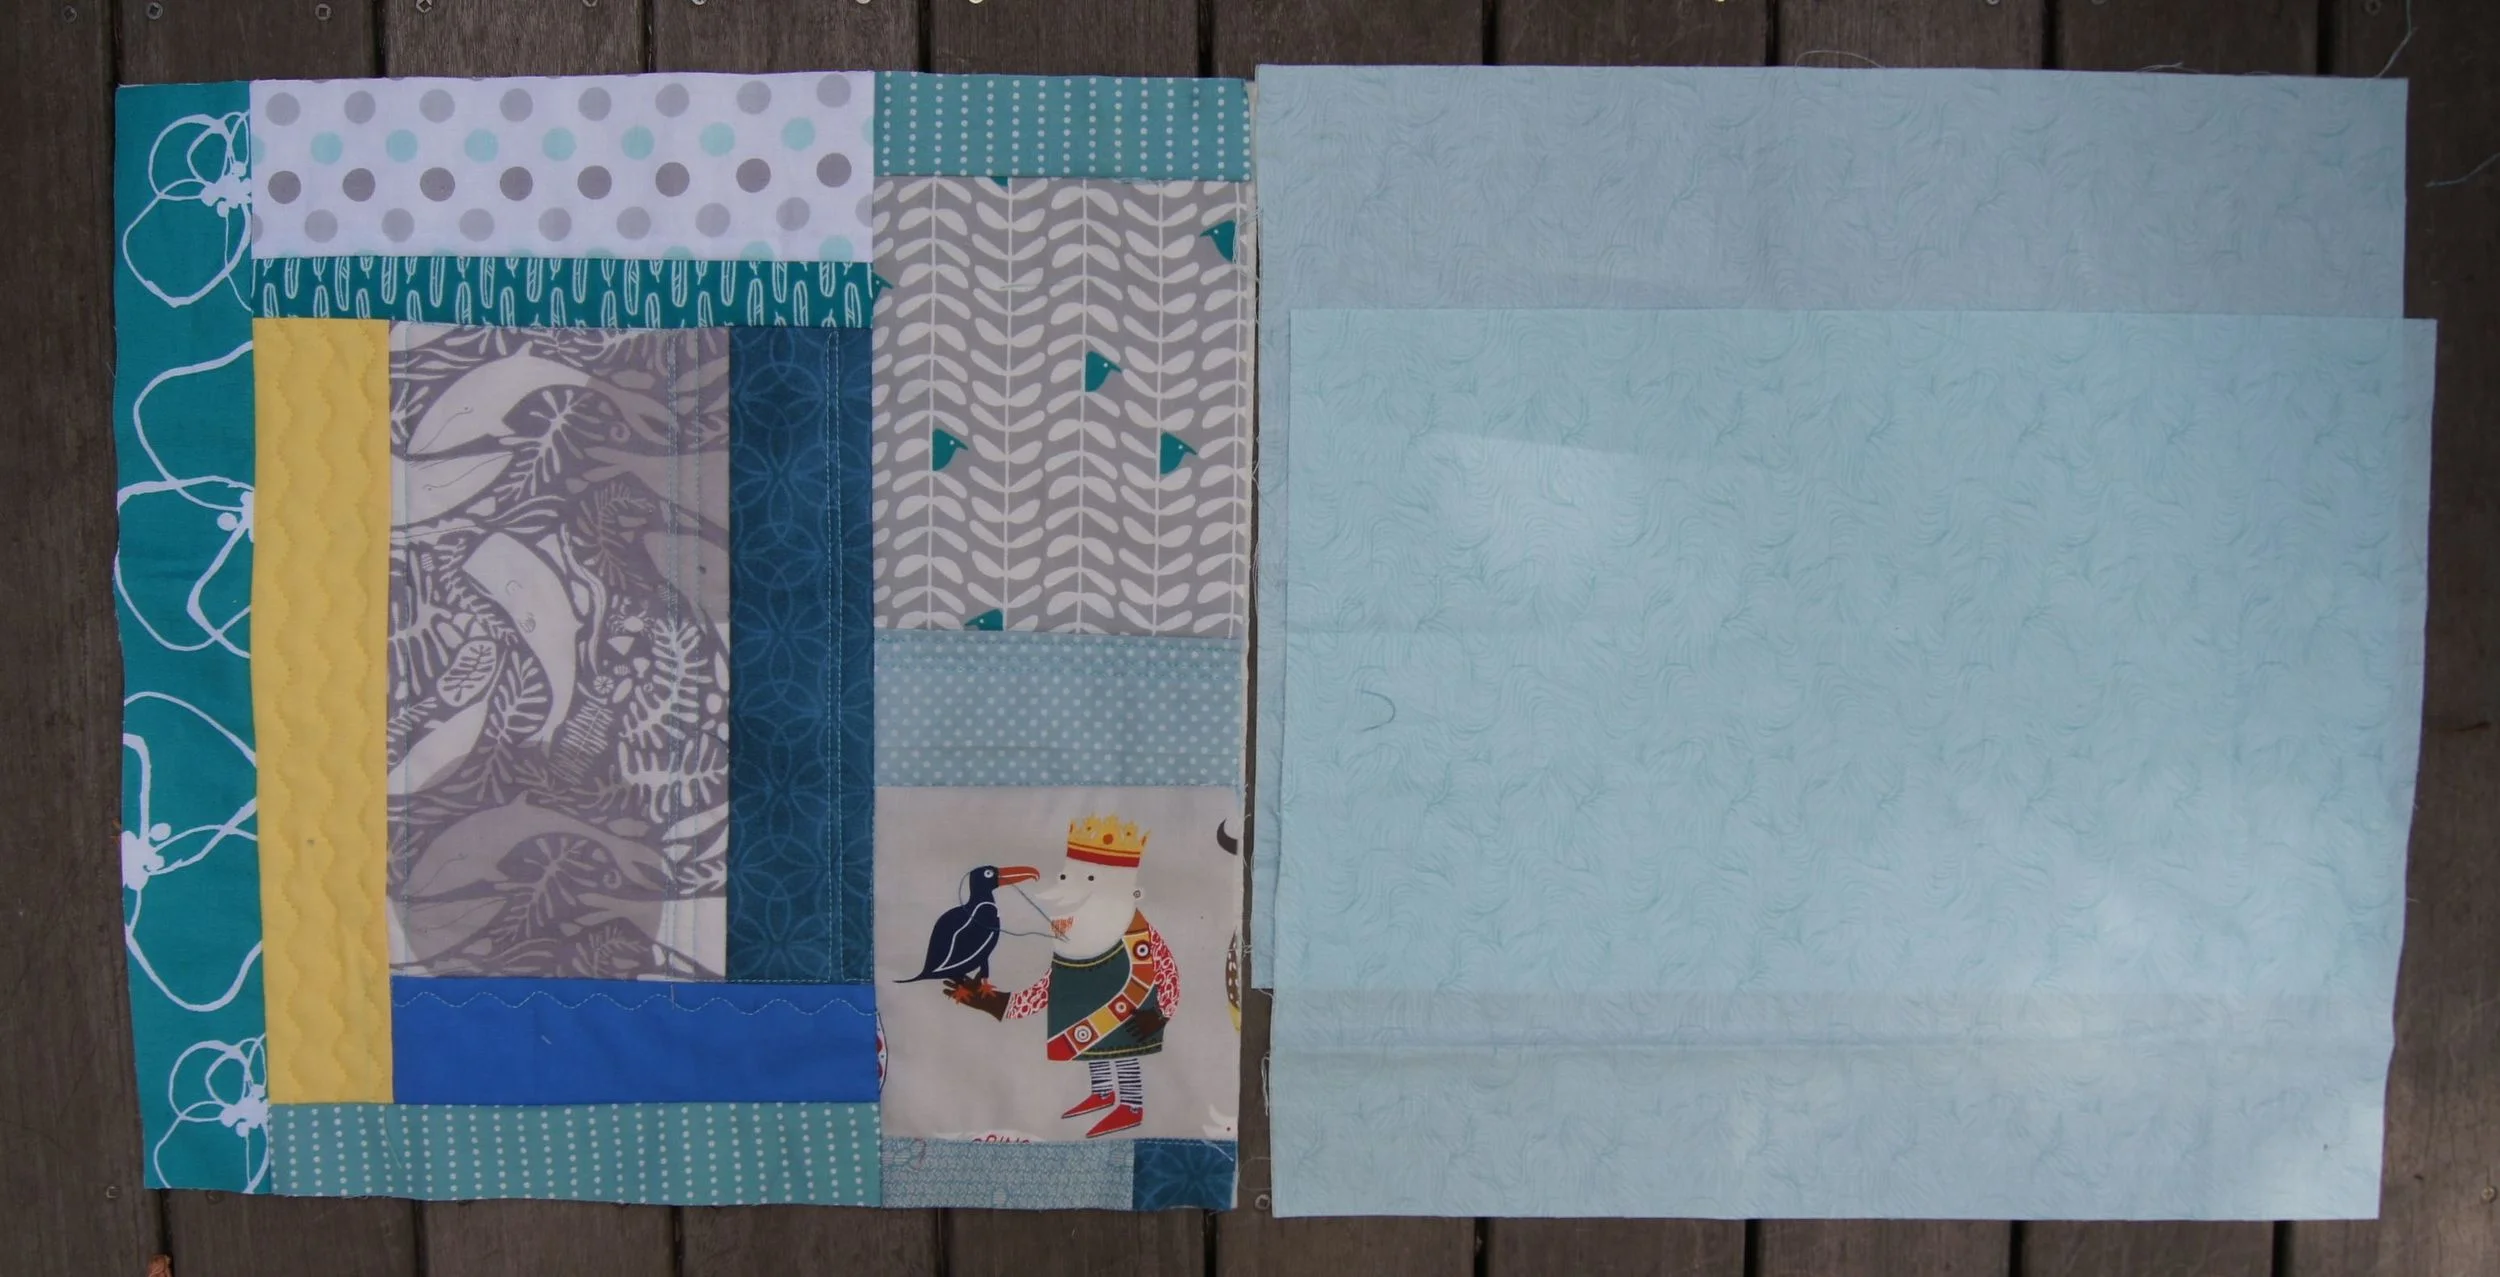
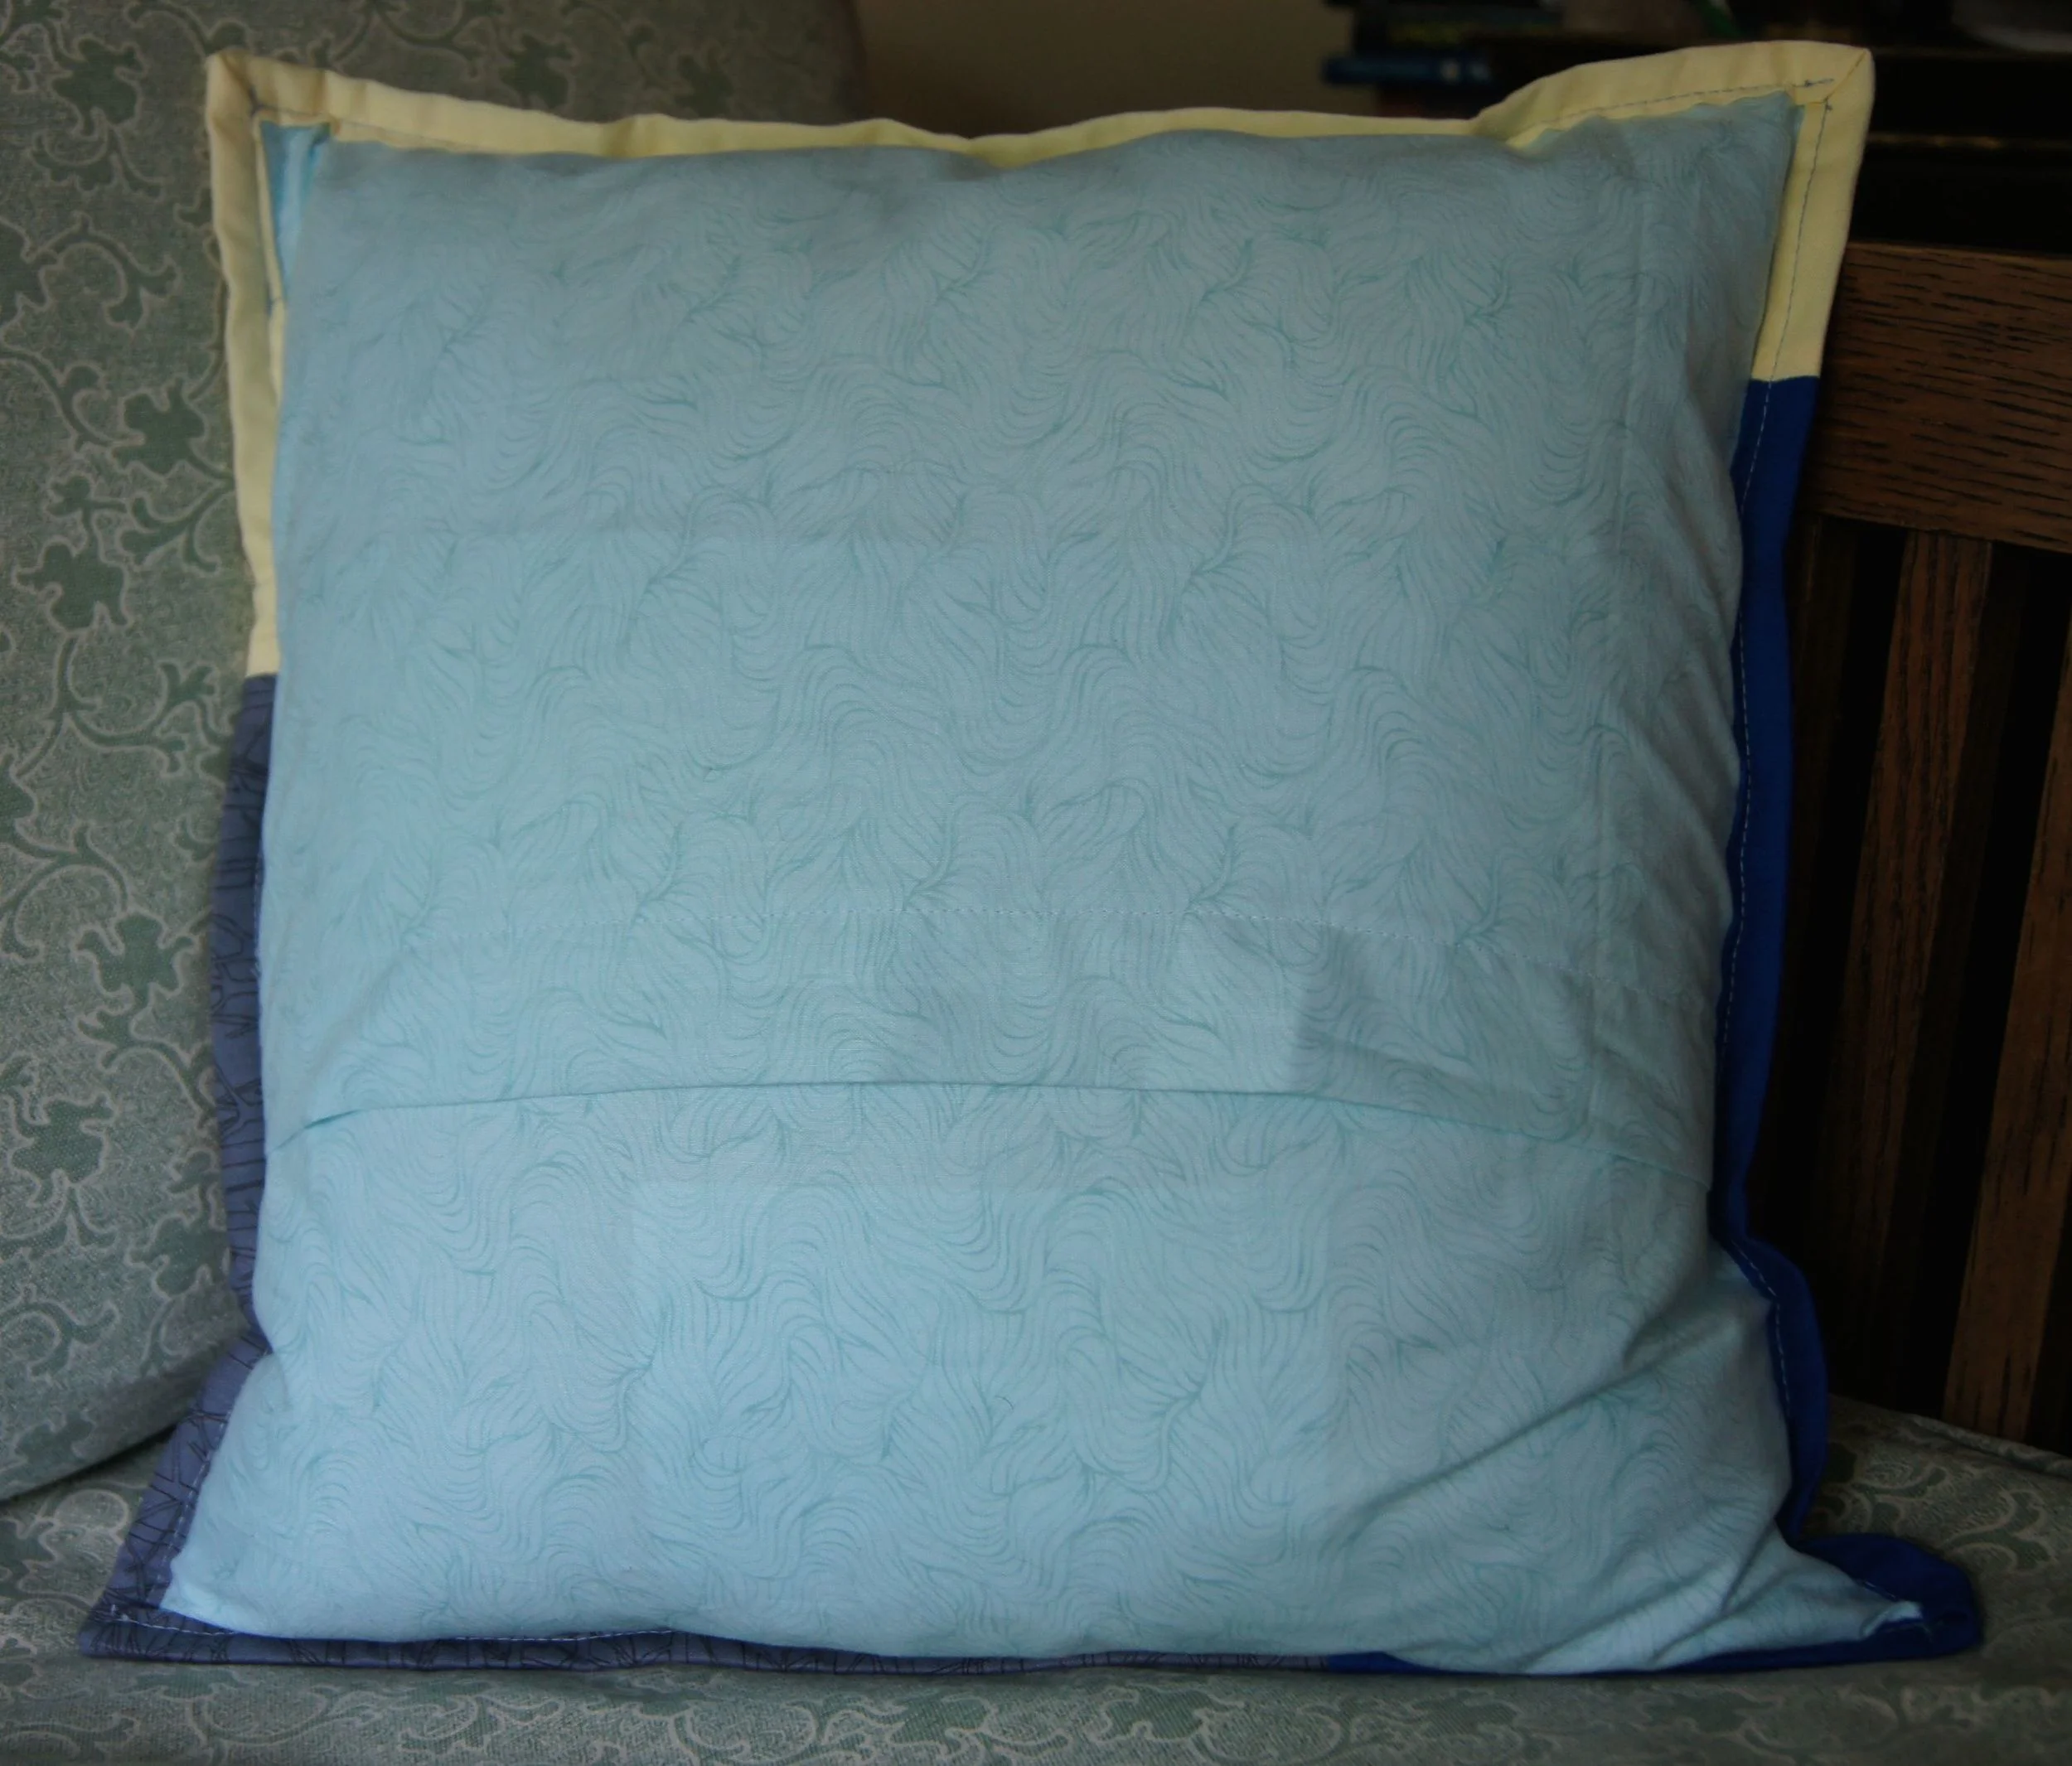
7. Next I made the envelope back for the pillow cover. I cut 2 pieces of fabric the same width as the Quilting As You Go block and 3/4 of the height of my finished block. For my pillow cover, the back pieces are 15 inches wide and 12 inches high.
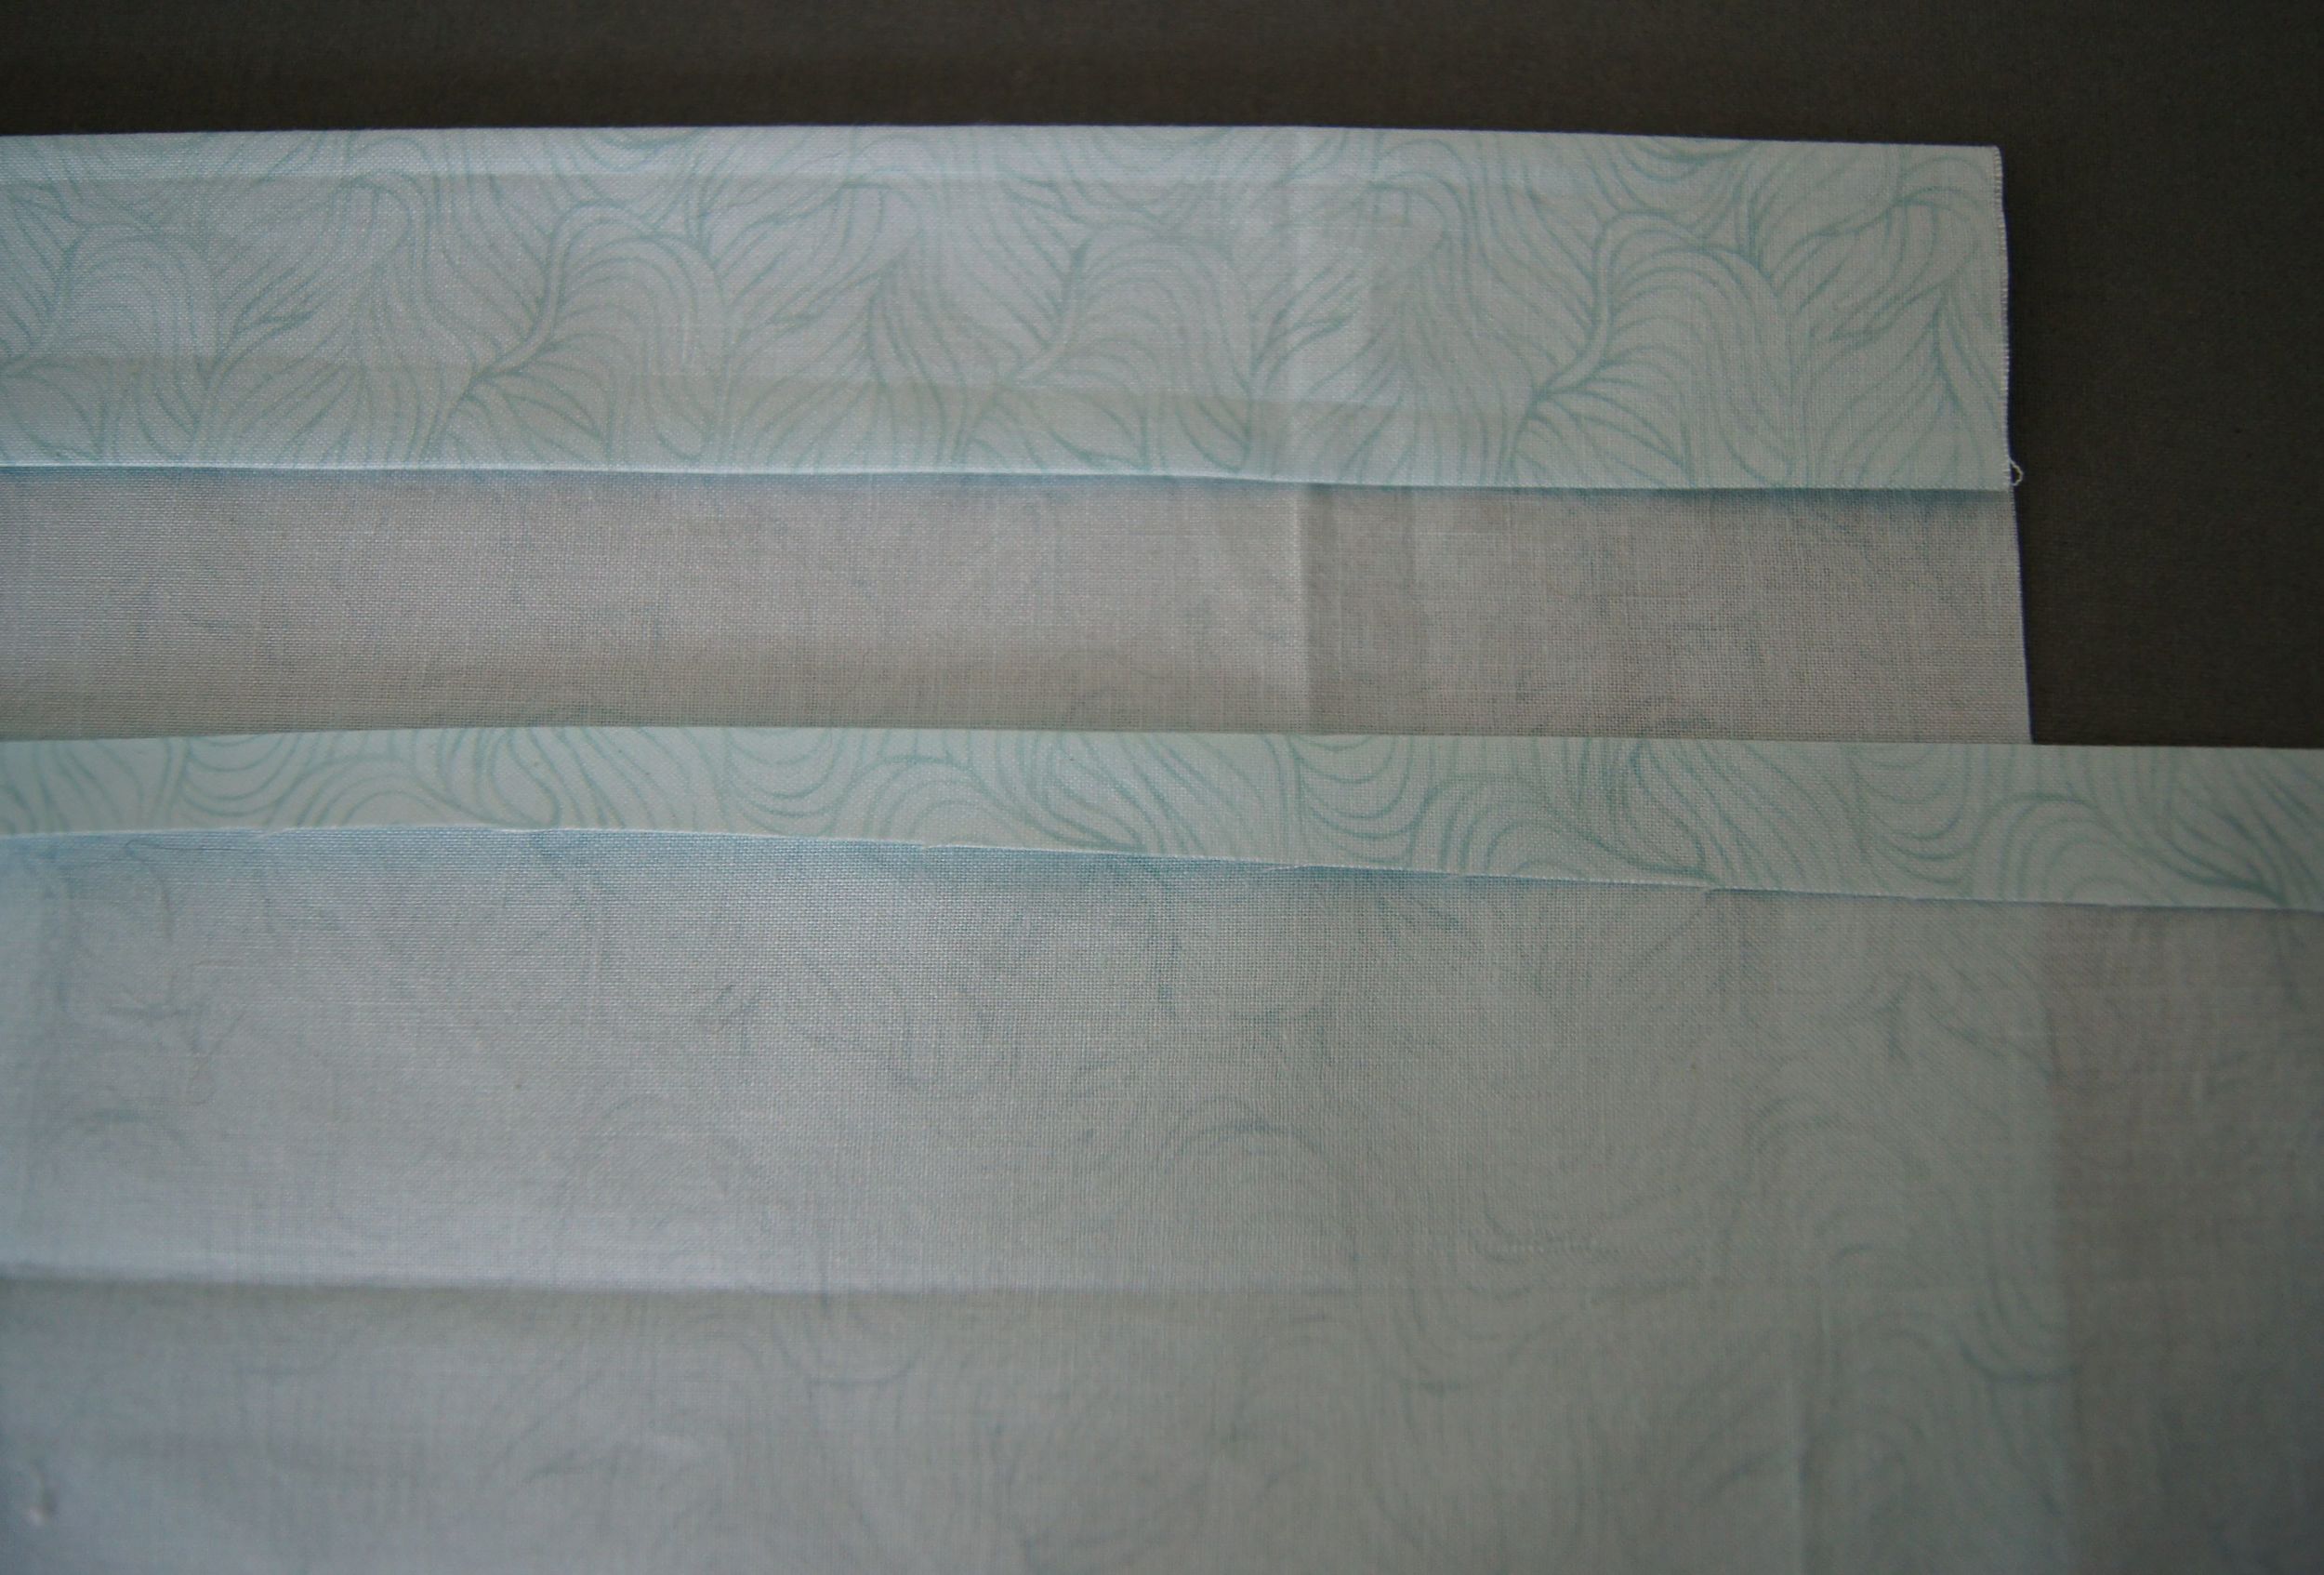
8. On each of the 2 back pieces I hemmed the width of one horizontal side. I turned the edge under 1/4 inch and pressed. Then I turned the pressed edge under 1 inch and pressed again. Finally I sewed the edge down, stitching 1/8 inch from the edge of the fold.
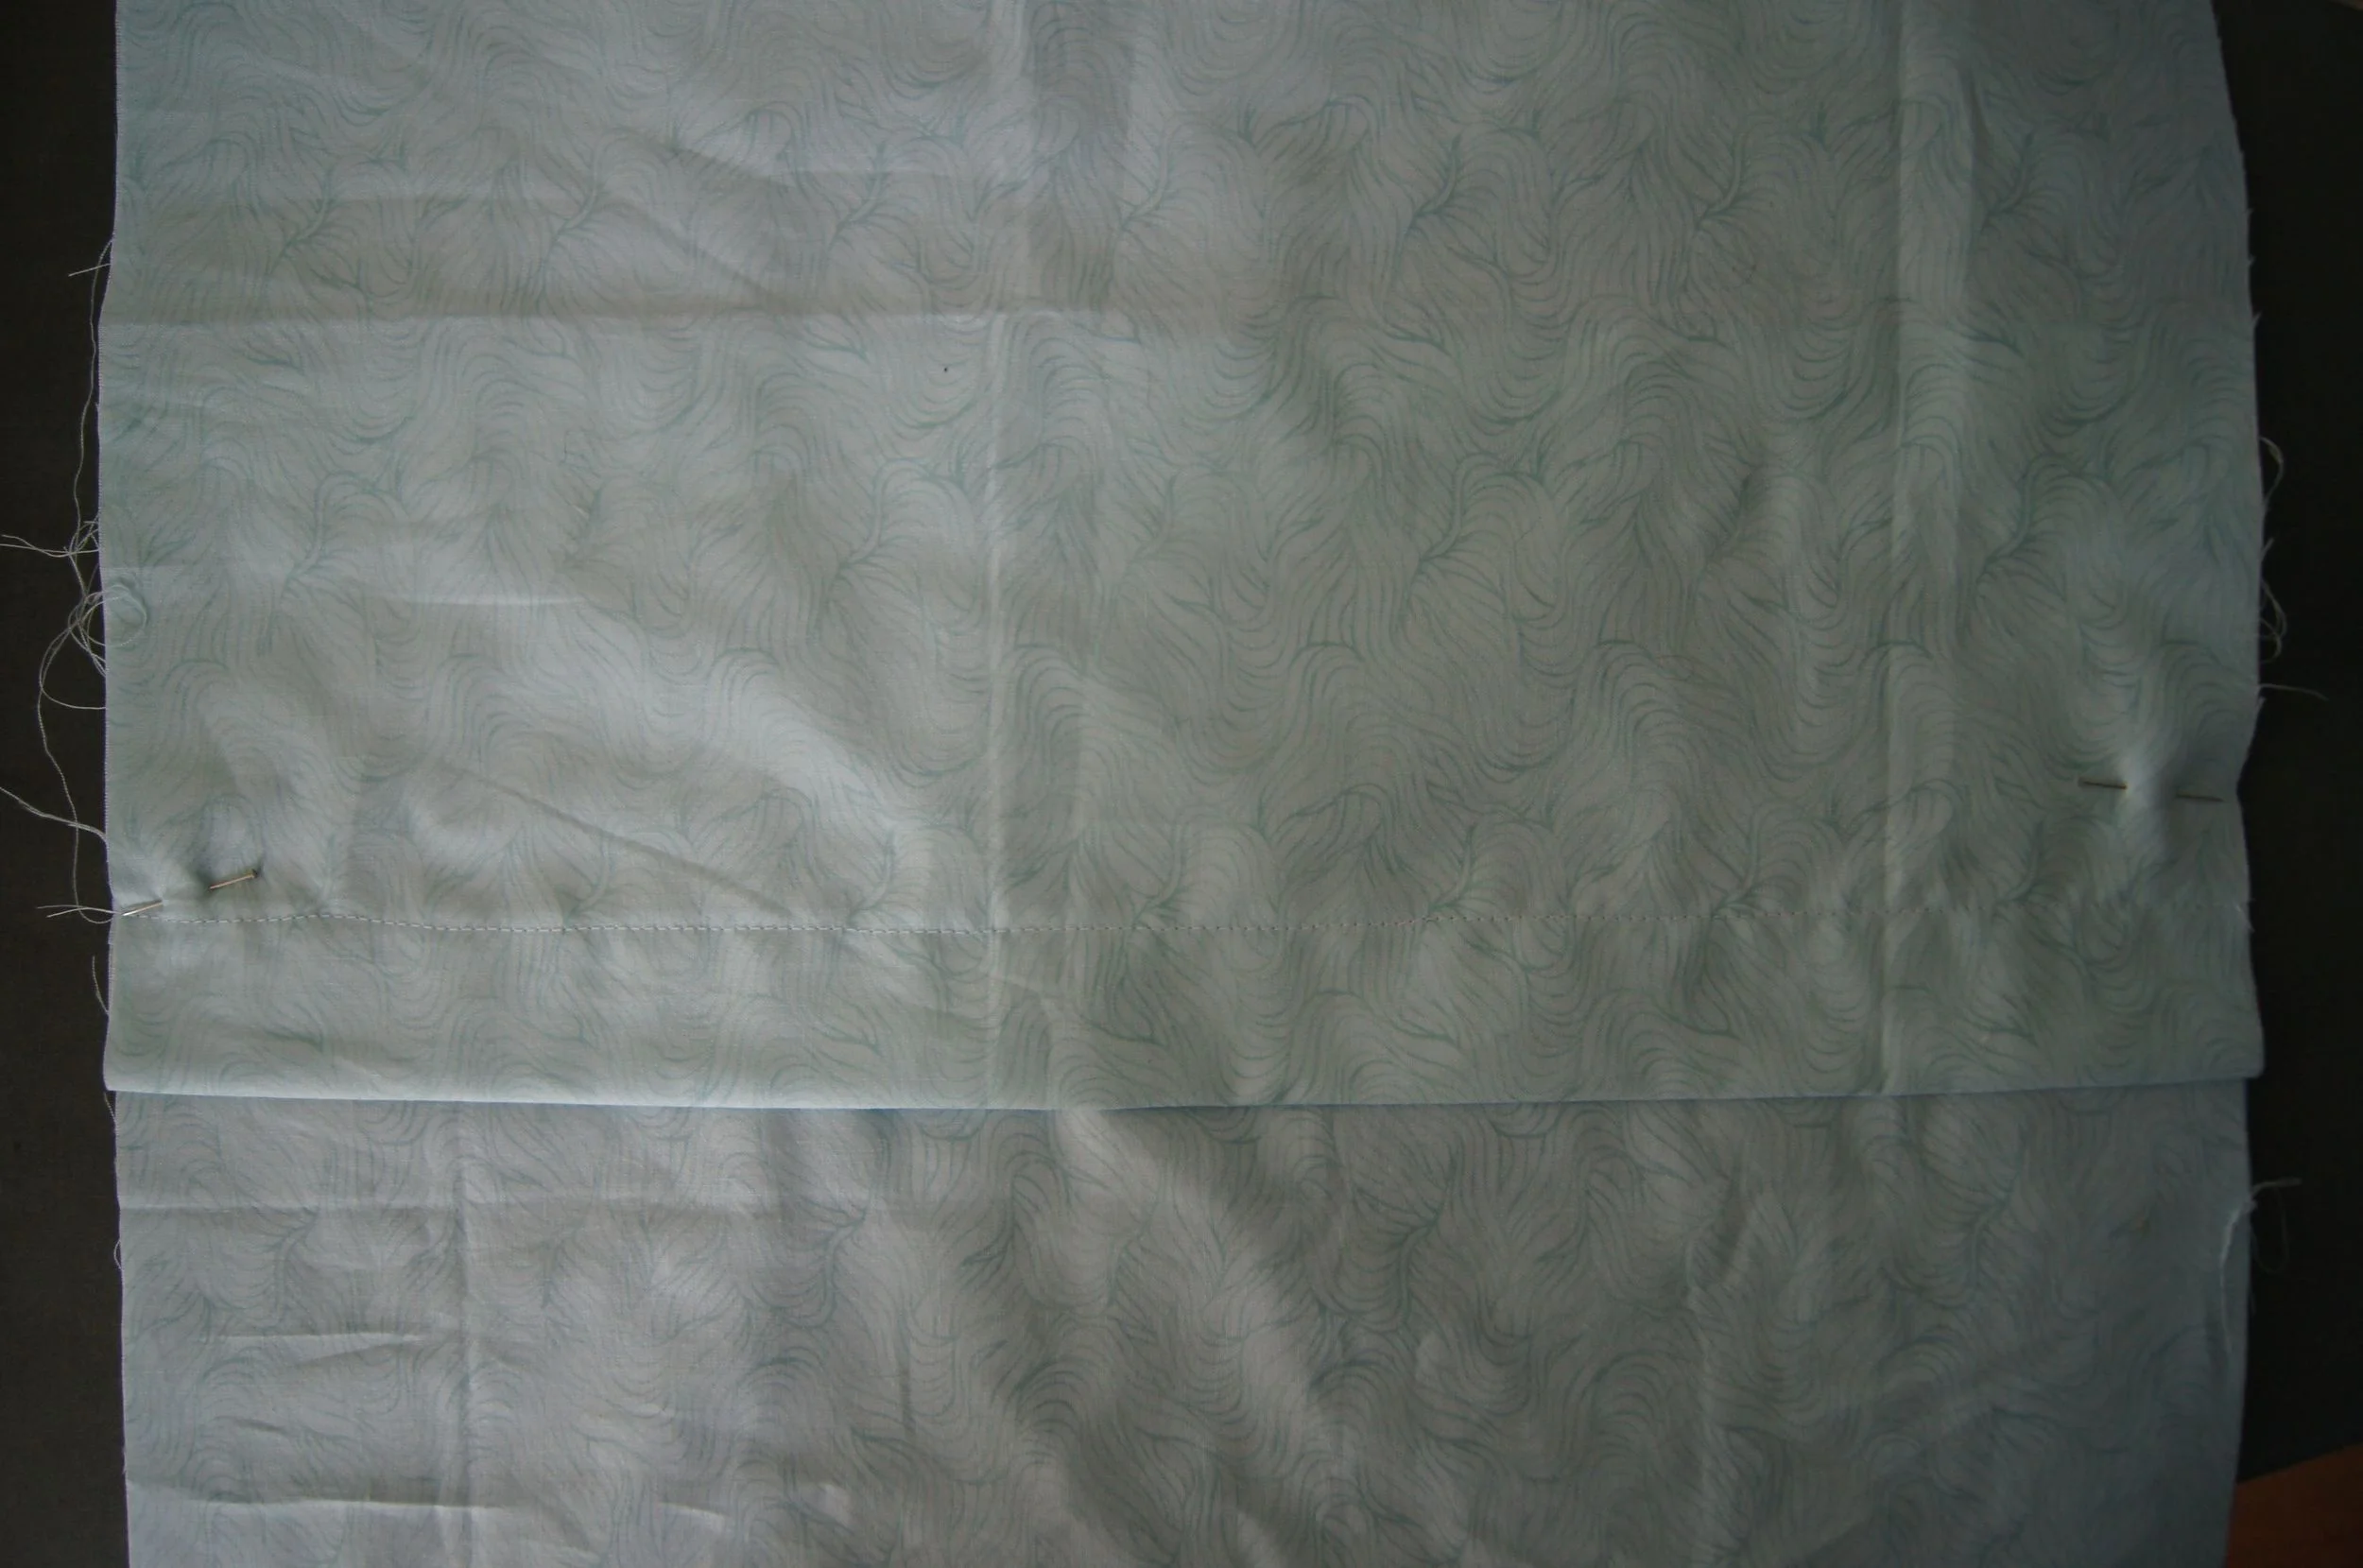
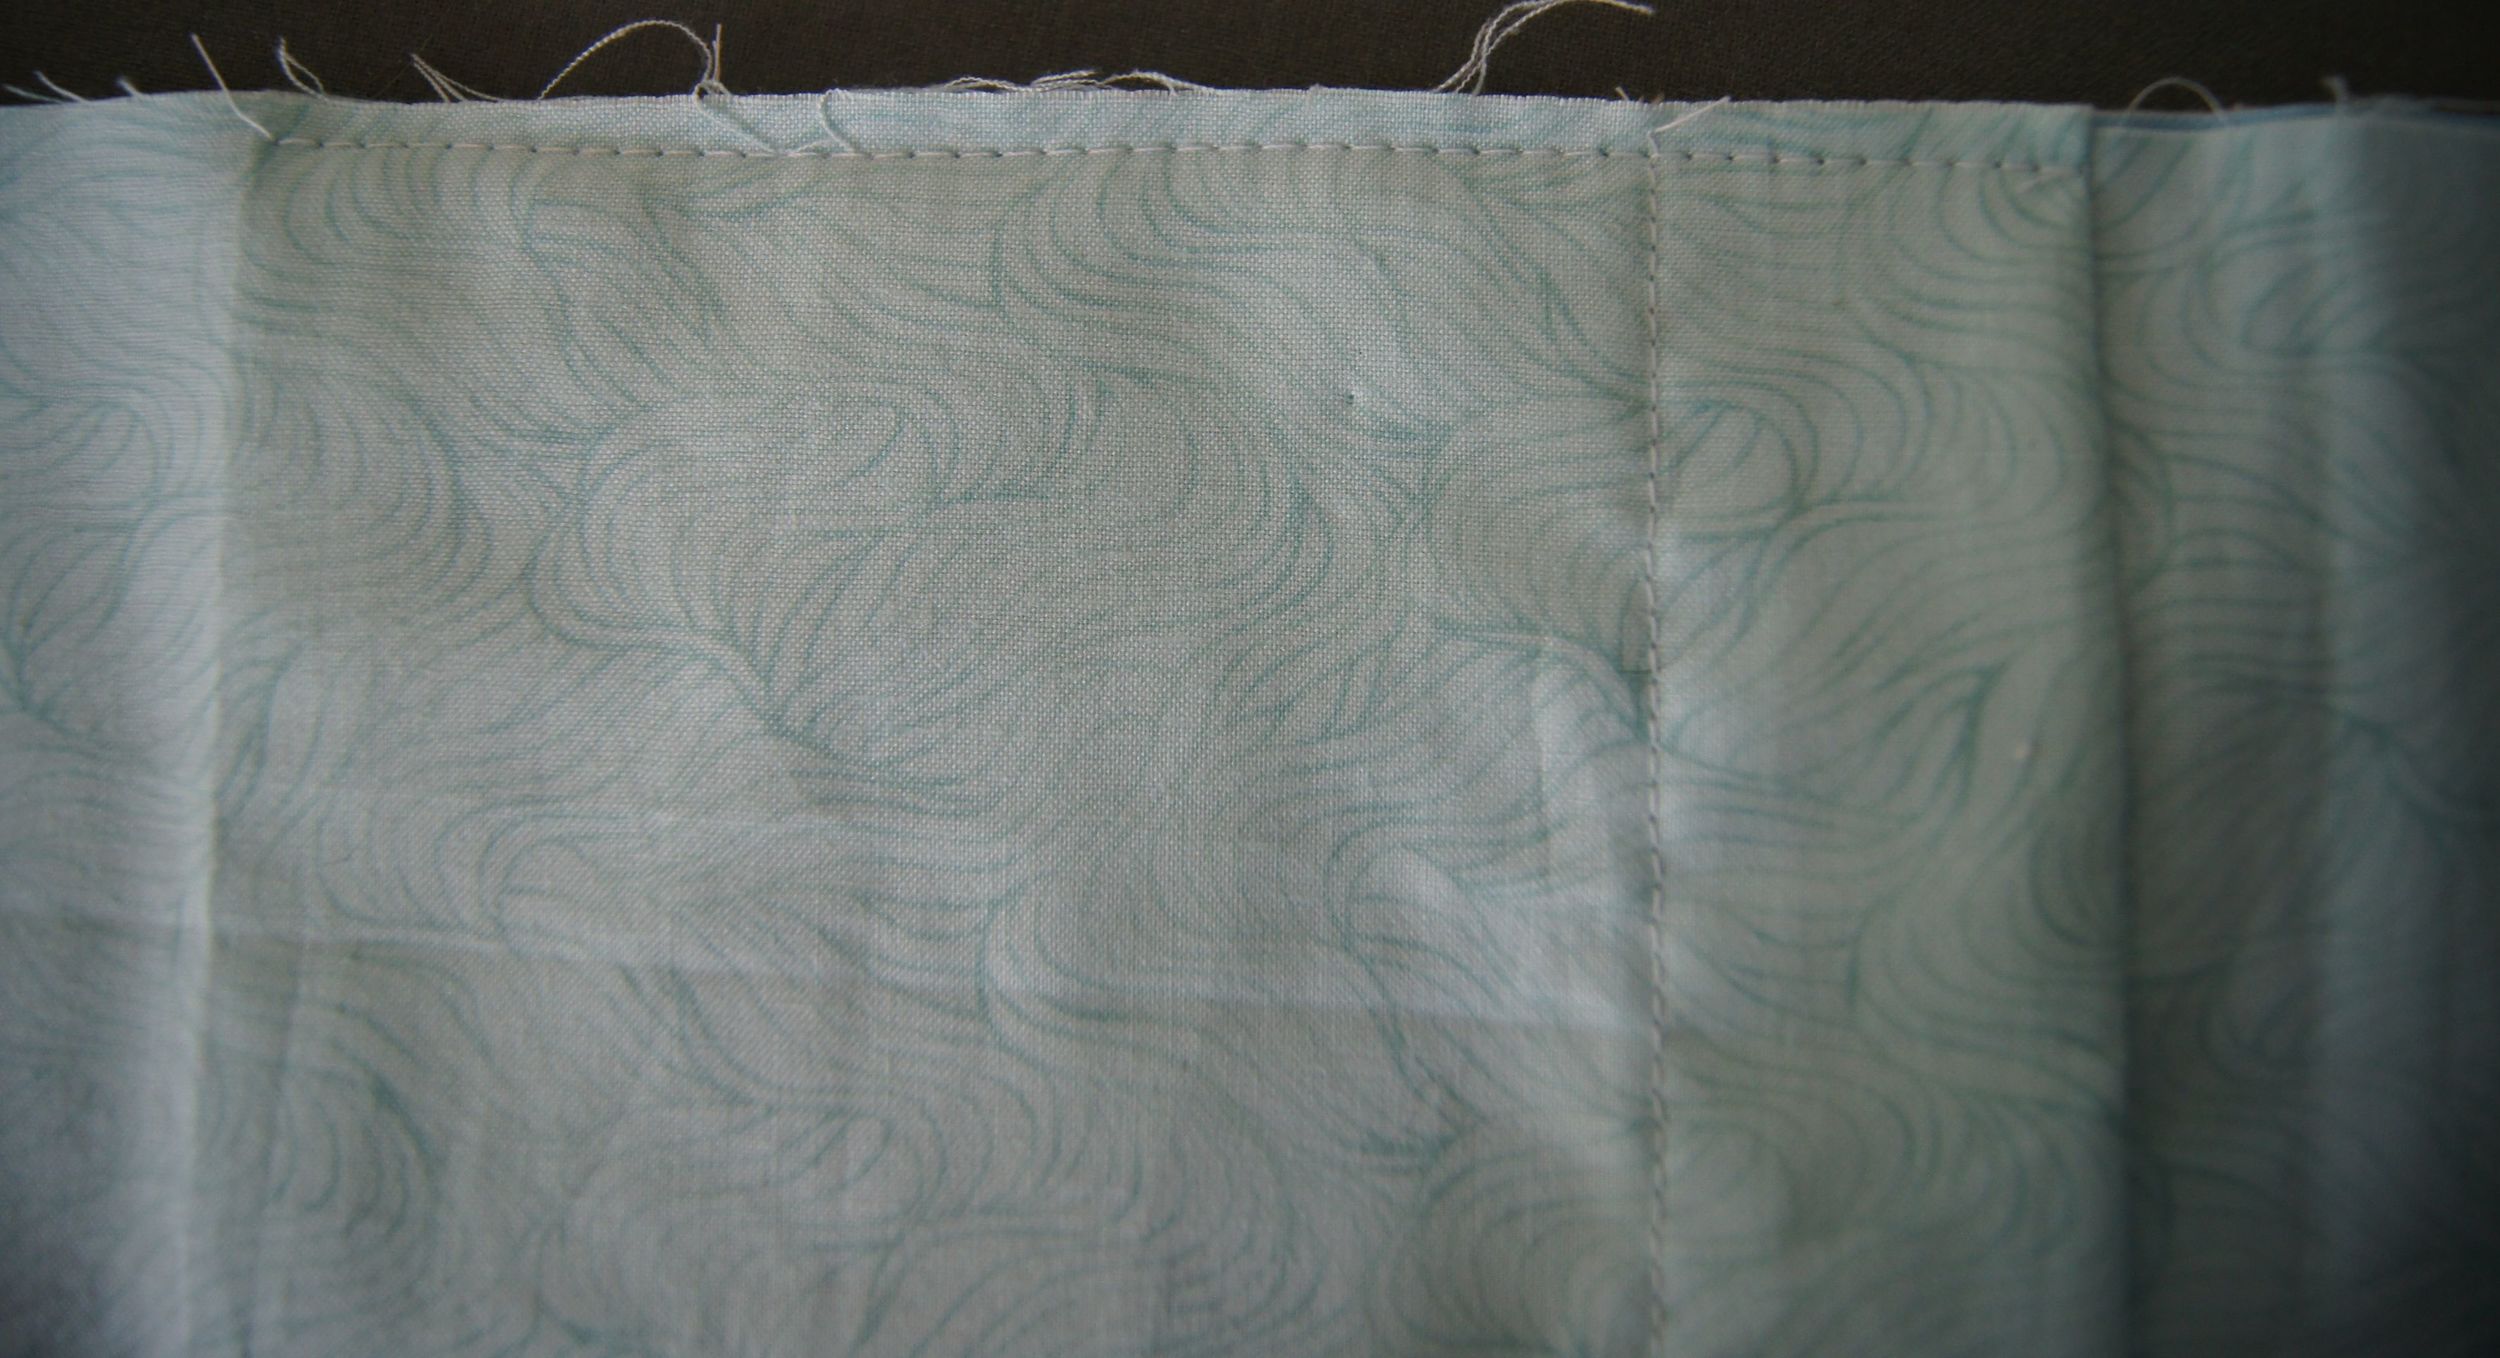
9. To attached the envelope back I put quilted block right side facing DOWN. With RIGHT side up, I put the lower half of the envelop back on top of the quilted block. Then I put the upper half of the back on top of the lower half. It over-laps the lower half by several inches. The back pieces need to be adjusted so they exactly cover the pieced block. I pinned all the pieces in place so they wouldn't shift.
10. Then I tacked down the over-lapping sections of the 2 envelope pieces sewing a very scant 1/4 inch along the edge of the block so that this basting line would hidden inside the binding.
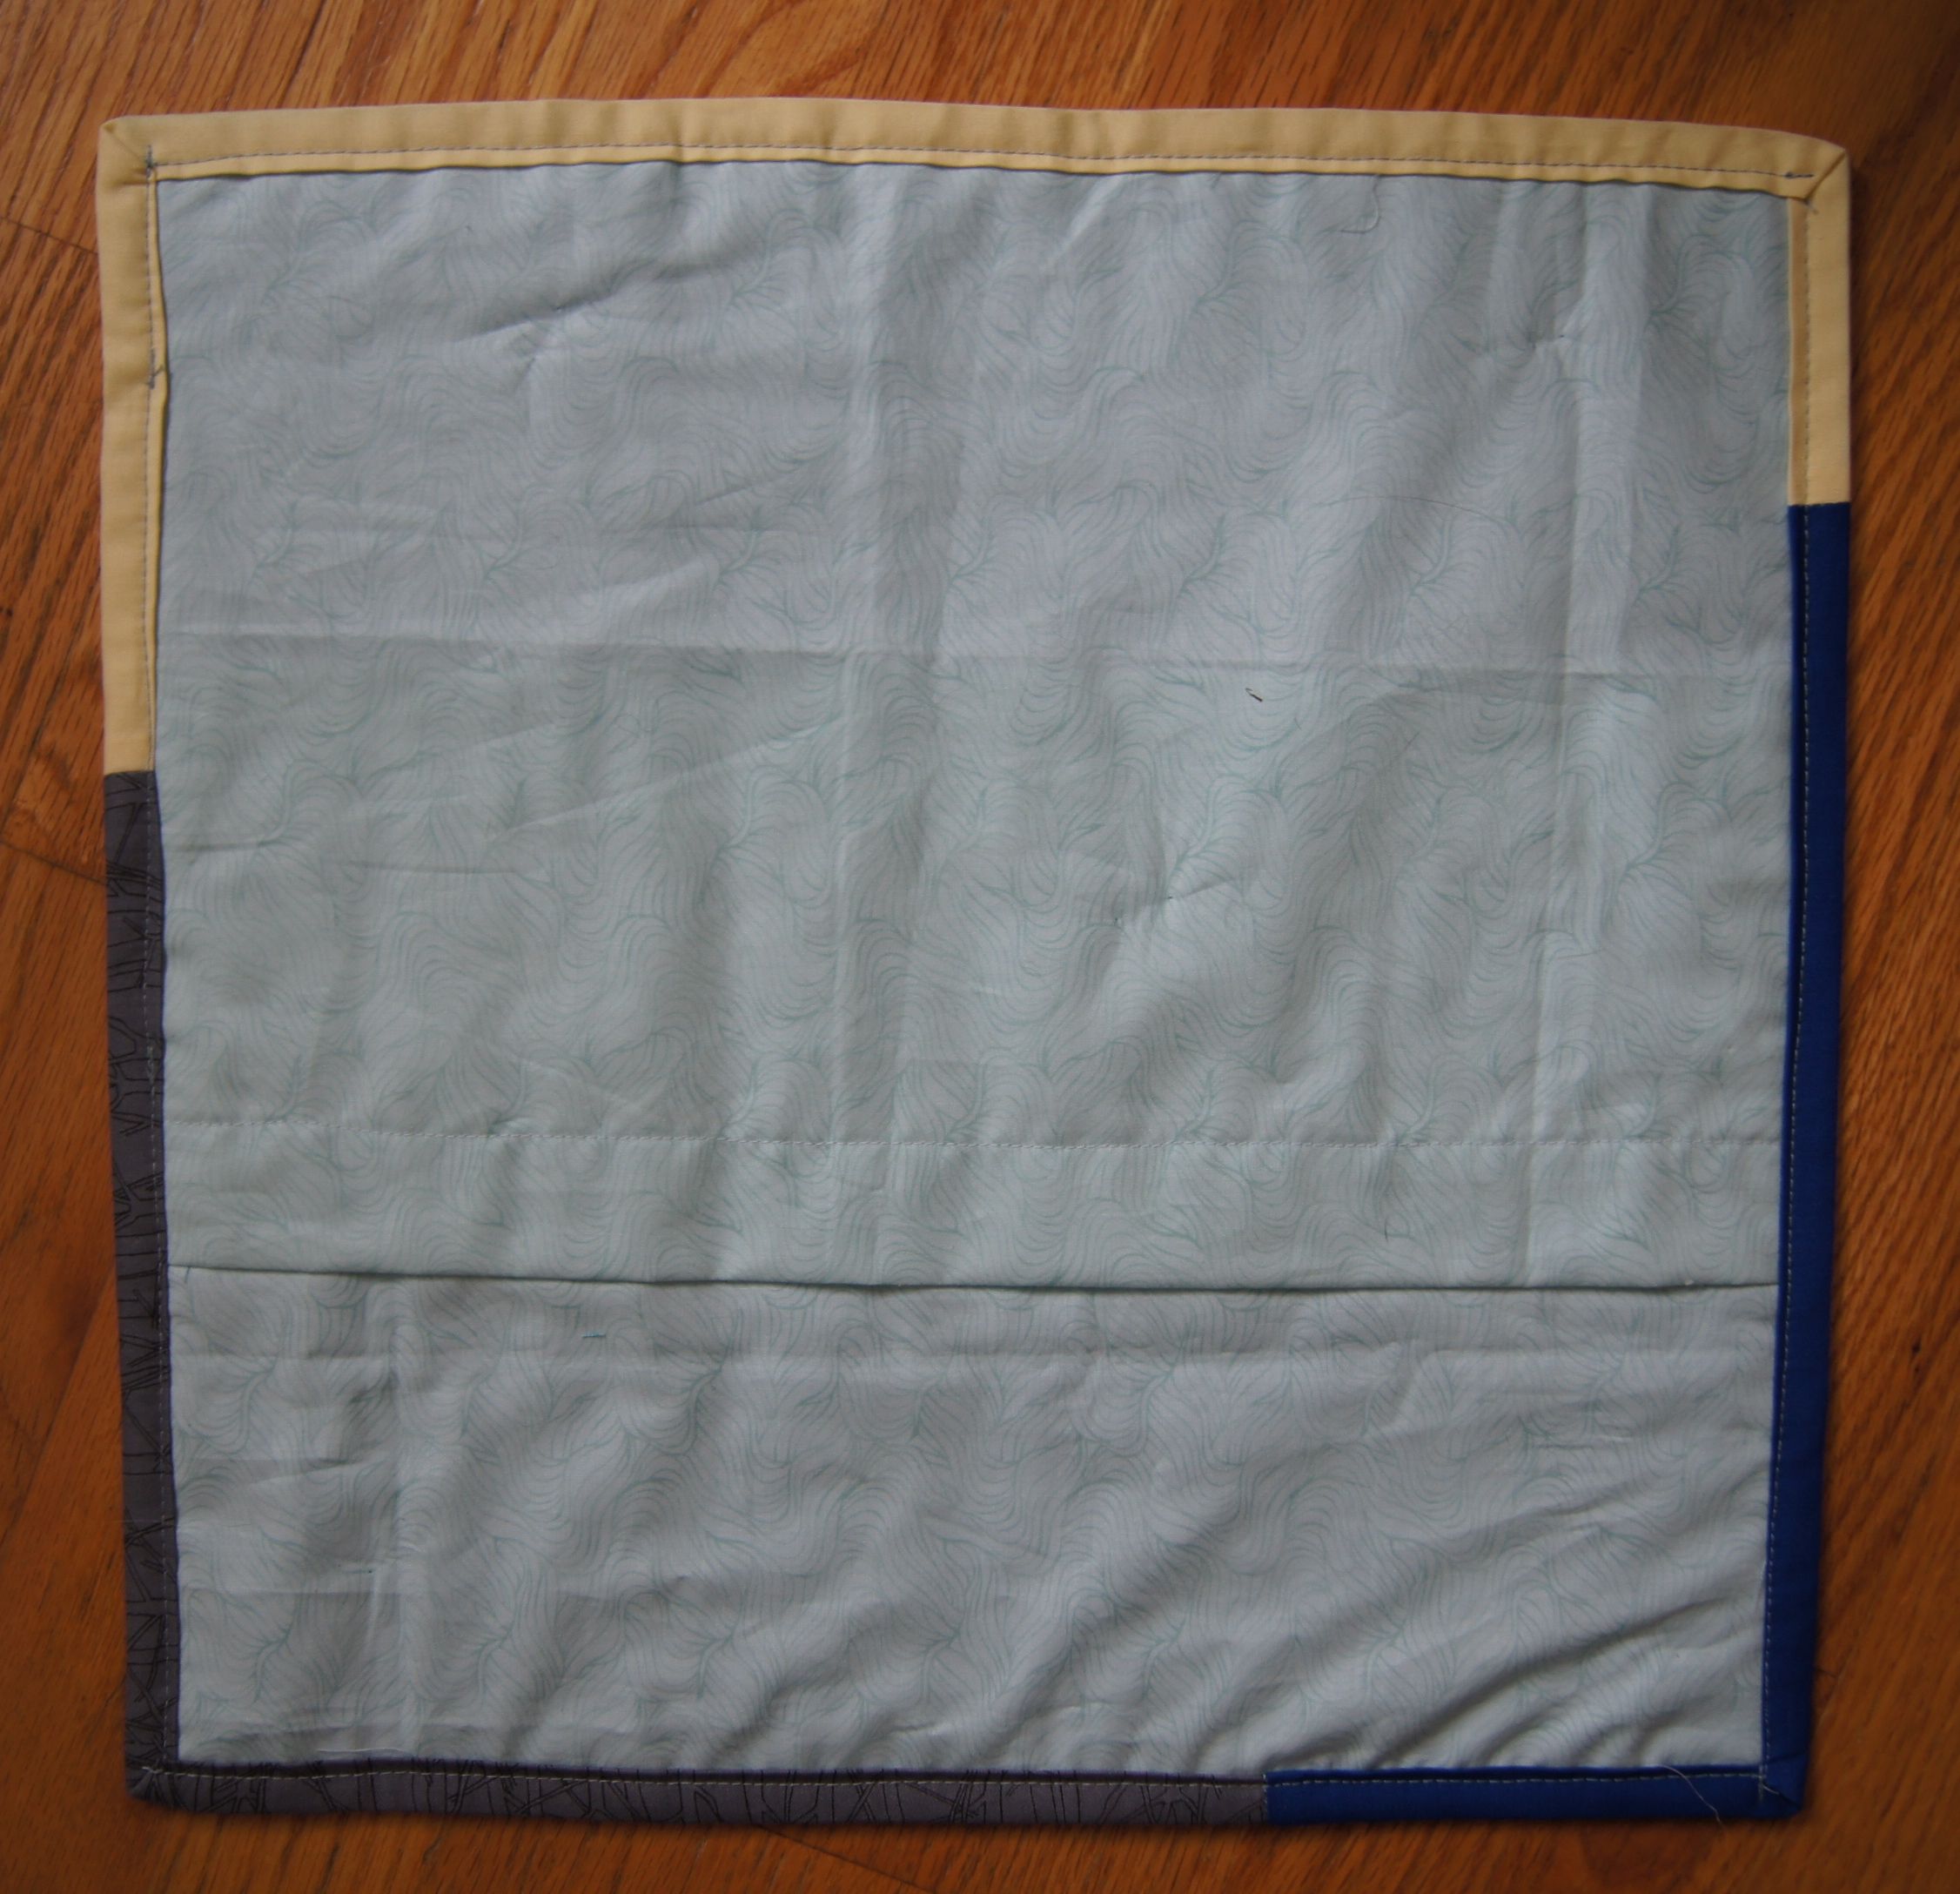
11. With so many layers of fabric using a binding is a perfect way to finish this pillow cover. I made a scrappy binding out of left over bits of bindings from other projects. I sewed on my binding entirely by machine, but any binding application method will work.
Completed Pillow Cover without the pillow form
12. A photo of the finished quilt is at the top of the post. Here's the back of the pillow cover.
My sofa has a great new look! I think this is absolutely (maybe!) the last post with the Vikings!
