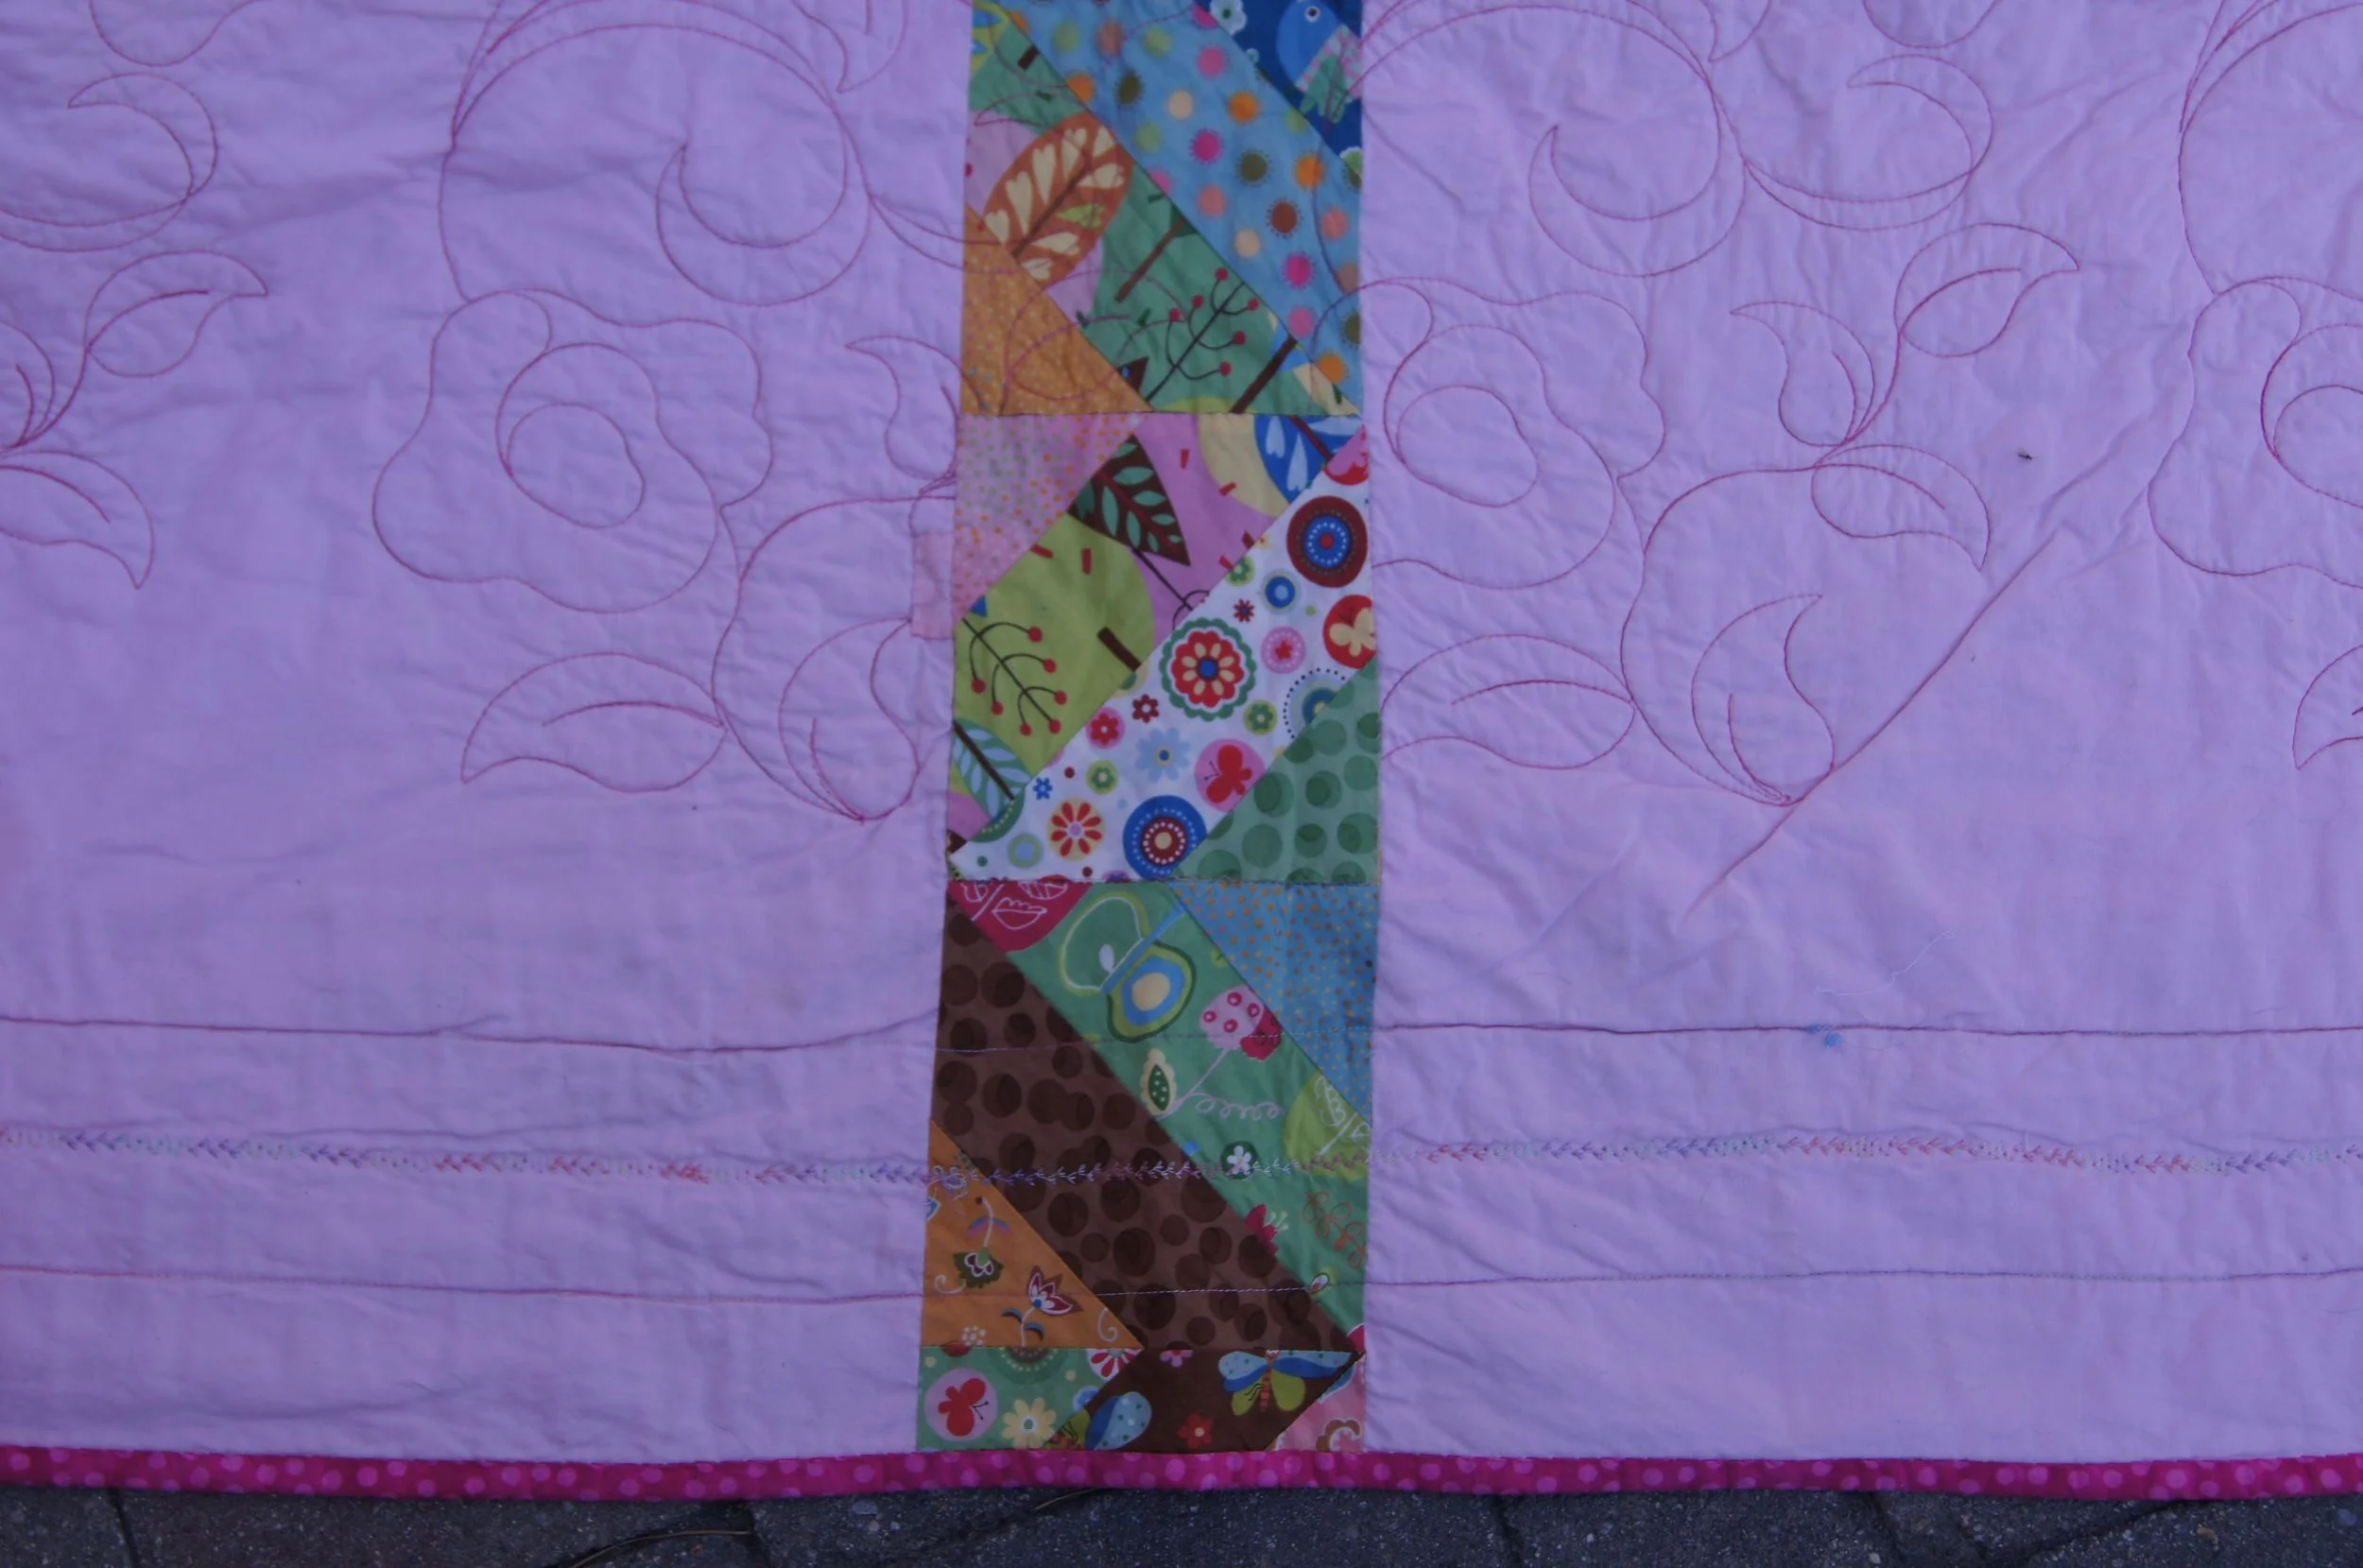
Mending on the back of Cats in Trees Quilt
Puppies and quilts: unless you have a strict no-dogs-near-my-quilts policy, eventually you will need to do some quilt repairs. So I thought I'd share some of my quilt repair projects. These are contemporary quilts. Antiques need to be repaired by a professionals, with fabrics the same age as the quilt.
I have 3 examples to show you.
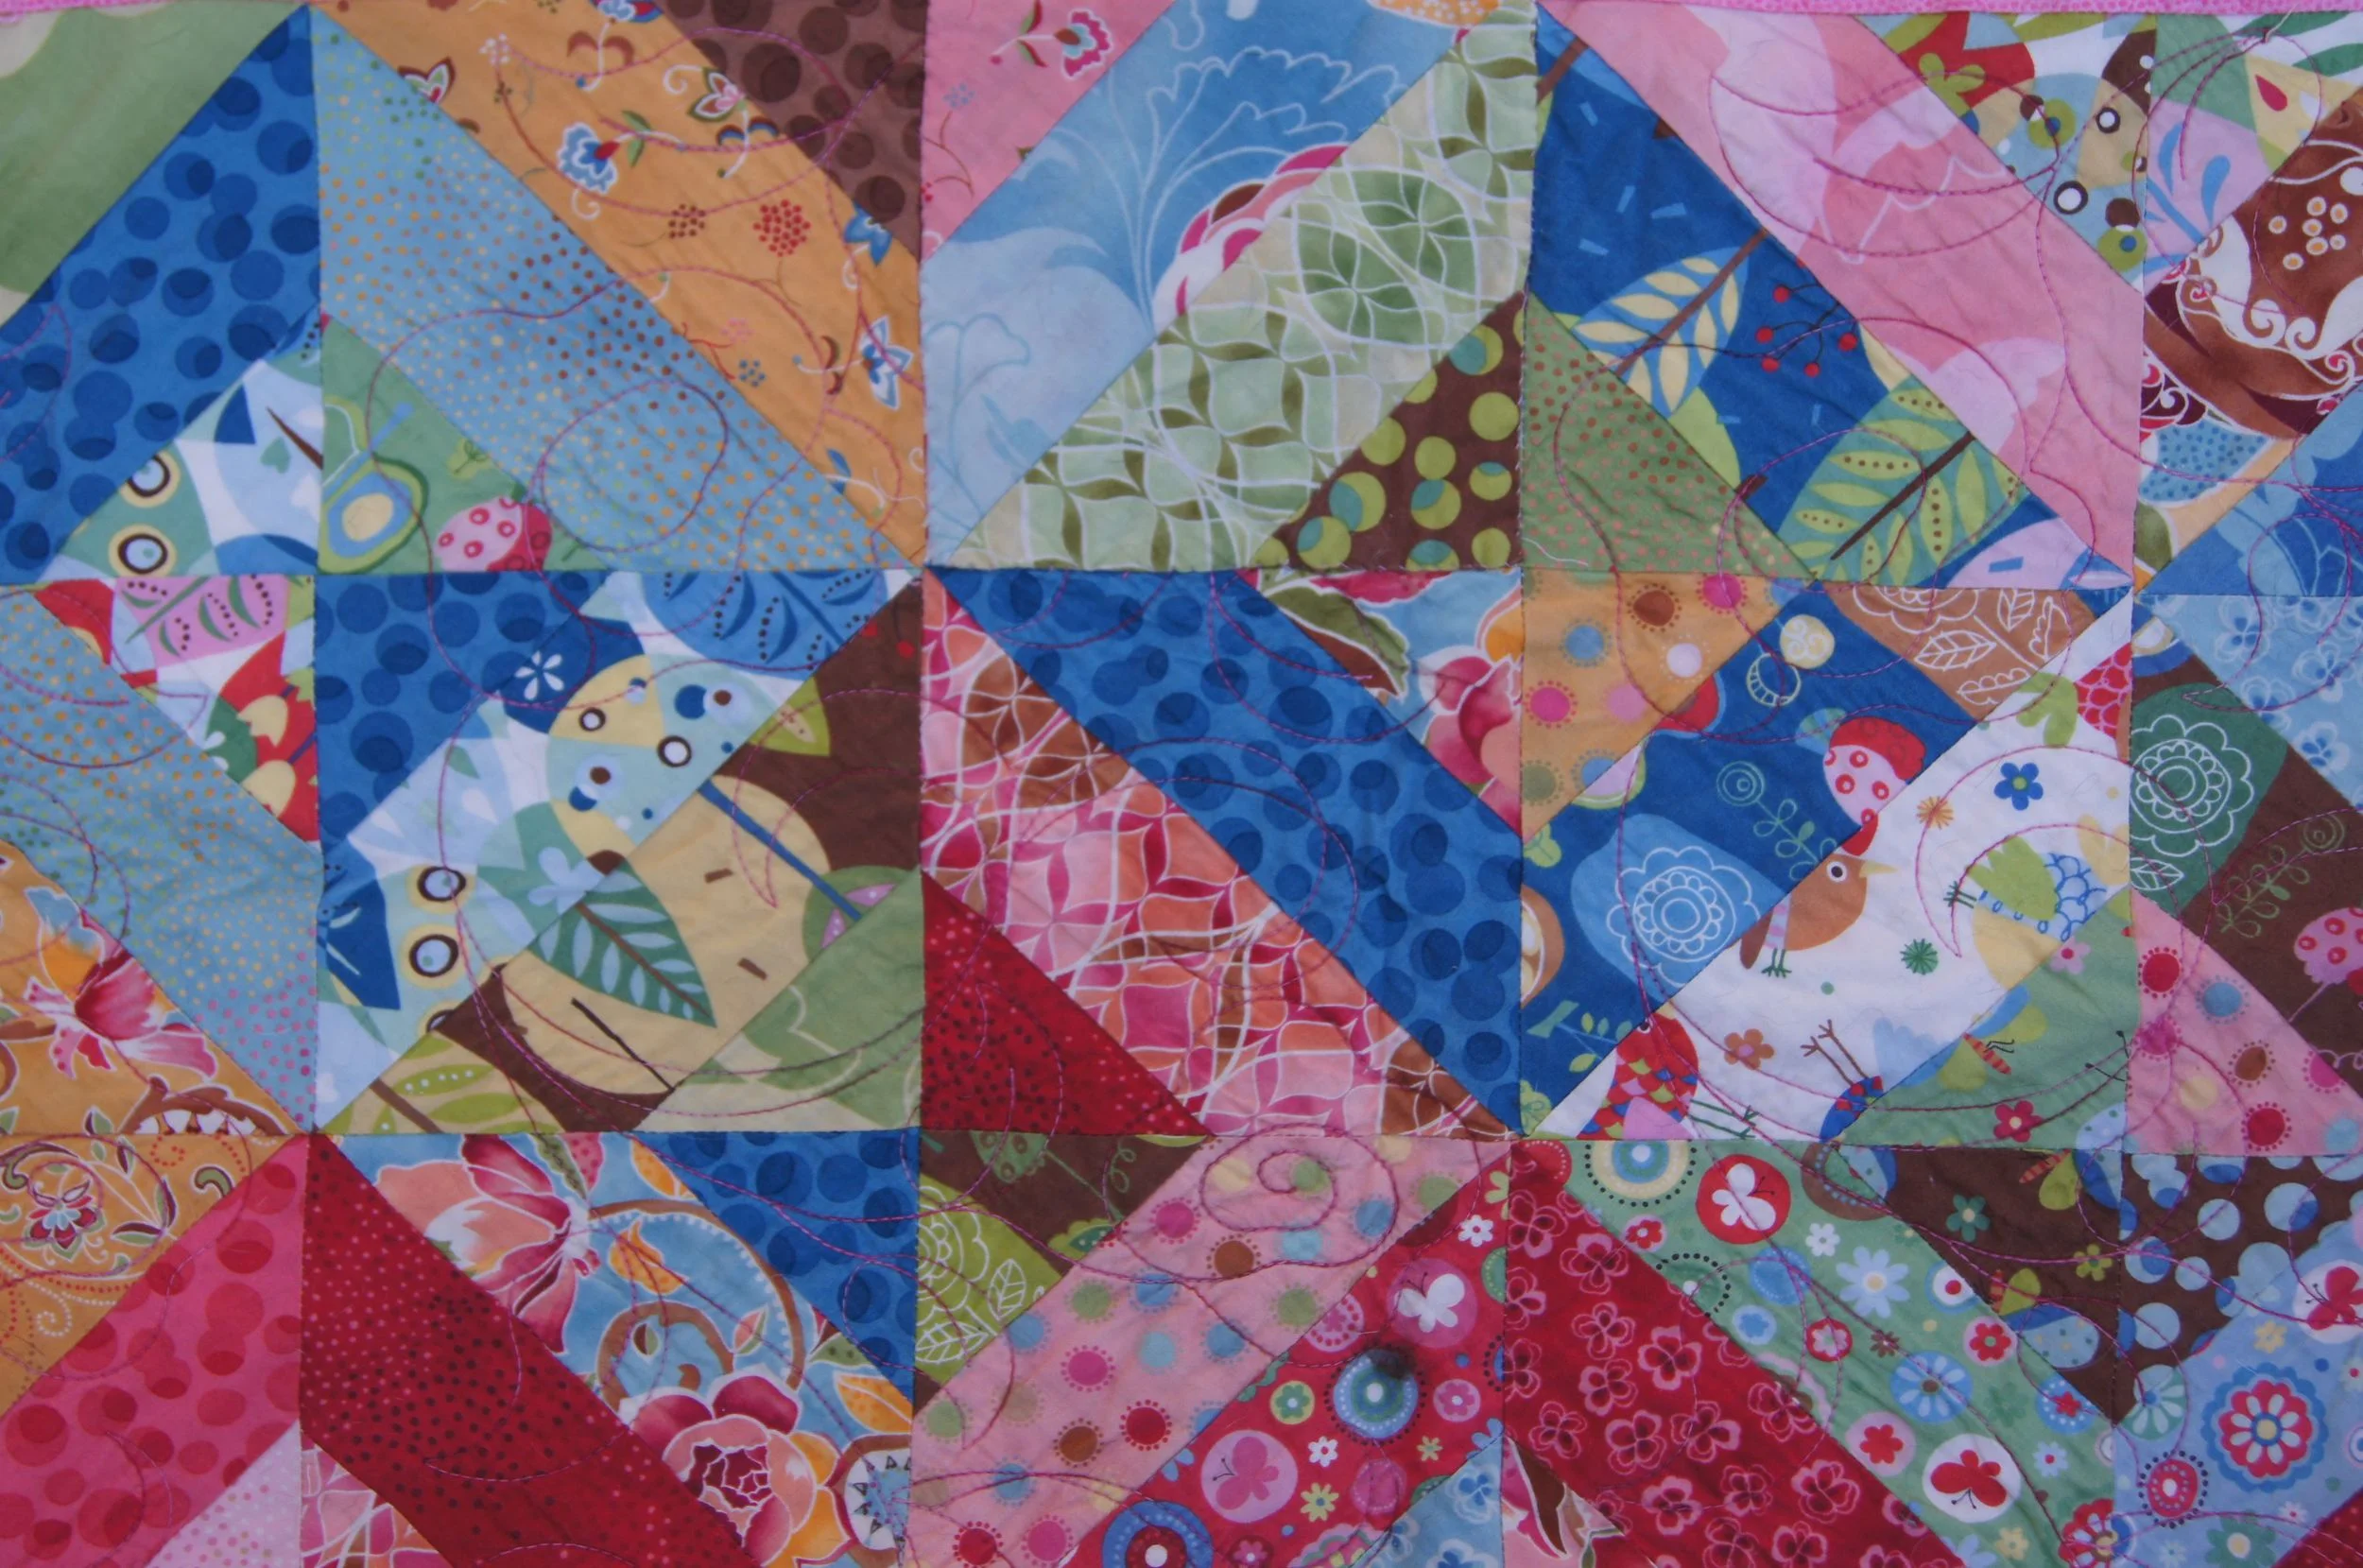
The damage to my first example, Cats in the Trees, was a heart breaker. I'd just finished the quilt. All the quilting was done by long-arm and I had used 2 different computerized designs, one of the body of the quilt and another for the outer borders. It was my pride and joy and I was enjoying using it on my bed. Unfortunately, Hazel was on the bed too. She was chewing a nylon bone. The quilt apparently got bunched up and Hazel chewed the fabric along with the bone. The result was a large, ragged hole, right through the quilt, with the batting completely mangled.
Fortunately, I had 4 or 5 orphan blocks from this quilt. This was a jelly roll quilt and the orphan blocks were less desirable color schemes, but perfect for mending this quilt!
I slid a square of new batting into the open edges of the damaged quilt. I probably tacked that in with a few stitches. I had to put in a small patch of pink fabric on the back. Then I slip-stitched on orphan blocks on the front and back of the quilt to cover the damaged area.
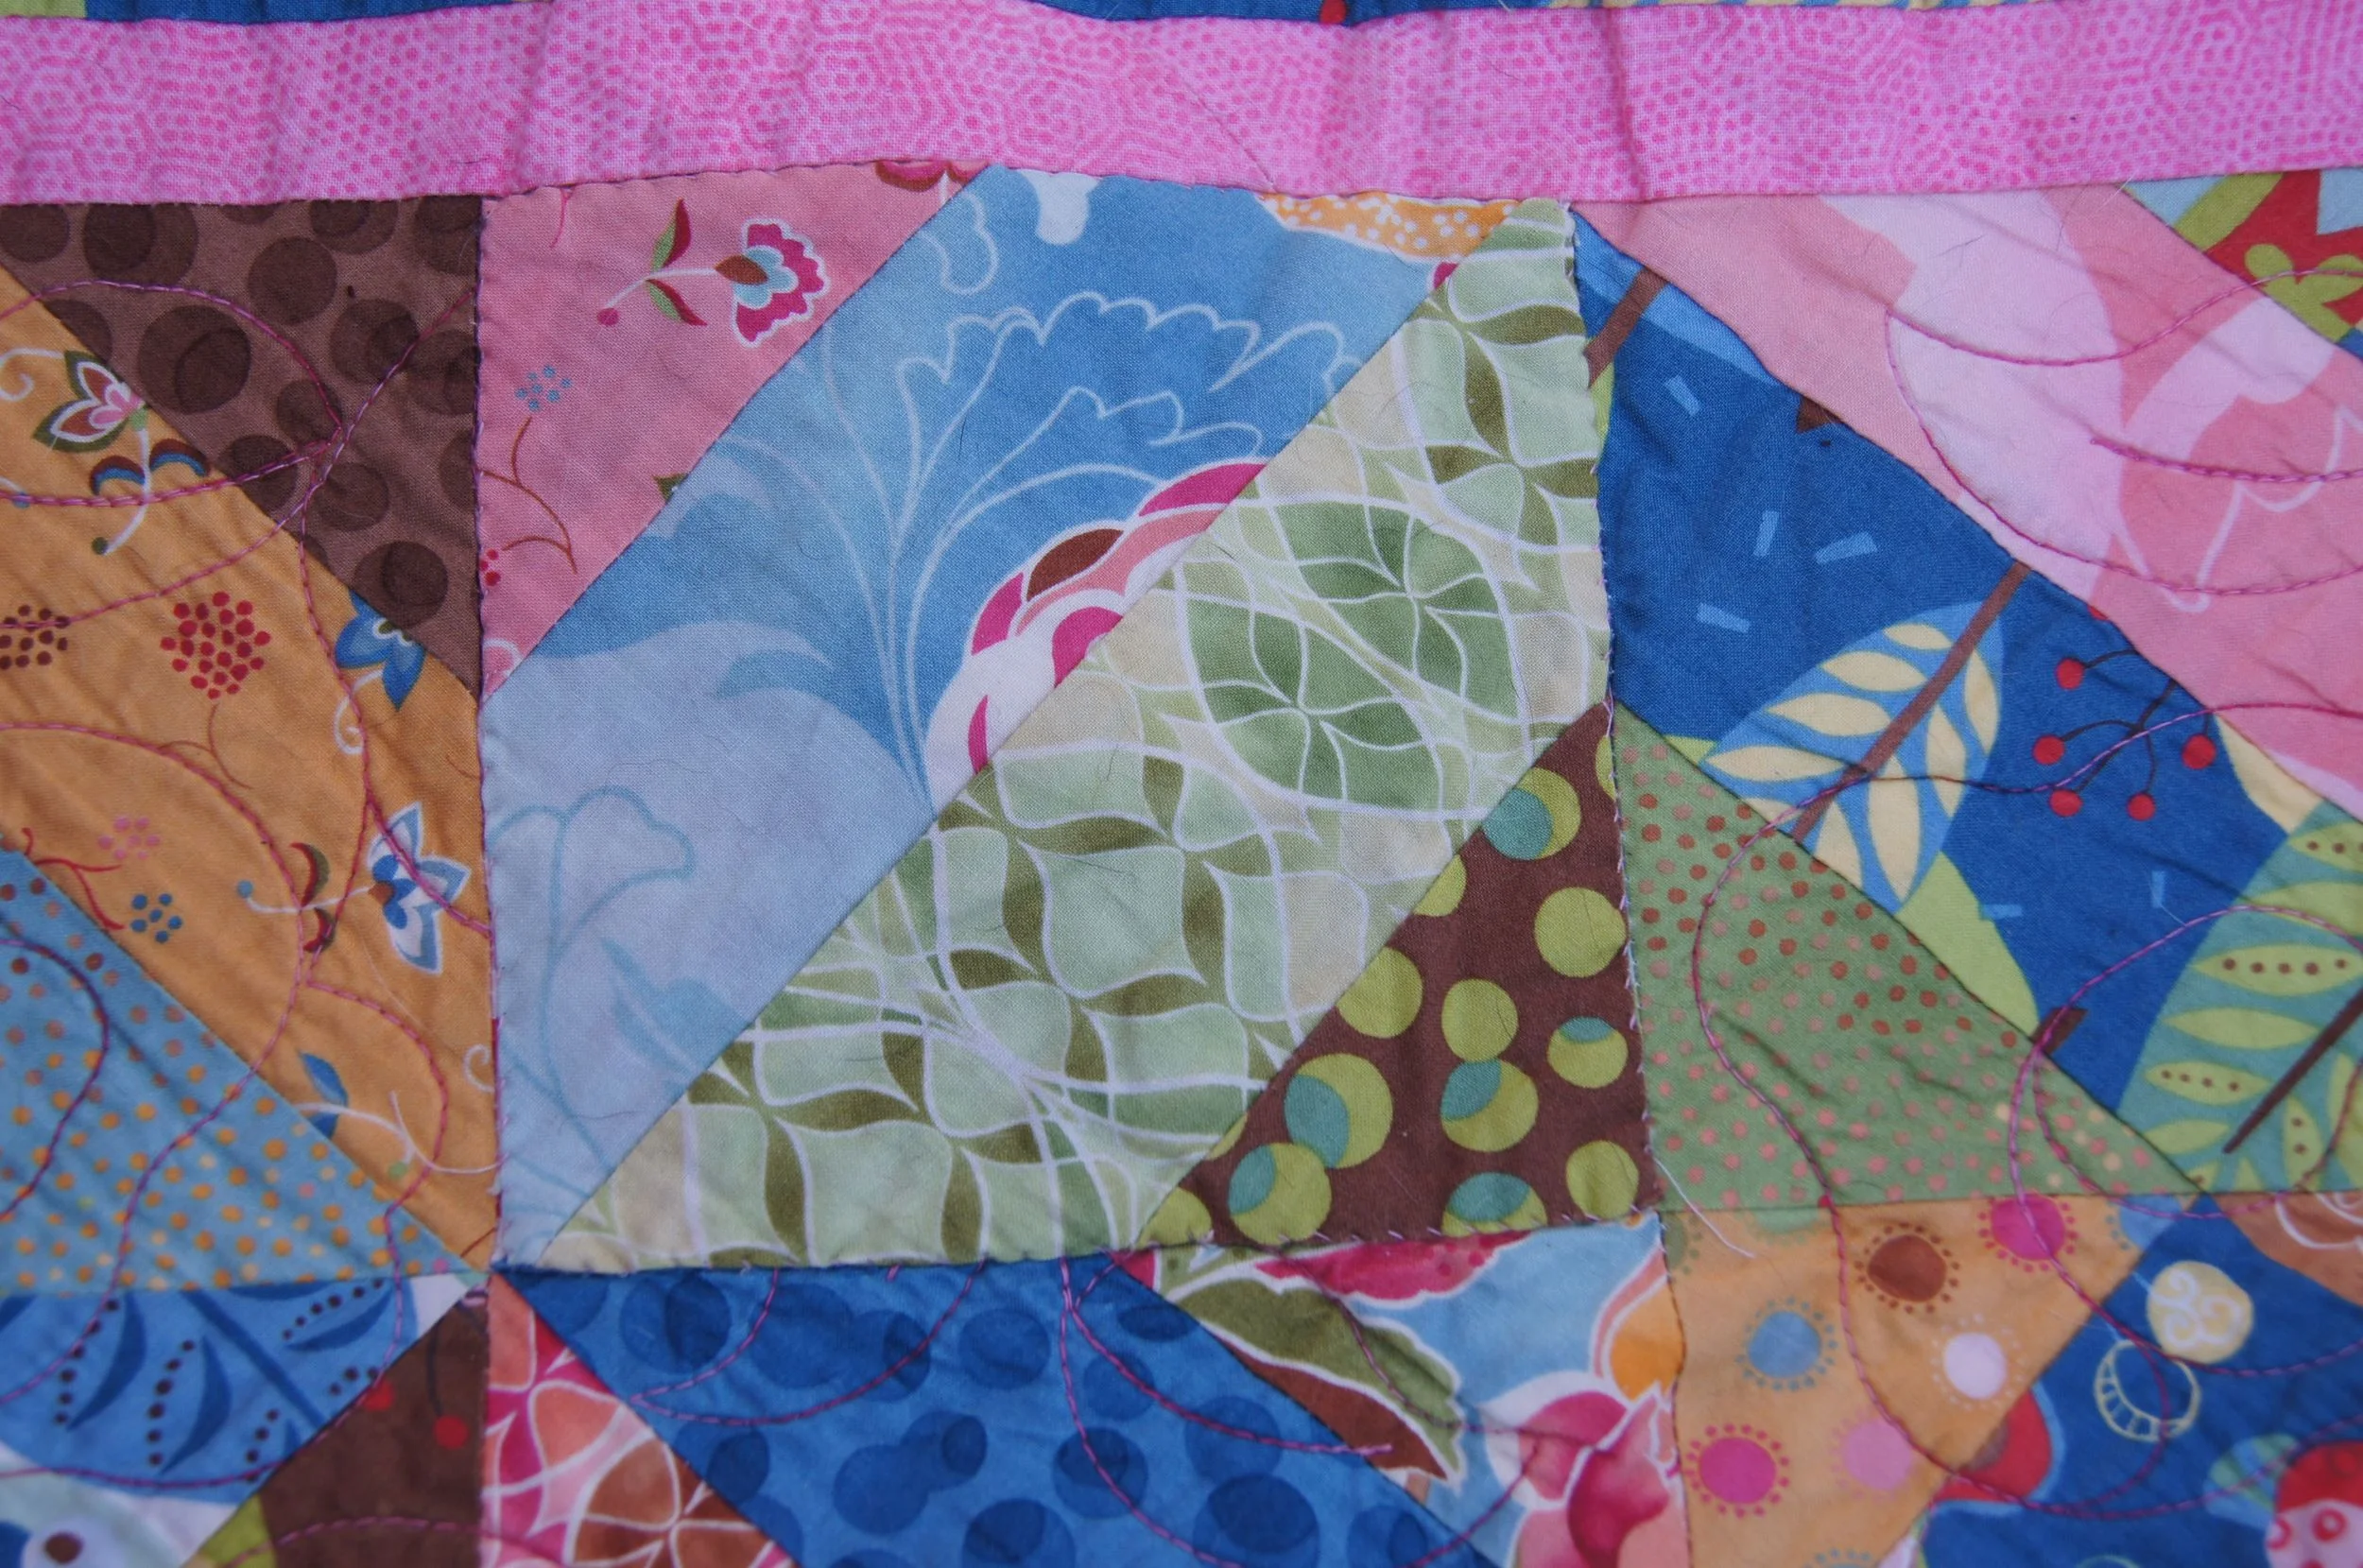
Mending on the front of the Cats in Trees quilt
I wasn't doing free motion quilting at the time, so I didn't even try to replace the lost quilting. Fortunately it wasn't a large area.
At a distance, the mending is barely noticeable. In fact, I had to turn the quilt around 3-4 times to find when I took it out to photograph it for this post!
The other quilt which was damaged by a dog chewing it wasn't so painful. This was a quilt I'd made FOR the dogs. I often through it over the bed so that they can lie on it.
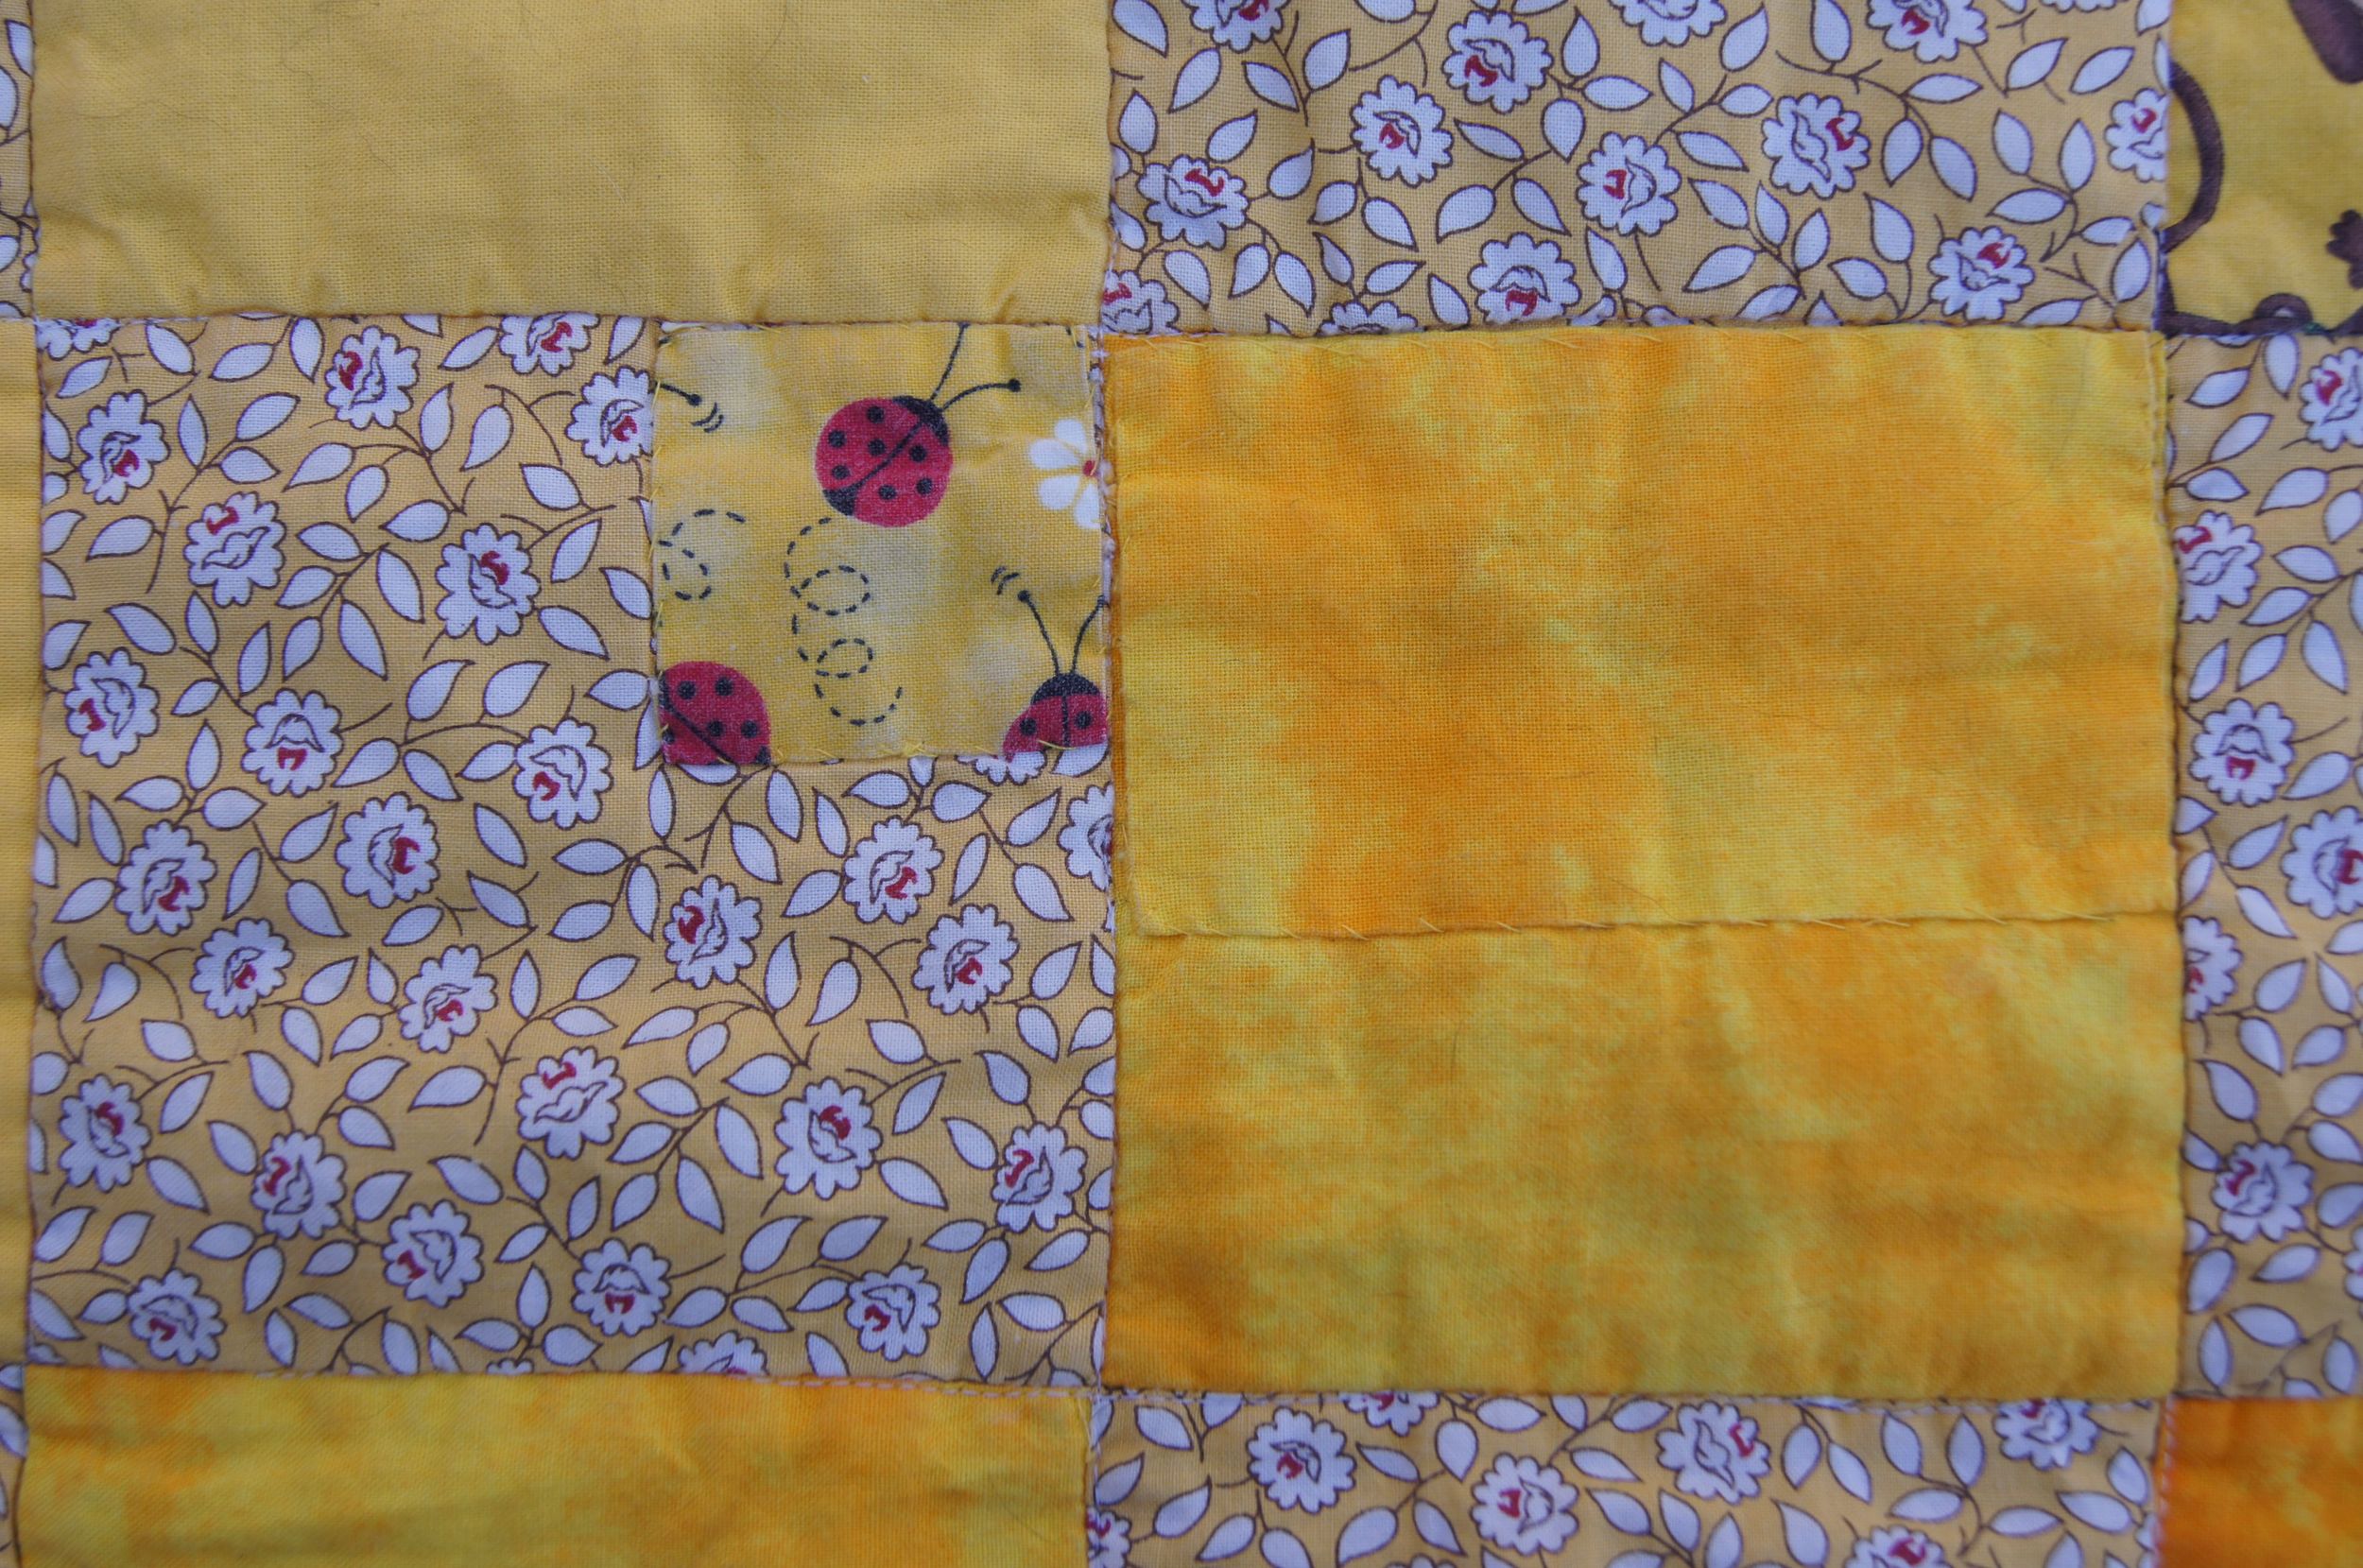
Patching on the front of a quilt
This quilt has a poly-fil batting. That was actually a bit trickier to replace than the cotton batting which tends to adhere better to the original batting. You can see in the photo above that I put in a small lady bug patch to cover one hole in the flower fabric and then used the original fabric to make a half-square patch to cover the damage in the yellow block. The lady bug patch actually makes this quilt more interesting. It's also the same fabric as the backing of the quilt.
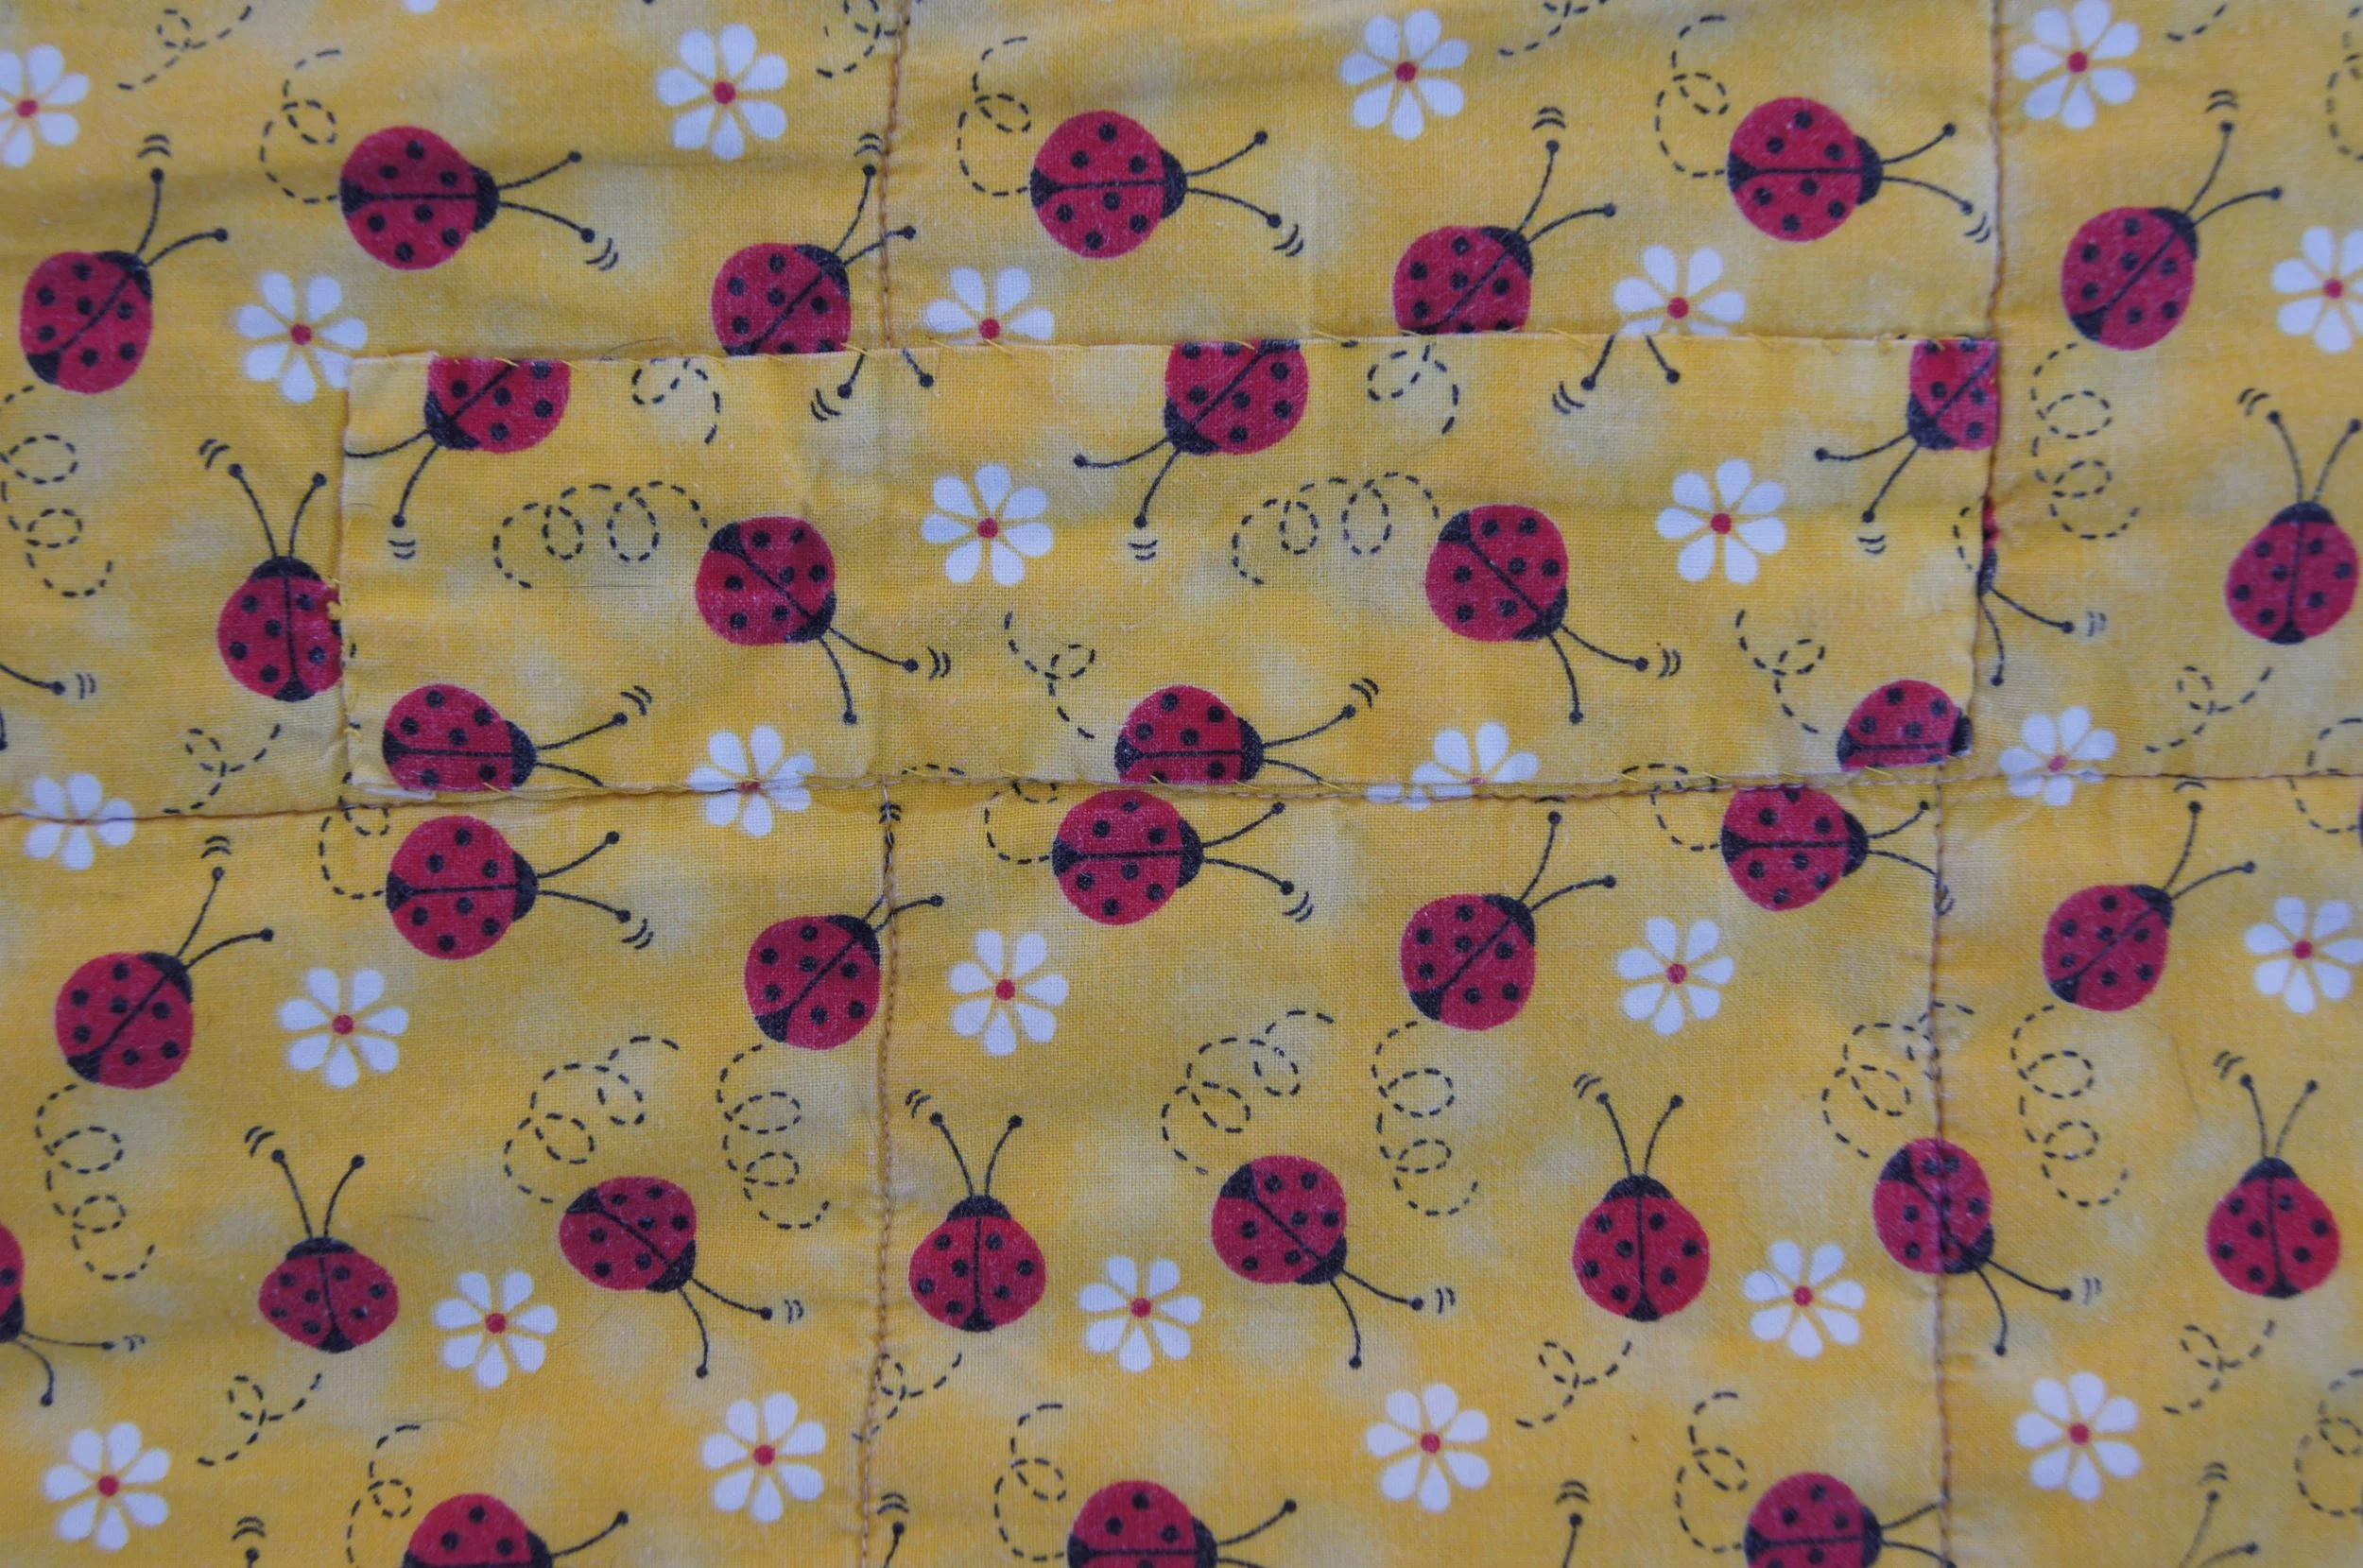
On the back, I needed to slip stitch on a rectangular patch to cover the damage.
Rectangular patch on back of the quilt.
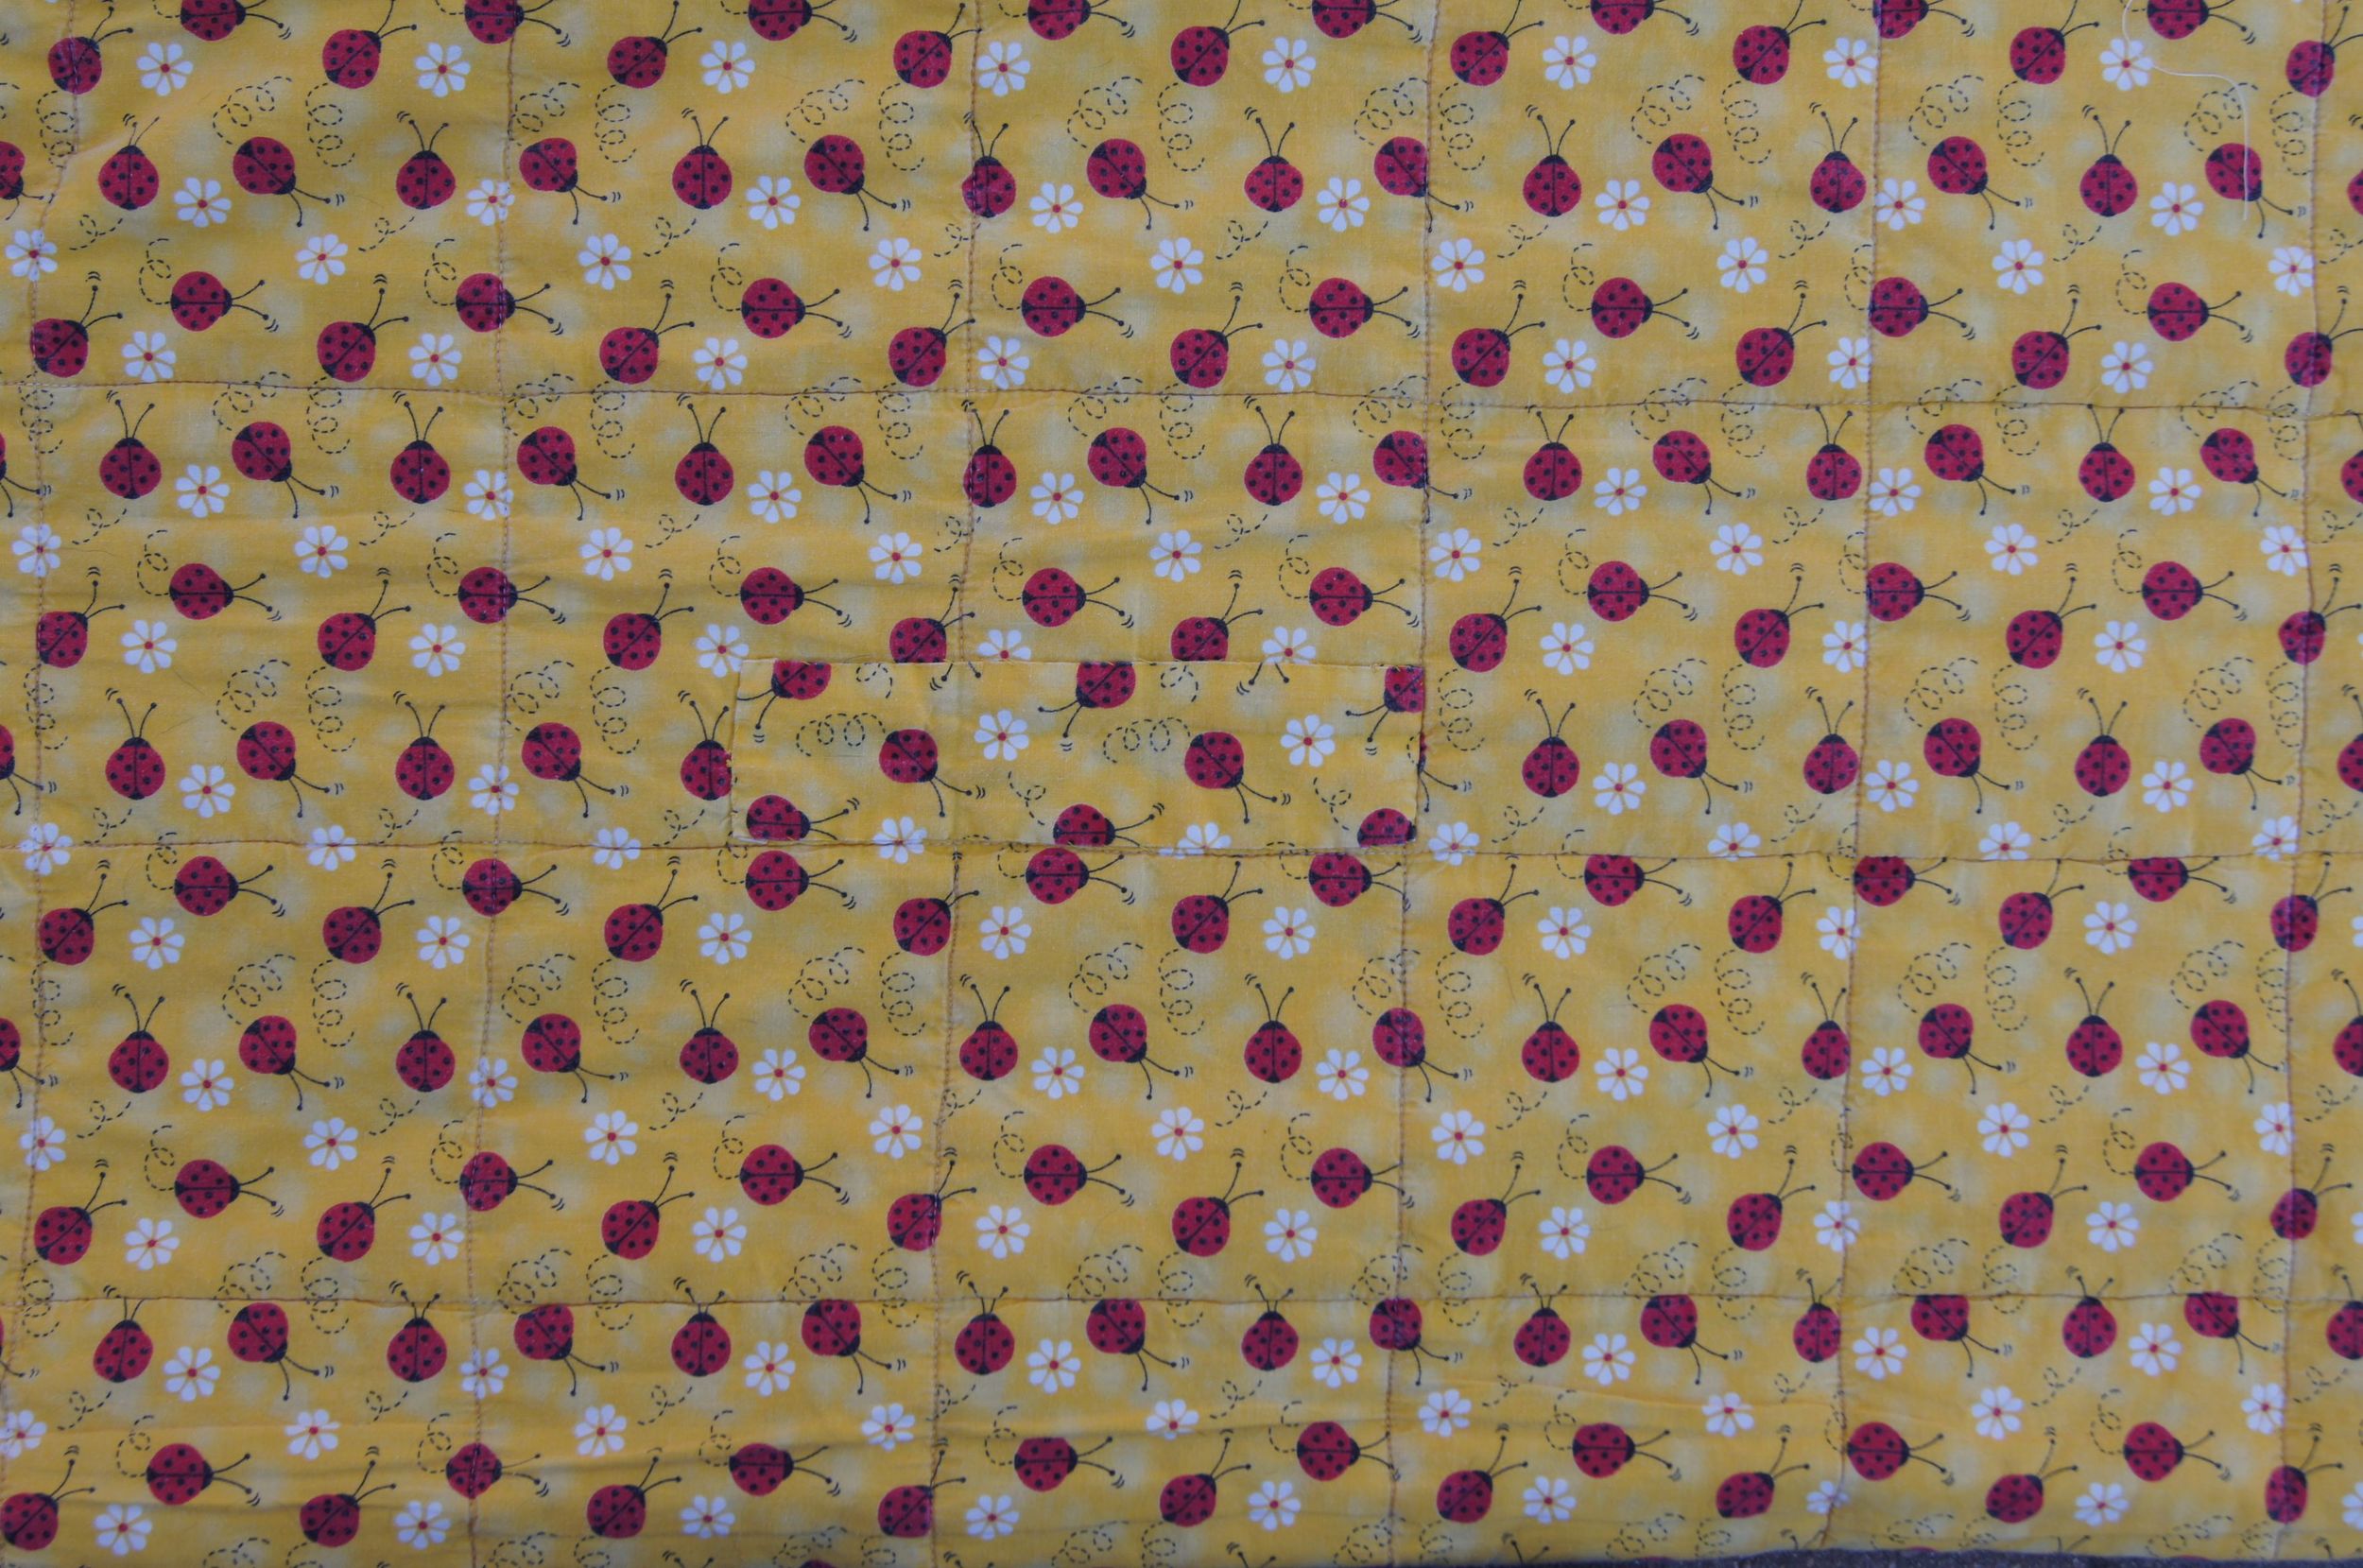
Here are photos of the patches on the front and back in a wider view. The ladybug patch is obvious but the other mends blend into the quilt.
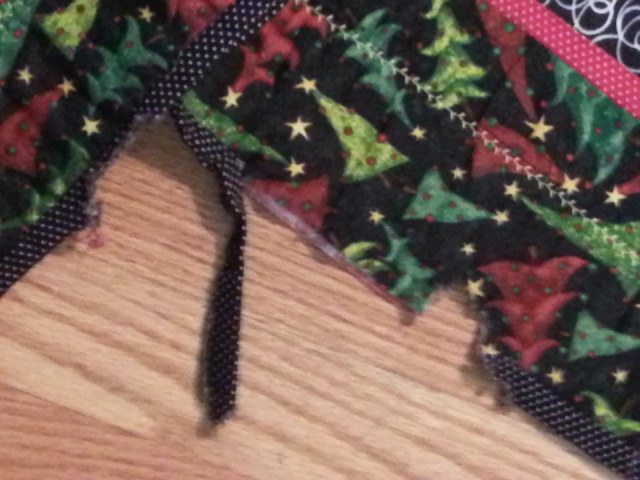
Then there is the fine work done by my niece's puppy, Zoe! She managed to chew several small chunks out of the quilt's border and at least one corner of the quilt.
I didn't have any fabric or supplies to mend this quilt while I was visiting with them last week, so I asked my niece to send to me if she'd like me to fix it.
I still have some fabric left from this quilt which I made 2 years ago. It might be possible to replace all the divots missing from the quilt edges. But I'm thinking that I will probably just trim off the damage and re-bind the quilt. This quilt is a small Christmas lap quilt. I think it will be just fine if the repair results in a quilt a couple inches smaller.
My other common repair? Bindings. I recently took off 2 tattered double thickness bindings and attached brand new ones. More often I find myself needing to slip stitch a few inches of binding which has come loose on a quilt. More and more now, I'm attaching my bindings all by machine. I hope they hold up better in the wash!
If you have a quilt with a hole, try patching it! It's rewarding and (almost!) fun.
