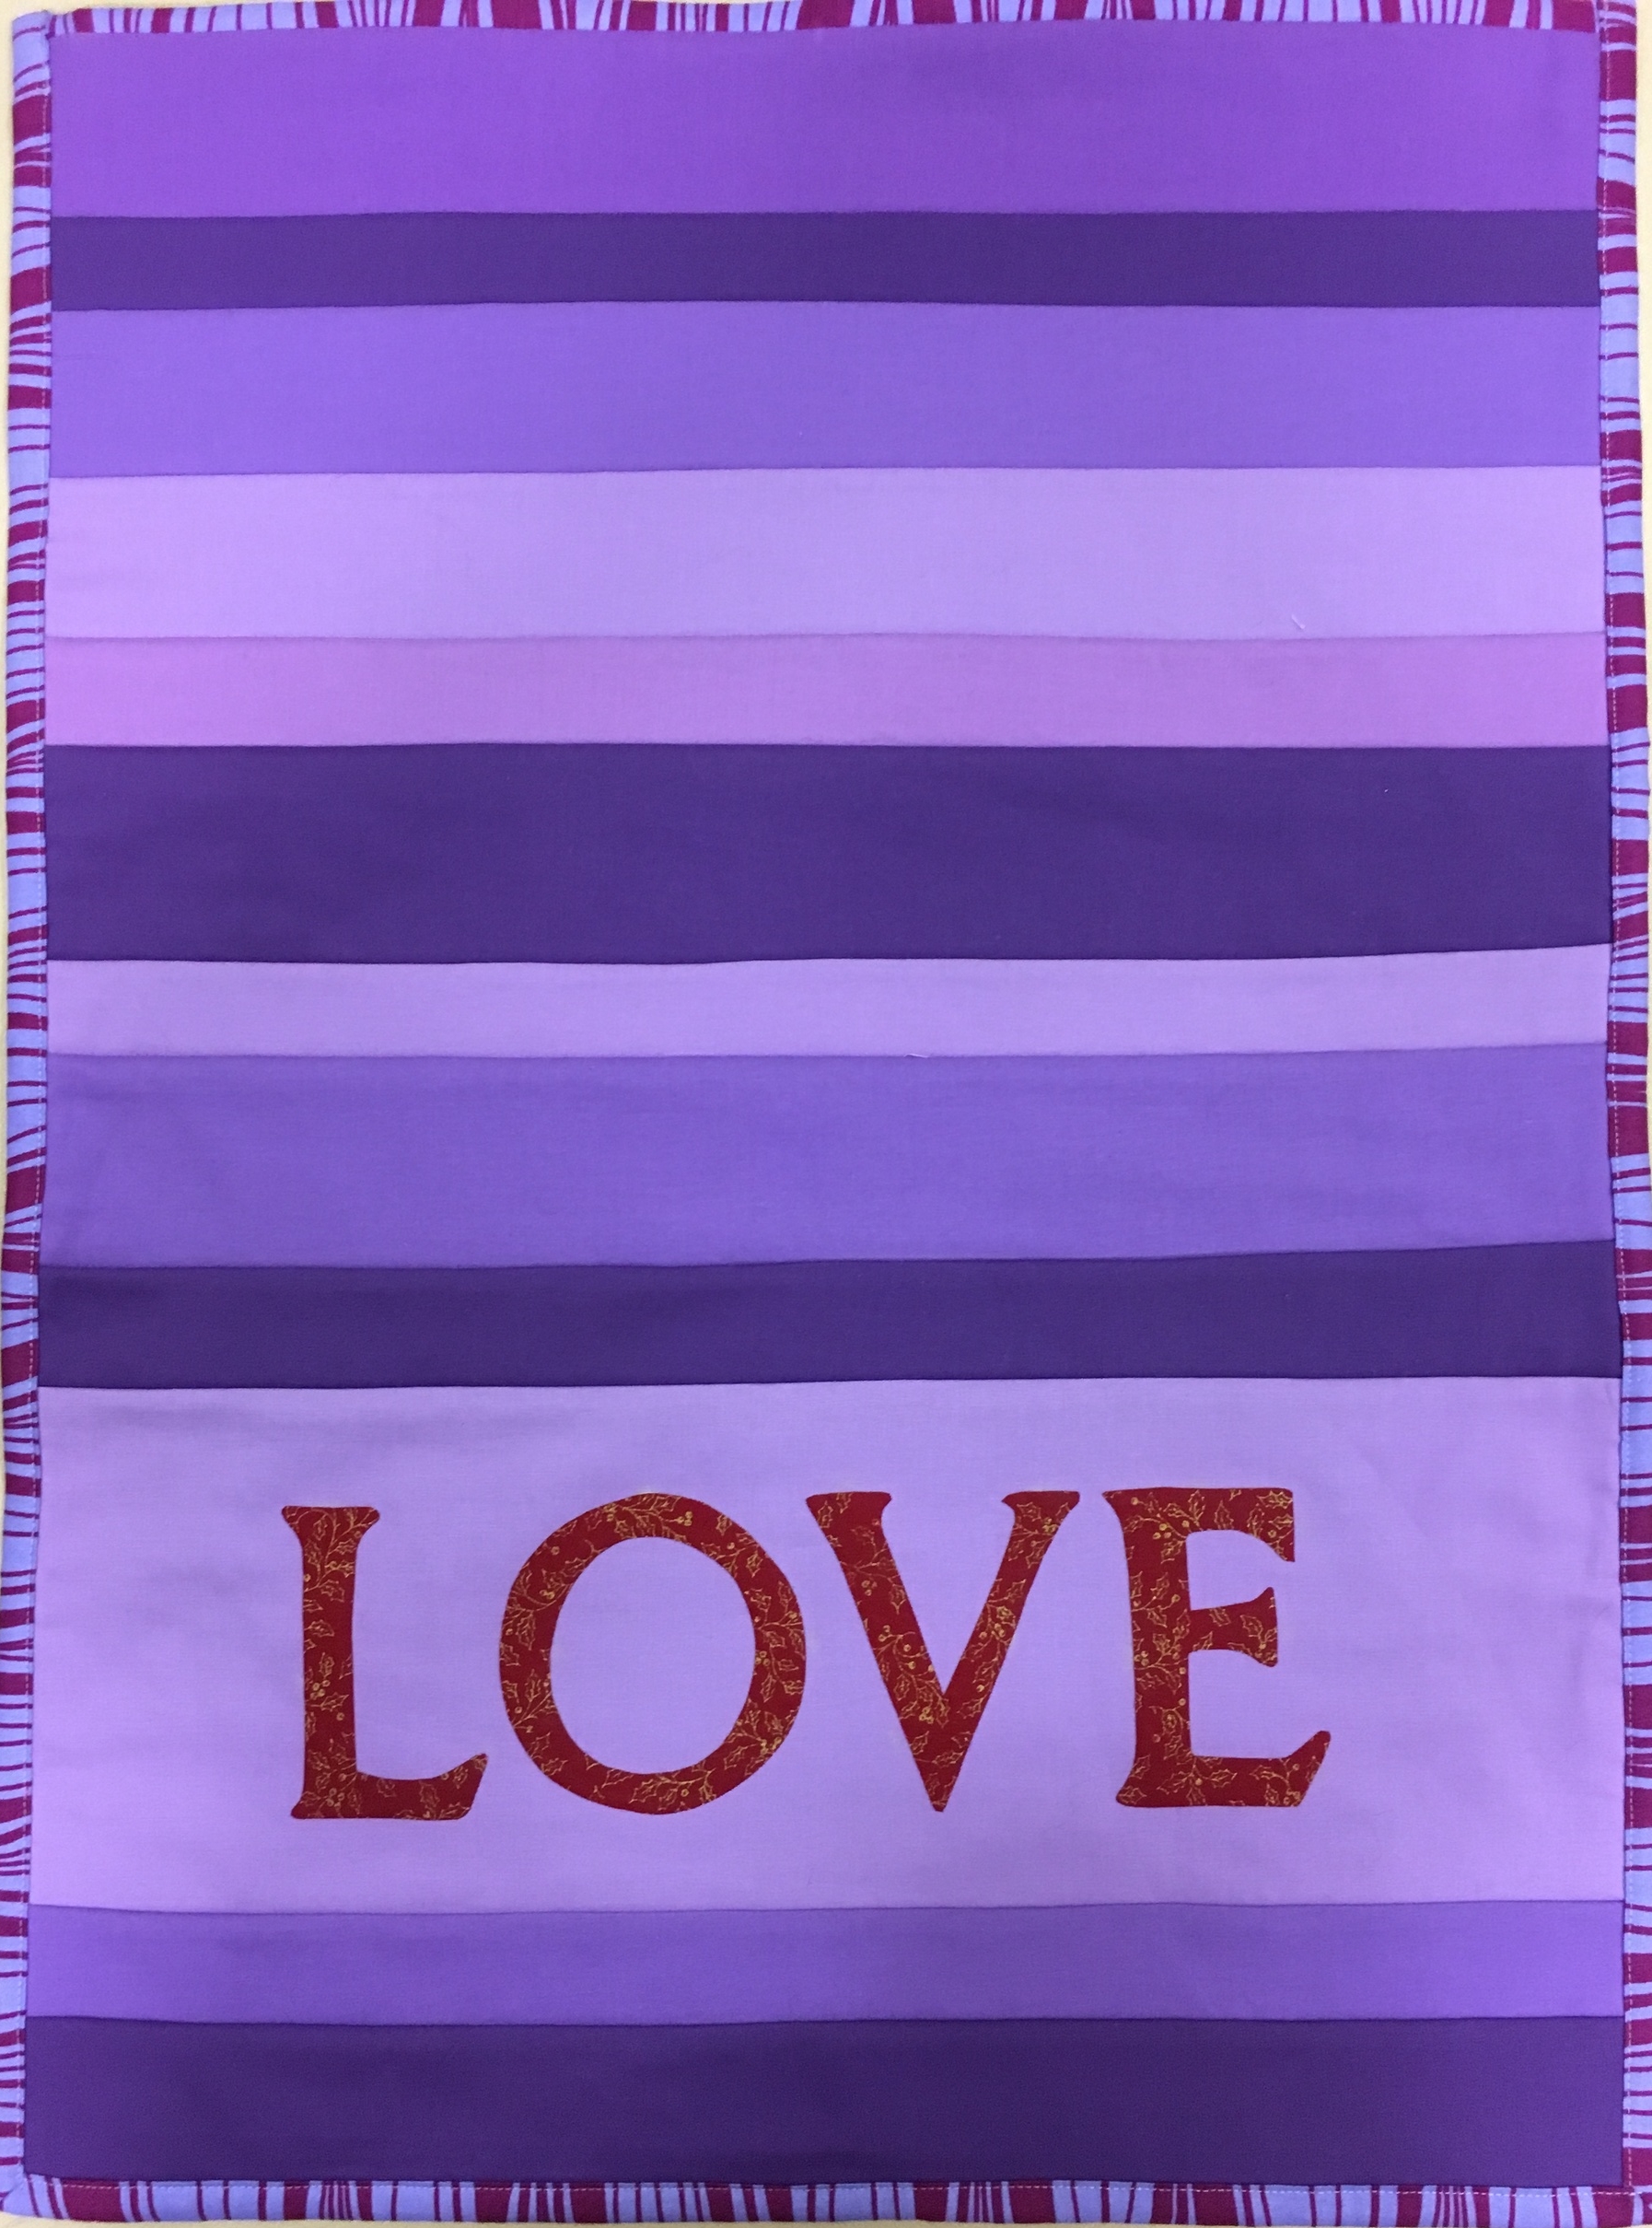
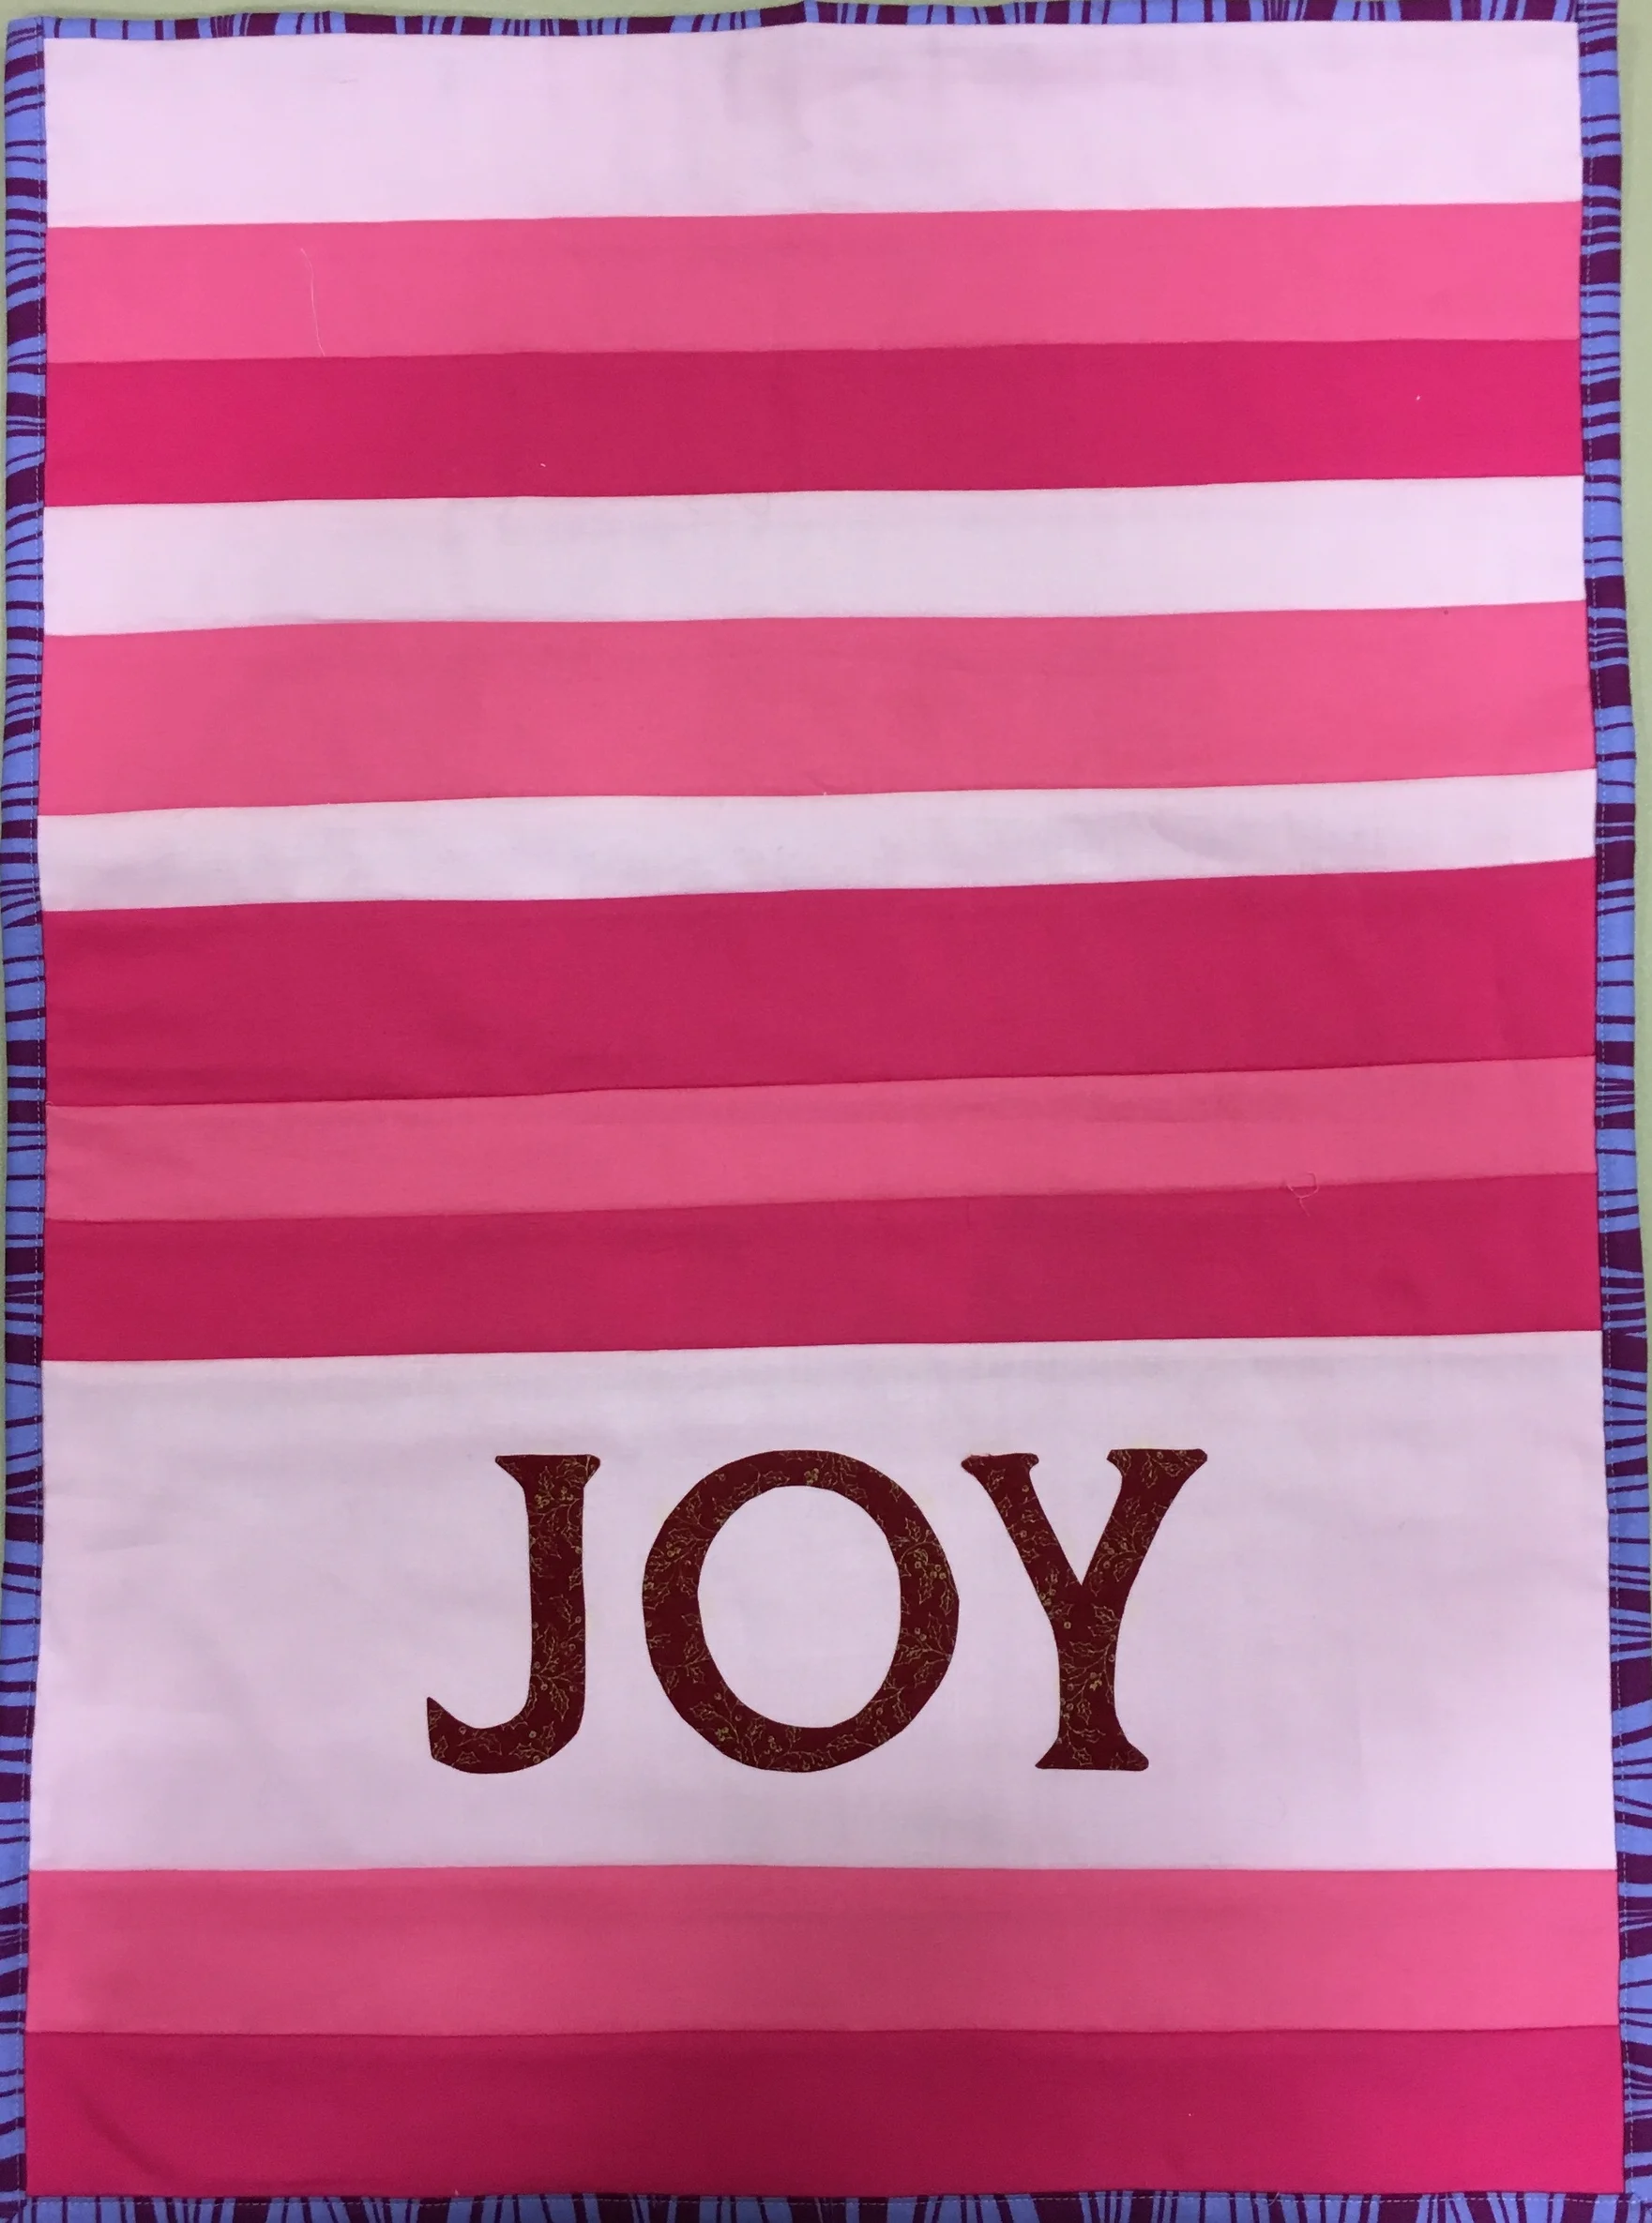
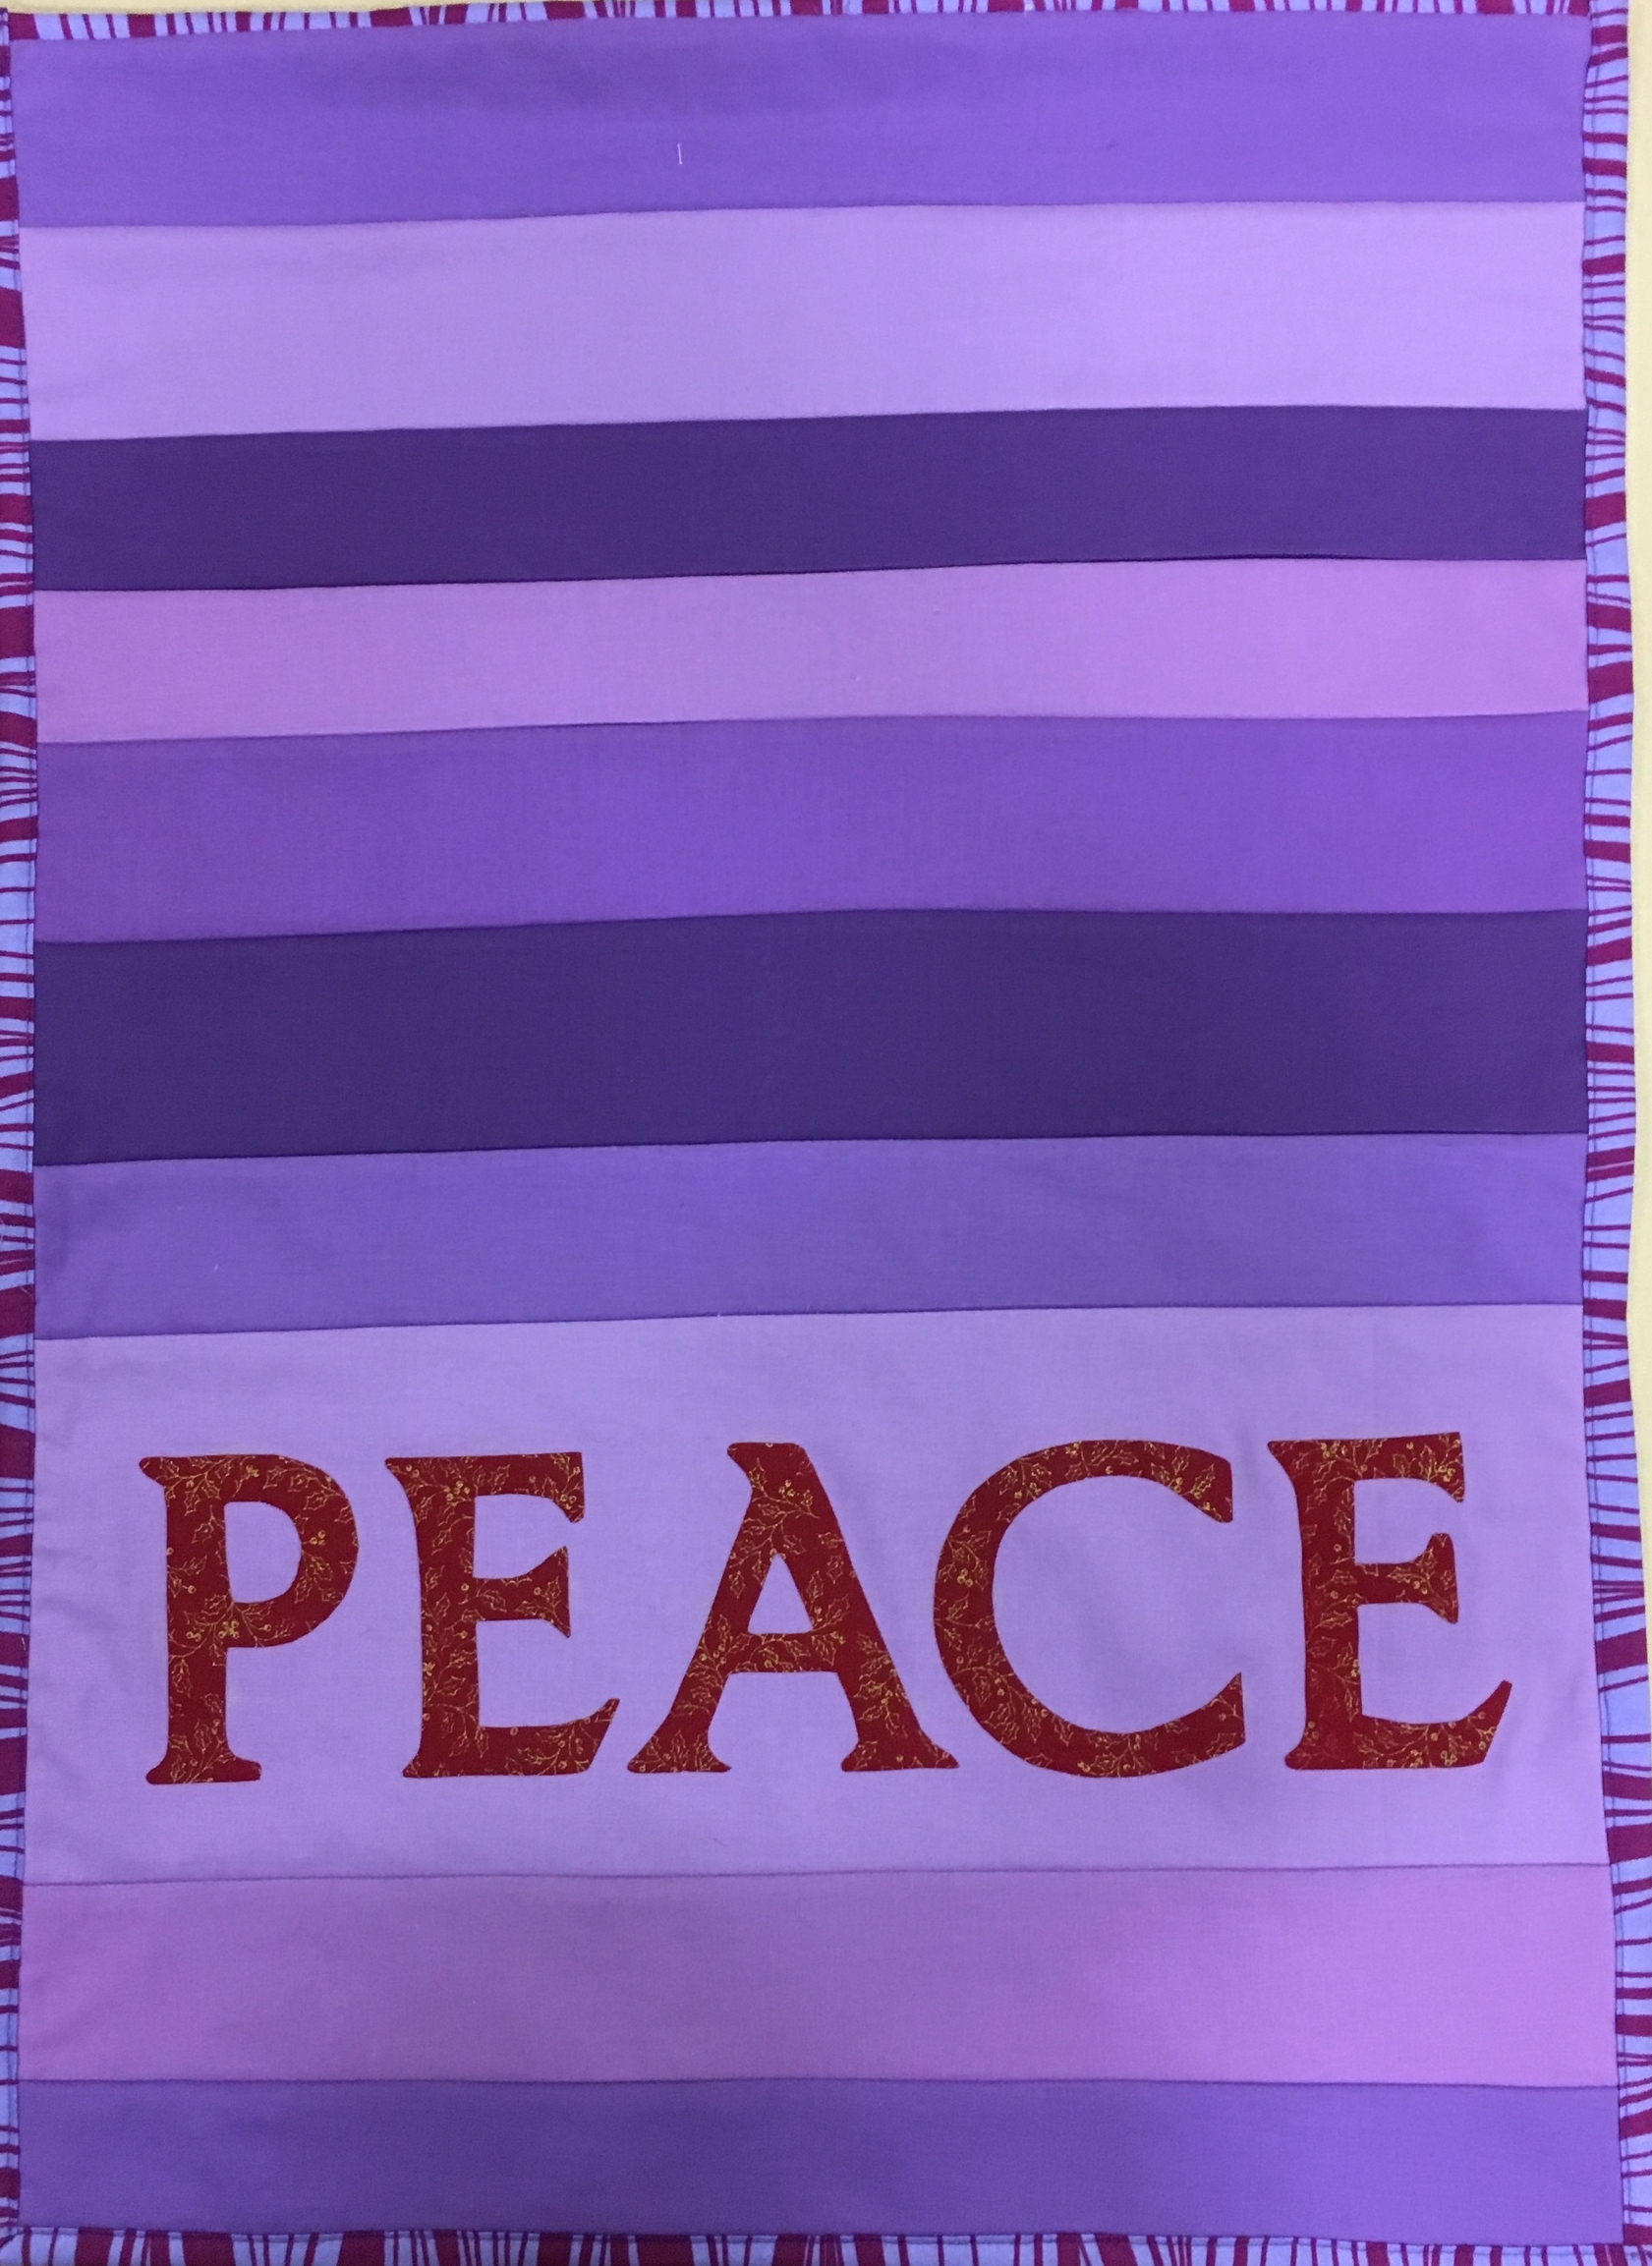
Pastor Carol at the Stratford Street United Church in West Roxbury, MA wanted to make a hanging for the pulpit for each Sunday in Advent. She's an art quilter. She asked me to help out with an Advent Quilting Workshop this past weekend. A Quilt as You Go technique seemed like the perfect way to combine both our skill sets and it's easy enough to teach to beginner sewer/quilters.
Here's how to set up a similar project.
- Measure the place where the banner will hang.
- Cut a piece of batting 1 inch wider and longer than the final banner size
- Cut backing 2 inches wider and 4 inches longer than the final banner size
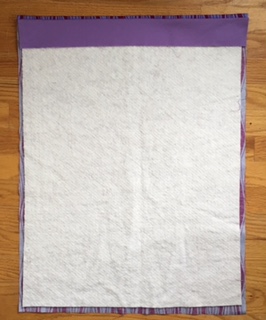
- Layer banner--backing WRONG side up with batting on top. I used Fabric Adhesive to anchor the batting. I normally would use safety pins but worried kids might accidentally sew over them
- Fold 1/2 inch of fabric over the top edge of the banner and iron down.
- Mark the batting with a fabric pen at the level you want your word panel. I cut a 6 1/2 inch strip which finished at 6 inches.
- Strips for the banner can vary from 1 1/2 to 3 1/2 inches x width of backing layer
- Make you letters using a fabric fusing product. I used no sew Heat 'n Bond.
- Make a binding for the banner
Instructions:
- Attach your letters to the word panel
- Make a sleeve to the size needed for hanging. There are lots of great quilt sleeve tutorials.
- Attach one of the wider strips to the fabric folded to the front of the batting, using a 1/4 inch seam.
- If you sleeve is narrower than the the first fabric strip, attach the sleeve to the backing. If not, save it and sew it on by hand when the banner is finished.
- Using the Quilt as You Go technique, continue adding strips. Until you reach the marking for the word panel.
- Attach the word panel, then add a couple more strips to finish the banner
- Trim the banner to the finished size.
- Attach the binding. Make sure not to sew over your sleeve if you have already attached it.
Happy Advent!


