When I first saw Little Miss Shabby's
I was really impressed with its modern simplicity and the potential for using it a variety of ways. But I never had a Polaroid camera so I wondered if I could use the idea of a fussy cut "photo" and take it in another direction.
And then it came to me. Do you remember those little black picture corners your folks or grandparents used to paste photographs in albums with plain black paper pages? That was it!
My "photo" has a narrower lower border than the Polaroid Quilt Block since the deep lower border was just found on Polaroid photographs. I sewed black triangles to make the picture corners.
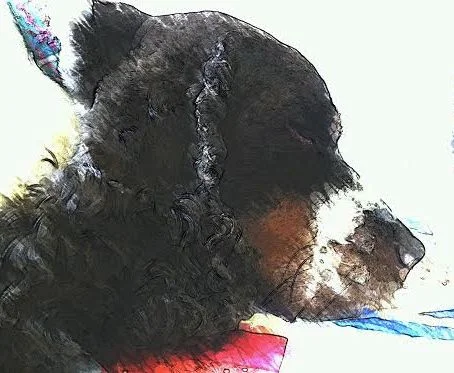
I've used my Vintage Photo Album block in a couple quilts with fussy cut quilt blocks...mostly dogs "photos"!
Here is a a wall-hanging Work In Progress that I was working on today:
Here's how to make the blocks:
Materials:
Solid white or light cream fabric for the margin of the photo
Solid black or black patterned fabric to make the picture corners. Great way to use those little scraps!
Fabric you want to fussy cut or print actual photos onto fabric
Step 1:
--Fussy cut your "photos" or print your real photos on fabric.
Step 2:
--Cut a 1" wide strip and a 1.25" wide strip
of white or light cream fabric.
Cut the 1" wide strip into 1 piece the width of your fussy cut piece. This will be at the top of your photo.
Cut 2 pieces of the 1" wide strip the length of your fussy cut piece adding 1.75". These will be the sides of your photo.
Cut the 1.25" strip to the width of your fussy cut. This is the bottom of your photo.
--Cut a 1" wide strip of black or patterned black fabric.
Cut this strip into 1" squares. You need 4 for each photo. Theses will be the photo corners.
Step 3:
--Draw a diagonal line on the back of the black squares. I used white tailor's chalk to draw the line. This line will be a guide for your sewing.
--Move your needle 1-2 places
to
the right so that you sew just to the right of the line drawn on your black square.
Sew a black square on the first corner of your block
Step 4:
--Fold back the the inner edge of the square making a triangle. Press and trim the seam UNDER the new corner to 1/4". This keeps the block from getting too bulky.
Step 5:
--Sew a black square on all 4 corners. That's it! Your Vintage Photo Album Block is
ready
for you to use in your project!
Here's a quilt I made using the Vintage Photo Album Block. It has some "framed pictures" too!
Hope you've had fun and will enjoy using this block. Let me know what you do with it!


