
Lab Puppies Quilt, Partially assembled
In my last post I discussed how I decided on the layout for my Lab Puppies Quilt. In this post we'll look at the assembly of the quilt and I'll discuss my decisions about the quilt's borders.
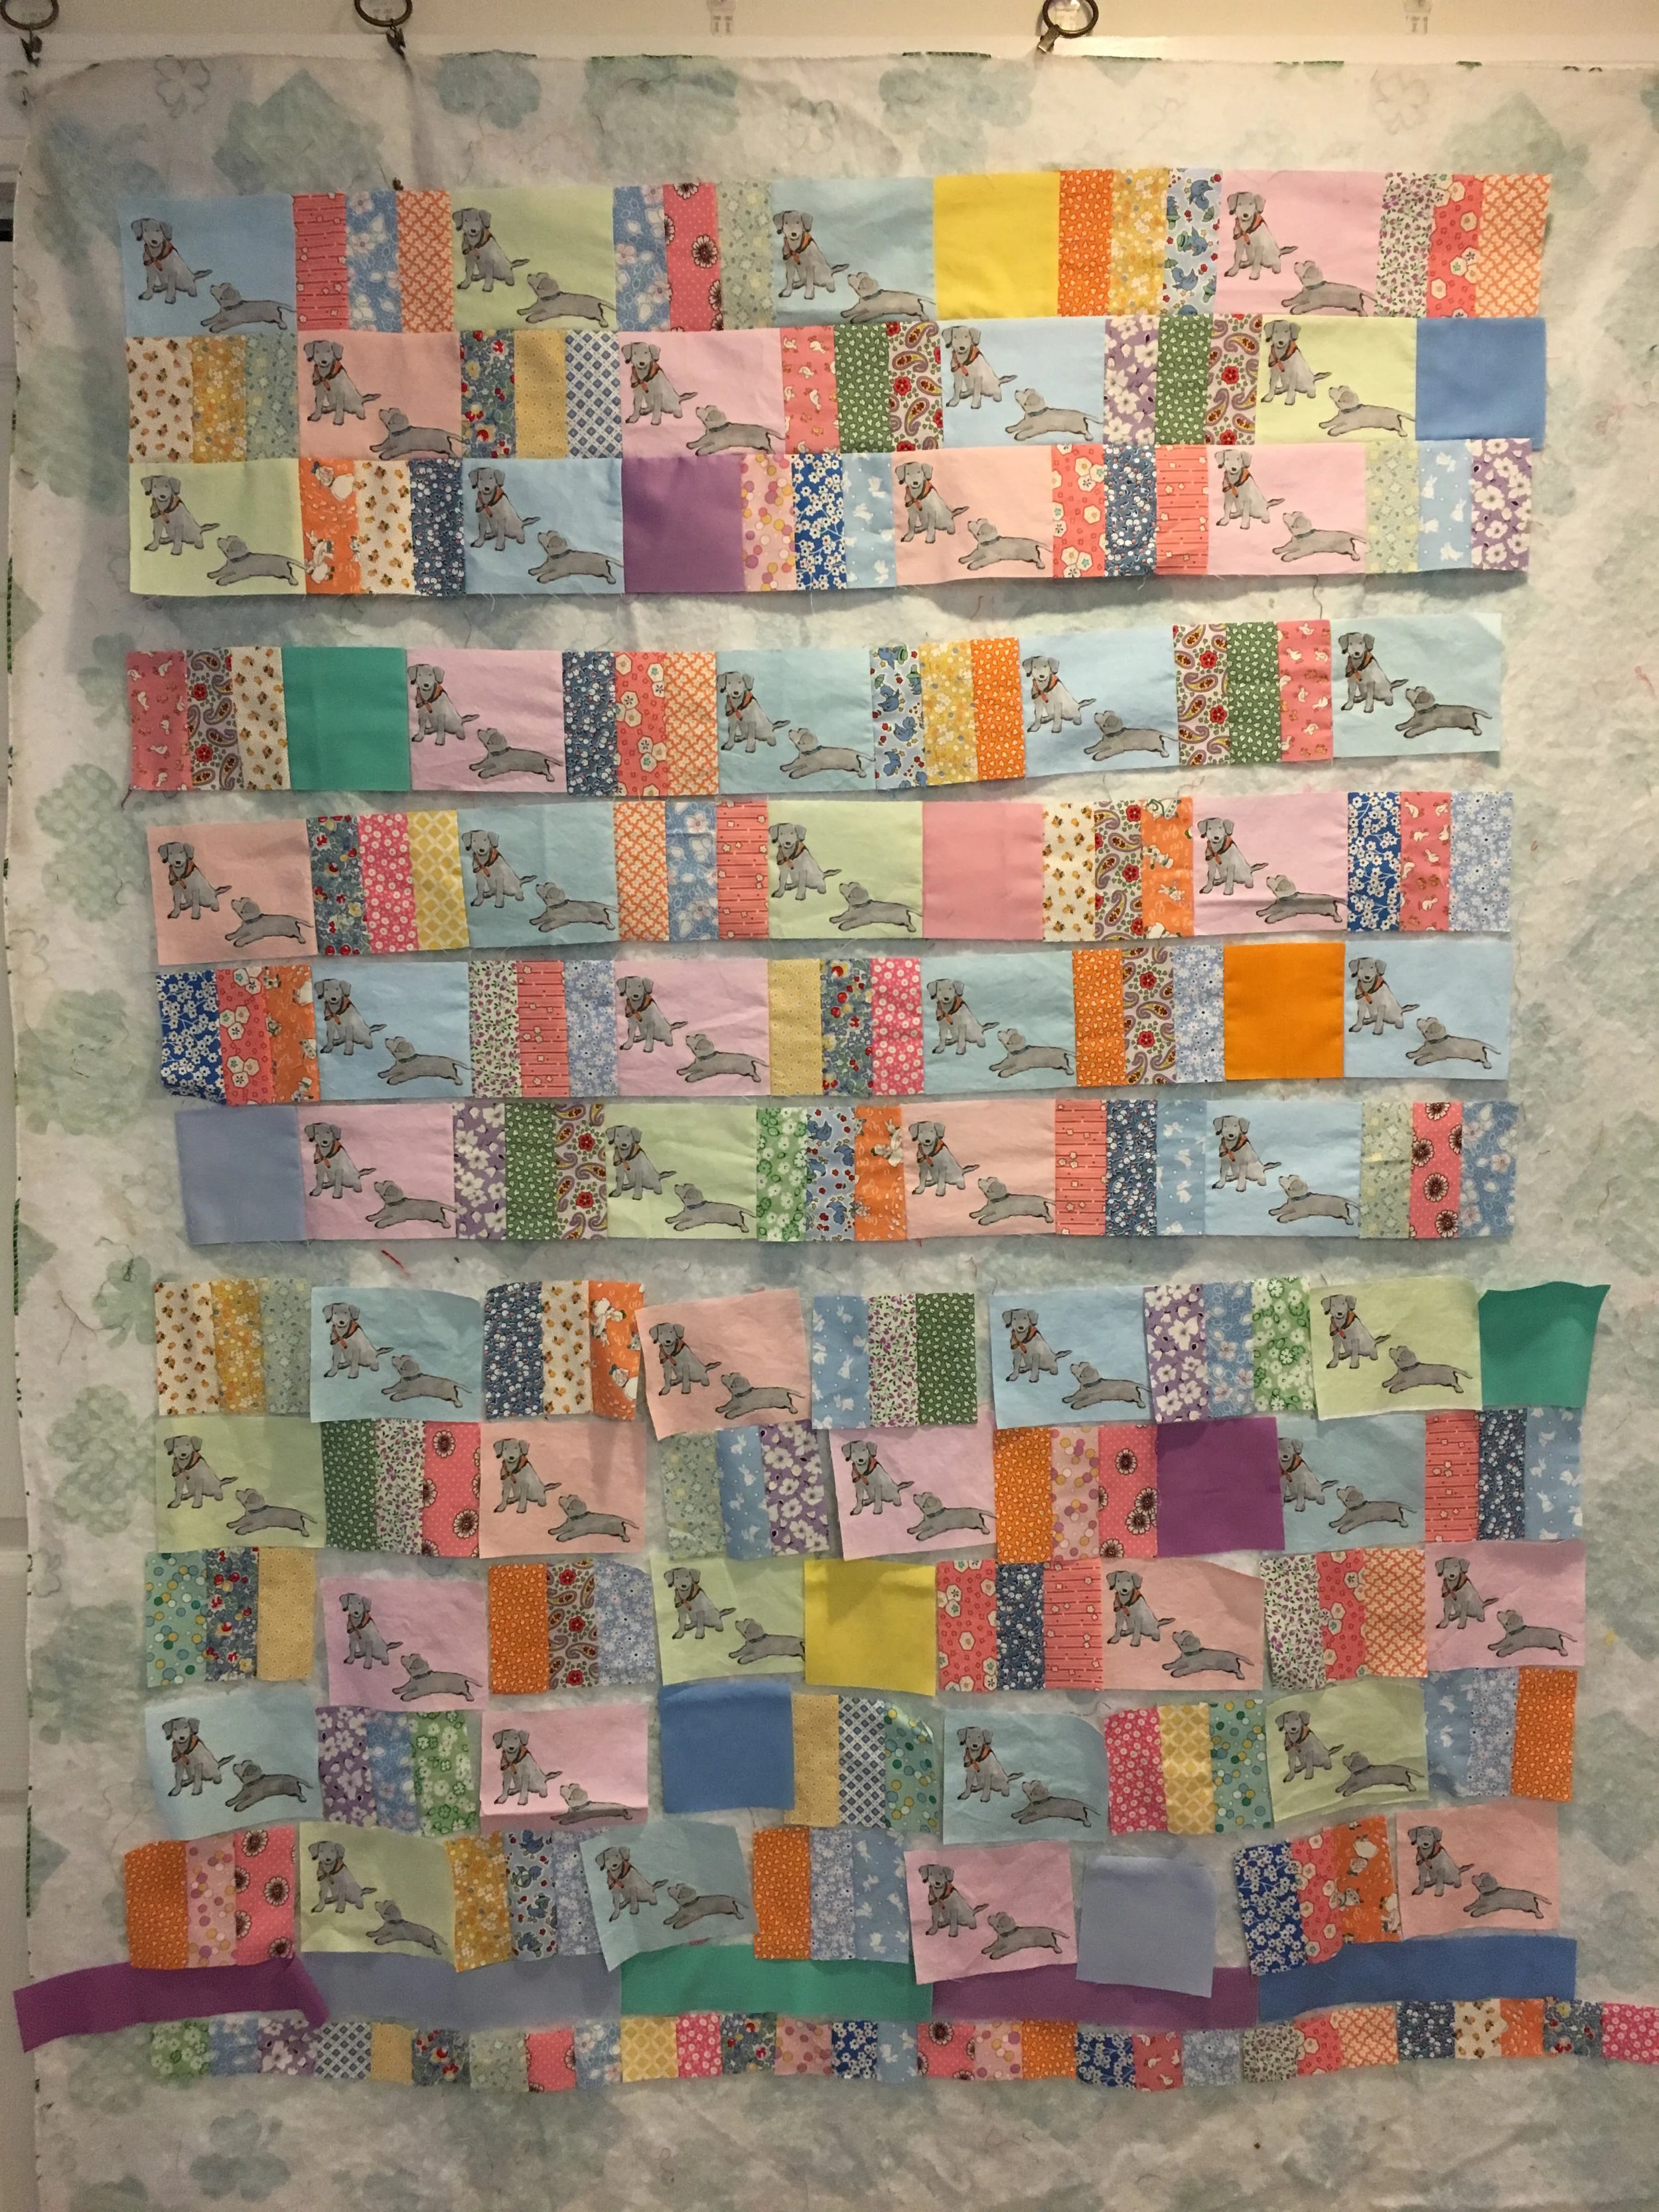
The photo above shows the quilt in the assembly process. At the top is a section of the completed top. Below that are 4 rows of blocks which have been sewn together. Under the completed strips are cut patches waiting for their turn at a the sewing machine. At the very bottom a possible layout for a border.
My rail fence strips were cut from 10 inch precut squares. The dog blocks are 4 inches high so I was able to cut 2 rail fence block from each strip set. And 2 inches of pieced strips were "waste".
Right. No quilter really likes to toss anything she (he) spent time carefully piecing. I cut the rail block remnants into 1 3/4 inch x 4 inch strips and turned them to sew them end-to-end, making a narrow pieced border strip. The strips of solids were left after I cut the 4 inch patches from the solid 10" precut squares.
The pieced quilt top was just 38 1/2 inches wide. That's narrow, so I decided to add more solid rectangles to the left side of the quilt to make the quilt 42 inches wide.
To continue the "disruption" I discussed in my previous post I did two things.
- I ran the right border to the bottom of the pieced quilt top. I sewed that border on first. Then I added the bottom 3 borders which run the width of the now wider quilt top.
- I added one block with a single Labrador from another fabric in my Black Labrador Puppies line!
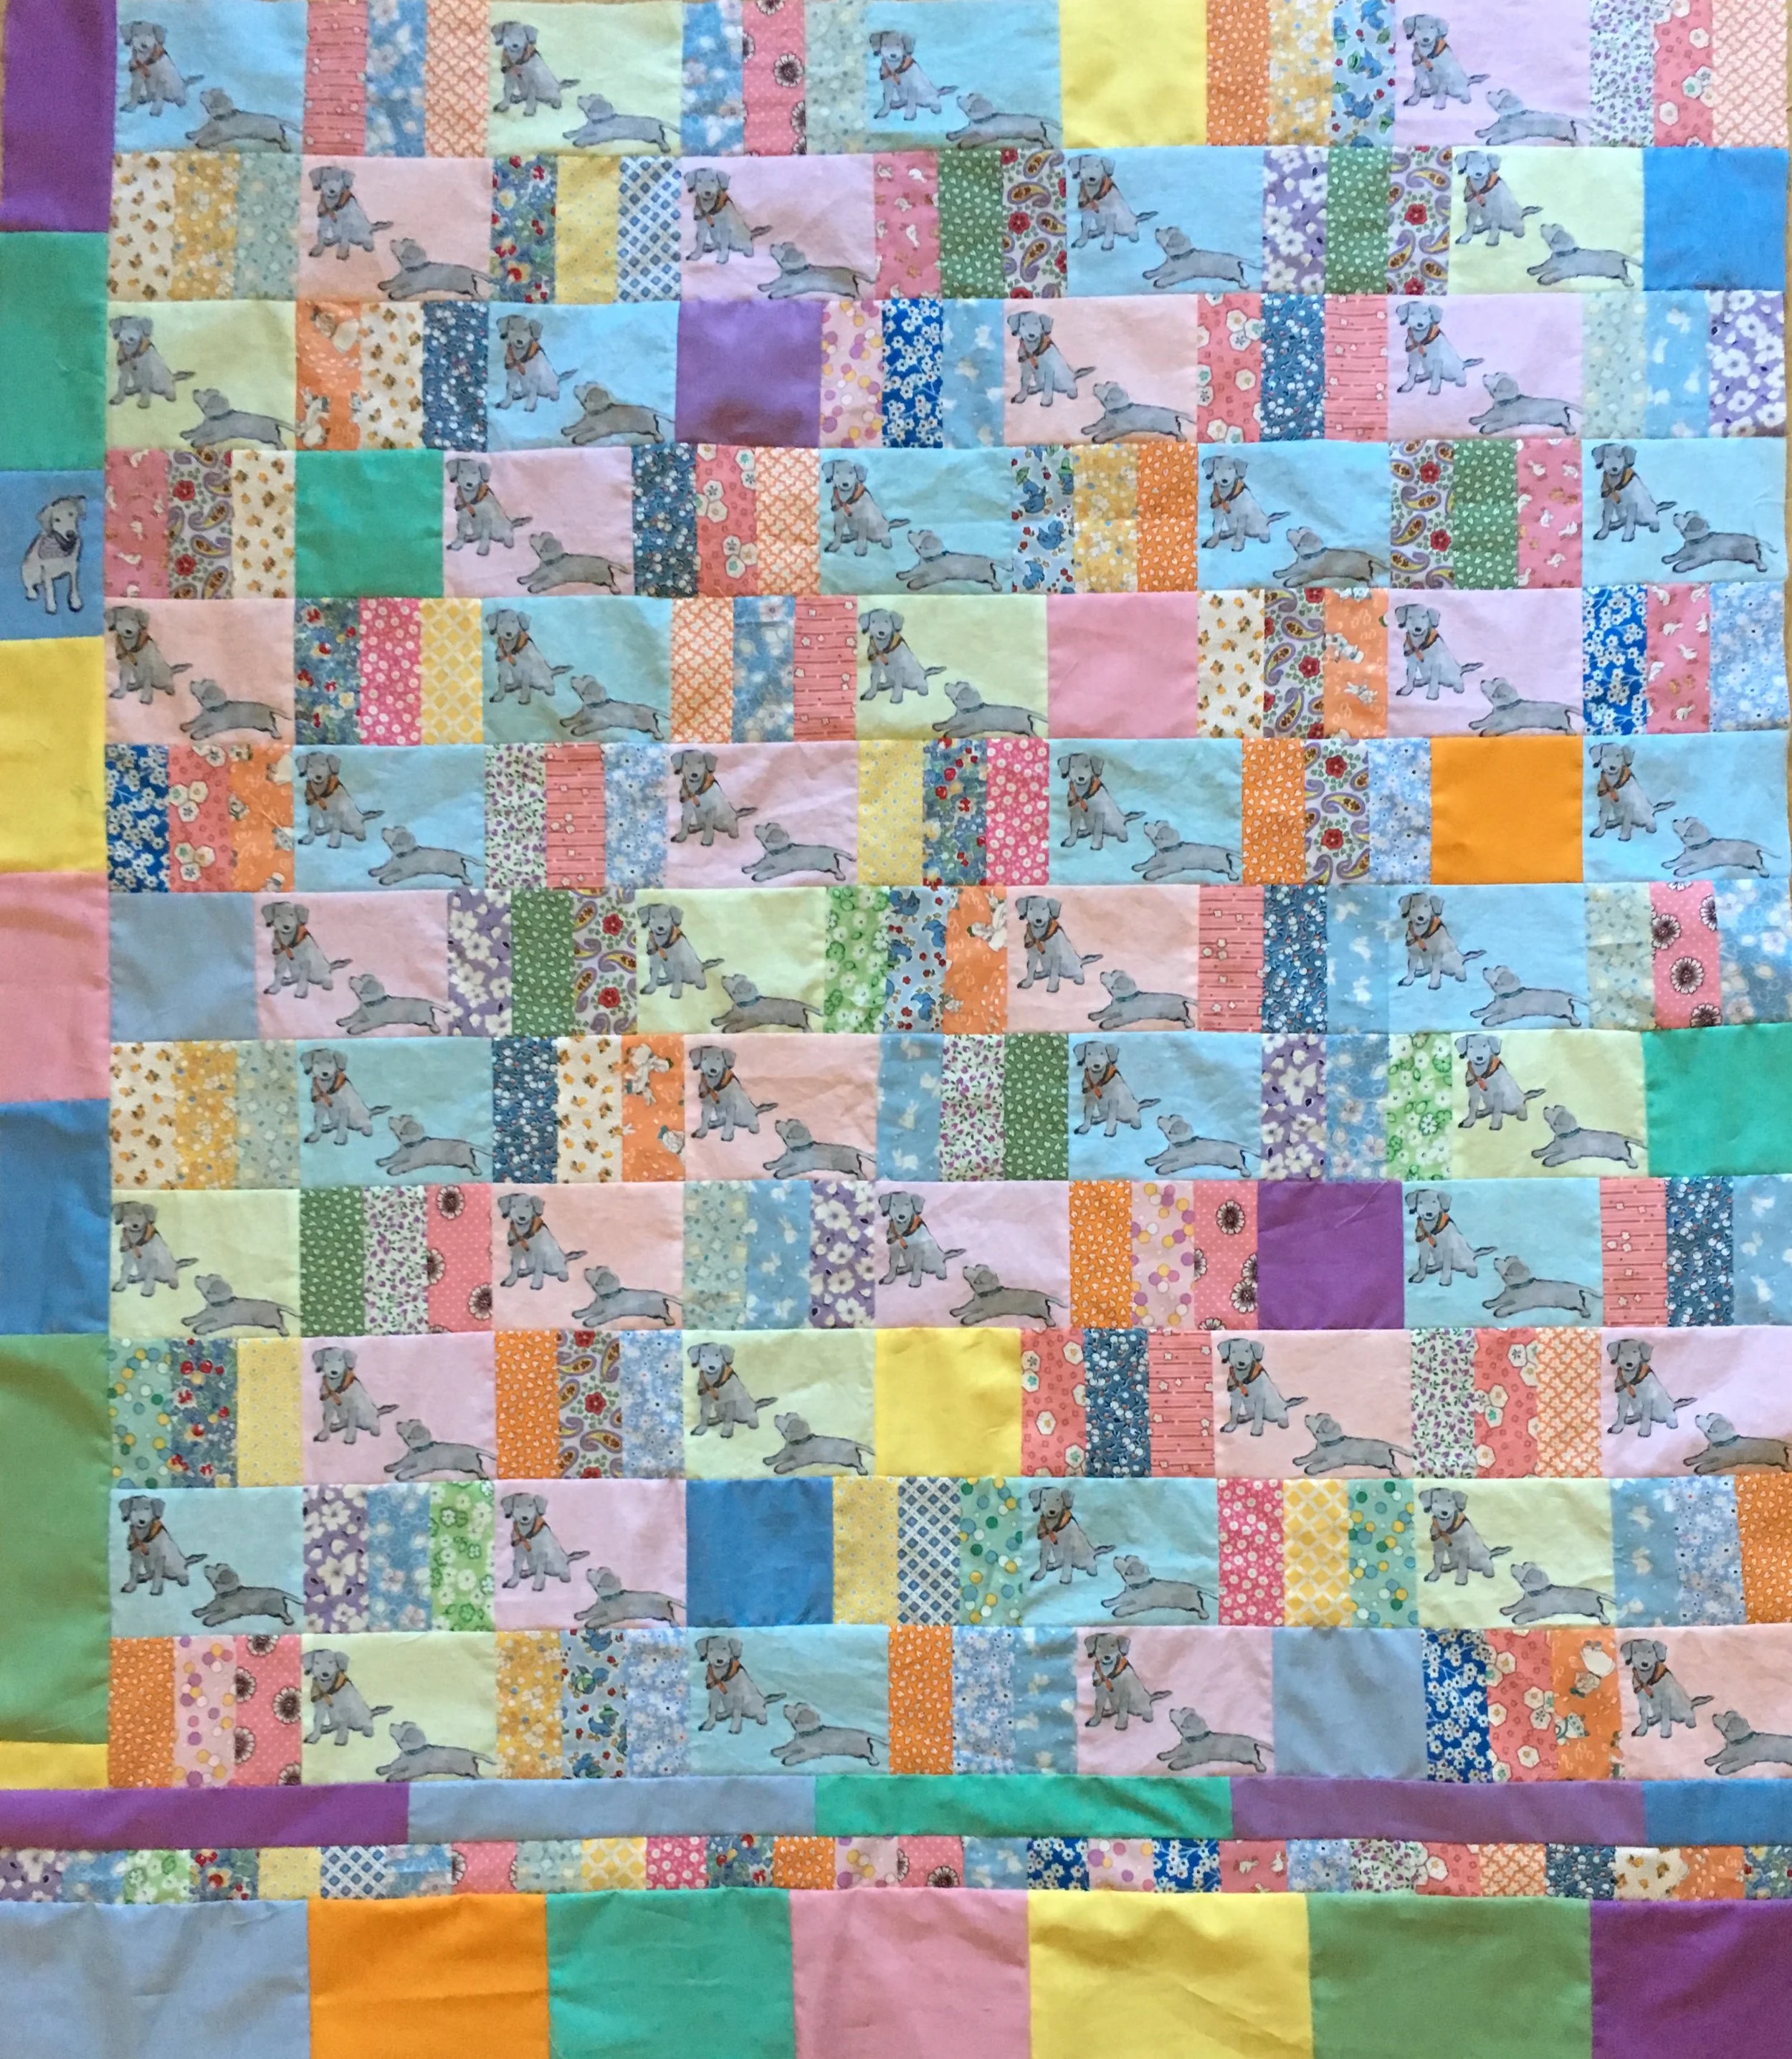
Completed Lab Puppies Quilt Top
I hope you enjoyed seeing how I worked through the process of creating the original Lab Puppies quilt pattern.