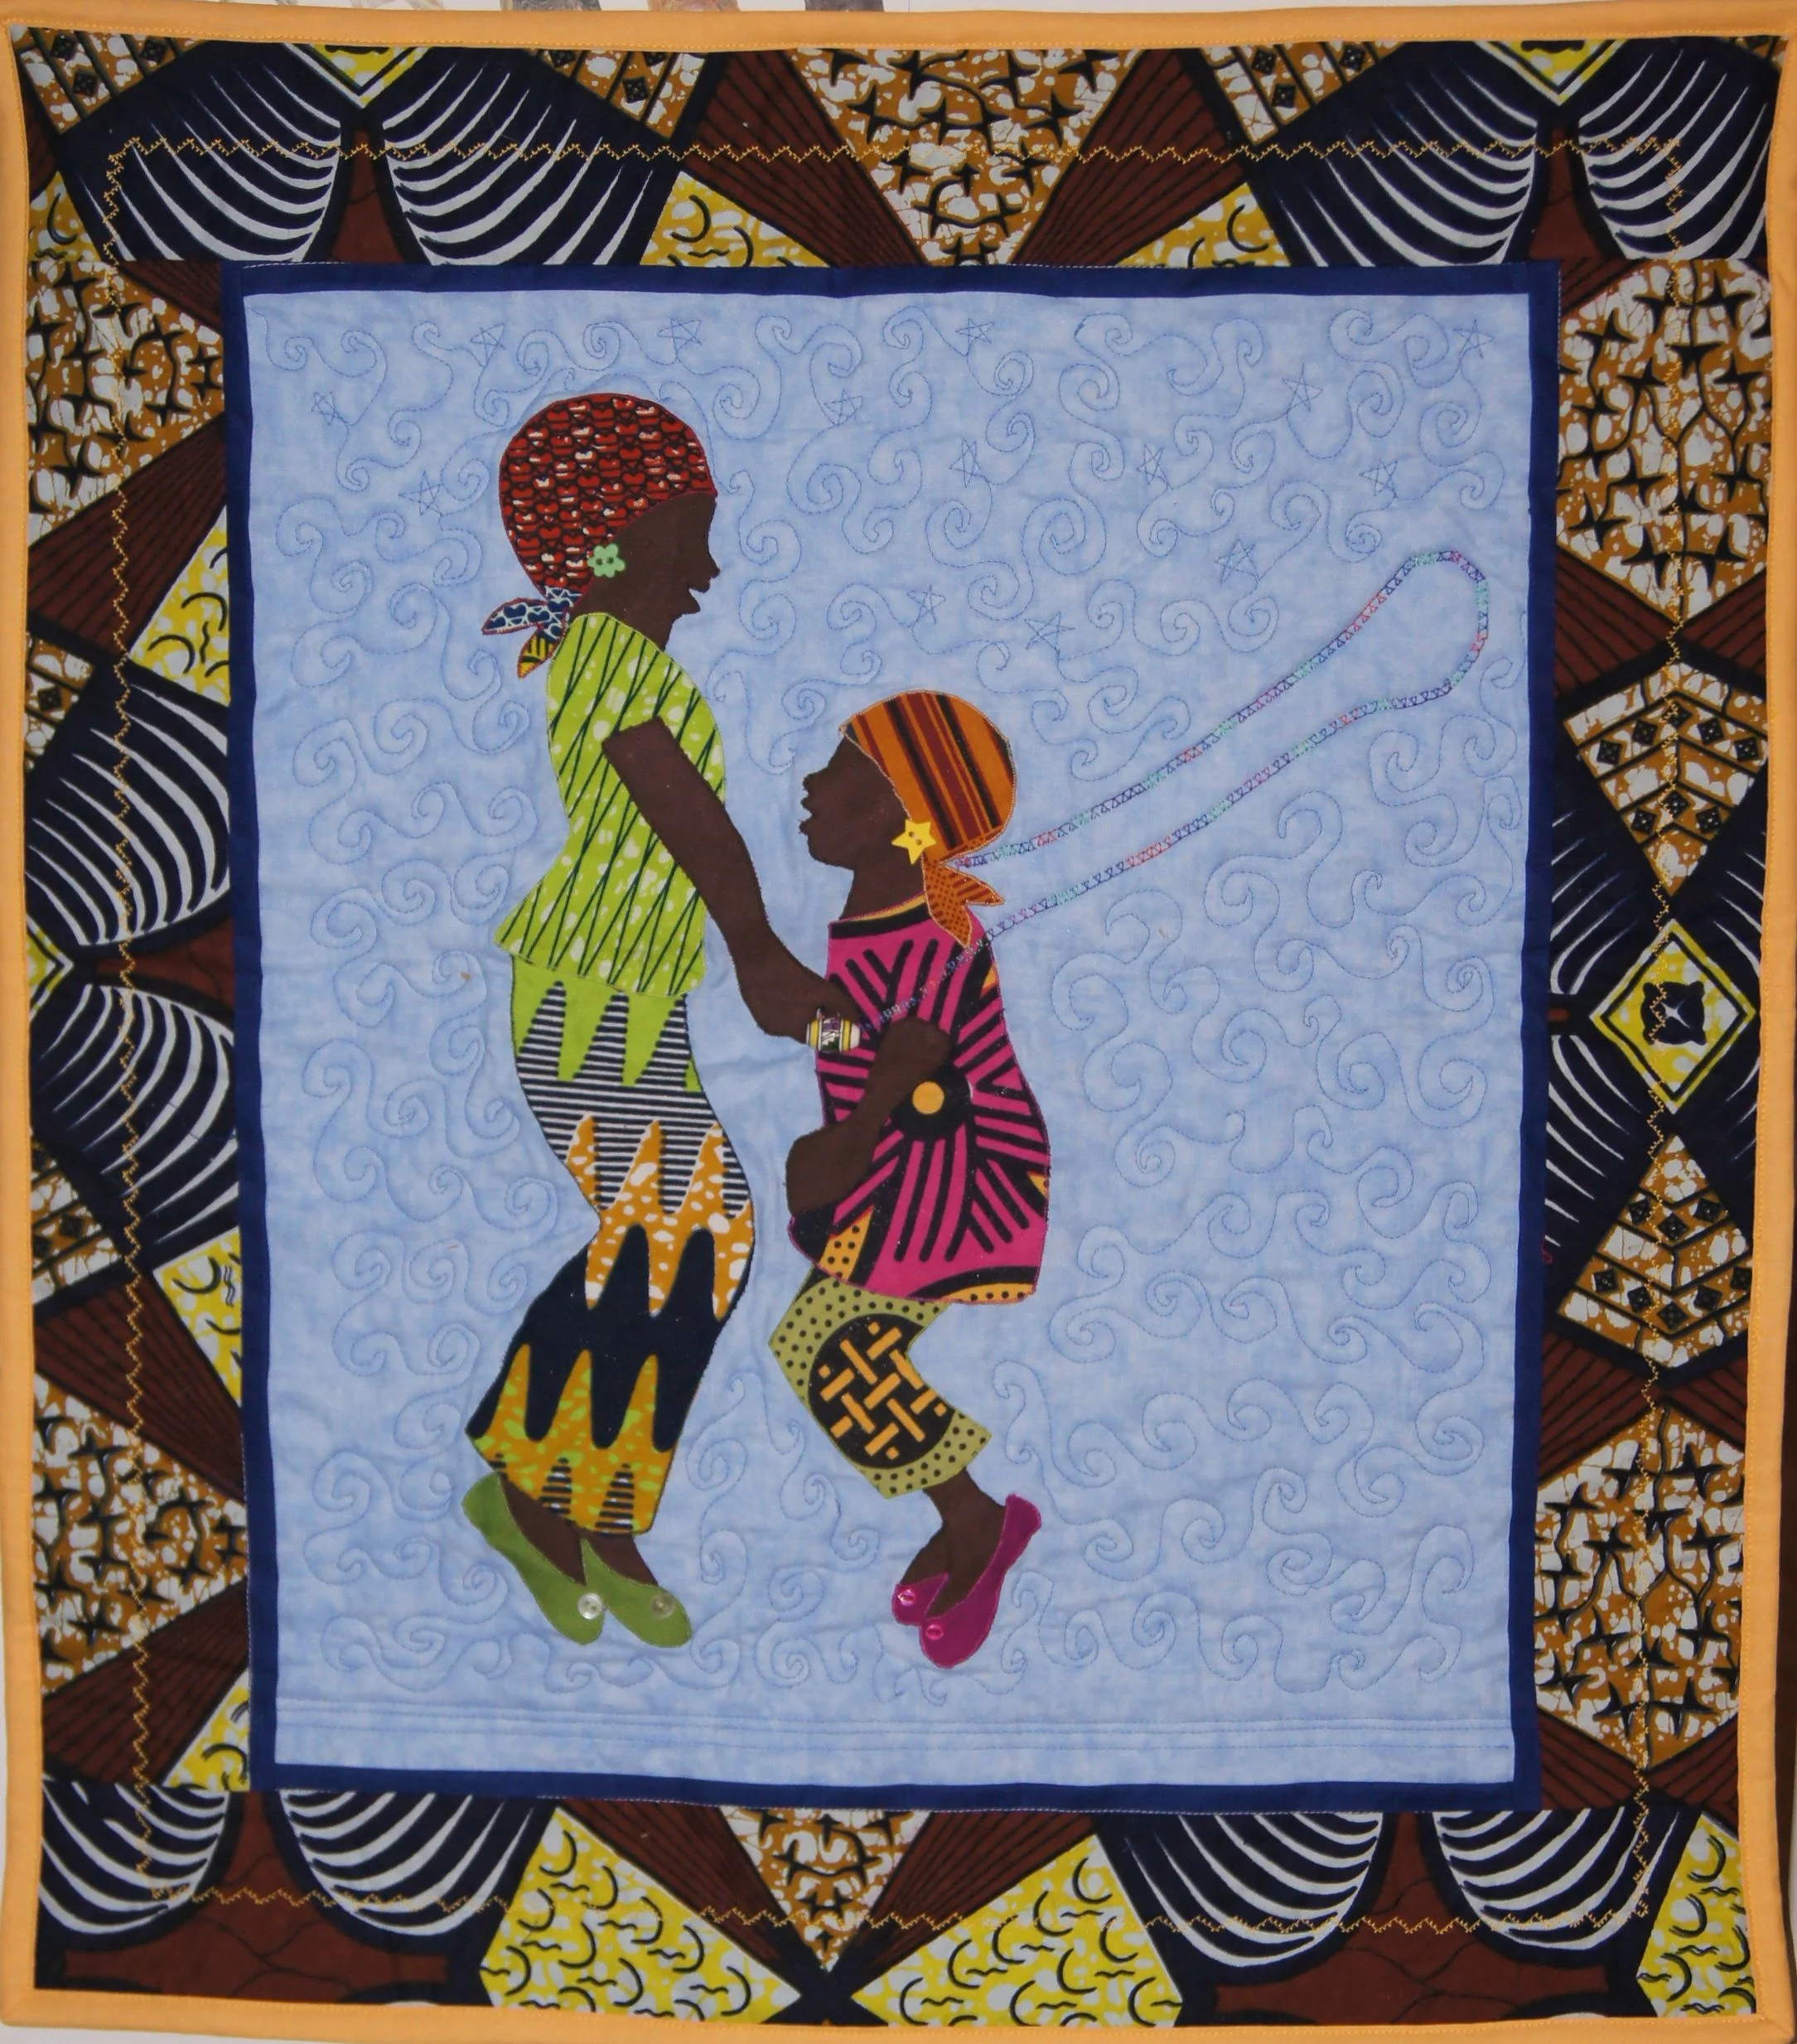
I've completed my African Village Quilt with all diamond blocks. The dancers in the diamond blocks, the bodies of the houses and the borders are all African Fabrics, or African designed fabrics made in Holland. The border fabric is mud cloth made in Gambia. It is soft and gauzy. It worked well in the borders but the wax fabrics are easier to use for piecing since they have less give. Because the African fabrics were all so different, I washed them before I used them. The wax fabrics were really waxy prior to washing but soft afterwards. I found these fabrics at the Etsy shop, Tambo Collection. They had a great selection of fabrics and the prices are reasonable.
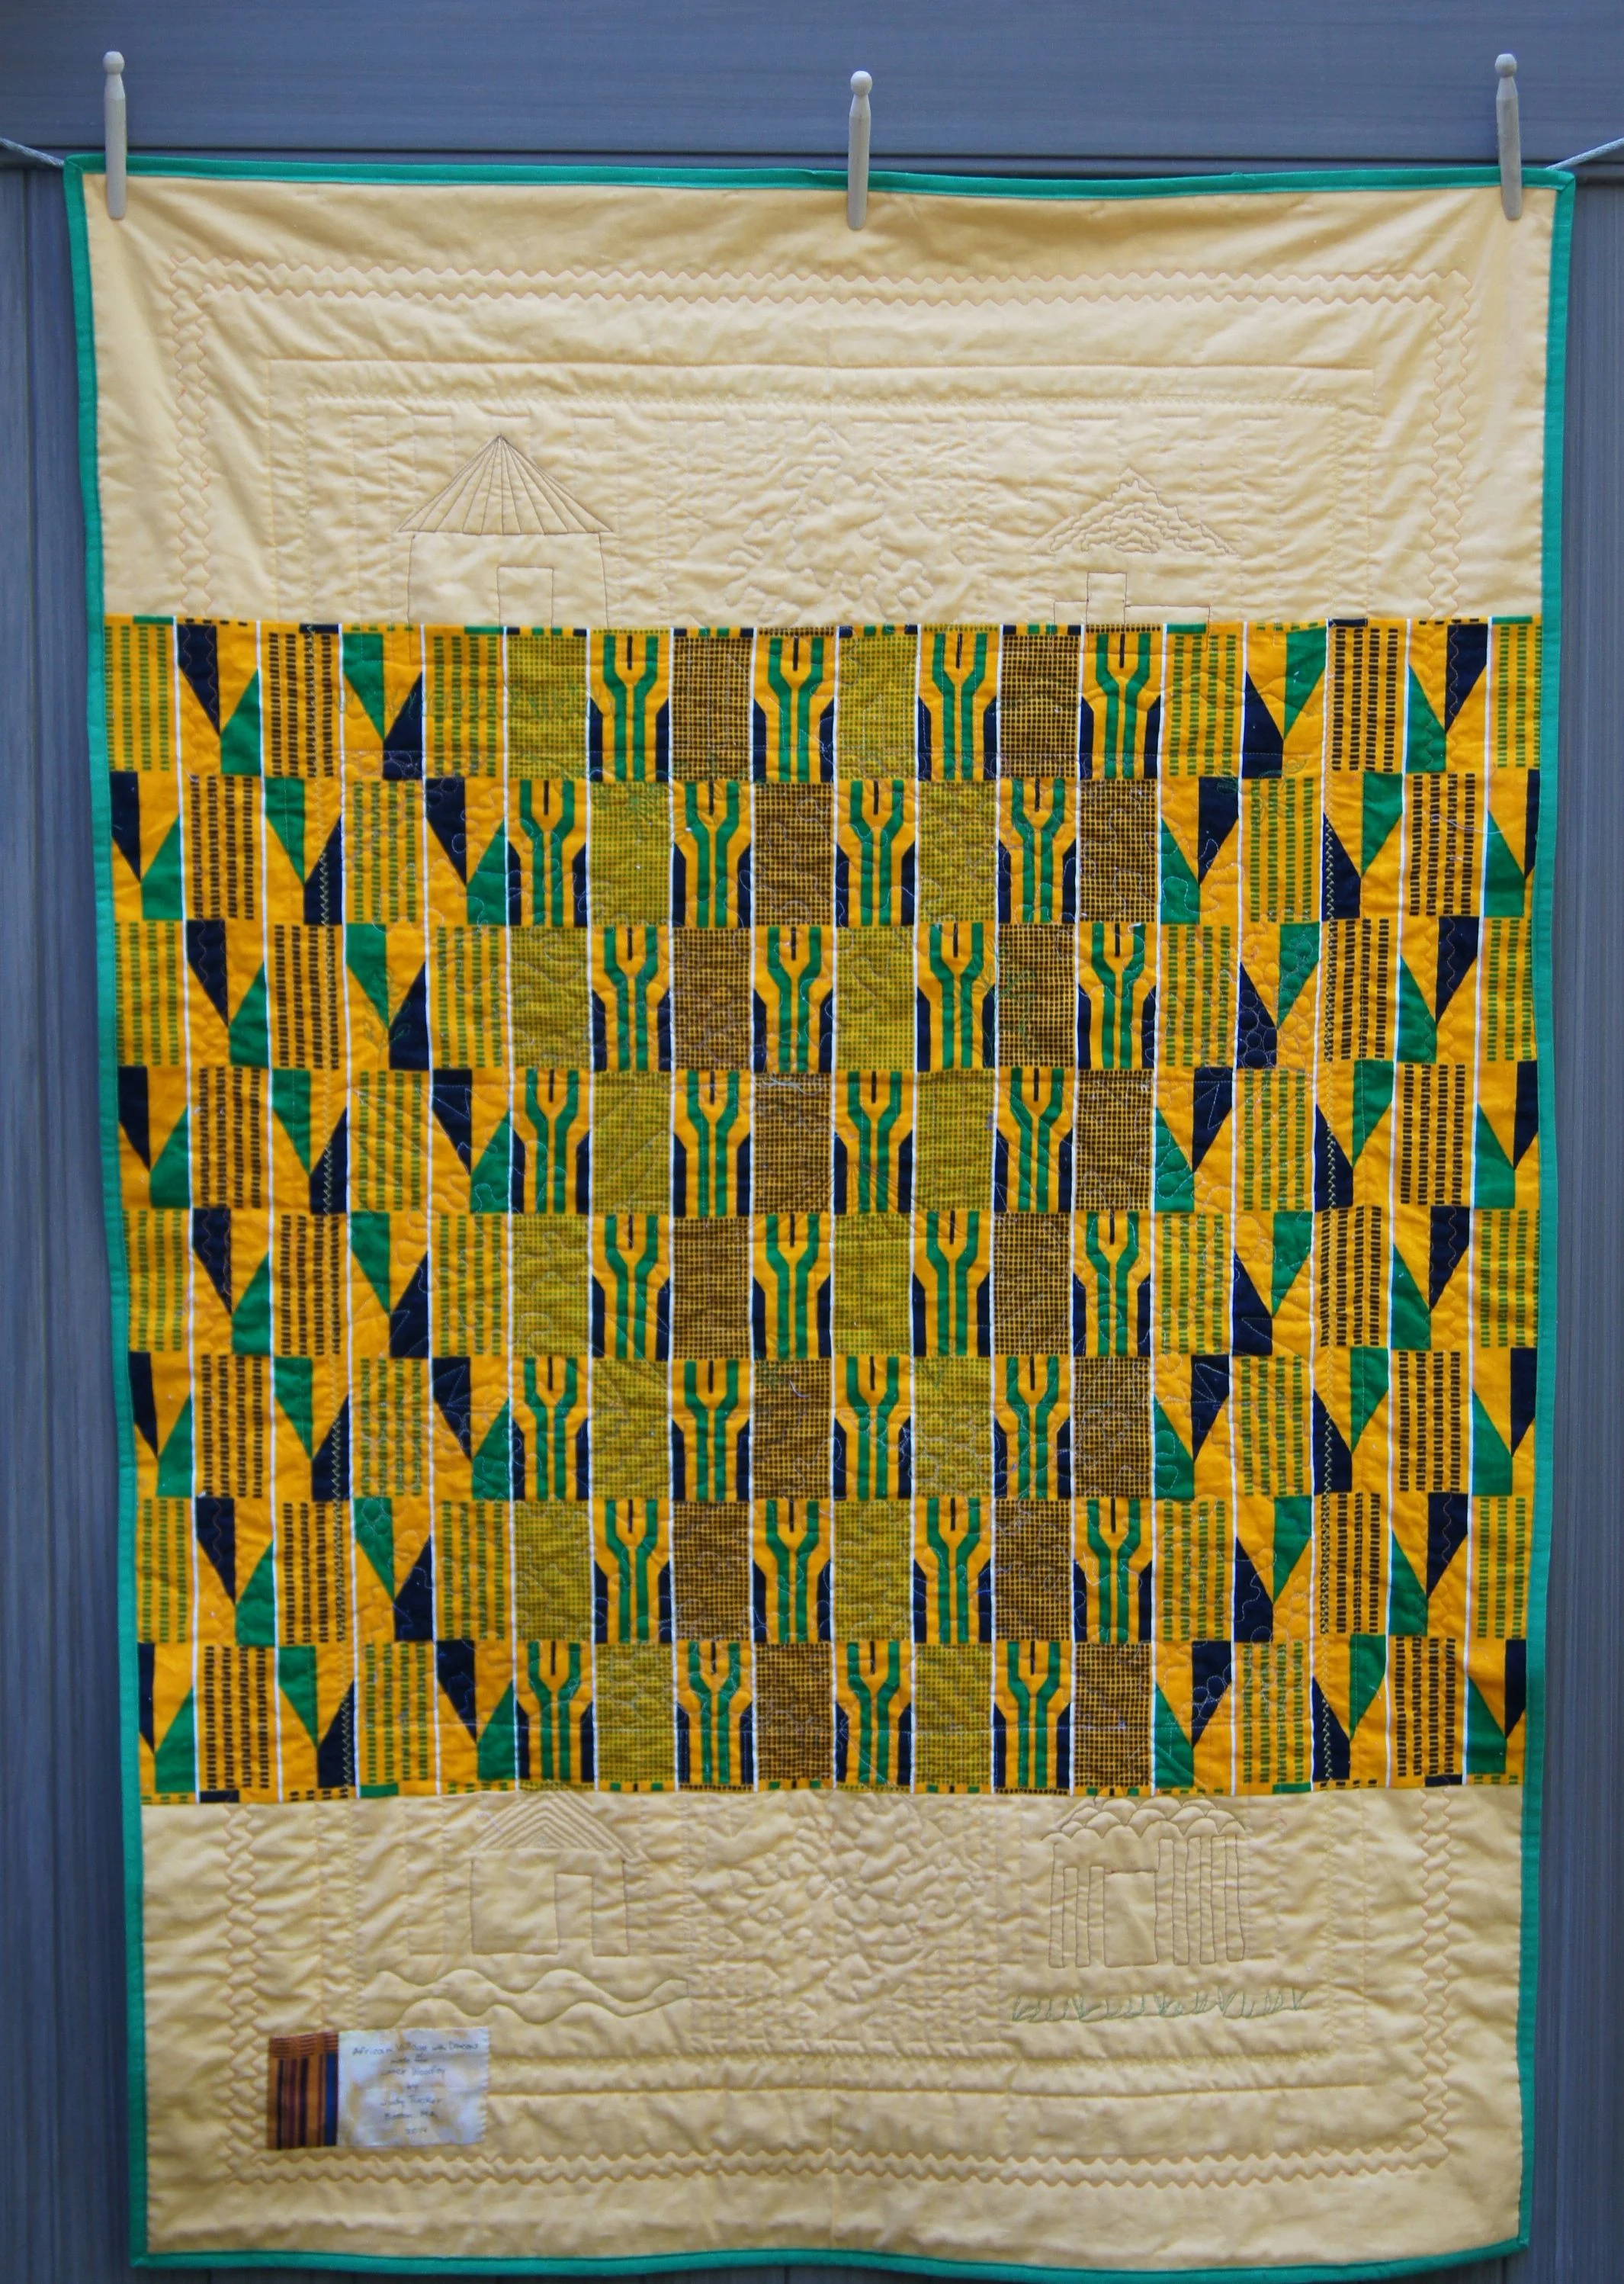
Here is the back of the quilt. The central fabric is Kente cloth made in made in Holland. The tops and bottom strips are Kona Cotton "Cheddar"!
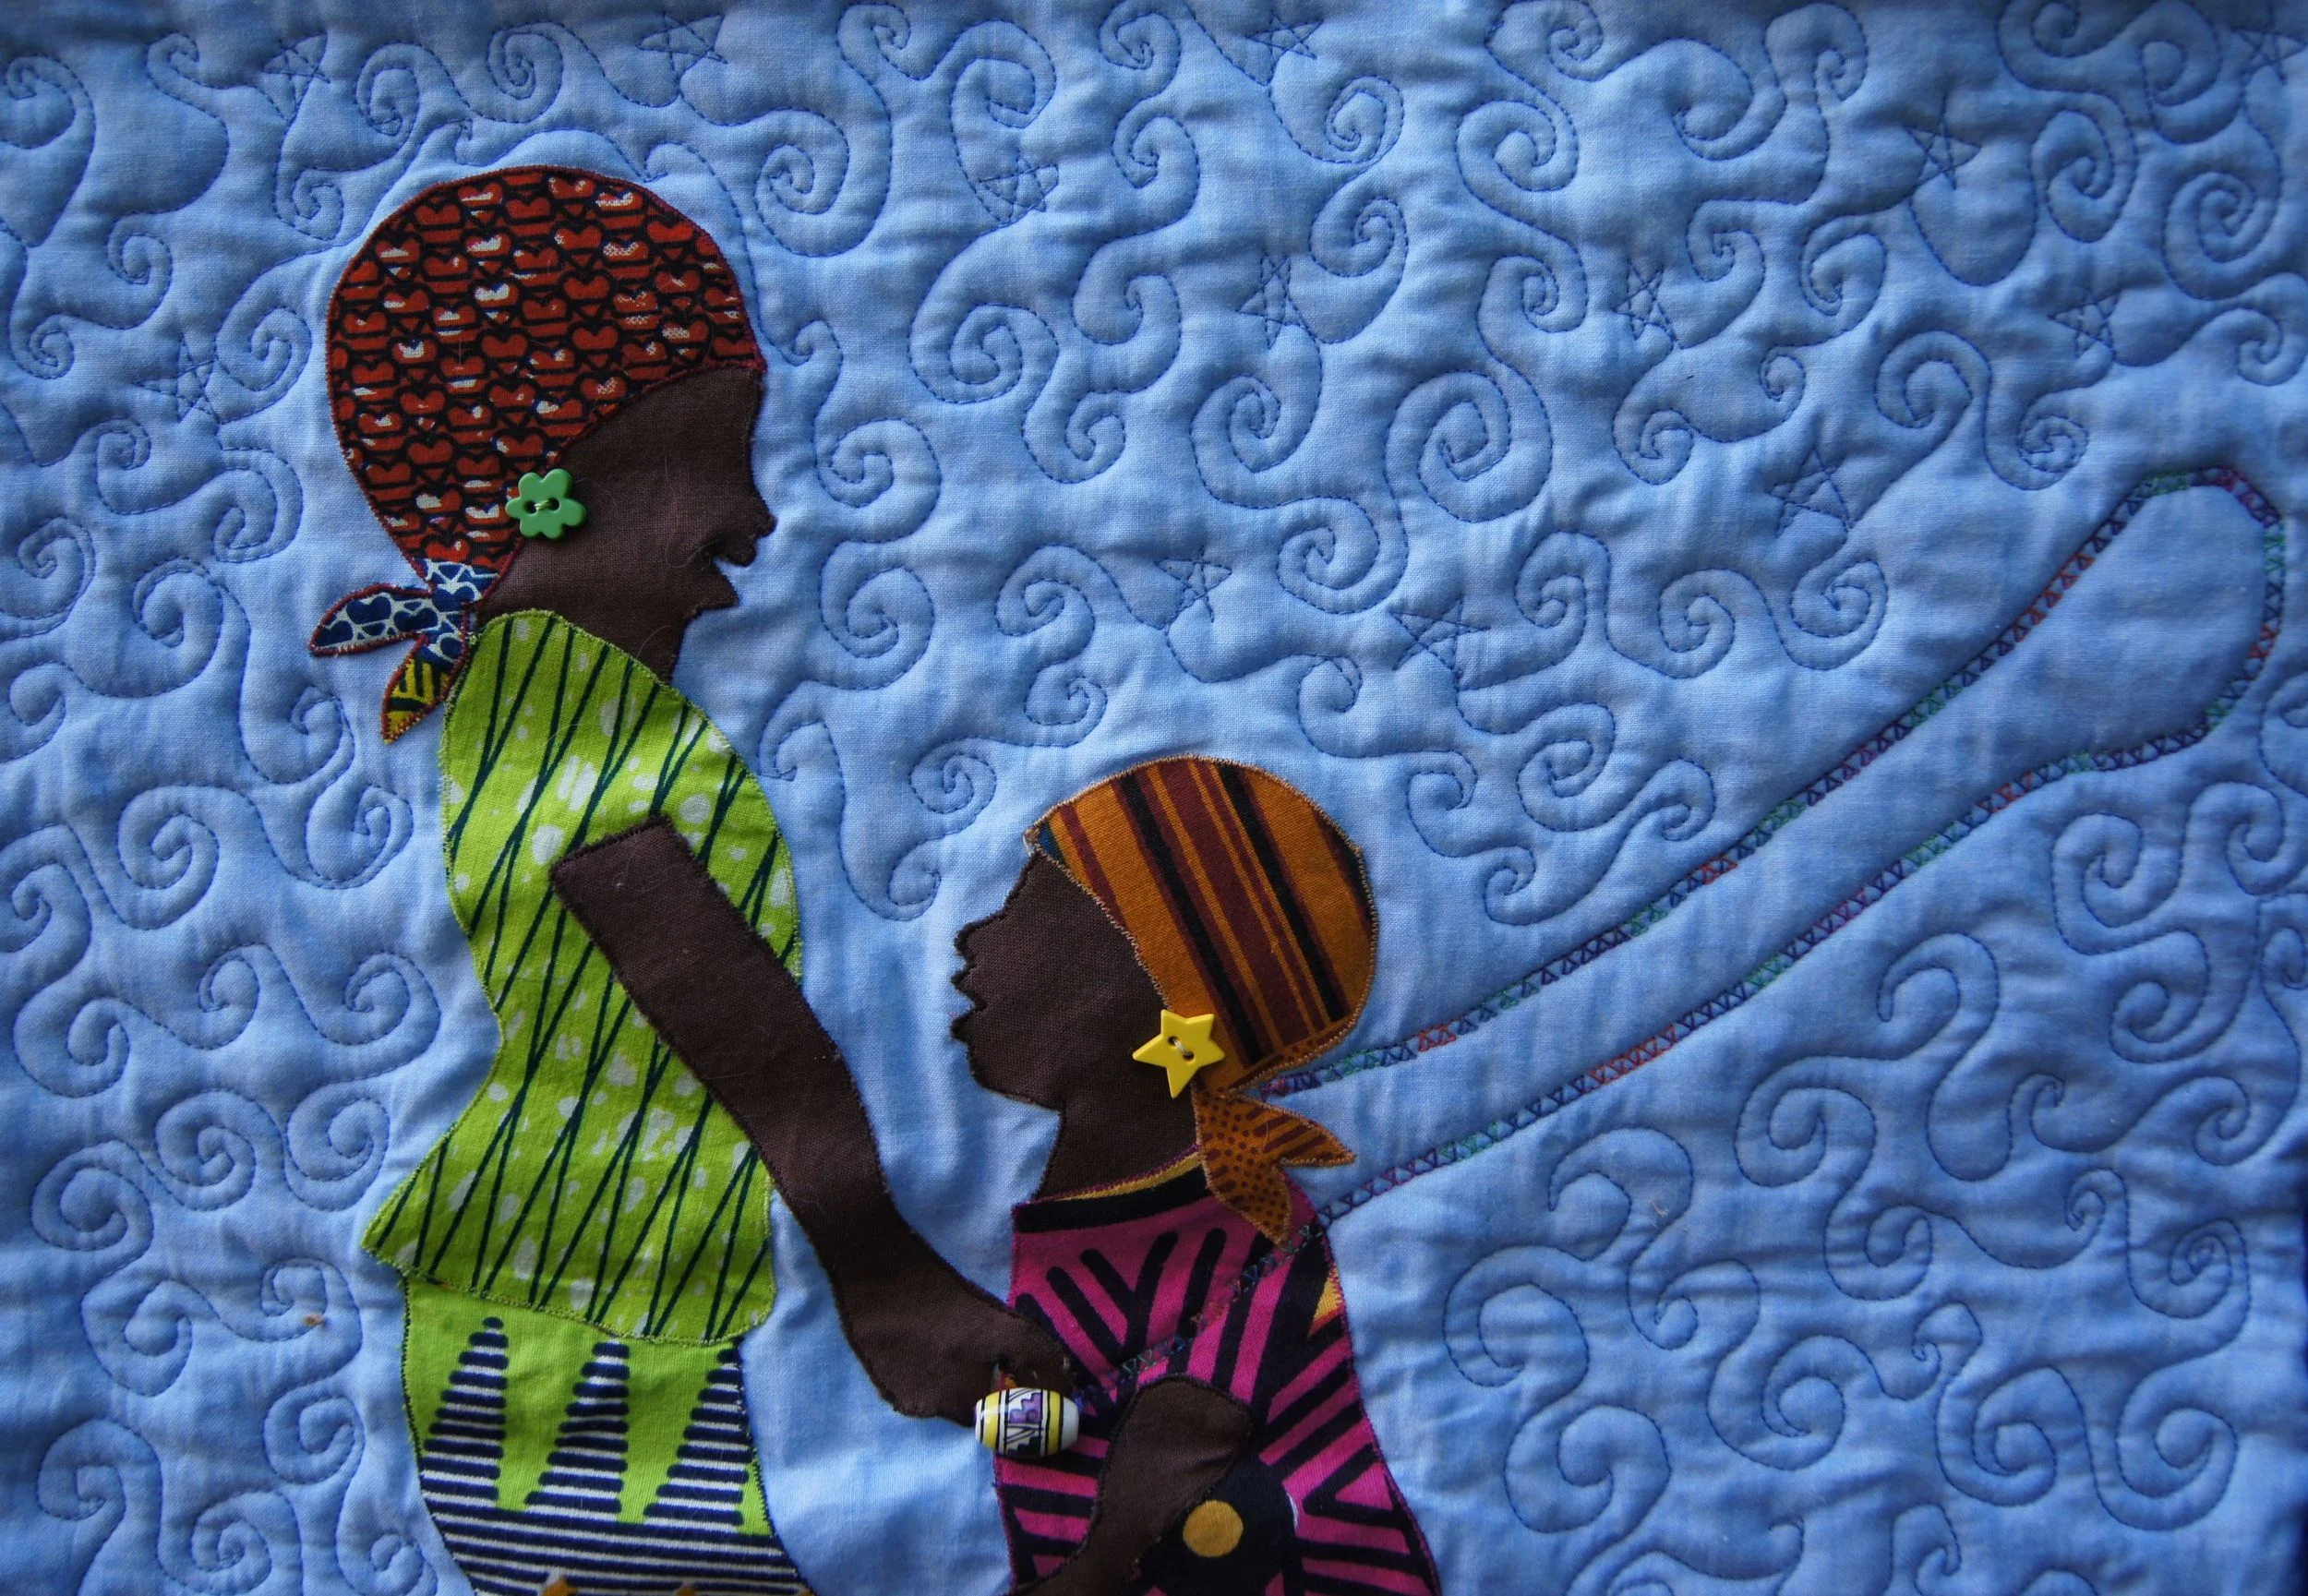
I really like the motion in the Kente Cloth print. It's great designing.
In the live and learn department:
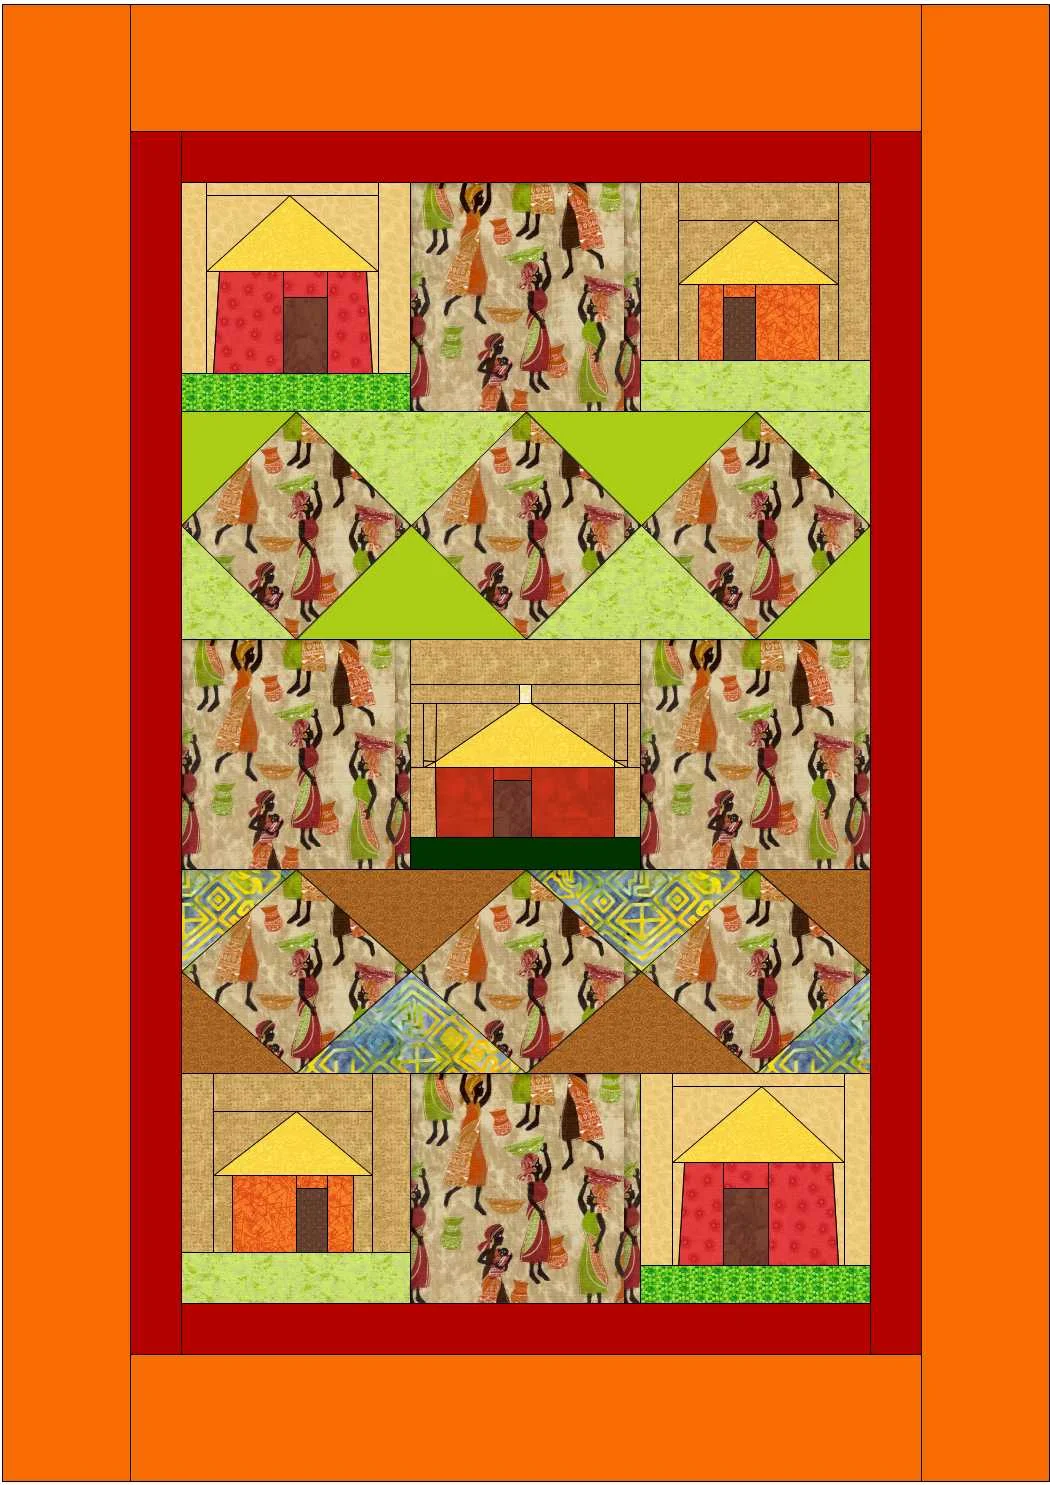
If you compare the photo of the quilt above with the pattern diagram below, you'll see that the quilt has 2 layers of "lawn" below the huts while there is only 1 in the pattern. When I printed the PDFs paper piecing files, I didn't change the print specifications to 100% which is necessary to get an accurate pattern. I had 1 inch markers on the patterns but didn't check them since they were my own patterns. I would have caught my error if I had put a ruler on the inch marker. The pattern on file is accurate but the printing wasn't. My hut blocks came out 8 inch finished instead of the needed 9 inch. When I was sewing the huts, they didn't seem any different than the huts on the first quilt I made. But they were slightly smaller. When I tried to sew the blocks together, they didn't match. I decided was easier to add to the hut blocks to make them larger rather than re-making the diamond blocks smaller.
All the paper pieced patterns I've used from other designers have always specified printing at 100% which I've done. And I checked the 1 inch mark too. I've always wondered if it really matters. And the answer is: YES, it does! When I went back and printed one of the hut patterns with the print setting at 100% and the block measured a perfect 9 inch finished. Lesson learned.
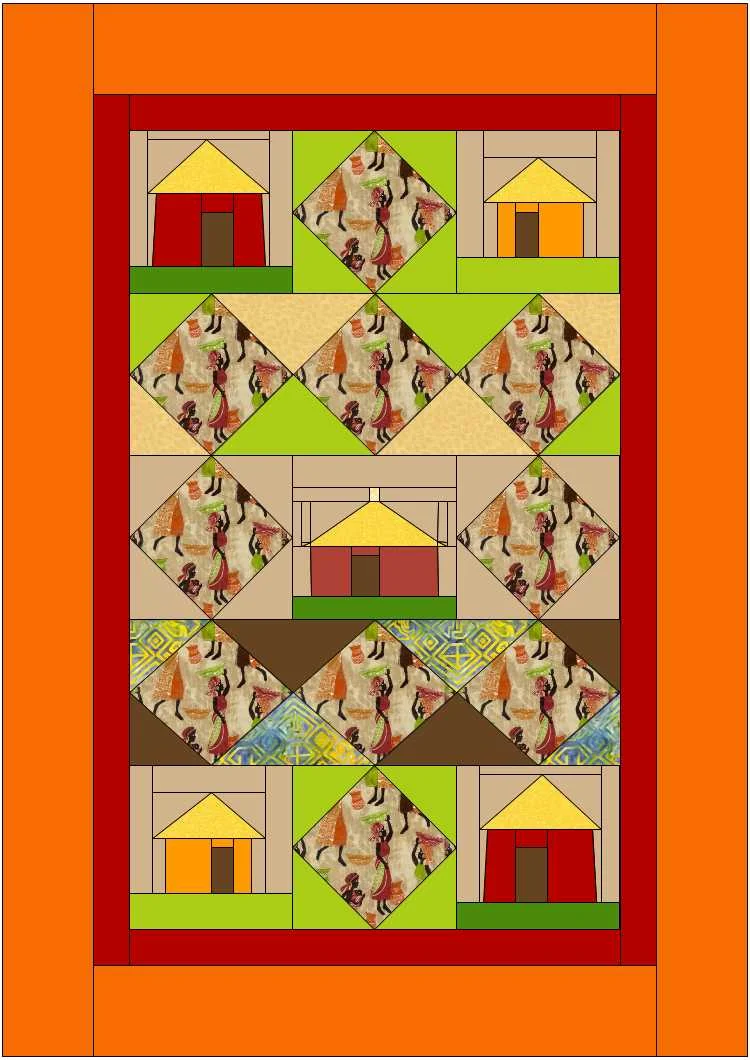
African Village with Diamonds Quilt Design