
Welcome to my website! Hope you have some fun looking around as well as using it for supplementary information for your JP Knit & Stitch class.
Flying Geese Tutorial--Class One:
Flying geese are a basic building block in quilts. Entire quilts can be constructed from this block, or in strips in a quilt alternating with plain fabric or it may be used to make a square-in-a-square or stars, just to name a few options. I've read that this in an American block. It may have been used as part of the Underground Railroad, used to point the way north to aid escaped slaves.
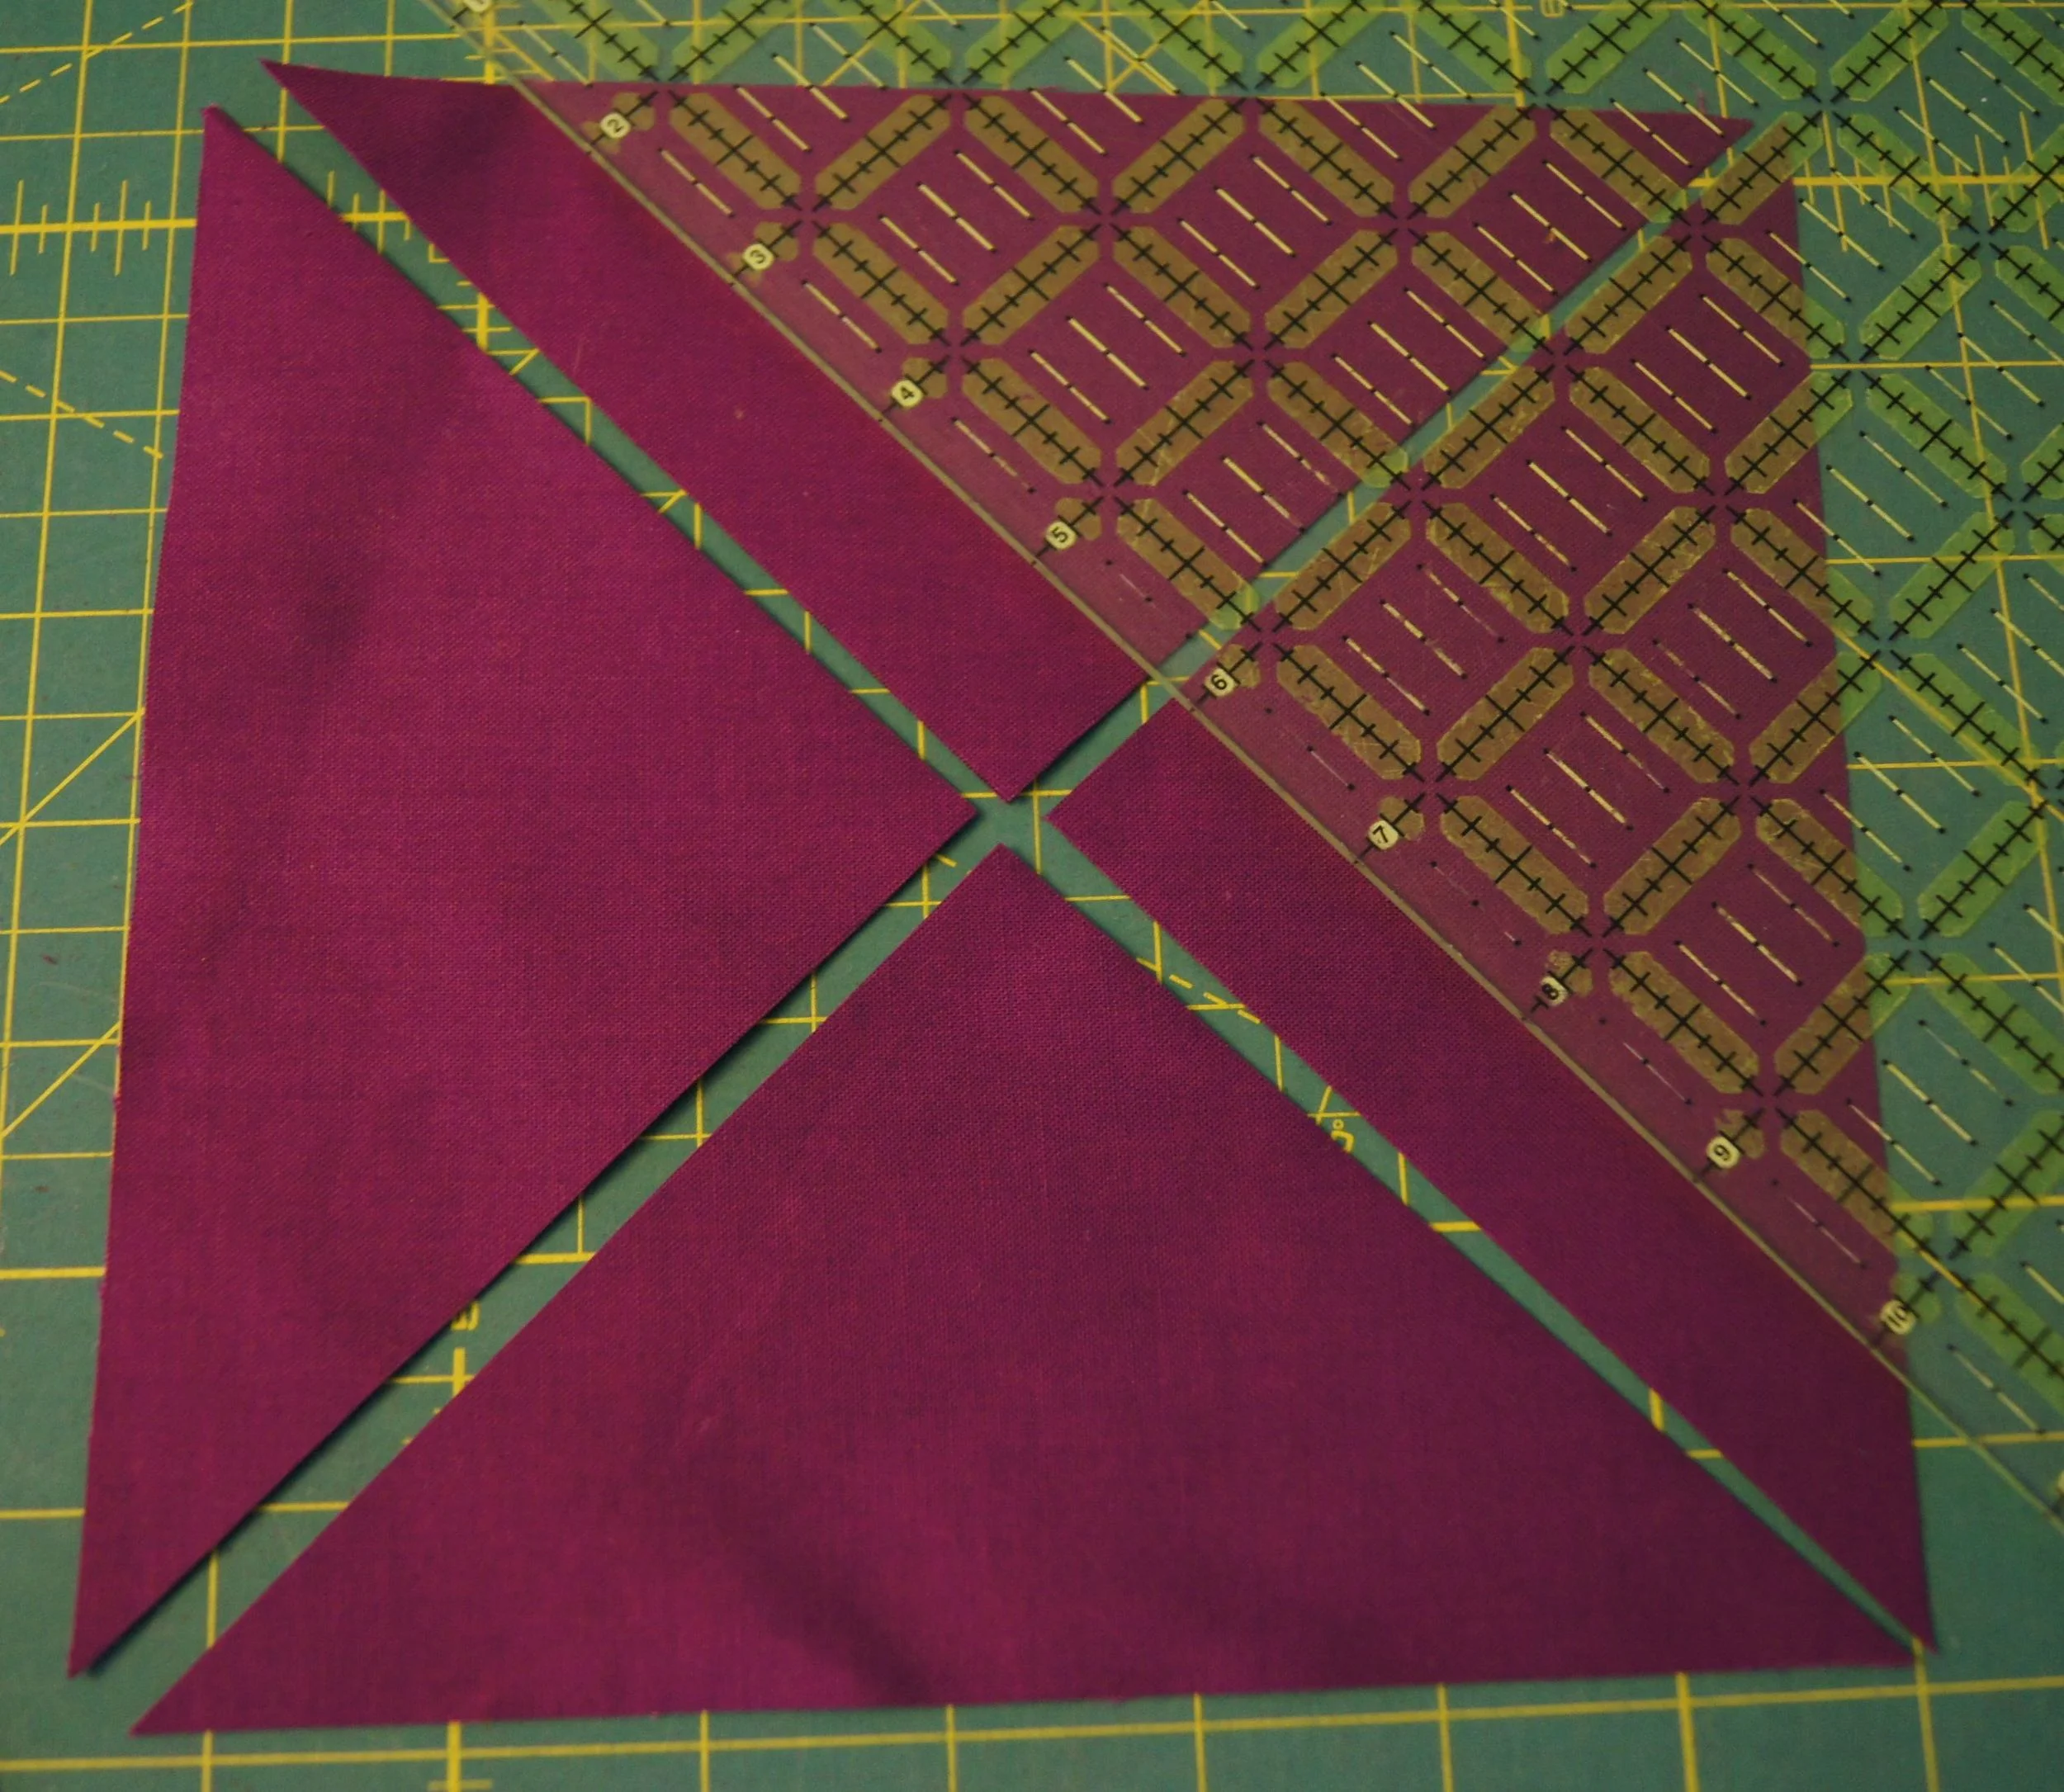
The flying geese block is a large quarter square triangle flanked by 2 half square triangles.
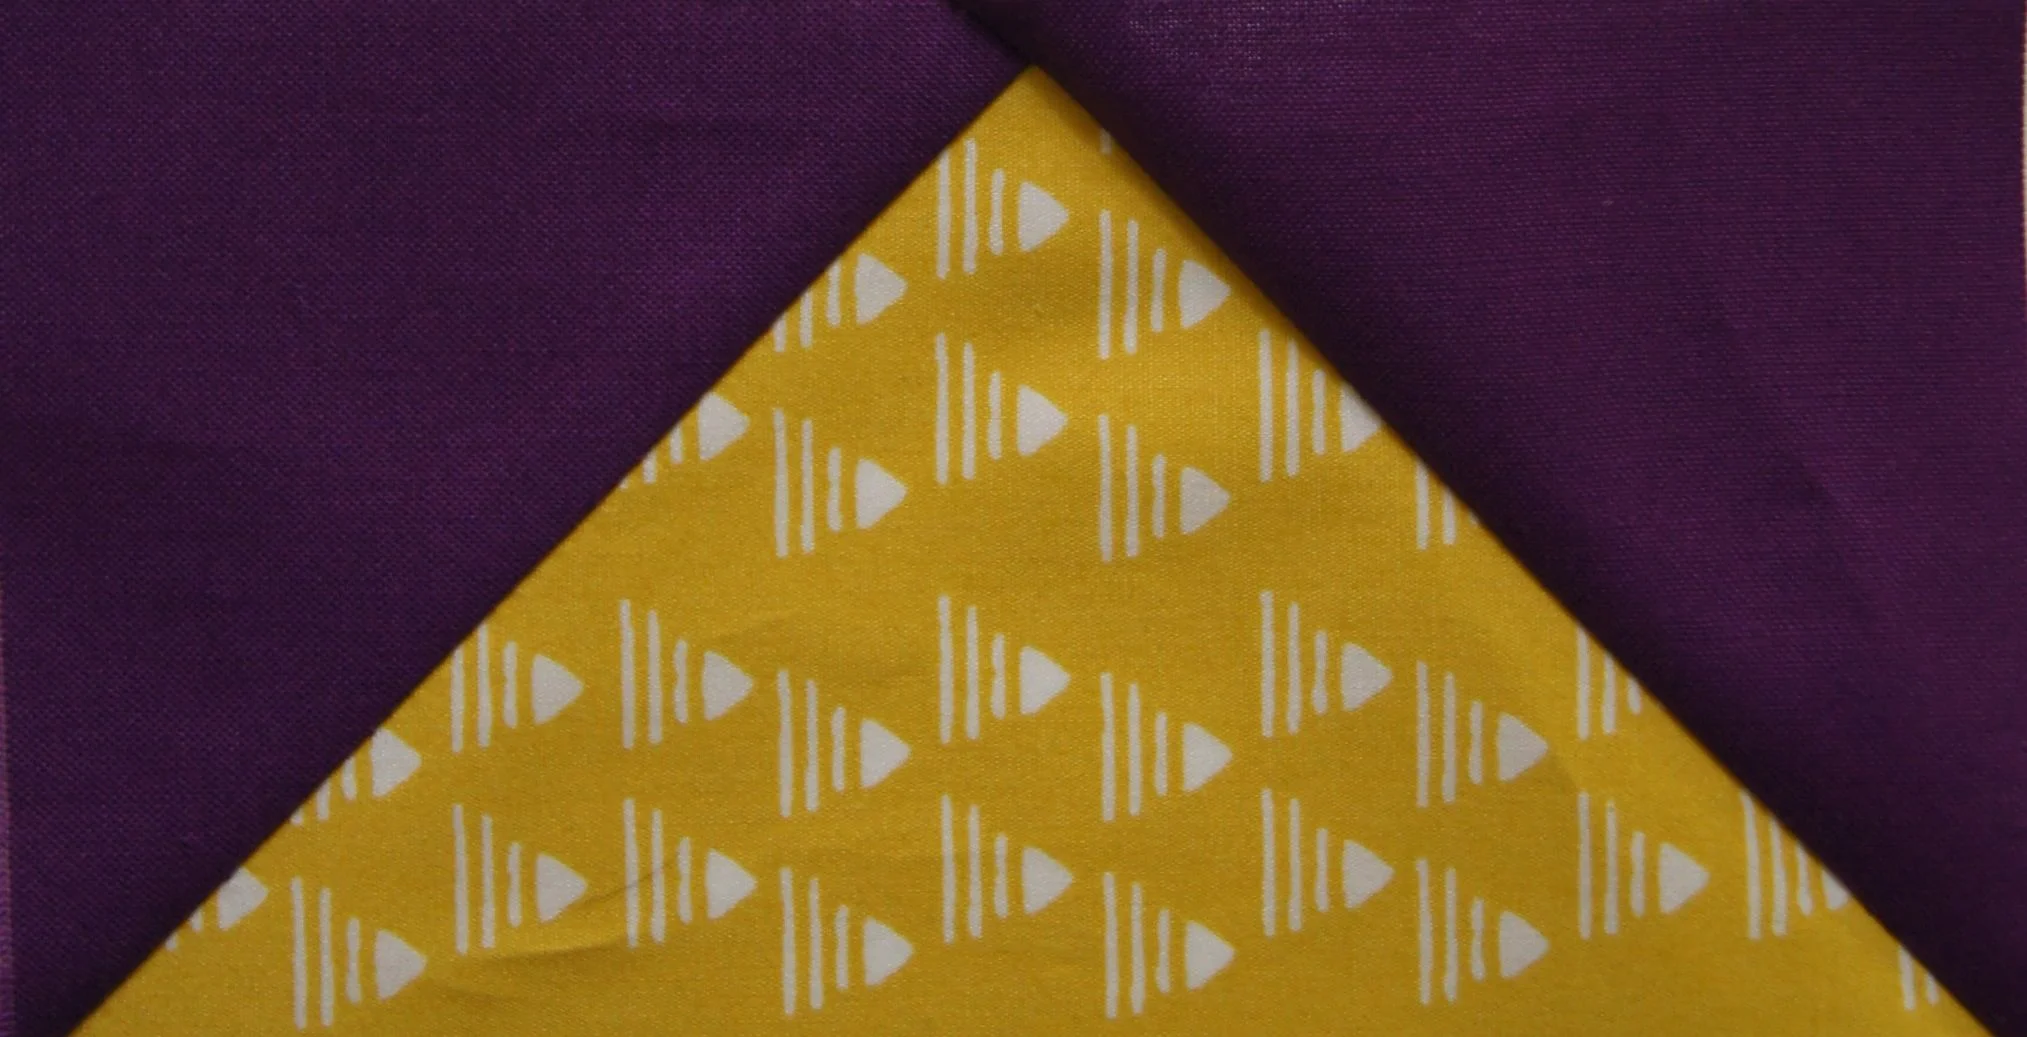
Flying geese block
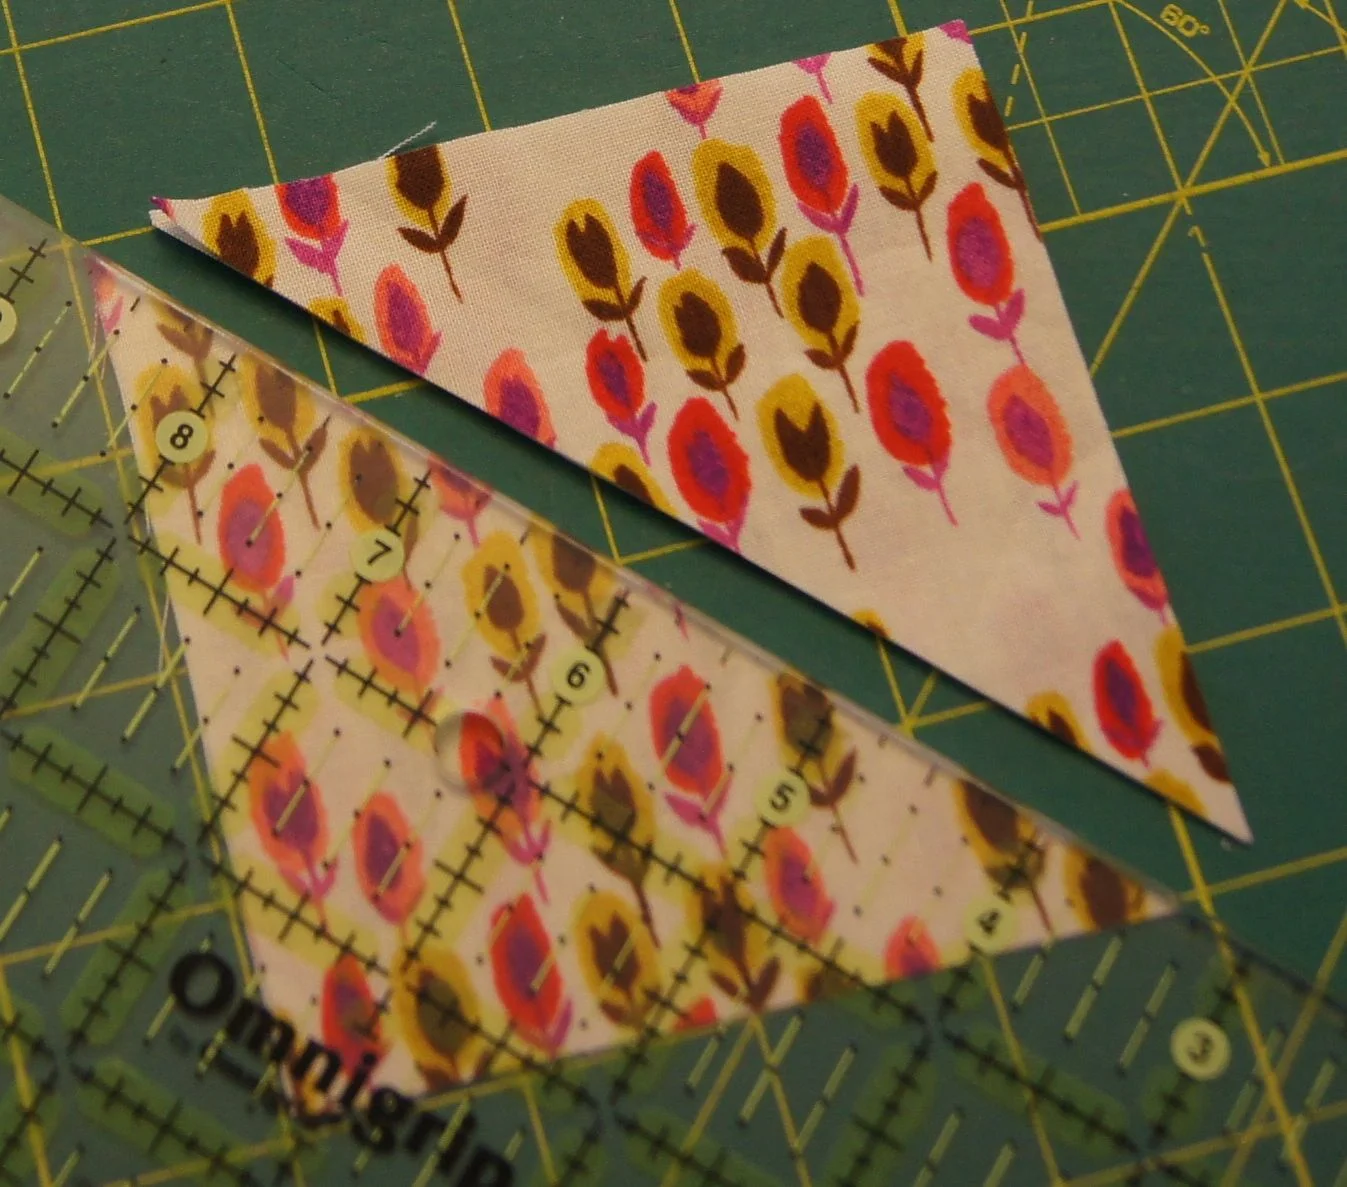
A quarter square triangle is named because it's what you get when you cut a square diagonally both ways. The long side of the triangle runs along the (stable) grain of the fabric while the 2 sides are on the (stretchy) bias. The long side of a quarter square triangle is twice as long as it is high.

Quarter Square Triangles
A half square triangle is a what you get when you cut a square in half once on the diagonal (ie. half a square). The two short sides are at 90 degrees and are on the (stable) grain of the fabric. The long side of the triangle is on the (stretchy) bias. These are commonly referred to as HST in pattens.
Fabric Preparation:
Because you will be sewing the half square triangles to the quarter square triangles along a bias seam, it is important to prepare your fabrics prior to cutting and to then handle them with care once cut so they don't stretch out of shape.
I recommend that you starch and iron your fabrics prior to cutting them to add stability. If you are using a spray starch such as Niagara, spray the starch on the WRONG side of the fabric but press the fabric on the RIGHT side so you don't get starch on your hot iron. It's not so important if you use Best Press.
A corn starch based spray starch will stiffen your fabric more than the Best Press which is potato starch but I think either is fine.
Make sure to iron out the center fold in the fabric. Then holding both selvages together, make sure the fabric lies flat and doesn't bunch. If it is bunching then the fabric wasn't rolled onto the bolt with the cross grain.
Slide the selvages from side to side until your fabric hangs flat. Now lay it down on your cutting surface. Finger press in a center fold but don't iron it! Cut off you selvages and save them for another project.
Now you are ready to cut.
Cutting:
Follow the cutting instruction on your pattern.
Yes! You do need to cut the strip 3 7/8 and not 4 inches! That's how you get triangles that will sew together perfectly. I know it's an odd number and initially I despised cutting 7/8 of anything but it gets easier with time!
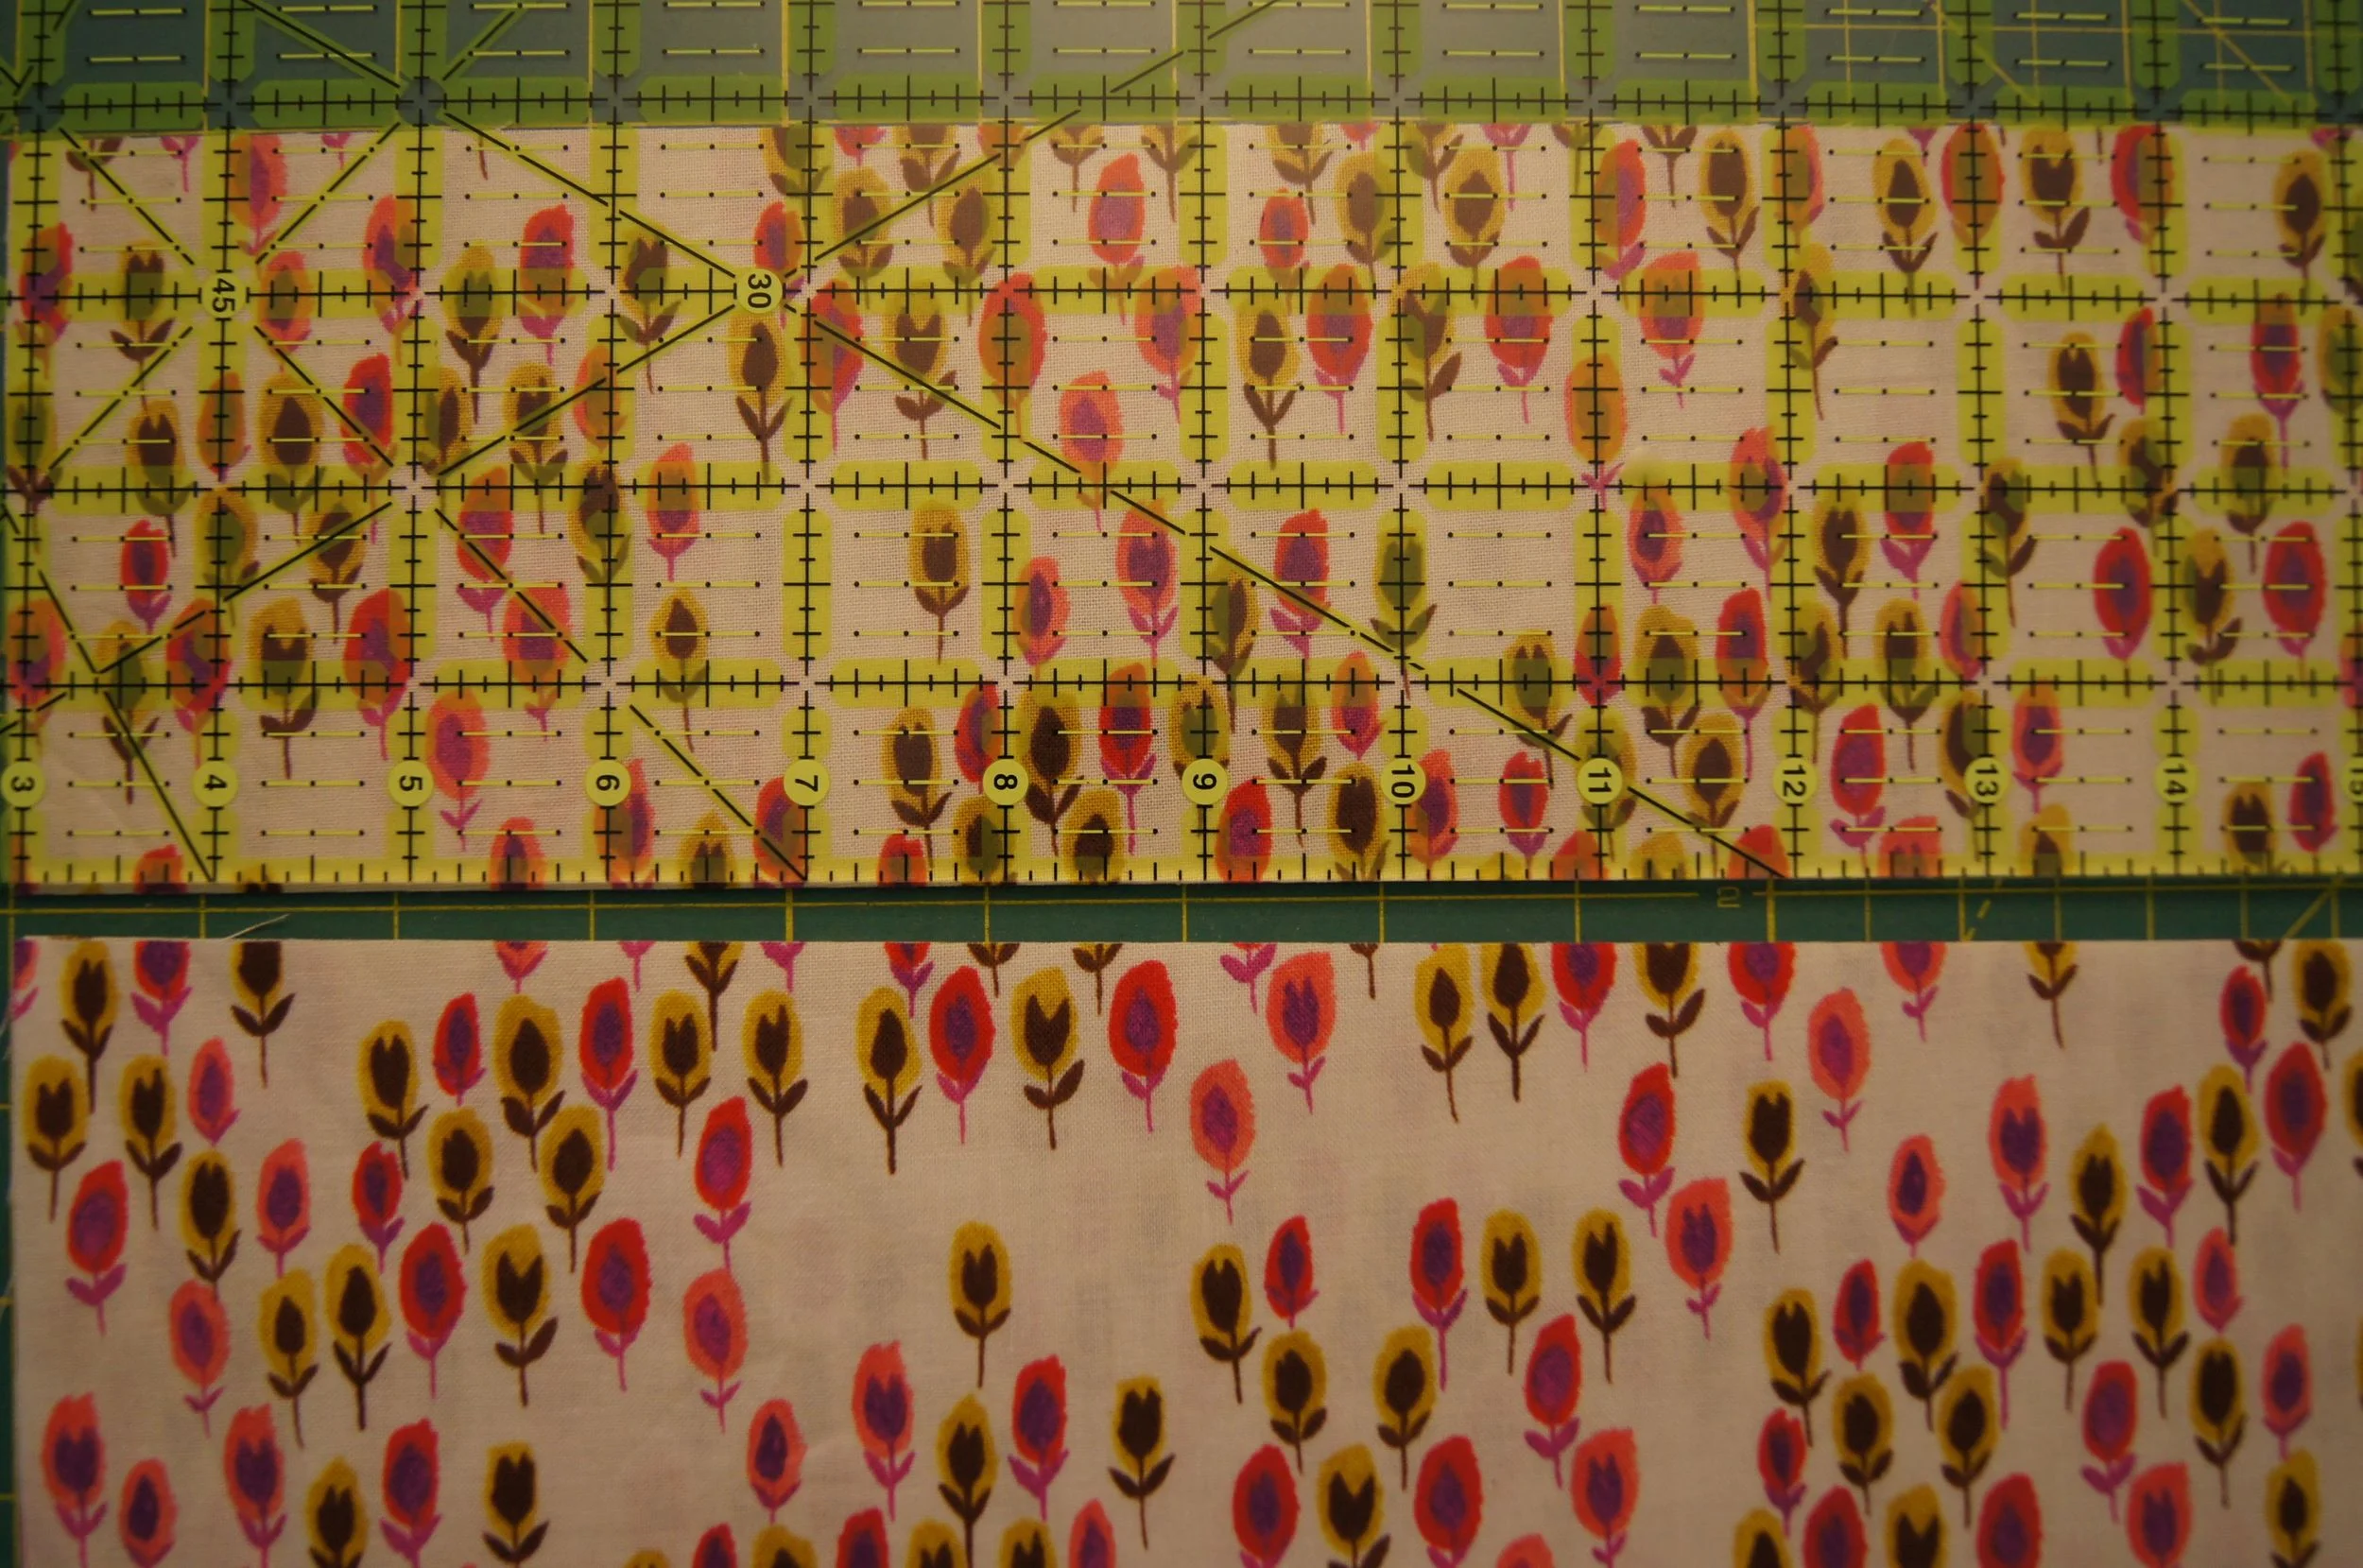
Cutting 3 7/8 inch strips
To cut the 7 1/2 inch strips, which are wider than your 6 inch ruler, use your 12 1/4 in square ruler to add on the 2 1/4 inches. Don't expect the cutting lines on your mat to be true.
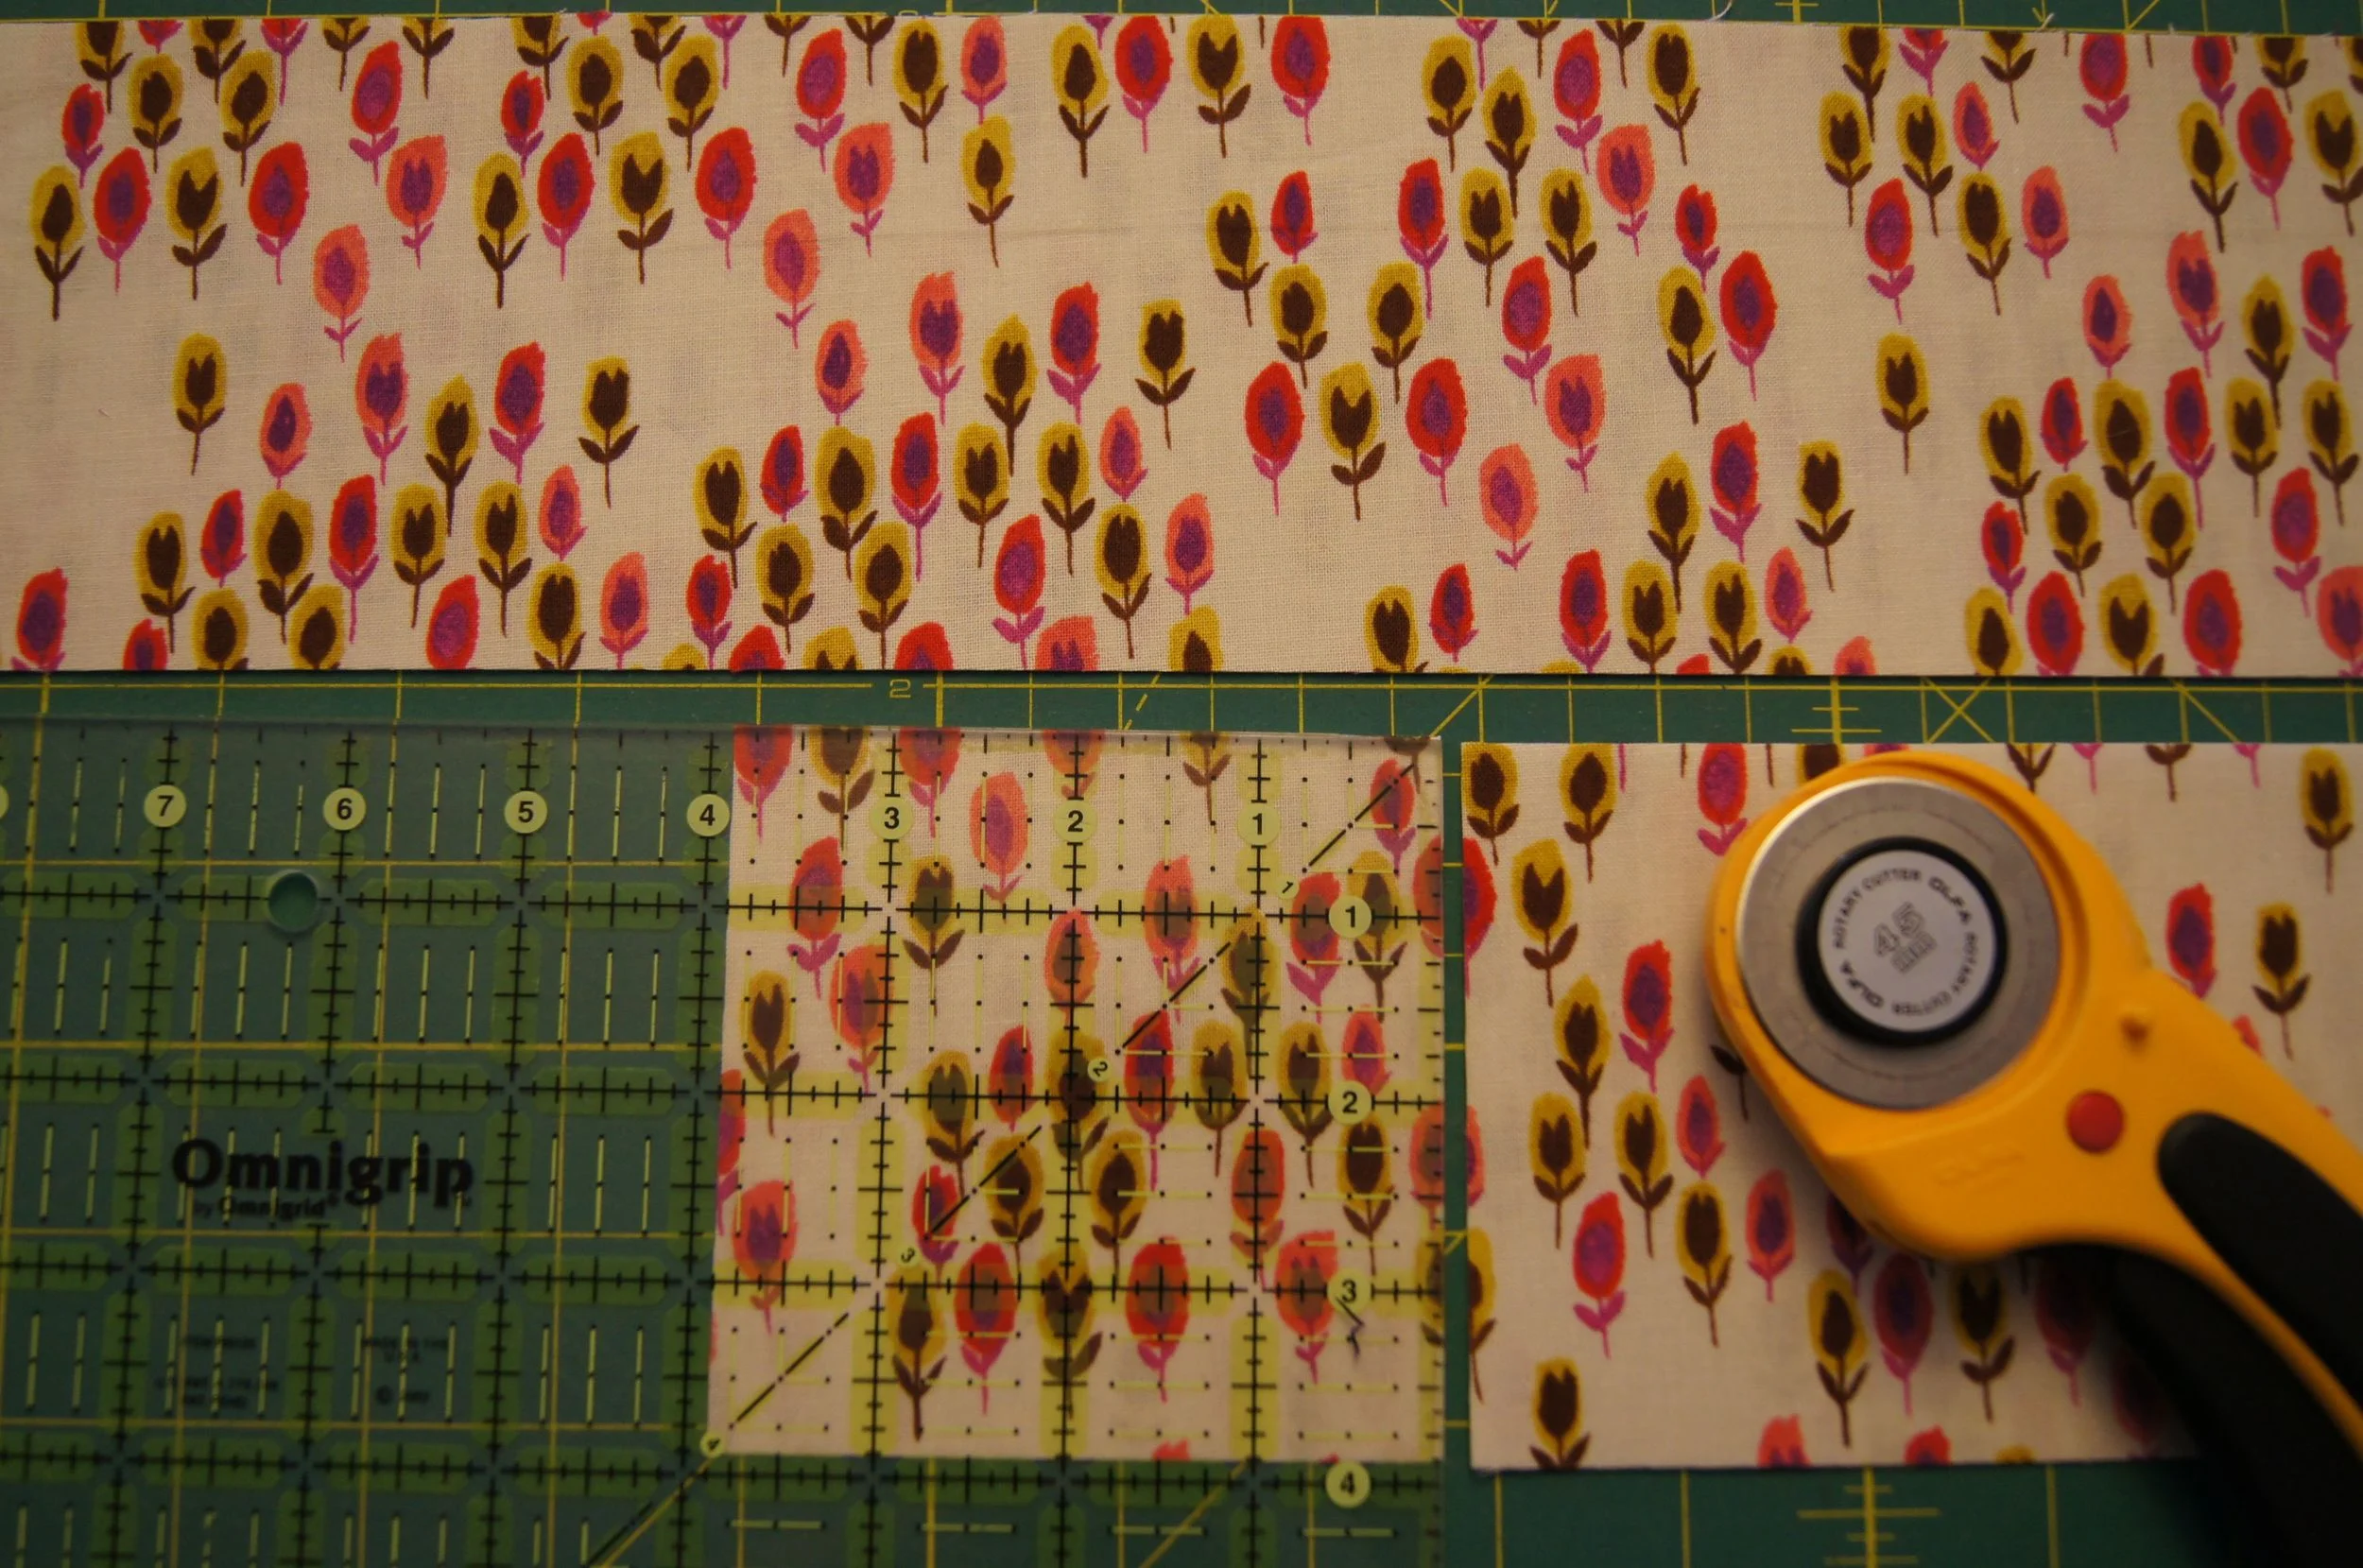
Cutting 3 7/8 x 3/78 inch squares from your 3 7/8 inch strips
Once your strip are cut, you can cut the squares from them.
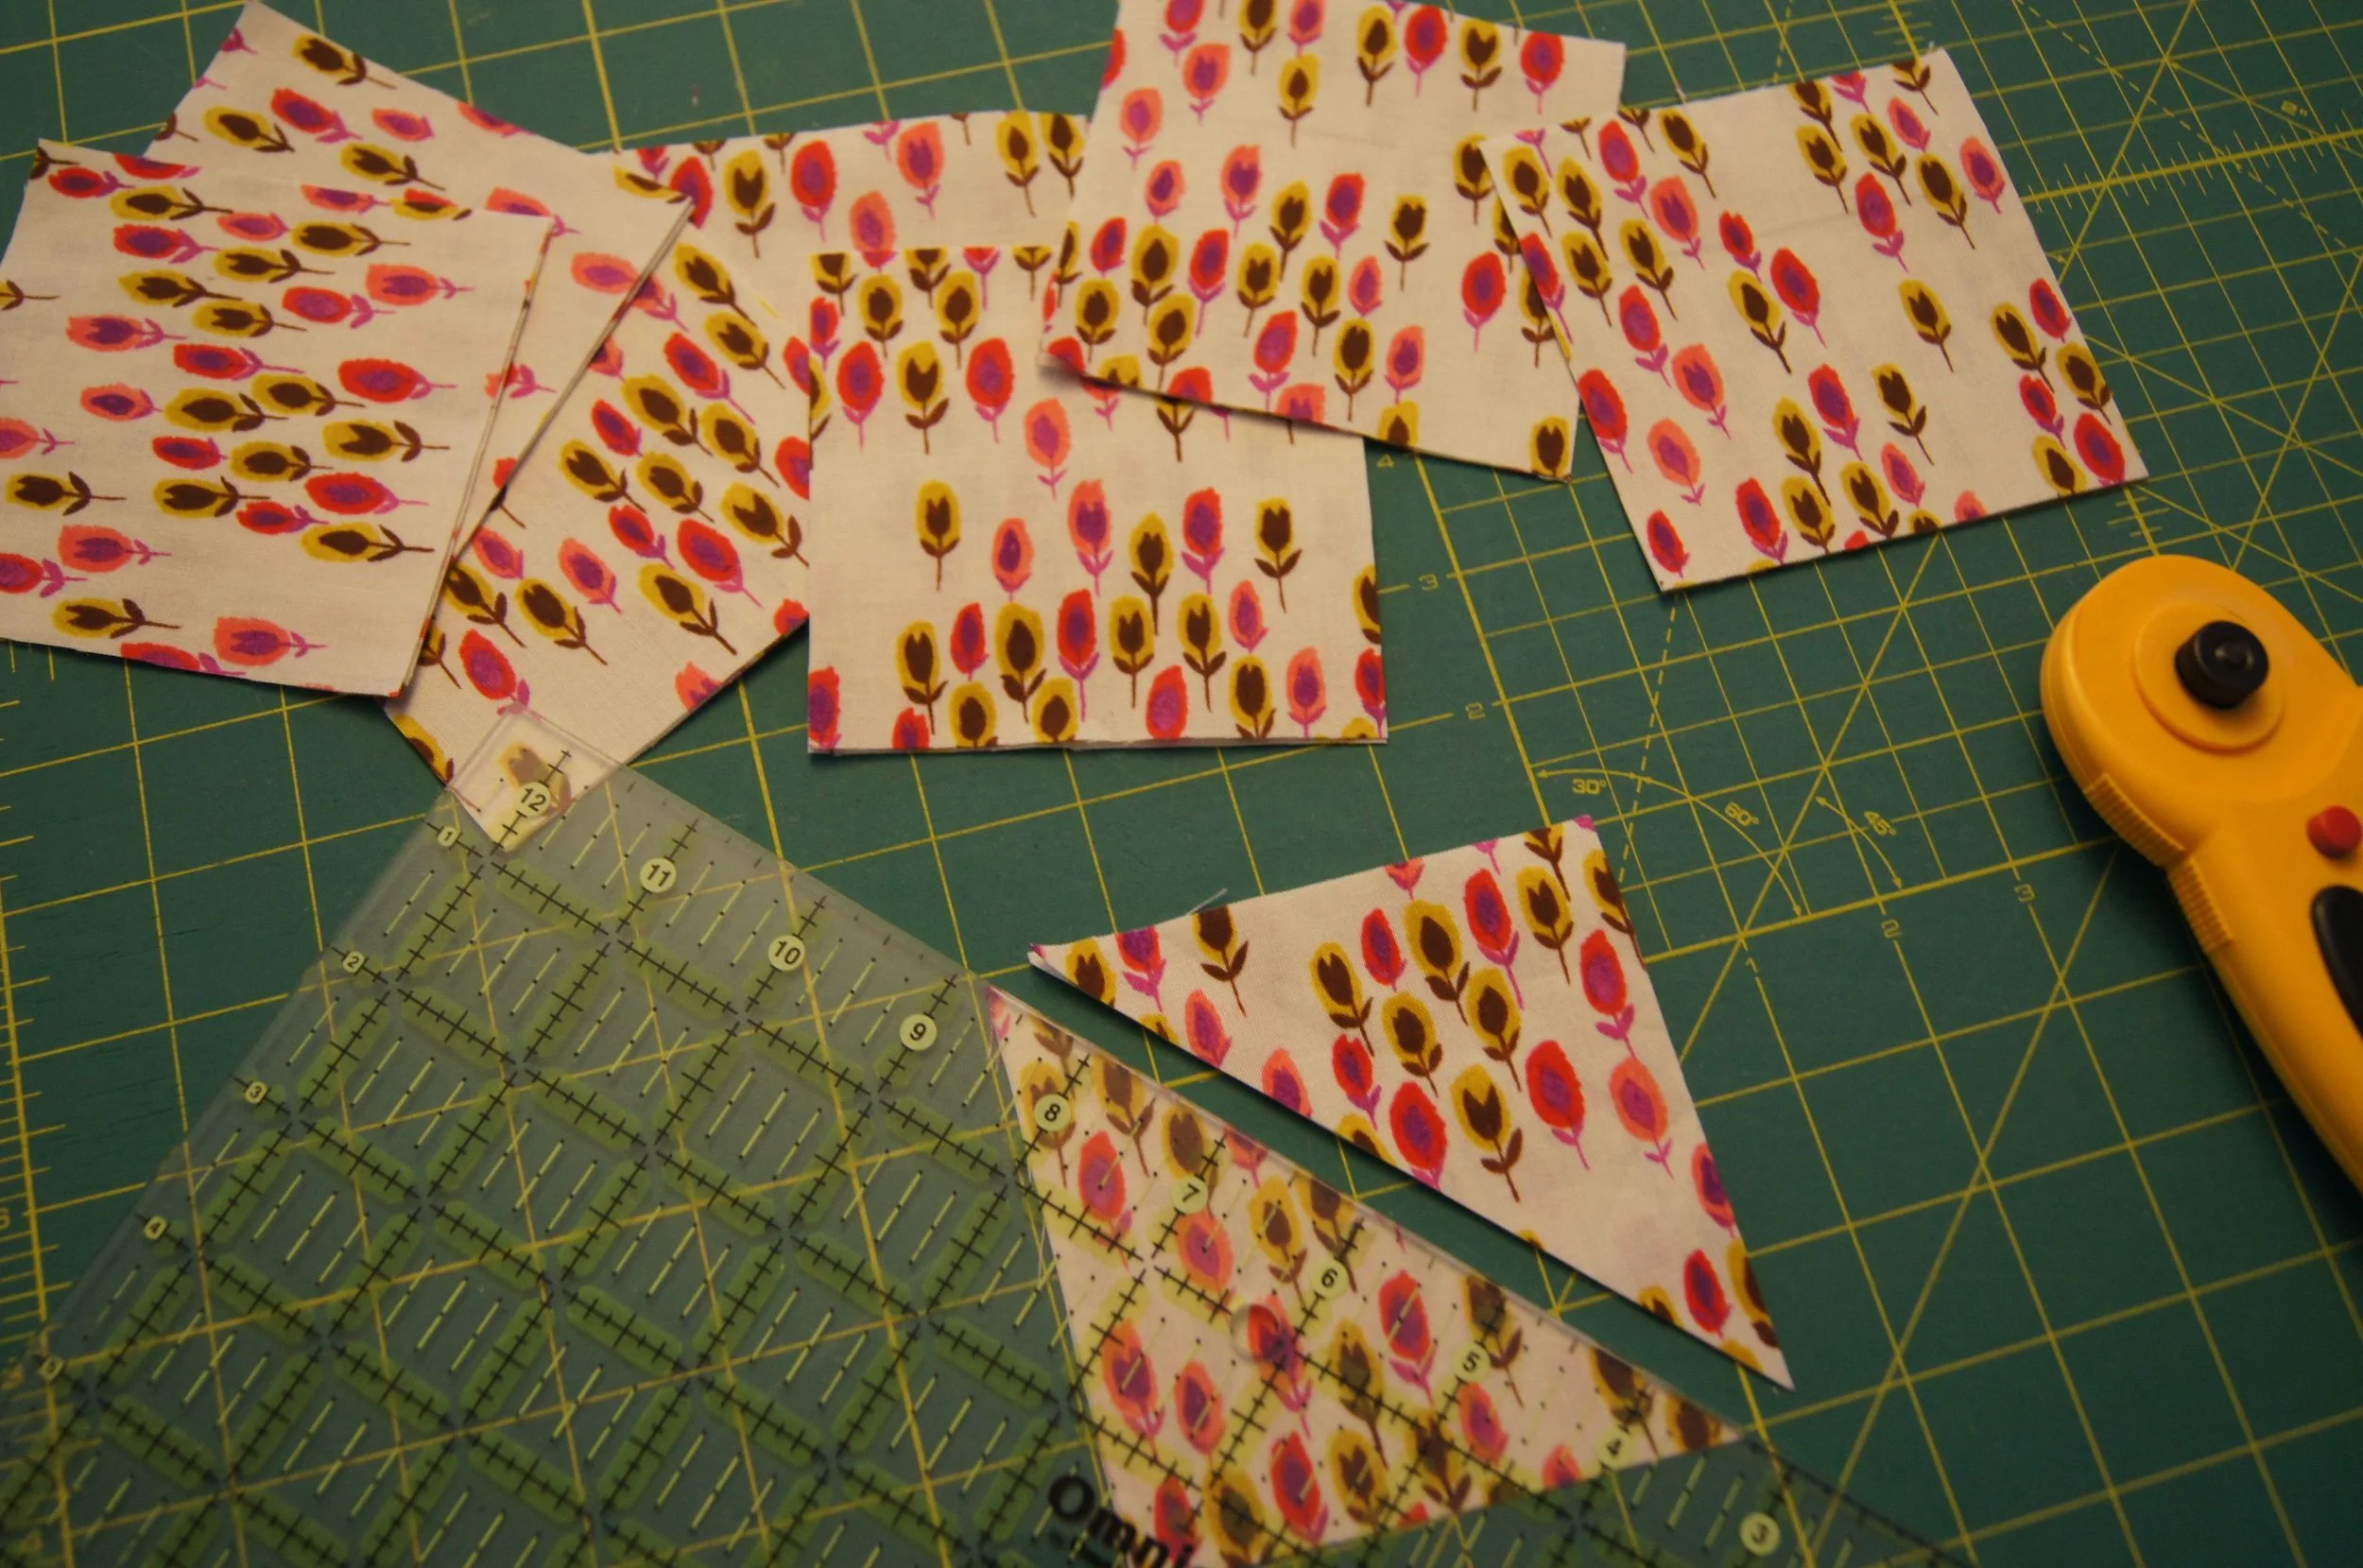
Cutting HST
Now cut your quarter square triangles.

Cutting a Quarter Square Triangles
Finish cutting all the other pieces of your quilt. They are squares and strips so nothing too tricky.
IF you are making variation 5 of the Modern Flying Geese quilt:
Cut eight 3 1/2 x 3 1/2 inch squares. On the WRONG side draw a line with a fabric marking pen or a pencil. Pencil isn't recommended for marking quilts usually but this is a marking a seam and I usually don't worry about a light pencil line drawn on the wrong side of a fabric.
Note of caution: There are fabric marking pens which erase themselves after a few minutes. Don't use one of those because your line will be gone when you sit down to sew your block!
Did you decide to use a Flying Geese ruler? Make sure that you have 2 layers of fabric with right sides facing each other when you cut the wings. That way you get a right and left wing--they are mirror images of each other.