
BINDING AND FINISHING YOUR QUILT
Square up your quilt: Put your cutting mat on a table and put one edge of your quilt on the table. Make sure it is flat, nothing is folded over on the bottom and that the quilt isn't getting pulled anywhere. Using your 24 inch ruler, cut a straight edge on the edge of the quilt. At the corners you should have a 90 degree angle between adjacent sides of the quilt. Trim it to achieve a 90 degree corner if needed.
Cuts stripes of fabric for the binding-- 2 1/2 inches wide x width of fabric. You may cut them on the straight grain of the fabric or on the bias. (If the edge of you quilt has scallops you must cut your binding on the bias). Sew them together using a diagonal 45 degree seam. If you feel more comfortable sewing the strips end-to-end, that's fine too. Then fold the binding strip in half along the length of the strip, with the raw edges together. Press. Now your binding is ready for the quilt.
Start about 1/2 way down the right side of your quilt. Leave the first 10 inches of your binding loose. You'll need those 10 inches to sew to the other end of the binding once you've sewn your binding on the quilt.
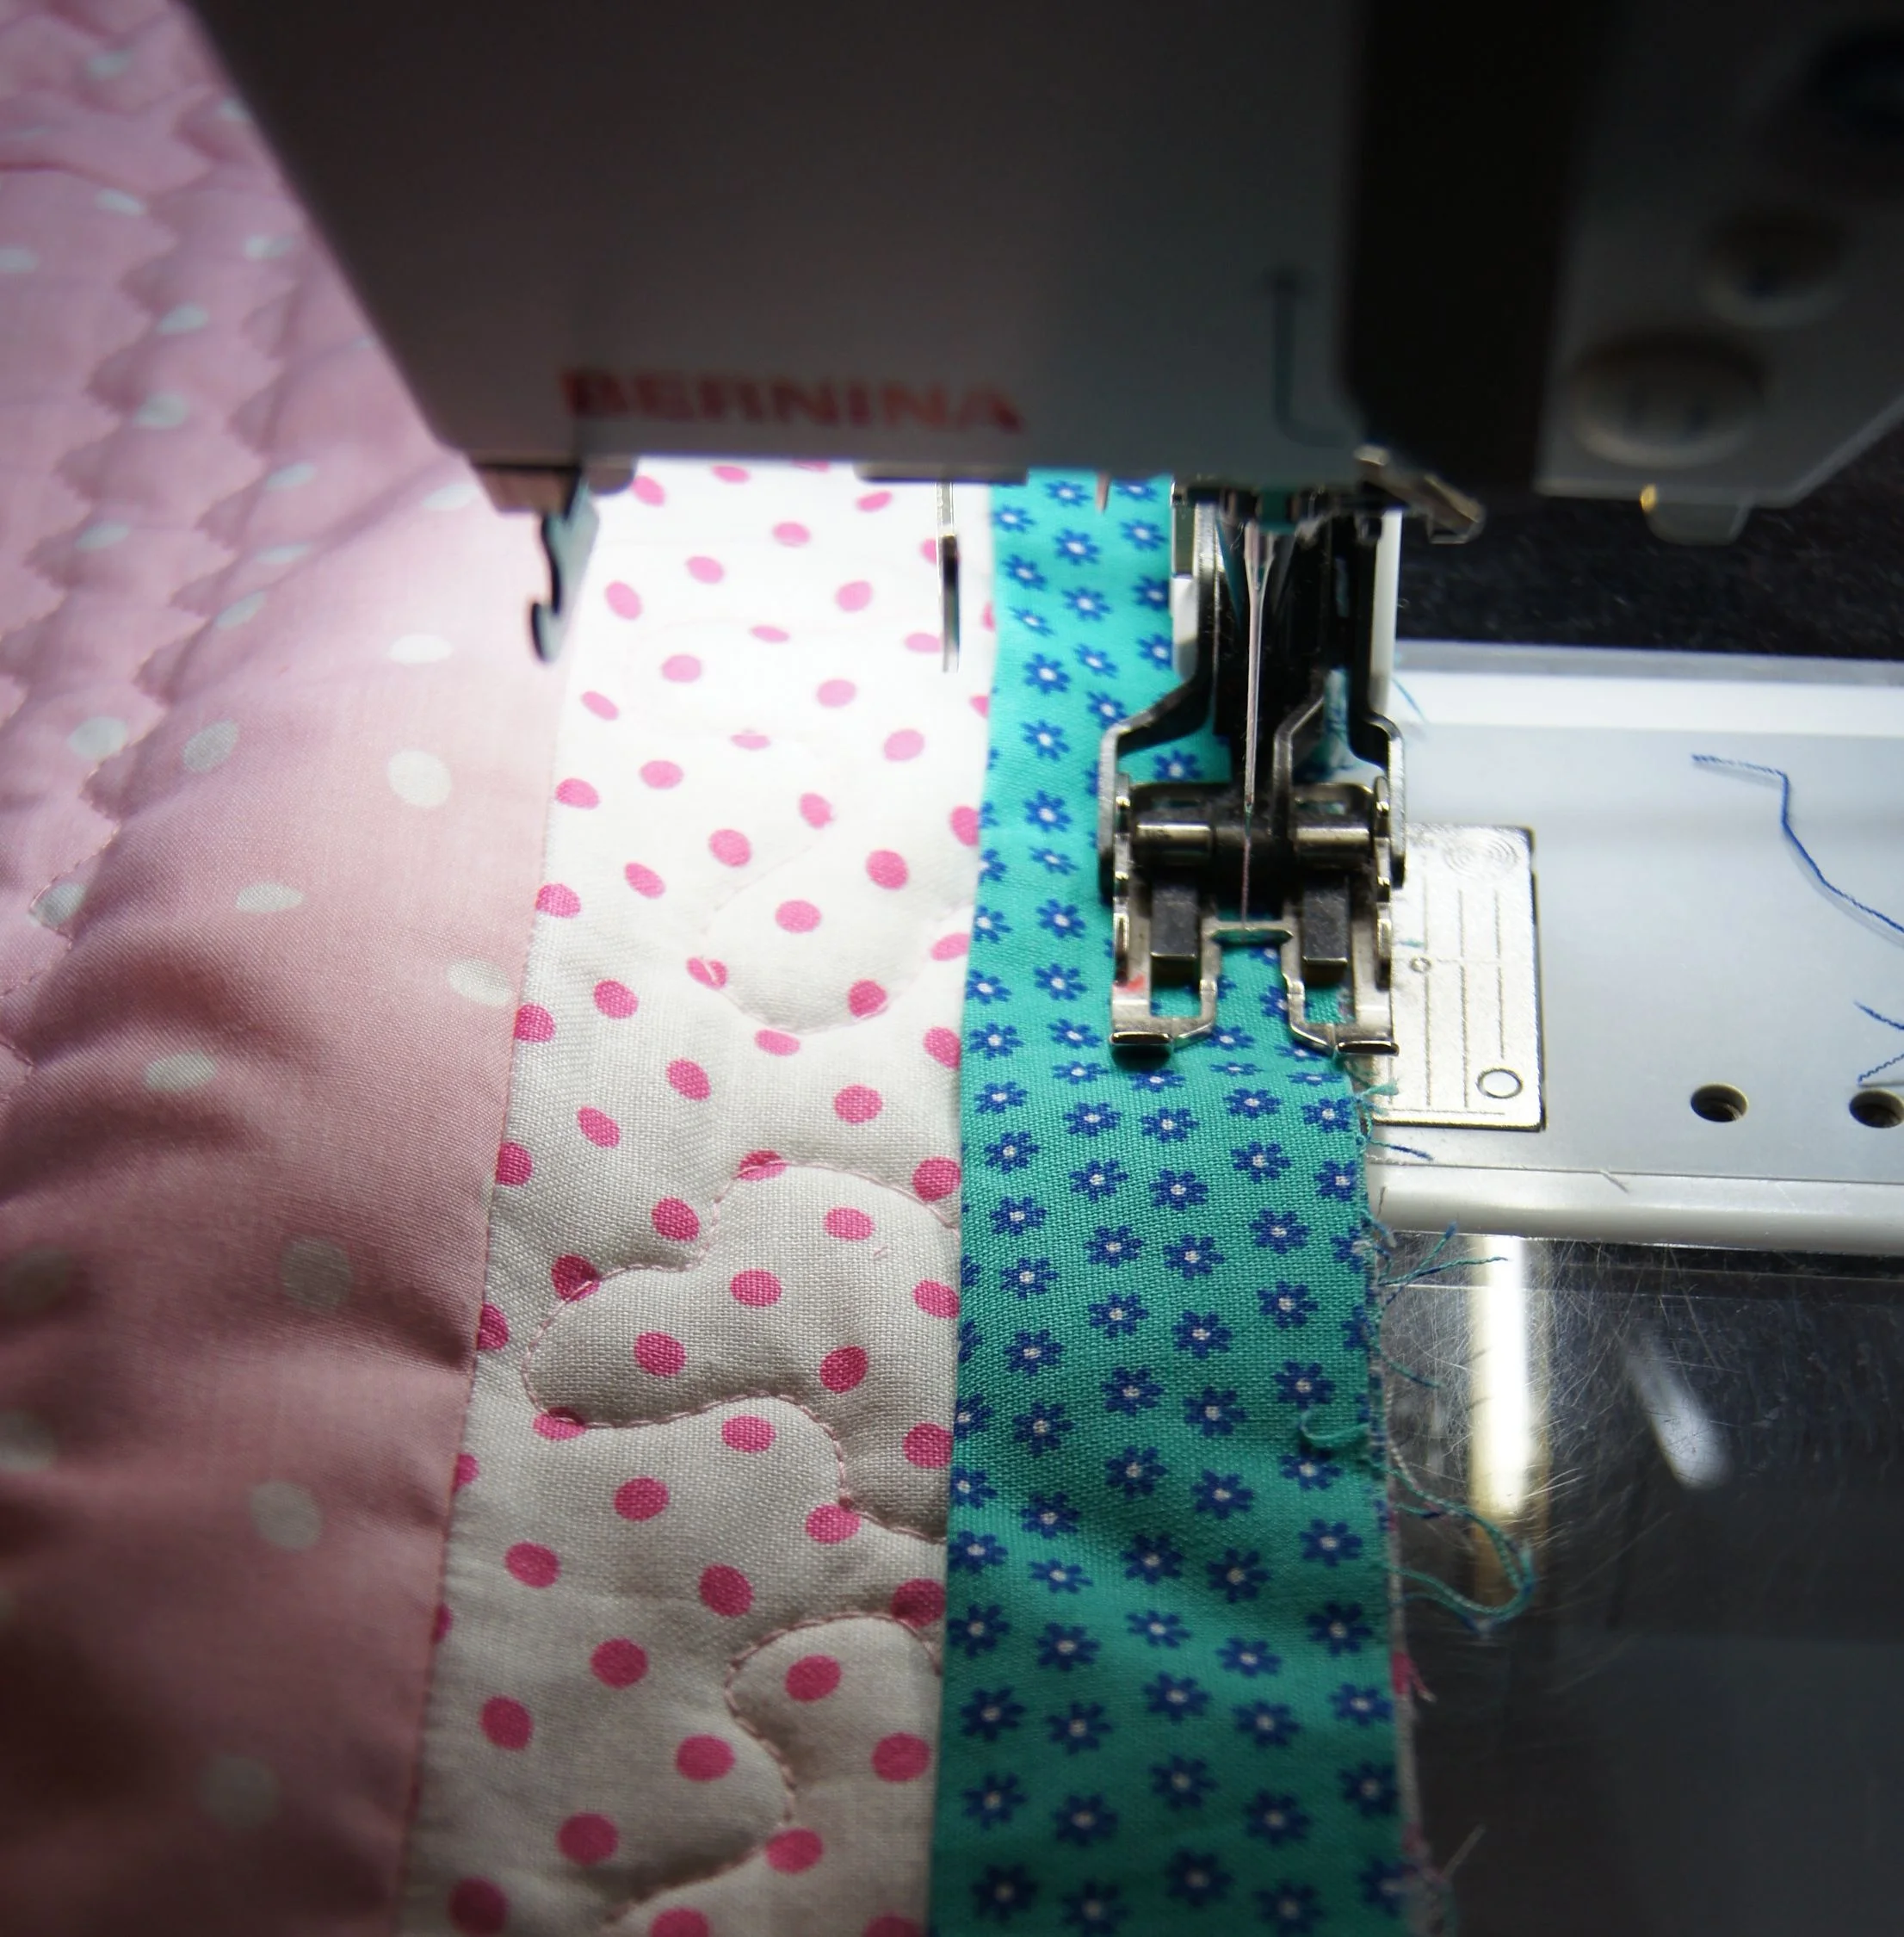
The binding is sewn on the TOP of the quilt. Line up the raw edges of the binding with the raw edges of the quilt.
- Using your walking foot, sew a line 1/4 inch away from the raw edge of your quilt/binding.
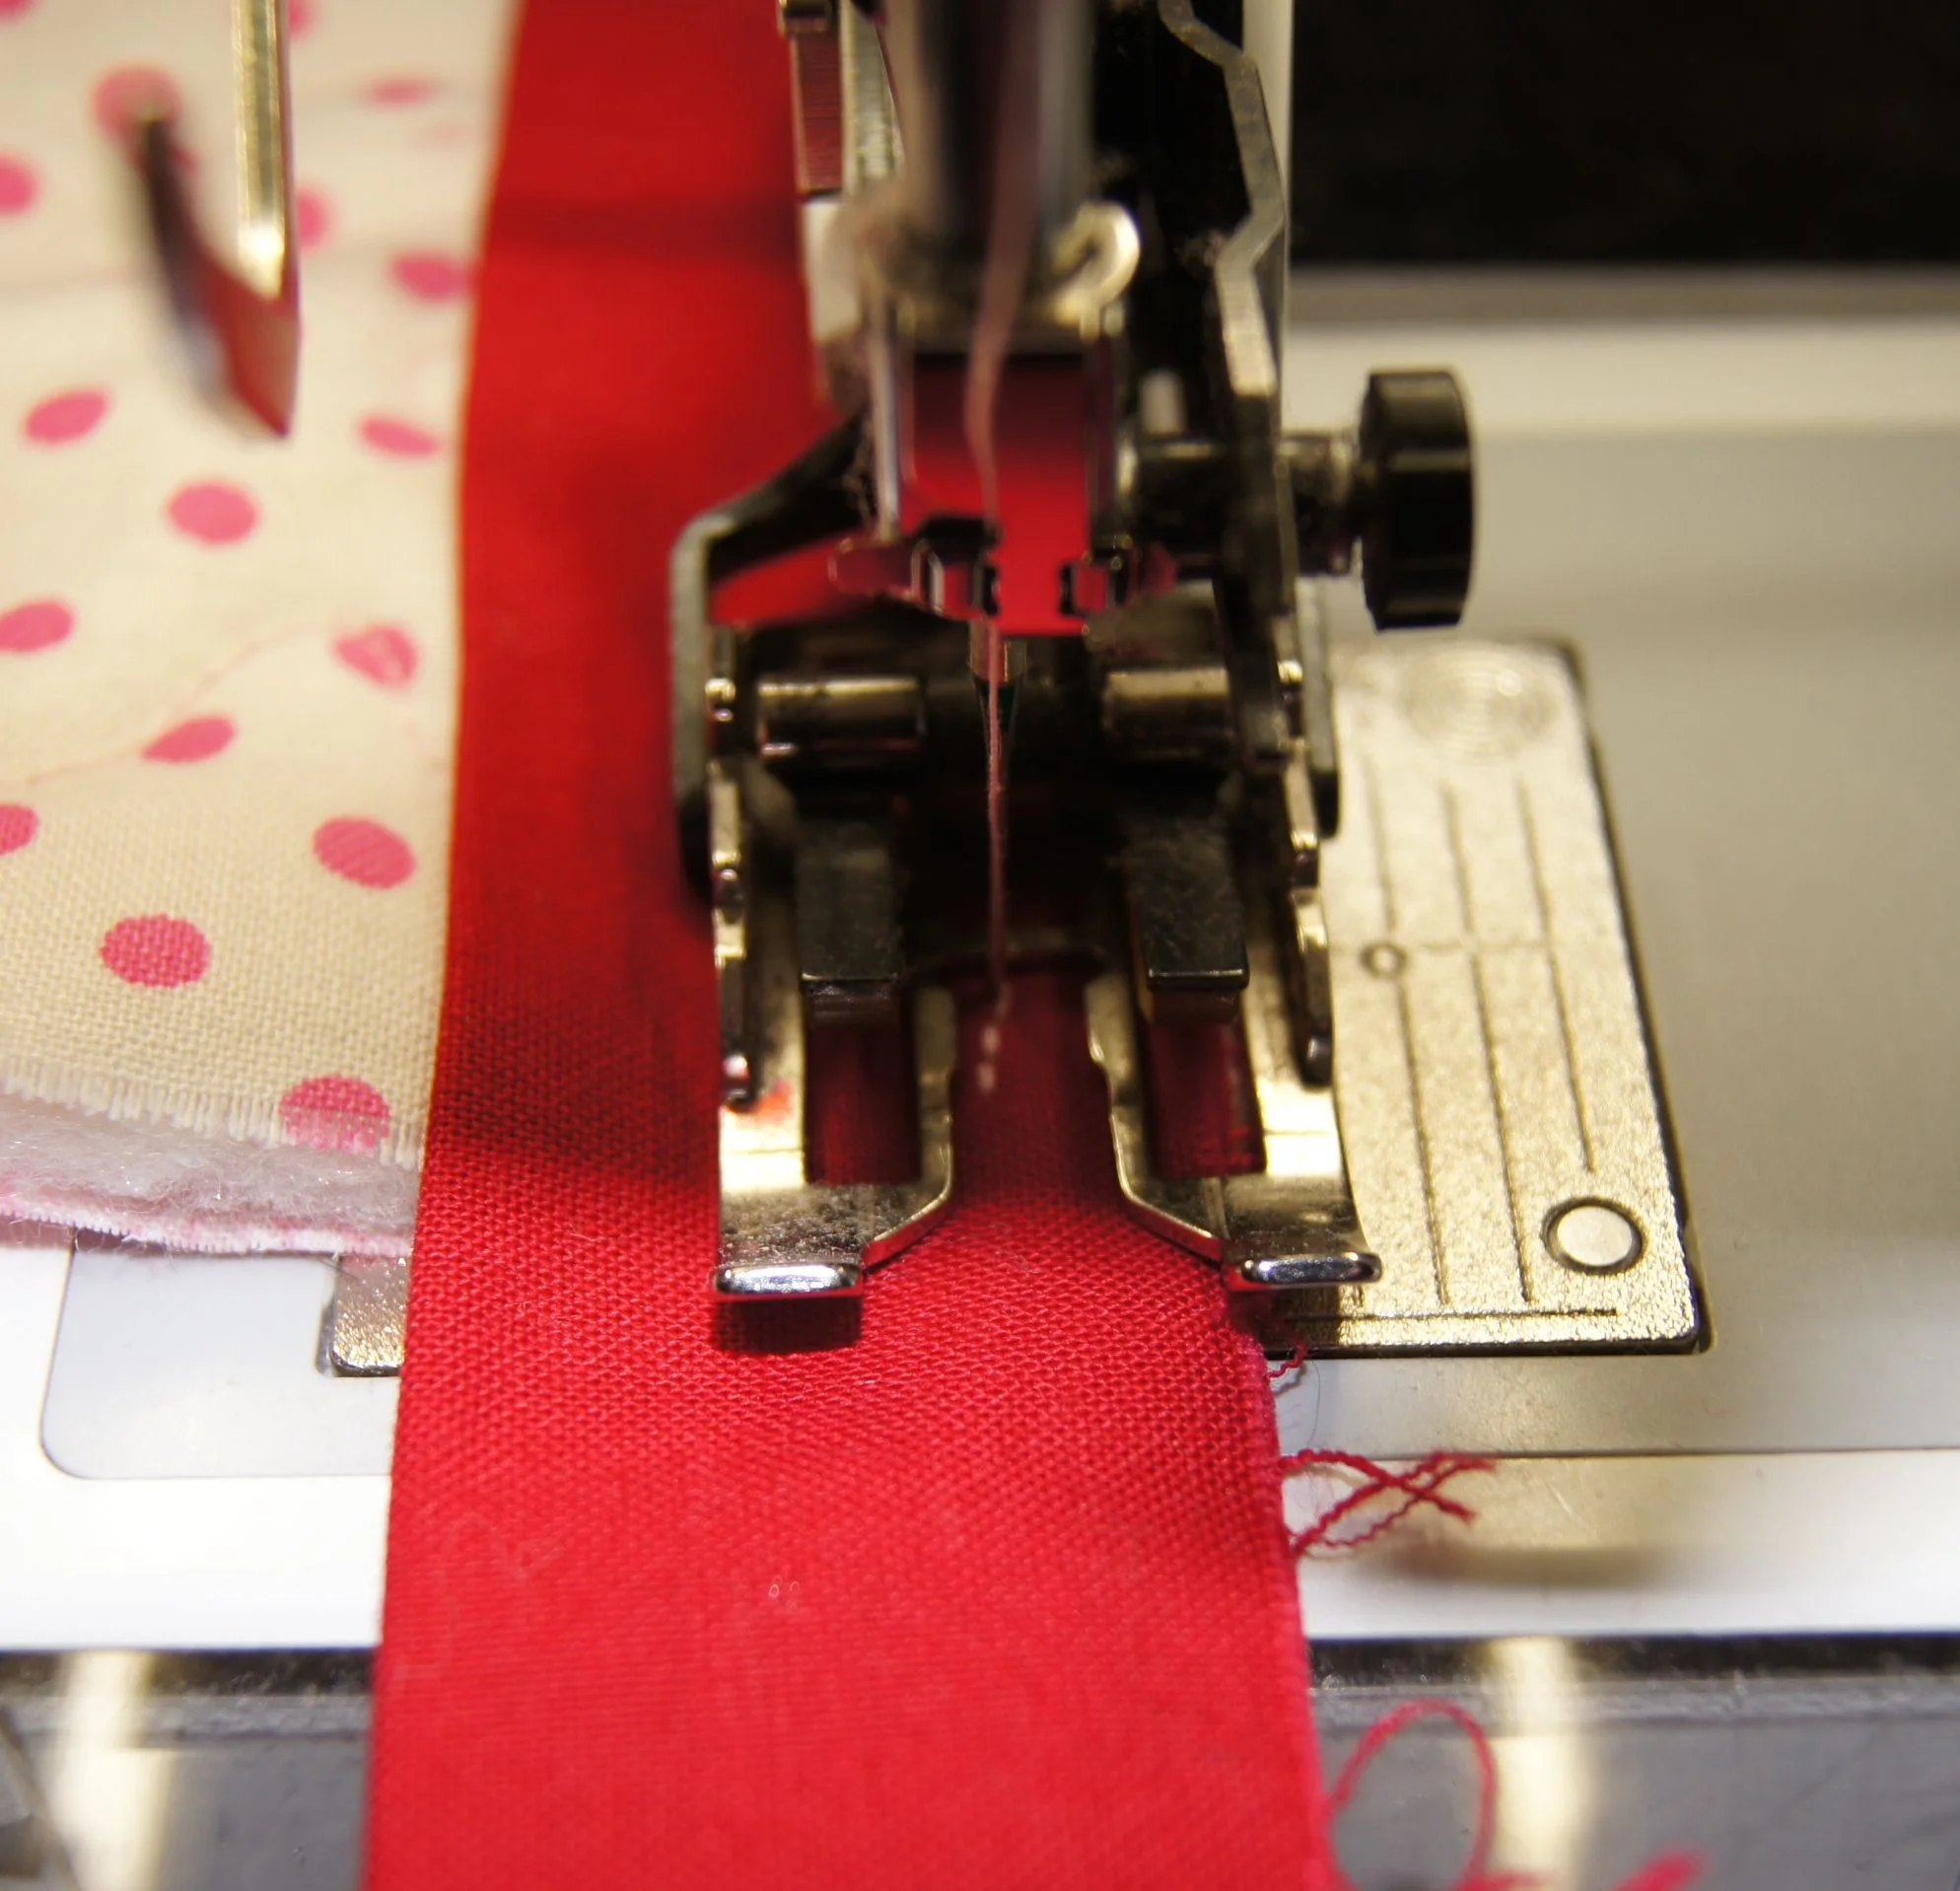
- Stop sewing 1/4 inch from the corner of the quilt, back stitch a couple stitches
- Fold the binding UP over the edge of the quilt. You should see a nice 45 degree angle in the binding when you fold it up.
- Finger press that 45 degree angle of the binding.
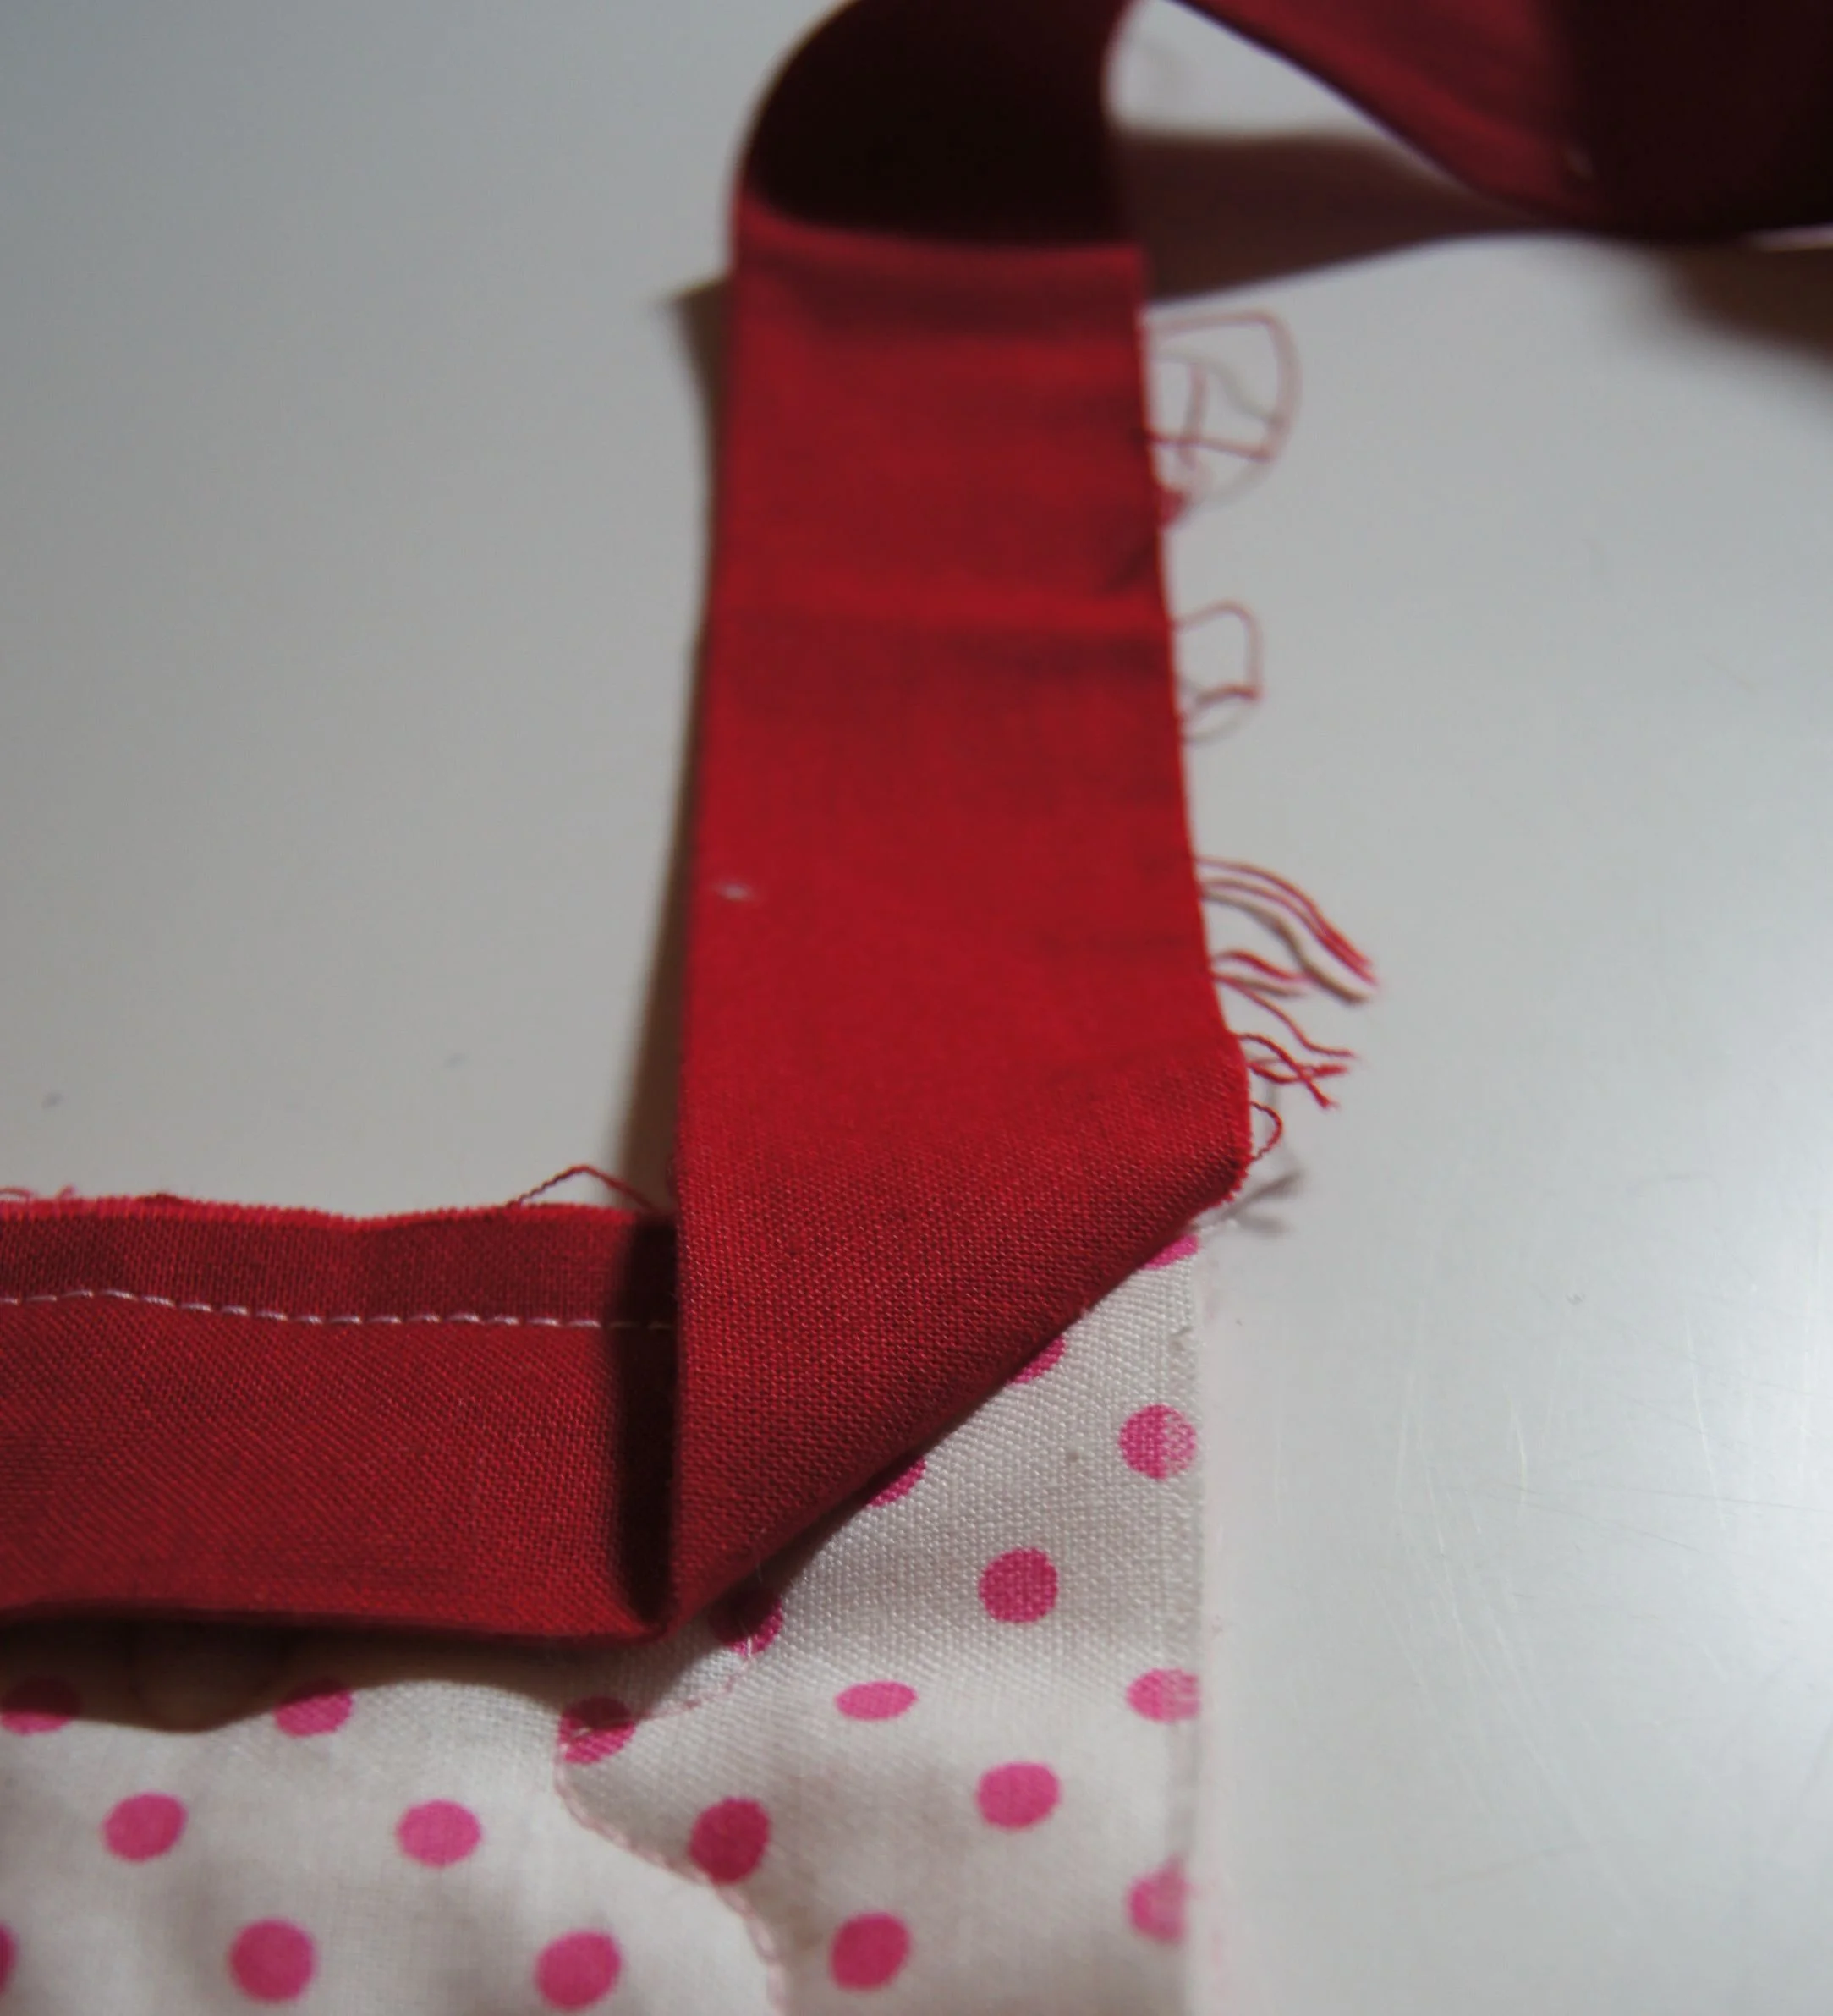
- Fold DOWN the binding over that 45 degree fold. This makes a mitered corner. Aligning the raw edged of your binding with the next side of your quilt.
- Start sewing at the top edge of the quilt.
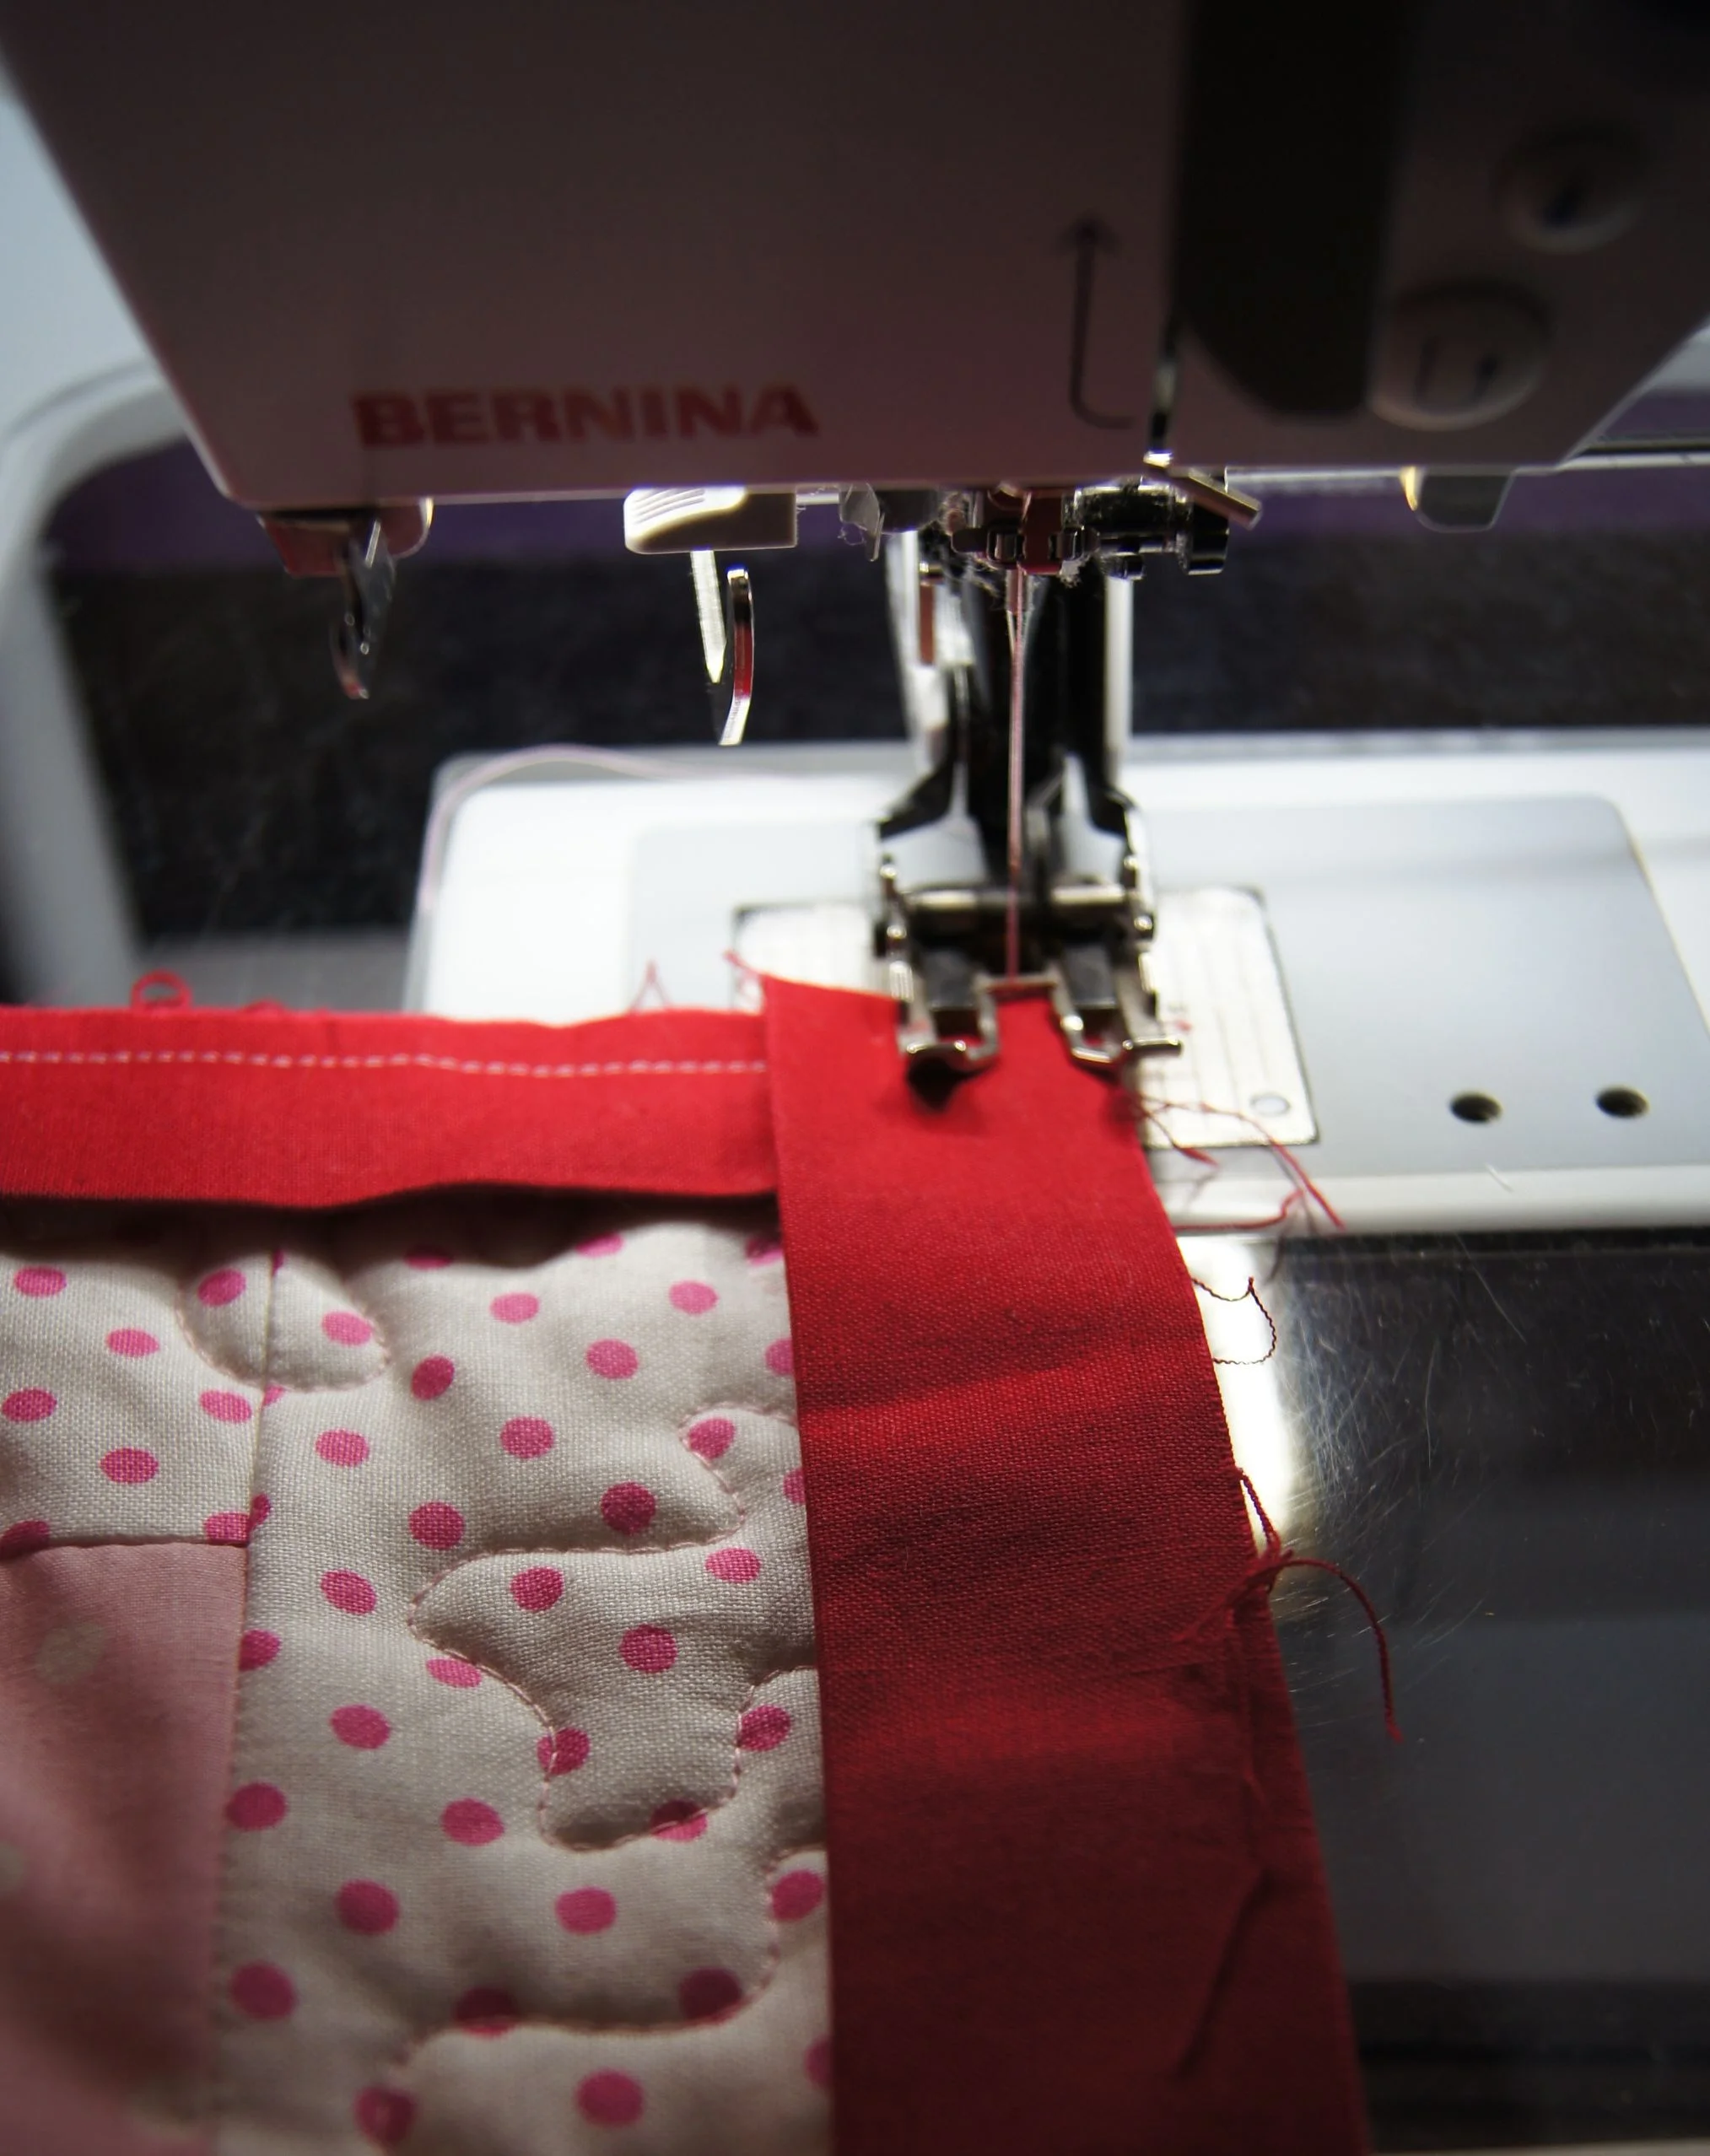
- Continue sewing the binding on the quilt.
- When you are back on the side where you started the binding, stop 10 inches before you reach your initial starting point.
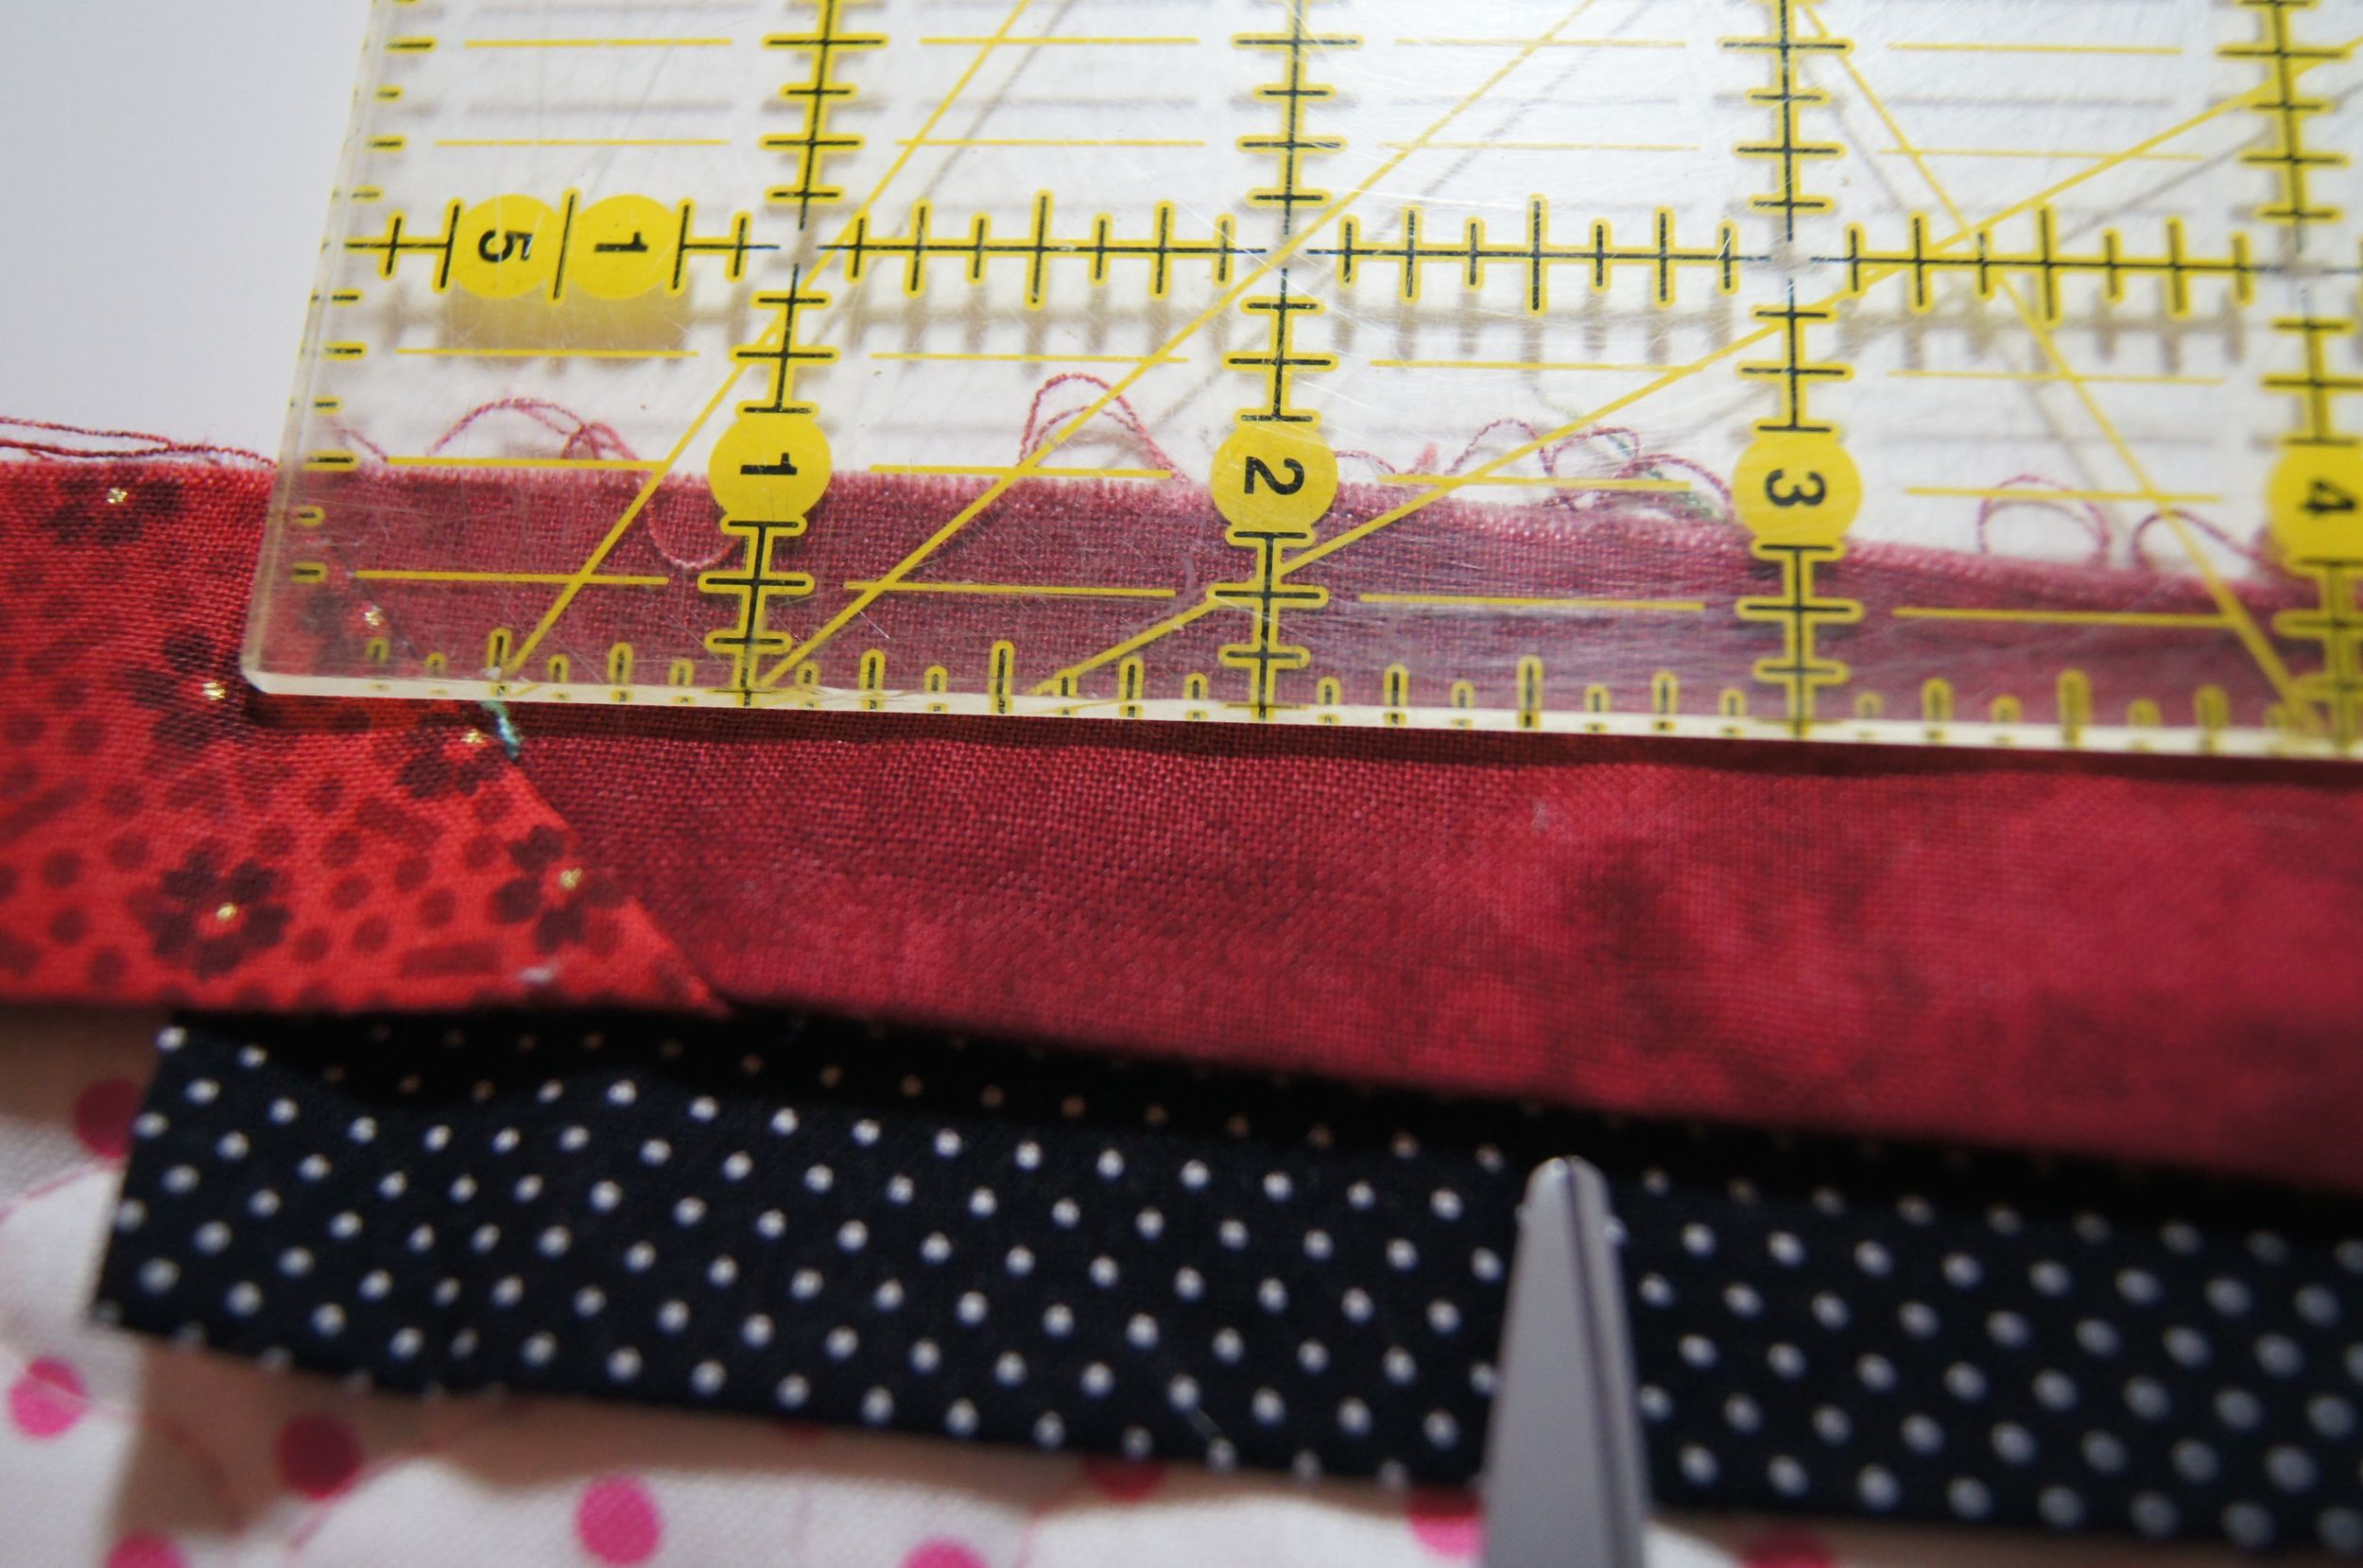
- Lay the two strips of binding side by side. The loose ends need to overlap 2 1/2 inches. Trim off the excess binding.
- Unfold the binding. Put the right sides together--the short end of one piece binding is aligned to the end of the long side of the other end of the binding. See photo. Pin or glue! Before you sew, check to make sure you haven't accidentally twisted either end of the binding pieces.
- Sew a 45 degree line across the 2 pieces of binding. Draw a diagonal line across the binding to sew along if that makes it easier for you.
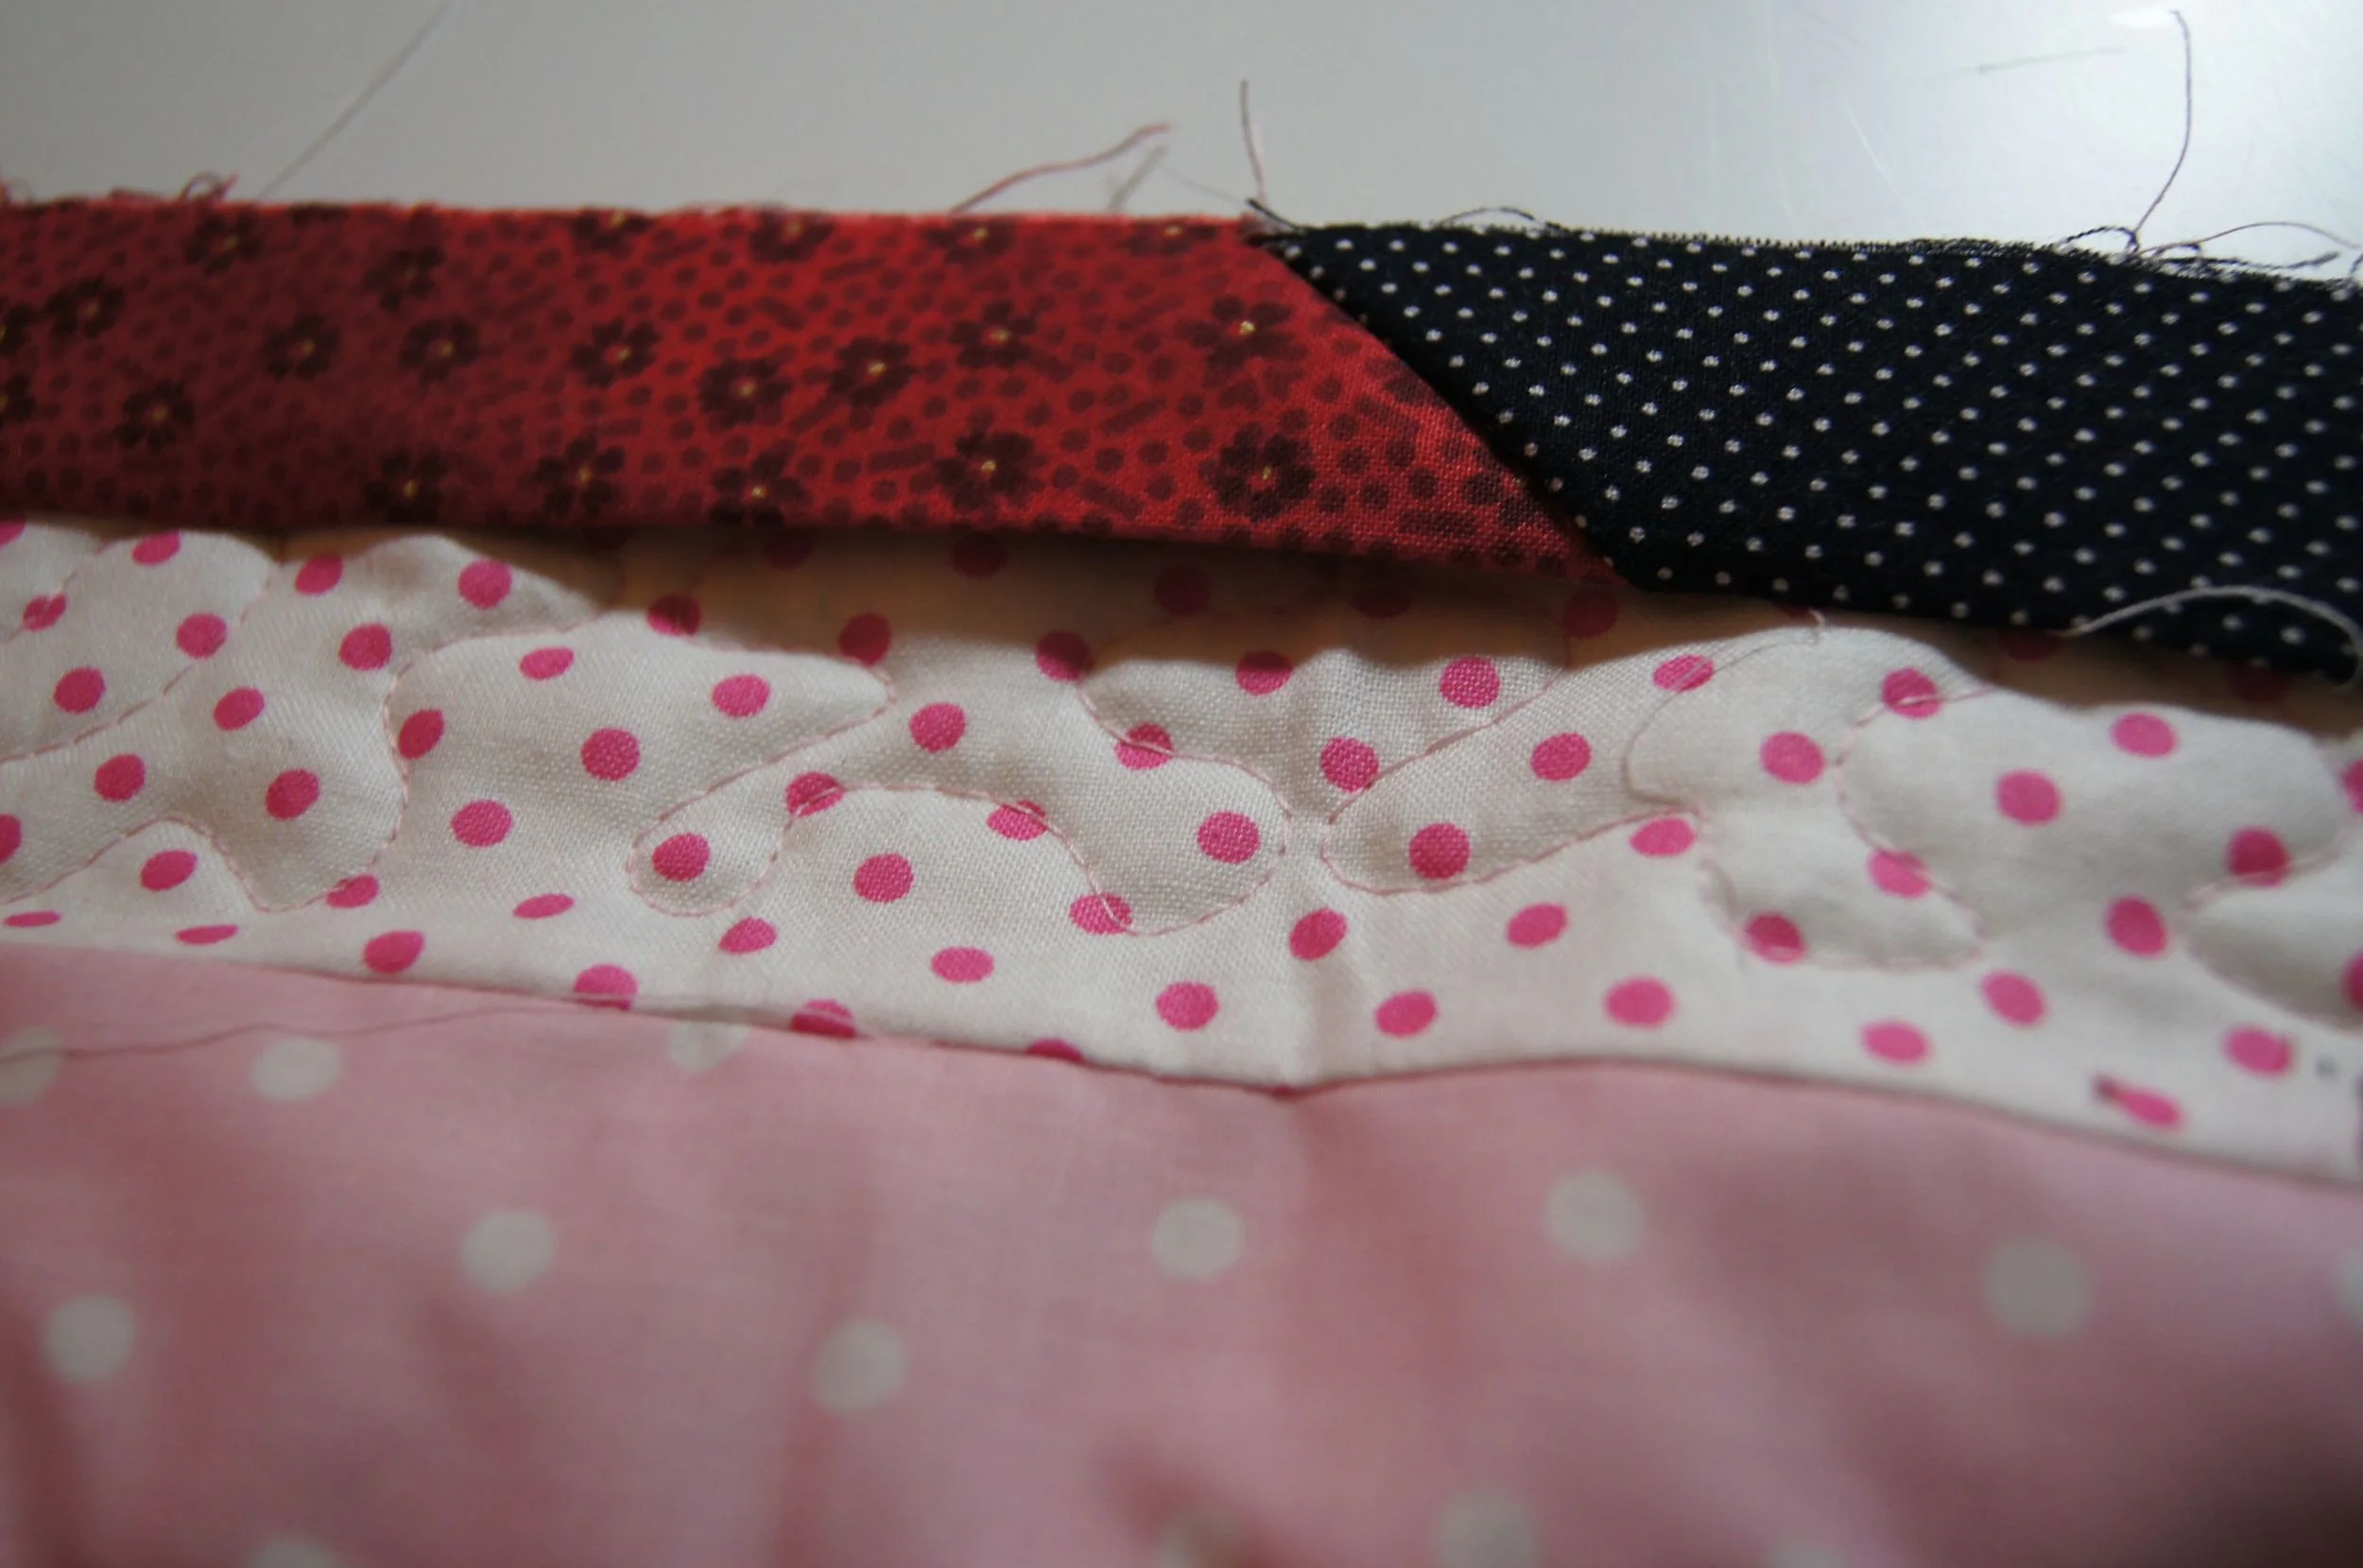
- Fold the binding again. It should lie flat. If it looks fine, open the fold again and trim the diagonal seam to 1/4 inch.
- Once the ends of the binding are sewn together, the binding should perfectly fit along the edge of the quilt. Finish attaching the binding, restarting at the 1/4 inch seam where you left off sewing and sew until you have crossed your initial stitching.
- Now fold the finished side of the binding over to the Back side of the quilt. Pin. Hand sew the binding to the back of the quilt. The corners on the back should be easily mitered--forming a diagonal 45 degree angle. You may need to wiggle it around a bit to get it perfect but it's doable.
I used a scrappy binding for the quilt in these photos. That's why the color of the binding keeps changing!


Add a label to the back of your quilt. Make sure to put your name, a date and a location where you made the quilt. You may make a label from another piece of fabric. Some quilters just write their name and dae on the back of the quilt.
Indelible PIGMA micron pens are great for writing labels. Iron the label to fix the ink from the pen so it doesn't wash out.
You may also print labels on your computer using a regular ink jet cartridge. Cotton fabric with paper on the back may be purchased for fabric printing. You may also cut freezer paper 9 1/2 x 11 inches and iron the shiny side of the freezer paper to the WRONG side of the fabric you wish to print. The freezer paper will stiffen the fabric so the printer can pull it through as it prints.
I've had fun using the selvages from the fabrics in the quilt on my quilt labels. See my blog post on Using Selvages.

All done! Enjoy your quilt!